2011 LINCOLN TOWN CAR warning light
[x] Cancel search: warning lightPage 43 of 306
6. Wait the desired amount of time for delay, then turn the headlamp
switch to off.
•At this point, the exterior lamps turn off and the time delay is set.
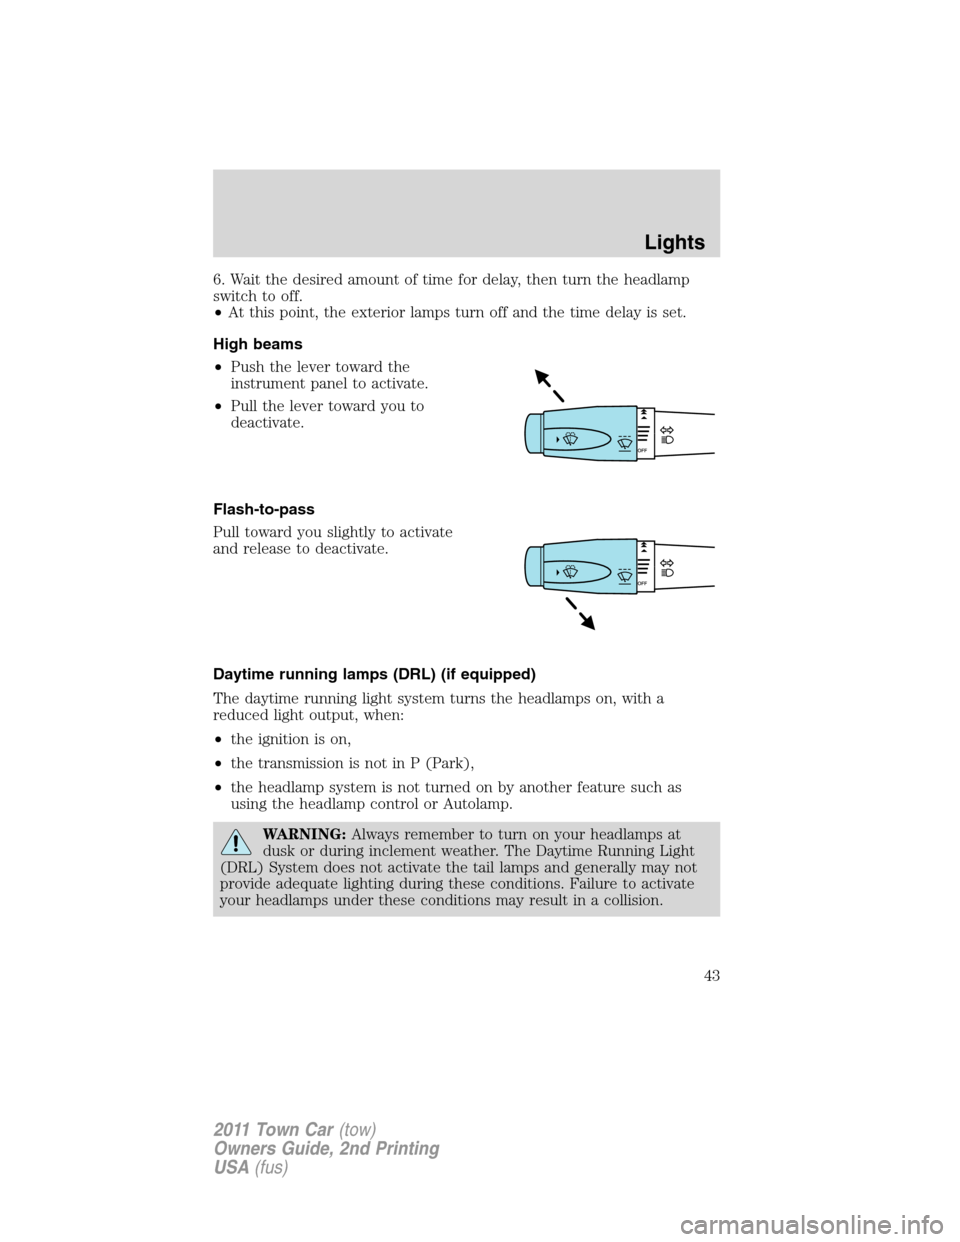
High beams
•Push the lever toward the
instrument panel to activate.
•Pull the lever toward you to
deactivate.
Flash-to-pass
Pull toward you slightly to activate
and release to deactivate.
Daytime running lamps (DRL) (if equipped)
The daytime running light system turns the headlamps on, with a
reduced light output, when:
•the ignition is on,
•the transmission is not in P (Park),
•the headlamp system is not turned on by another feature such as
using the headlamp control or Autolamp.
WARNING:Always remember to turn on your headlamps at
dusk or during inclement weather. The Daytime Running Light
(DRL) System does not activate the tail lamps and generally may not
provide adequate lighting during these conditions. Failure to activate
your headlamps under these conditions may result in a collision.
Lights
43
2011 Town Car(tow)
Owners Guide, 2nd Printing
USA(fus)
Page 50 of 306
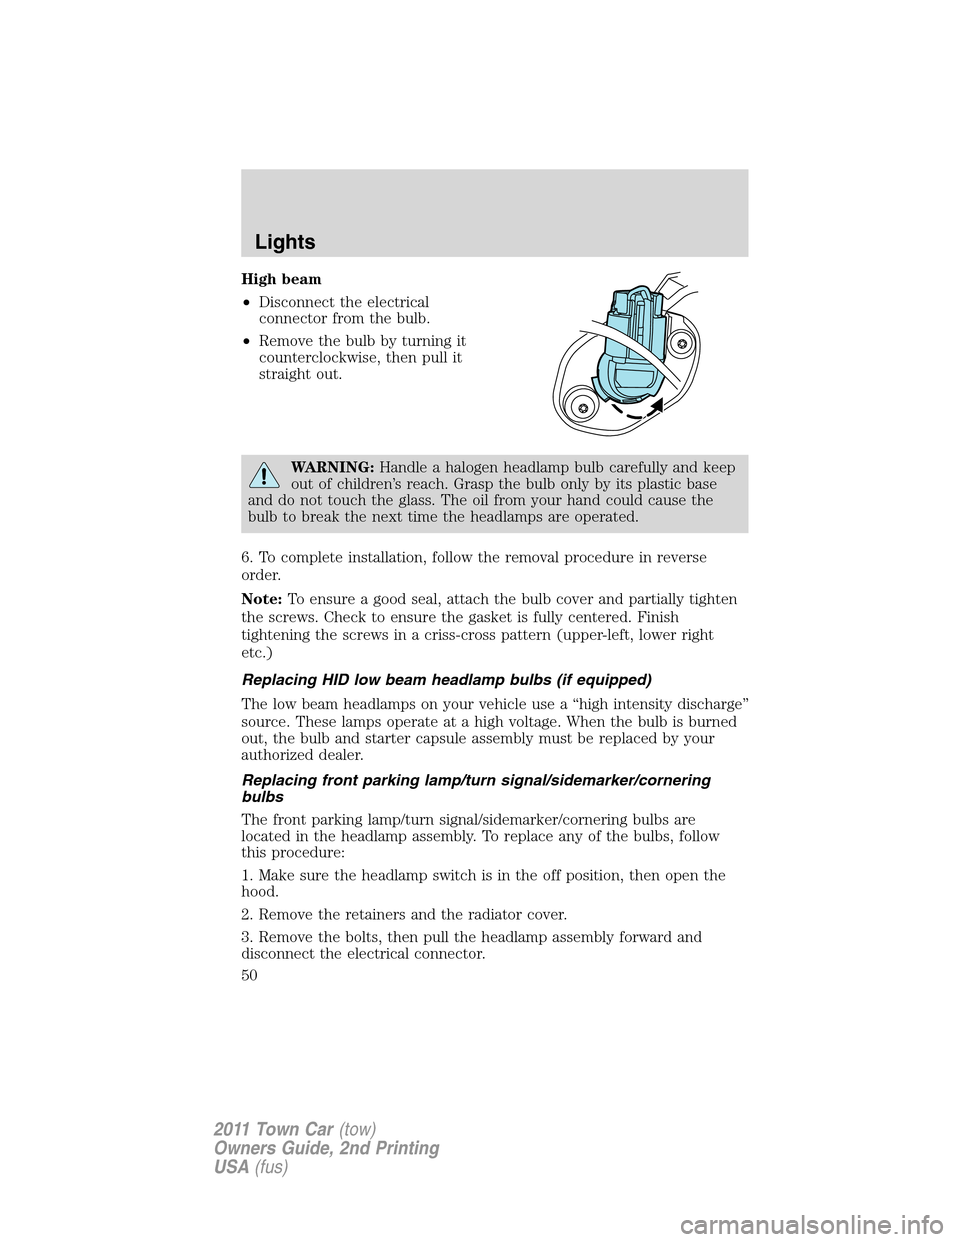
High beam
•Disconnect the electrical
connector from the bulb.
•Remove the bulb by turning it
counterclockwise, then pull it
straight out.
WARNING:Handle a halogen headlamp bulb carefully and keep
out of children’s reach. Grasp the bulb only by its plastic base
and do not touch the glass. The oil from your hand could cause the
bulb to break the next time the headlamps are operated.
6. To complete installation, follow the removal procedure in reverse
order.
Note:To ensure a good seal, attach the bulb cover and partially tighten
the screws. Check to ensure the gasket is fully centered. Finish
tightening the screws in a criss-cross pattern (upper-left, lower right
etc.)
Replacing HID low beam headlamp bulbs (if equipped)
The low beam headlamps on your vehicle use a “high intensity discharge”
source. These lamps operate at a high voltage. When the bulb is burned
out, the bulb and starter capsule assembly must be replaced by your
authorized dealer.
Replacing front parking lamp/turn signal/sidemarker/cornering
bulbs
The front parking lamp/turn signal/sidemarker/cornering bulbs are
located in the headlamp assembly. To replace any of the bulbs, follow
this procedure:
1. Make sure the headlamp switch is in the off position, then open the
hood.
2. Remove the retainers and the radiator cover.
3. Remove the bolts, then pull the headlamp assembly forward and
disconnect the electrical connector.
Lights
50
2011 Town Car(tow)
Owners Guide, 2nd Printing
USA(fus)
Page 55 of 306
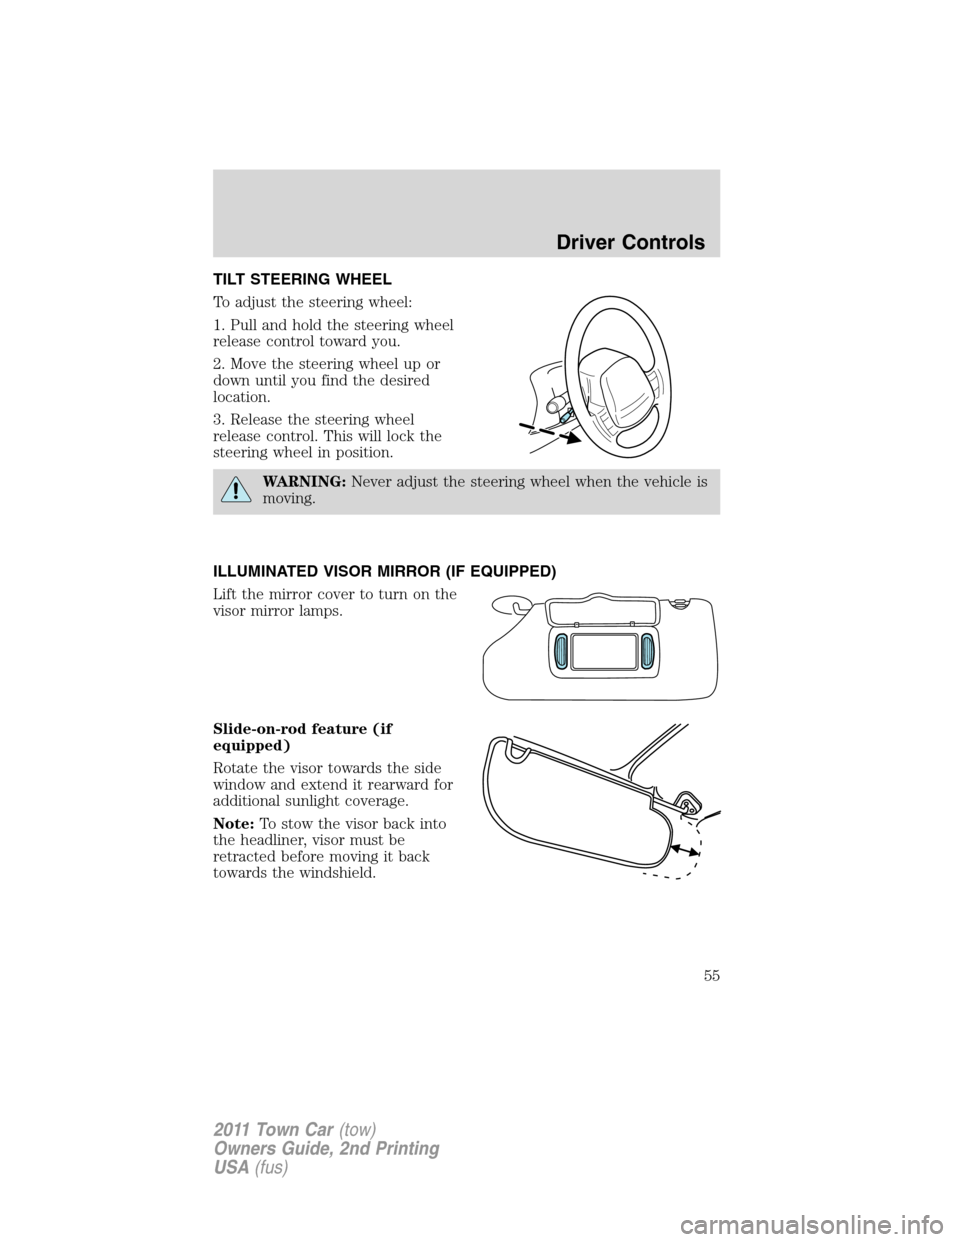
TILT STEERING WHEEL
To adjust the steering wheel:
1. Pull and hold the steering wheel
release control toward you.
2. Move the steering wheel up or
down until you find the desired
location.
3. Release the steering wheel
release control. This will lock the
steering wheel in position.
WARNING:Never adjust the steering wheel when the vehicle is
moving.
ILLUMINATED VISOR MIRROR (IF EQUIPPED)
Lift the mirror cover to turn on the
visor mirror lamps.
Slide-on-rod feature (if
equipped)
Rotate the visor towards the side
window and extend it rearward for
additional sunlight coverage.
Note:To stow the visor back into
the headliner, visor must be
retracted before moving it back
towards the windshield.
Driver Controls
55
2011 Town Car(tow)
Owners Guide, 2nd Printing
USA(fus)
Page 59 of 306
WARNING:Do not adjust the mirror while the vehicle is in
motion.
Automatic dimming interior rear view mirror (if equipped)
The interior rear view mirror and a driver’s side exterior mirror have an
auto-dimming function. The electronic day/night mirrors will change from
the normal (high reflective) state to the non-glare (darkened) state
when bright lights (glare) reach the interior mirror. When the interior
mirror detects bright light from behind the vehicle, the interior rear view
mirror and the driver’s side exterior mirror (if equipped) will
automatically adjust (darken) to minimize glare.
The mirrors will automatically return to the normal state whenever the
vehicle is placed in R (Reverse) to ensure a bright clear view when
backing up.
Do not block the sensors on the front and back of the interior
rear view mirror since this may impair proper mirror
performance.
Note:A rear center passenger and/or raised rear center headrest (if
equipped) may also block the light from reaching the sensor.
Do not clean the housing or glass of any mirror with harsh
abrasives, fuel or other petroleum-based cleaning products.
EXTERIOR MIRRORS
Power side view mirrors
WARNING:Do not adjust the mirror while the vehicle is in
motion.
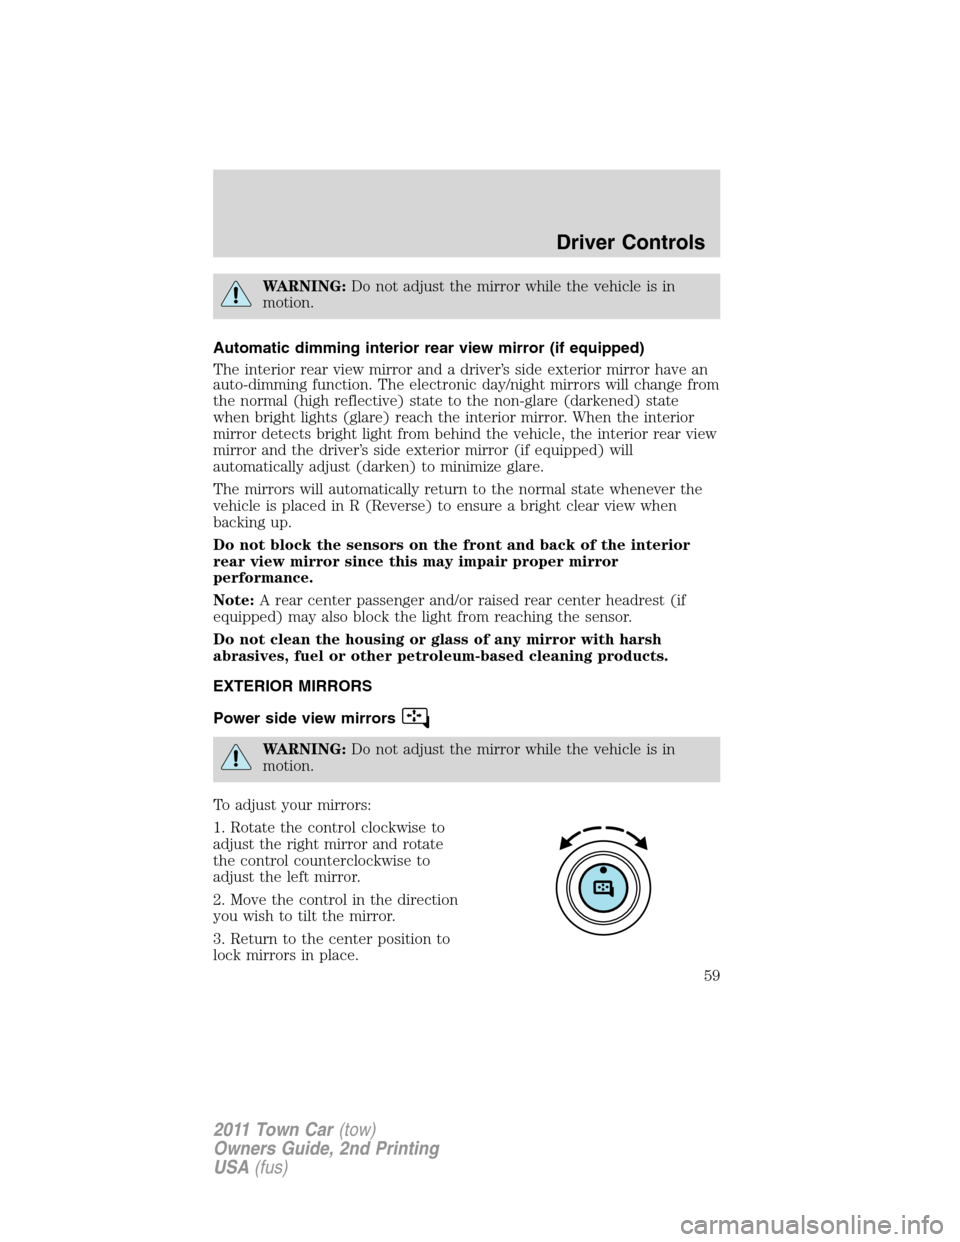
To adjust your mirrors:
1. Rotate the control clockwise to
adjust the right mirror and rotate
the control counterclockwise to
adjust the left mirror.
2. Move the control in the direction
you wish to tilt the mirror.
3. Return to the center position to
lock mirrors in place.
Driver Controls
59
2011 Town Car(tow)
Owners Guide, 2nd Printing
USA(fus)
Page 61 of 306
WARNING:Never adjust the accelerator and brake pedal with
feet on the pedals while the vehicle is moving.
SPEED CONTROL
With speed control set, you can maintain a set speed without keeping
your foot on the accelerator pedal.
WARNING:Do not use the speed control in heavy traffic or on
roads that are winding, slippery or unpaved.
Using speed control
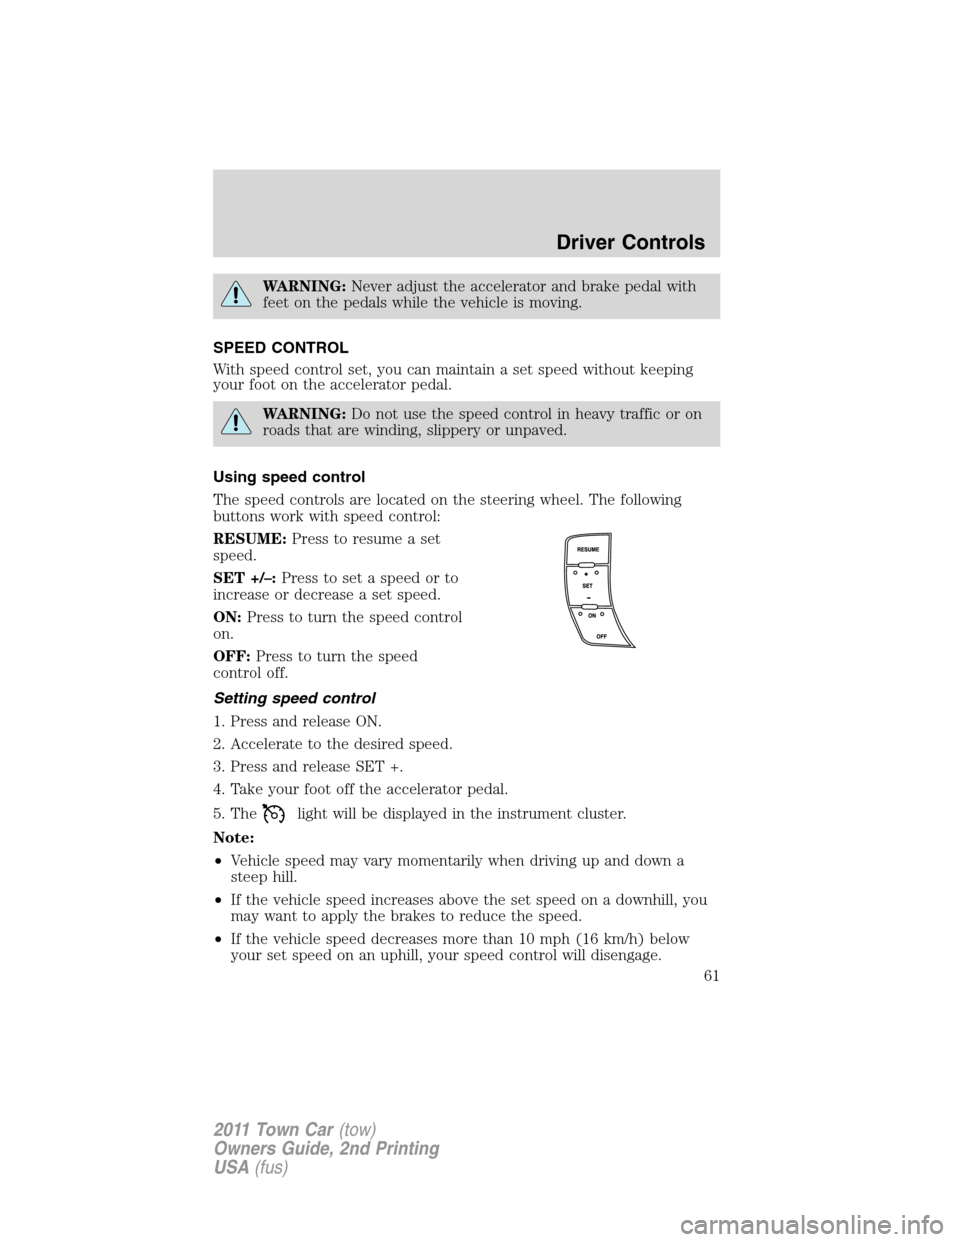
The speed controls are located on the steering wheel. The following
buttons work with speed control:
RESUME:Press to resume a set
speed.
SET +/–:Press to set a speed or to
increase or decrease a set speed.
ON:Press to turn the speed control
on.
OFF:Press to turn the speed
control off.
Setting speed control
1. Press and release ON.
2. Accelerate to the desired speed.
3. Press and release SET +.
4. Take your foot off the accelerator pedal.
5. The
light will be displayed in the instrument cluster.
Note:
•Vehicle speed may vary momentarily when driving up and down a
steep hill.
•If the vehicle speed increases above the set speed on a downhill, you
may want to apply the brakes to reduce the speed.
•If the vehicle speed decreases more than 10 mph (16 km/h) below
your set speed on an uphill, your speed control will disengage.
Driver Controls
61
2011 Town Car(tow)
Owners Guide, 2nd Printing
USA(fus)
Page 76 of 306
INTERIOR LUGGAGE COMPARTMENT RELEASE
Your vehicle is equipped with a mechanical interior luggage compartment
release handle that provides a means of escape for children and adults in
the event they become locked inside the luggage compartment.
Adults are advised to familiarize themselves with the operation and
location of the release handle.
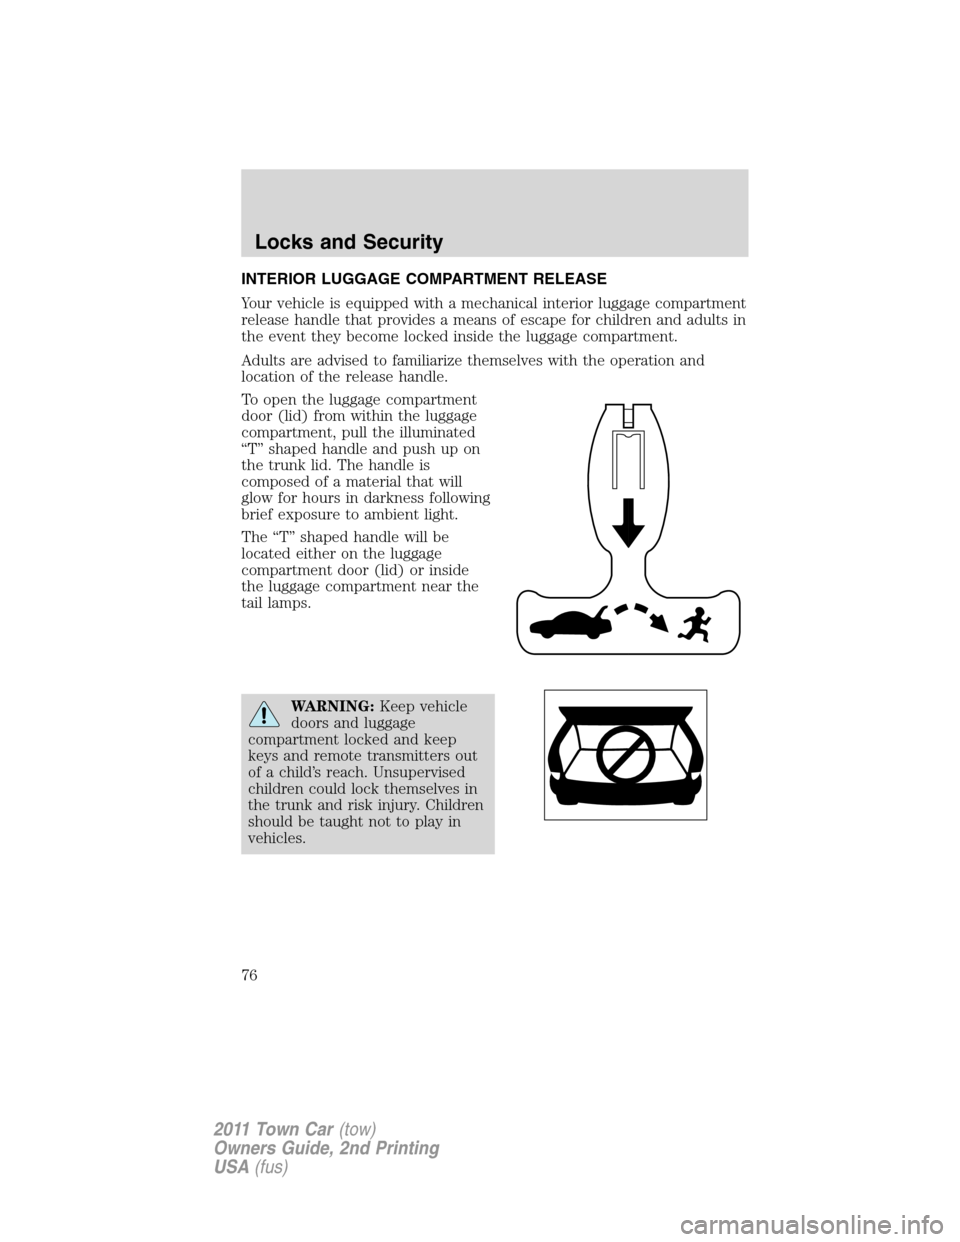
To open the luggage compartment
door (lid) from within the luggage
compartment, pull the illuminated
“T” shaped handle and push up on
the trunk lid. The handle is
composed of a material that will
glow for hours in darkness following
brief exposure to ambient light.
The “T” shaped handle will be
located either on the luggage
compartment door (lid) or inside
the luggage compartment near the
tail lamps.
WARNING:Keep vehicle
doors and luggage
compartment locked and keep
keys and remote transmitters out
of a child’s reach. Unsupervised
children could lock themselves in
the trunk and risk injury. Children
should be taught not to play in
vehicles.
Locks and Security
76
2011 Town Car(tow)
Owners Guide, 2nd Printing
USA(fus)
Page 84 of 306
Tips for setting codes:
•Do not set a code that uses five of the same number.
•Do not use five numbers in sequential order.
Erasing personal codes
1. Enter the factory set 5–digit code. The keyless entry keypad and
interior lights will illuminate and the driver’s door will unlock.
2. Press and release the 1•2 within five seconds of completing Step 1.
3. Press and hold the 1•2 for two seconds to erase the customer
programmed codes. All of the vehicle doors will lock and then unlock to
confirm erasure.
All personal codes are now erased and only the factory set 5–digit code
will work.
Note:To exit programming mode, either wait 5 seconds after pressing 1
•2 on the keypad, or press the 7•8 and 9•0 pads simultaneously to
lock all vehicle doors and end programming mode.
Unlocking and locking the doors using keyless entry keypad
To unlock the driver’s door,enter the factory set 5-digit code or your
personal code. Each number must be pressed within five seconds of each
other.Note:The driver’s door will unlock and the interior lamps will
illuminate after the factory set 5-digit code or your personal code are
correctly entered.
To unlock all doors,press the 3•4 control within five seconds.
To lock all doors,press the 7•8 and the 9•0 at the same time. You
do notneed to enter the keypad code first.Note:The interior lamps
will turn off. If the driver’s door is ajar, the doors will not lock.
Releasing the trunk with the keyless entry system
To release/open the trunk, enter the factory-set code or personal code
(driver door unlocks) and press 5•6 within five seconds.
If your vehicle is equipped with the optional power decklid, pressing 5•
6 again will close it (you may need to reenter the keypad code again).
WARNING:Before operating the power decklid, be sure that no
one, particularly a child, is in a position where he or she can be
injured by the trunk lid. NEVER leave the remote entry transmitter
where it can be inadvertently activated, as someone could be seriously
injured by a moving decklid.
Locks and Security
84
2011 Town Car(tow)
Owners Guide, 2nd Printing
USA(fus)
Page 99 of 306
The indicator light will illuminate when the heated seats have been
activated.
Rear heated seats (if equipped)
WARNING:Persons who are unable to feel pain to the skin
because of advanced age, chronic illness, diabetes, spinal cord
injury, medication, alcohol use, exhaustion, or other physical
conditions, must exercise care when using the seat heater. The seat
heater may cause burns even at low temperatures, especially if used
for long periods of time. Do not place anything on the seat that
insulates against heat, such as a blanket or cushion, because this may
cause the seat heater to overheat. Do not puncture the seat with pins,
needles, or other pointed objects because this may damage the heating
element which may cause the seat heater to overheat. An overheated
seat may cause serious personal injury.
Note:Do not do the following:
•Place heavy objects on the seat
•Operate the seat heater if water or any other liquid is spilled on the
seat. Allow the seat to dry thoroughly.
The rear seat heat controls are located on the rear door panels and
operate like the front heated seats. Refer to theHeated Seatssection in
this chapter.
Easy-access/easy-out feature (if equipped)
This feature automatically moves the driver’s seat rearward 2 in. (5 cm)
when:
•the transmission is in N (Neutral) or P (Park)
•the key is removed from the ignition
The seat will move forward (to the original position) when:
•the transmission is in N (Neutral) or P (Park)
•the key is placed in the ignition
Seat-mounted cup holders (if equipped)
Your vehicle may be equipped with cupholders in the cushion of the
front center seat and the rear seat . The rear seat cupholder is designed
to over rotate from the seat when subjected to a heavy load. The rear
seat cupholder can be reset by rotating to the closed position.
Seating and Safety Restraints
99
2011 Town Car(tow)
Owners Guide, 2nd Printing
USA(fus)