Page 27 of 306
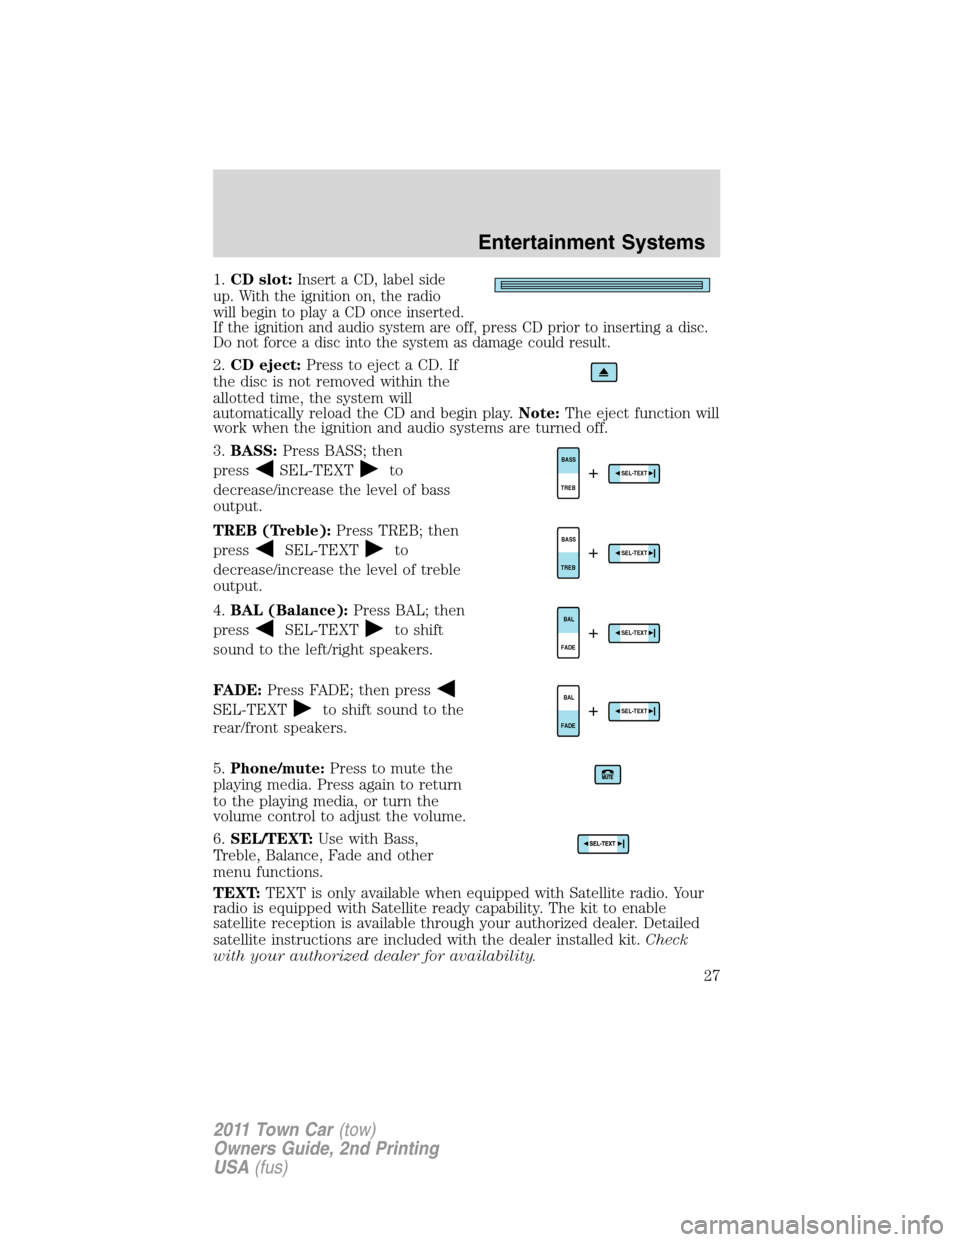
1.CD slot:Insert a CD, label side
up. With the ignition on, the radio
will begin to play a CD once inserted.
If the ignition and audio system are off, press CD prior to inserting a disc.
Do not force a disc into the system as damage could result.
2.CD eject:Press to eject a CD. If
the disc is not removed within the
allotted time, the system will
automatically reload the CD and begin play.Note:The eject function will
work when the ignition and audio systems are turned off.
3.BASS:Press BASS; then
press
SEL-TEXTto
decrease/increase the level of bass
output.
TREB (Treble):Press TREB; then
press
SEL-TEXTto
decrease/increase the level of treble
output.
4.BAL (Balance):Press BAL; then
press
SEL-TEXTto shift
sound to the left/right speakers.
FADE:Press FADE; then press
SEL-TEXTto shift sound to the
rear/front speakers.
5.Phone/mute:Press to mute the
playing media. Press again to return
to the playing media, or turn the
volume control to adjust the volume.
6.SEL/TEXT:Use with Bass,
Treble, Balance, Fade and other
menu functions.
TEXT:TEXT is only available when equipped with Satellite radio. Your
radio is equipped with Satellite ready capability. The kit to enable
satellite reception is available through your authorized dealer. Detailed
satellite instructions are included with the dealer installed kit.Check
with your authorized dealer for availability.
TREBBASSSEL-TEXT+
TREBBASSSEL-TEXT+
FADEBALSEL-TEXT+
FADEBALSEL-TEXT+
Entertainment Systems
27
2011 Town Car(tow)
Owners Guide, 2nd Printing
USA(fus)
Page 31 of 306
20.On/Off/Volume:Press to turn
on and off; turn to adjust the
volume levels.
Premium plus AM/FM Stereo In-dash Six CD sound system
WARNING:Driving while distracted can result in loss of vehicle
control, accident and injury. Ford strongly recommends that
drivers use extreme caution when using any device or feature that may
take their focus off the road. Your primary responsibility is the safe
operation of the vehicle. We recommend against the use of any
handheld device while driving, encourage the use of voice-operated
systems when possible and that you become aware of applicable state
and local laws that may affect the use of electronic devices while
driving.
Accessory delay:Your vehicle is equipped with accessory delay. With
this feature, the window switches and radio may be used for up to ten
minutes after the ignition is turned off or until any door is opened.
Entertainment Systems
31
2011 Town Car(tow)
Owners Guide, 2nd Printing
USA(fus)
Page 32 of 306
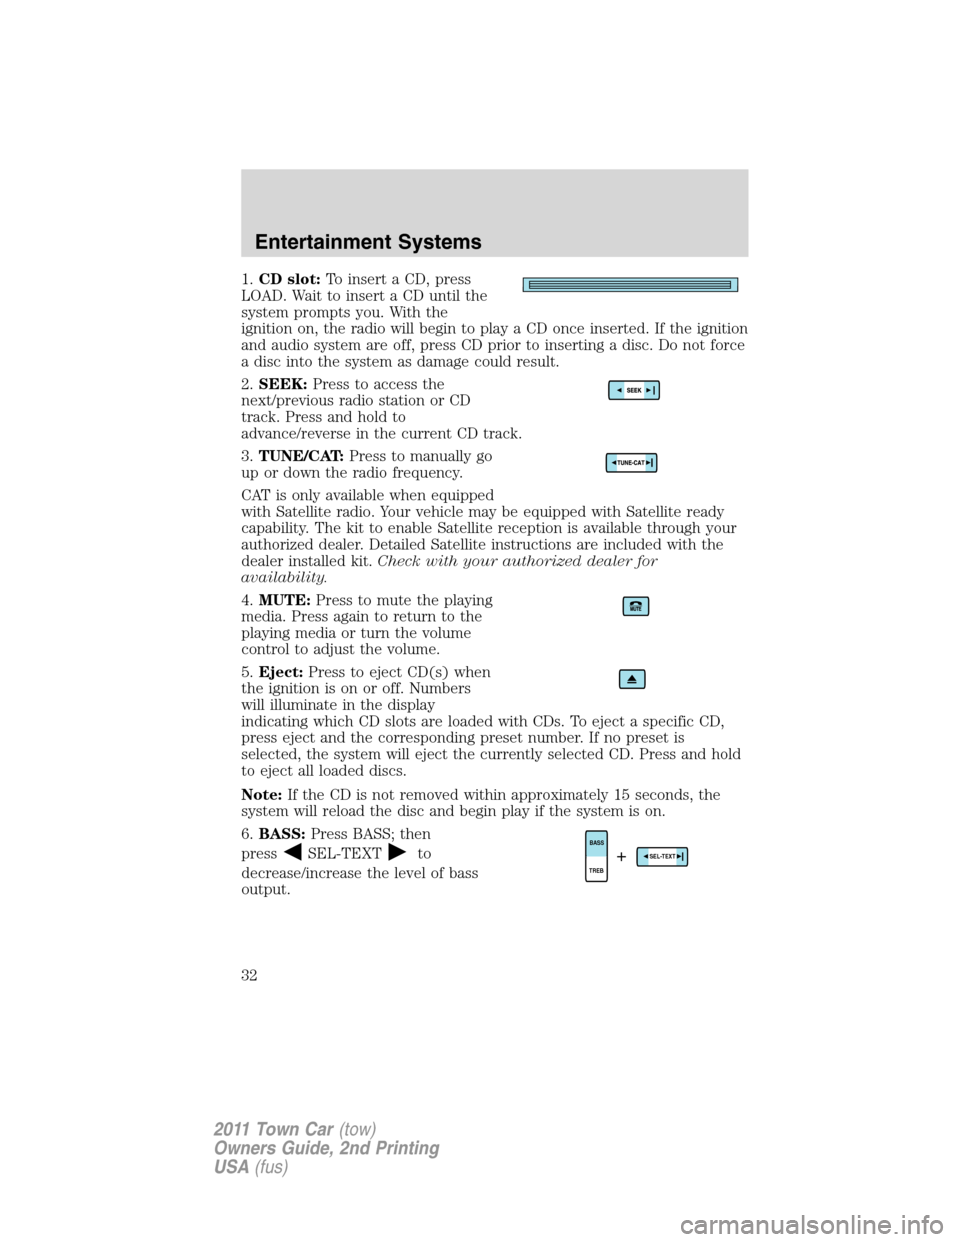
1.CD slot:To insert a CD, press
LOAD. Wait to insert a CD until the
system prompts you. With the
ignition on, the radio will begin to play a CD once inserted. If the ignition
and audio system are off, press CD prior to inserting a disc. Do not force
a disc into the system as damage could result.
2.SEEK:Press to access the
next/previous radio station or CD
track. Press and hold to
advance/reverse in the current CD track.
3.TUNE/CAT:Press to manually go
up or down the radio frequency.
CAT is only available when equipped
with Satellite radio. Your vehicle may be equipped with Satellite ready
capability. The kit to enable Satellite reception is available through your
authorized dealer. Detailed Satellite instructions are included with the
dealer installed kit.Check with your authorized dealer for
availability.
4.MUTE:Press to mute the playing
media. Press again to return to the
playing media or turn the volume
control to adjust the volume.
5.Eject:Press to eject CD(s) when
the ignition is on or off. Numbers
will illuminate in the display
indicating which CD slots are loaded with CDs. To eject a specific CD,
press eject and the corresponding preset number. If no preset is
selected, the system will eject the currently selected CD. Press and hold
to eject all loaded discs.
Note:If the CD is not removed within approximately 15 seconds, the
system will reload the disc and begin play if the system is on.
6.BASS:Press BASS; then
press
SEL-TEXTto
decrease/increase the level of bass
output.TREBBASSSEL-TEXT+
Entertainment Systems
32
2011 Town Car(tow)
Owners Guide, 2nd Printing
USA(fus)
Page 35 of 306
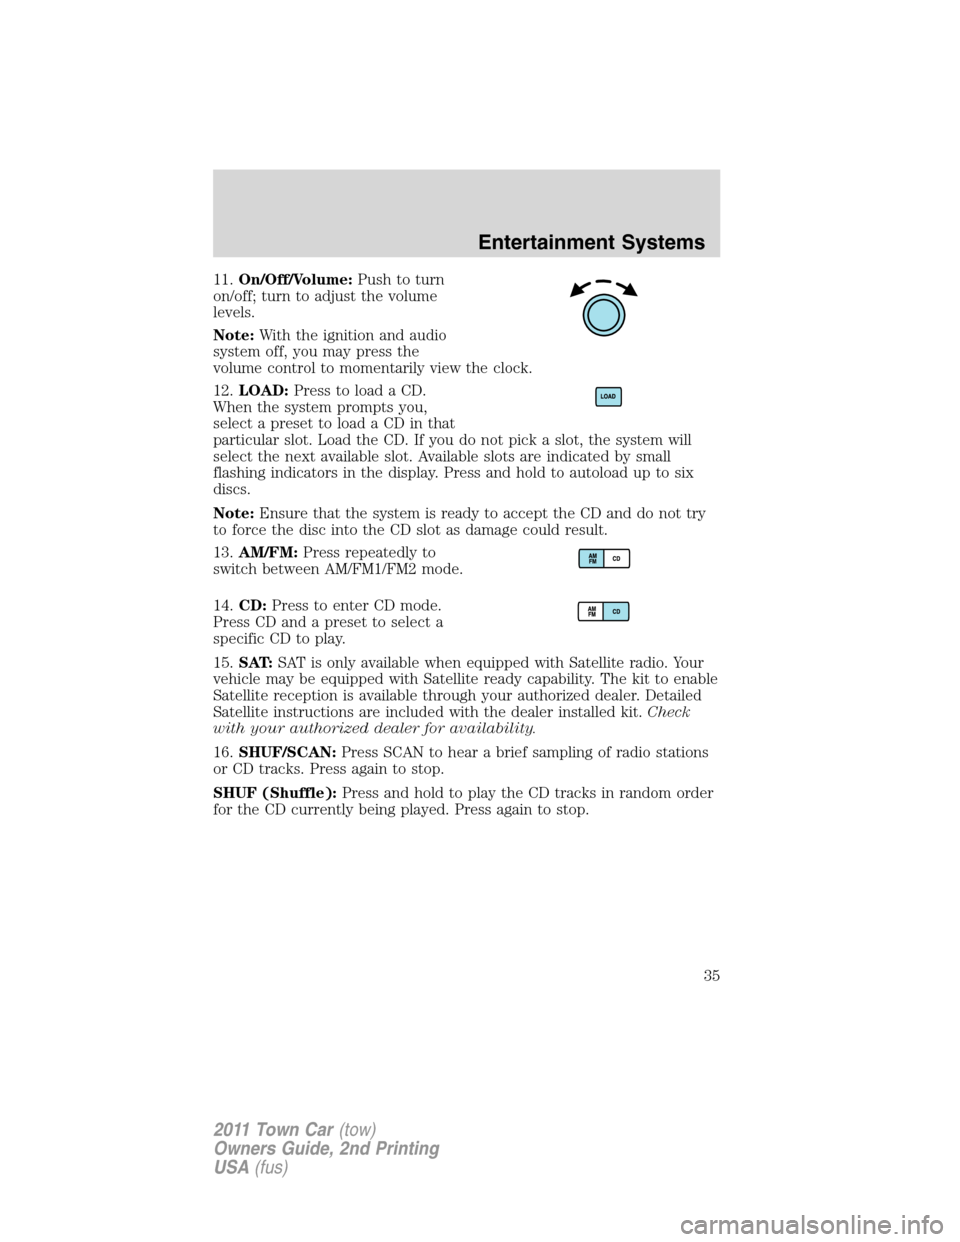
11.On/Off/Volume:Push to turn
on/off; turn to adjust the volume
levels.
Note:With the ignition and audio
system off, you may press the
volume control to momentarily view the clock.
12.LOAD:Press to load a CD.
When the system prompts you,
select a preset to load a CD in that
particular slot. Load the CD. If you do not pick a slot, the system will
select the next available slot. Available slots are indicated by small
flashing indicators in the display. Press and hold to autoload up to six
discs.
Note:Ensure that the system is ready to accept the CD and do not try
to force the disc into the CD slot as damage could result.
13.AM/FM:Press repeatedly to
switch between AM/FM1/FM2 mode.
14.CD:Press to enter CD mode.
Press CD and a preset to select a
specific CD to play.
15.SAT:SAT is only available when equipped with Satellite radio. Your
vehicle may be equipped with Satellite ready capability. The kit to enable
Satellite reception is available through your authorized dealer. Detailed
Satellite instructions are included with the dealer installed kit.Check
with your authorized dealer for availability.
16.SHUF/SCAN:Press SCAN to hear a brief sampling of radio stations
or CD tracks. Press again to stop.
SHUF (Shuffle):Press and hold to play the CD tracks in random order
for the CD currently being played. Press again to stop.
Entertainment Systems
35
2011 Town Car(tow)
Owners Guide, 2nd Printing
USA(fus)
Page 41 of 306
REAR CONSOLE CLIMATE CONTROLS (IF EQUIPPED)
•TEMP:Press to increase or
decrease airflow temperature.
•FAN:Press to increase or
decrease the fan speed.
REAR WINDOW DEFROSTER
The rear defroster control is located
on the instrument panel.
Press the rear defroster control to
clear the rear window of thin ice
and fog. A small LED will illuminate
when the rear defroster is activated.
The ignition must be in the on position to operate the rear window
defroster.
The defroster turns off automatically after a predetermined amount of
time or when the ignition is turned off. To manually turn off the
defroster, press the control again.
Do not use razor blades or other sharp objects to clean the inside
of the rear window or to remove decals from the inside of the
rear window. This may cause damage to the heated grid lines and
will not be covered by your warranty.
R
Climate Controls
41
2011 Town Car(tow)
Owners Guide, 2nd Printing
USA(fus)
Page 42 of 306
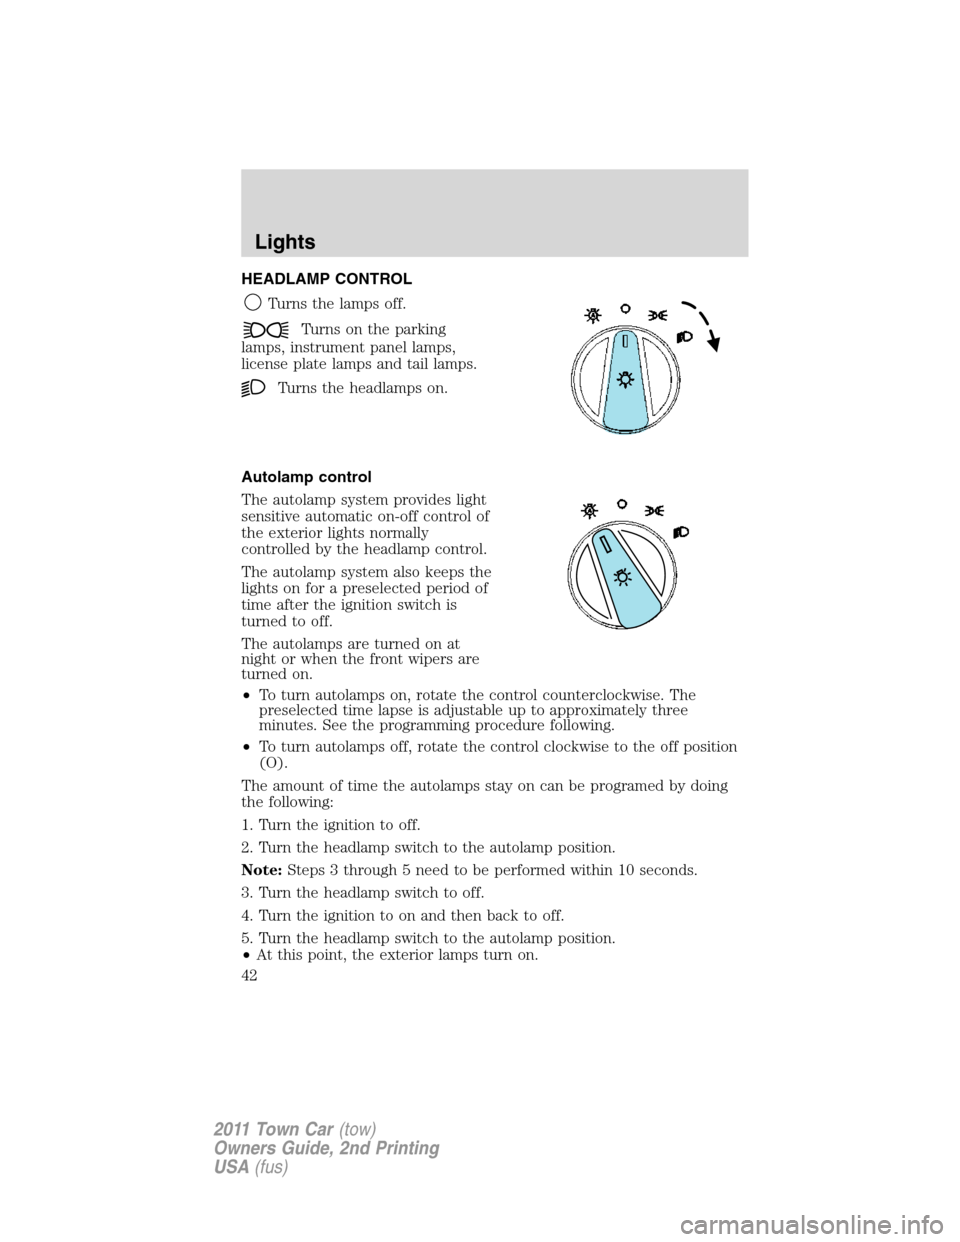
HEADLAMP CONTROL
Turns the lamps off.
Turns on the parking
lamps, instrument panel lamps,
license plate lamps and tail lamps.
Turns the headlamps on.
Autolamp control
The autolamp system provides light
sensitive automatic on-off control of
the exterior lights normally
controlled by the headlamp control.
The autolamp system also keeps the
lights on for a preselected period of
time after the ignition switch is
turned to off.
The autolamps are turned on at
night or when the front wipers are
turned on.
•To turn autolamps on, rotate the control counterclockwise. The
preselected time lapse is adjustable up to approximately three
minutes. See the programming procedure following.
•To turn autolamps off, rotate the control clockwise to the off position
(O).
The amount of time the autolamps stay on can be programed by doing
the following:
1. Turn the ignition to off.
2. Turn the headlamp switch to the autolamp position.
Note:Steps 3 through 5 need to be performed within 10 seconds.
3. Turn the headlamp switch to off.
4. Turn the ignition to on and then back to off.
5. Turn the headlamp switch to the autolamp position.
•At this point, the exterior lamps turn on.
Lights
42
2011 Town Car(tow)
Owners Guide, 2nd Printing
USA(fus)
Page 43 of 306
6. Wait the desired amount of time for delay, then turn the headlamp
switch to off.
•At this point, the exterior lamps turn off and the time delay is set.
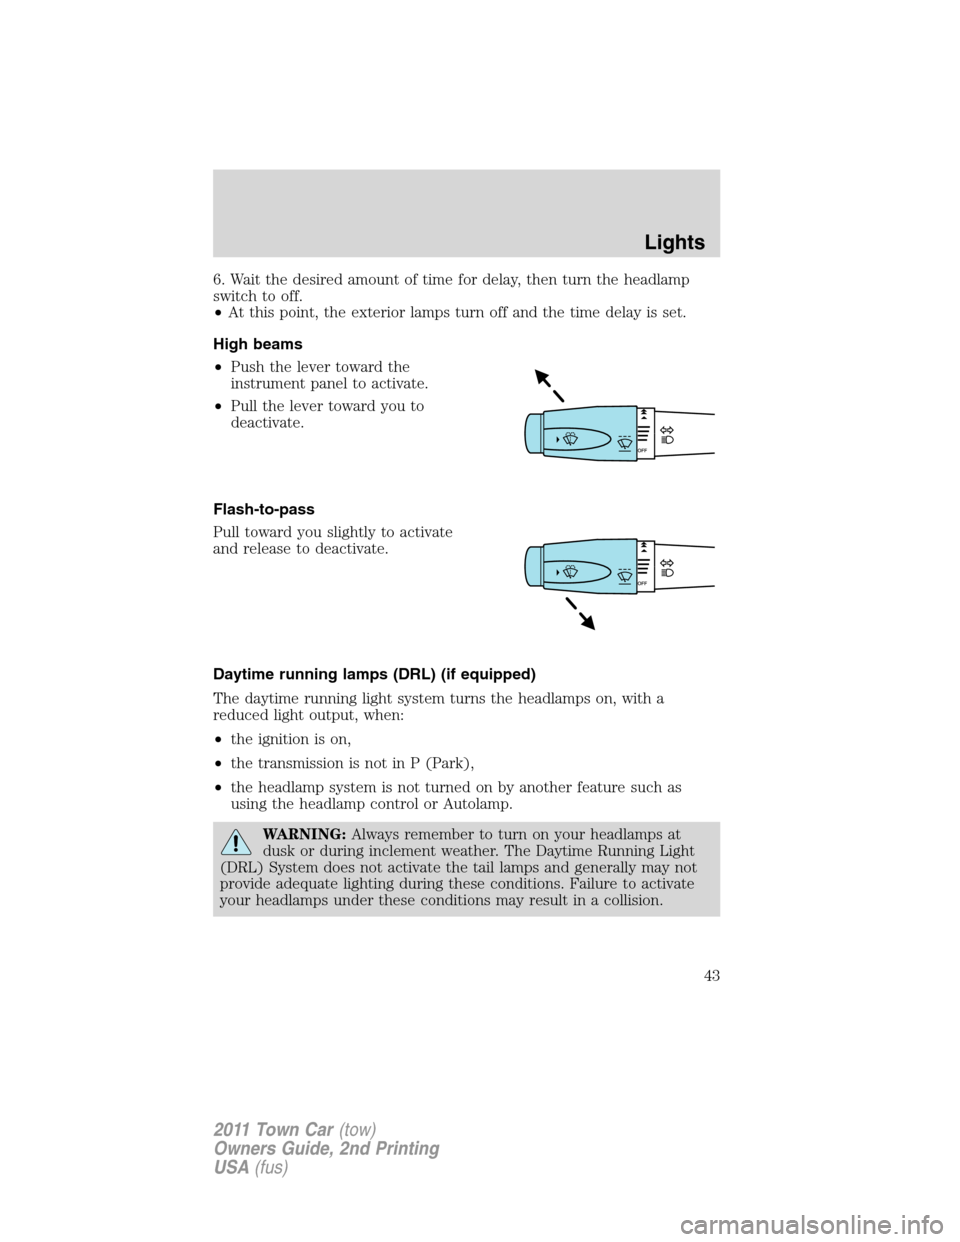
High beams
•Push the lever toward the
instrument panel to activate.
•Pull the lever toward you to
deactivate.
Flash-to-pass
Pull toward you slightly to activate
and release to deactivate.
Daytime running lamps (DRL) (if equipped)
The daytime running light system turns the headlamps on, with a
reduced light output, when:
•the ignition is on,
•the transmission is not in P (Park),
•the headlamp system is not turned on by another feature such as
using the headlamp control or Autolamp.
WARNING:Always remember to turn on your headlamps at
dusk or during inclement weather. The Daytime Running Light
(DRL) System does not activate the tail lamps and generally may not
provide adequate lighting during these conditions. Failure to activate
your headlamps under these conditions may result in a collision.
Lights
43
2011 Town Car(tow)
Owners Guide, 2nd Printing
USA(fus)
Page 46 of 306
TURN SIGNAL CONTROL
•Push down to activate the left
turn signal.
•Push up to activate the right turn
signal.
INTERIOR LAMPS
Map/courtesy lamps
To turn on the map lamps, press the
map lamp control.
Rear courtesy/reading lamps
The courtesy lamp lights when:
•the rocker control is pressed.
•any door is opened.
•any of the remote entry controls
are pressed and the ignition is
off.
Lights
46
2011 Town Car(tow)
Owners Guide, 2nd Printing
USA(fus)