2011 LINCOLN TOWN CAR child lock
[x] Cancel search: child lockPage 79 of 306
Pressand release again within five seconds to confirm that all the
doors are closed.Note:The doors will lock again, the horn will chirp
once and the park lamps will flash, if all the closures are closed. If any
closure is not closed, the horn will chirp twice and the park lamps will
notflash.
Car finder
Press
twice within three seconds. The horn will chirp and the park
lamps/tail lamps will flash. It is recommended that this method be used
to locate your vehicle, rather than using the panic alarm.
Opening the trunk
Pressonce to open the trunk.
If your vehicle is fitted with the optional power decklid, press
twice
to open the trunk and twice to close it.
WARNING:Before operating the power decklid, be sure that no
one, particularly a child, is in a position where he or she can be
injured by the trunk lid. NEVER leave the remote entry transmitter
where it can be inadvertently activated, as someone could be seriously
injured by a moving decklid.
•Ensure that the trunk is closed and latched before driving your
vehicle. Failure to properly latch the trunk may cause objects to fall
out or block the driver’s rear view.
The remote entry system allows you to open the trunk while the ignition
is in any position. However, if the ignition is in the on position and the
gearshift is in D (Drive), the trunk will only open if the vehicle is moving
3 mph (5 km/h) or slower.
Sounding a panic alarm
Press
on the remote transmitter to activate the alarm.Note:The
panic alarm only works with the ignition in the off position.
Press
a second time to deactivate the alarm. You may also deactivate
the alarm in the following ways:
•Turn the ignition to the on or start positions.
•Wait two minutes and 45 seconds for the alarm to time-out.
Locks and Security
79
2011 Town Car(tow)
Owners Guide, 2nd Printing
USA(fus)
Page 84 of 306
Tips for setting codes:
•Do not set a code that uses five of the same number.
•Do not use five numbers in sequential order.
Erasing personal codes
1. Enter the factory set 5–digit code. The keyless entry keypad and
interior lights will illuminate and the driver’s door will unlock.
2. Press and release the 1•2 within five seconds of completing Step 1.
3. Press and hold the 1•2 for two seconds to erase the customer
programmed codes. All of the vehicle doors will lock and then unlock to
confirm erasure.
All personal codes are now erased and only the factory set 5–digit code
will work.
Note:To exit programming mode, either wait 5 seconds after pressing 1
•2 on the keypad, or press the 7•8 and 9•0 pads simultaneously to
lock all vehicle doors and end programming mode.
Unlocking and locking the doors using keyless entry keypad
To unlock the driver’s door,enter the factory set 5-digit code or your
personal code. Each number must be pressed within five seconds of each
other.Note:The driver’s door will unlock and the interior lamps will
illuminate after the factory set 5-digit code or your personal code are
correctly entered.
To unlock all doors,press the 3•4 control within five seconds.
To lock all doors,press the 7•8 and the 9•0 at the same time. You
do notneed to enter the keypad code first.Note:The interior lamps
will turn off. If the driver’s door is ajar, the doors will not lock.
Releasing the trunk with the keyless entry system
To release/open the trunk, enter the factory-set code or personal code
(driver door unlocks) and press 5•6 within five seconds.
If your vehicle is equipped with the optional power decklid, pressing 5•
6 again will close it (you may need to reenter the keypad code again).
WARNING:Before operating the power decklid, be sure that no
one, particularly a child, is in a position where he or she can be
injured by the trunk lid. NEVER leave the remote entry transmitter
where it can be inadvertently activated, as someone could be seriously
injured by a moving decklid.
Locks and Security
84
2011 Town Car(tow)
Owners Guide, 2nd Printing
USA(fus)
Page 107 of 306
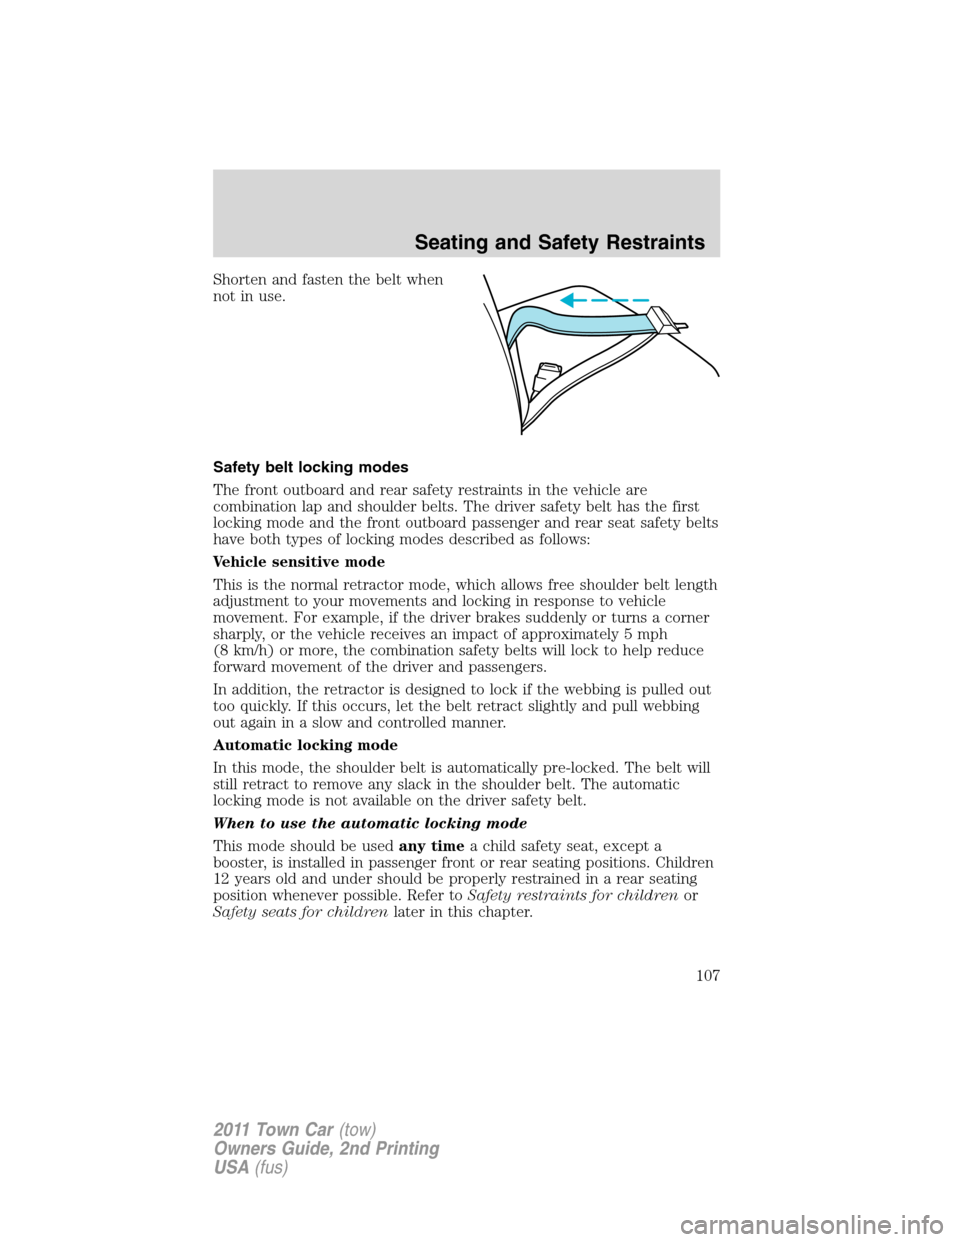
Shorten and fasten the belt when
not in use.
Safety belt locking modes
The front outboard and rear safety restraints in the vehicle are
combination lap and shoulder belts. The driver safety belt has the first
locking mode and the front outboard passenger and rear seat safety belts
have both types of locking modes described as follows:
Vehicle sensitive mode
This is the normal retractor mode, which allows free shoulder belt length
adjustment to your movements and locking in response to vehicle
movement. For example, if the driver brakes suddenly or turns a corner
sharply, or the vehicle receives an impact of approximately 5 mph
(8 km/h) or more, the combination safety belts will lock to help reduce
forward movement of the driver and passengers.
In addition, the retractor is designed to lock if the webbing is pulled out
too quickly. If this occurs, let the belt retract slightly and pull webbing
out again in a slow and controlled manner.
Automatic locking mode
In this mode, the shoulder belt is automatically pre-locked. The belt will
still retract to remove any slack in the shoulder belt. The automatic
locking mode is not available on the driver safety belt.
When to use the automatic locking mode
This mode should be usedany timea child safety seat, except a
booster, is installed in passenger front or rear seating positions. Children
12 years old and under should be properly restrained in a rear seating
position whenever possible. Refer toSafety restraints for childrenor
Safety seats for childrenlater in this chapter.
Seating and Safety Restraints
107
2011 Town Car(tow)
Owners Guide, 2nd Printing
USA(fus)
Page 108 of 306
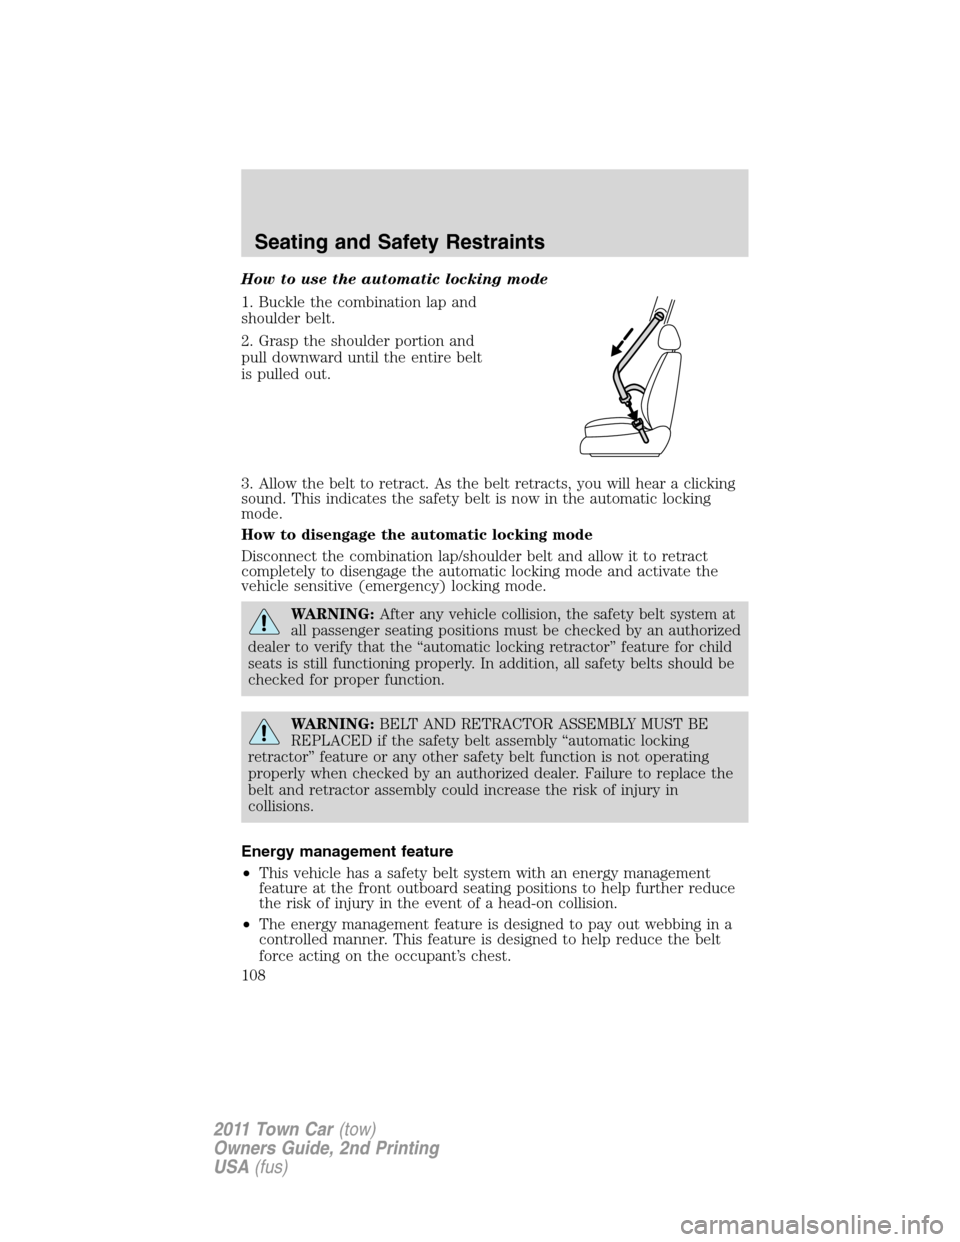
How to use the automatic locking mode
1. Buckle the combination lap and
shoulder belt.
2. Grasp the shoulder portion and
pull downward until the entire belt
is pulled out.
3. Allow the belt to retract. As the belt retracts, you will hear a clicking
sound. This indicates the safety belt is now in the automatic locking
mode.
How to disengage the automatic locking mode
Disconnect the combination lap/shoulder belt and allow it to retract
completely to disengage the automatic locking mode and activate the
vehicle sensitive (emergency) locking mode.
WARNING:After any vehicle collision, the safety belt system at
all passenger seating positions must be checked by an authorized
dealer to verify that the “automatic locking retractor” feature for child
seats is still functioning properly. In addition, all safety belts should be
checked for proper function.
WARNING:BELT AND RETRACTOR ASSEMBLY MUST BE
REPLACED if the safety belt assembly “automatic locking
retractor” feature or any other safety belt function is not operating
properly when checked by an authorized dealer. Failure to replace the
belt and retractor assembly could increase the risk of injury in
collisions.
Energy management feature
•This vehicle has a safety belt system with an energy management
feature at the front outboard seating positions to help further reduce
the risk of injury in the event of a head-on collision.
•The energy management feature is designed to pay out webbing in a
controlled manner. This feature is designed to help reduce the belt
force acting on the occupant’s chest.
Seating and Safety Restraints
108
2011 Town Car(tow)
Owners Guide, 2nd Printing
USA(fus)
Page 133 of 306
position whenever possible. If all children cannot be seated and
restrained properly in a rear seating position, properly restrain the
largest child in the front seat.
When installing a child safety seat with combination lap/shoulder belts:
•Use the correct safety belt buckle for that seating position.
•Insert the belt tongue into the proper buckle until you hear a snap
and feel it latch. Make sure the tongue is securely fastened in the
buckle.
•Keep the buckle release button pointing up and away from the safety
seat, with the tongue between the child seat and the release button,
to help prevent accidental unbuckling.
•Place vehicle seat back in upright position.
•Put the safety belt in the automatic locking mode. Refer to Step 5
below. This vehicle does not require the use of a locking clip.
WARNING:Depending on where you secure a child restraint,
and depending on the child restraint design, you may block
access to certain safety belt buckle assemblies and/or LATCH lower
anchors, rendering those features potentially unusable. To avoid risk of
injury, occupants should only use seating positions where they are able
to be properly restrained.
Perform the following steps when installing the child seat with
combination lap/shoulder belts:
Note:Although the child seat illustrated is a forward facing child seat,
the steps are the same for installing a rear facing child seat.
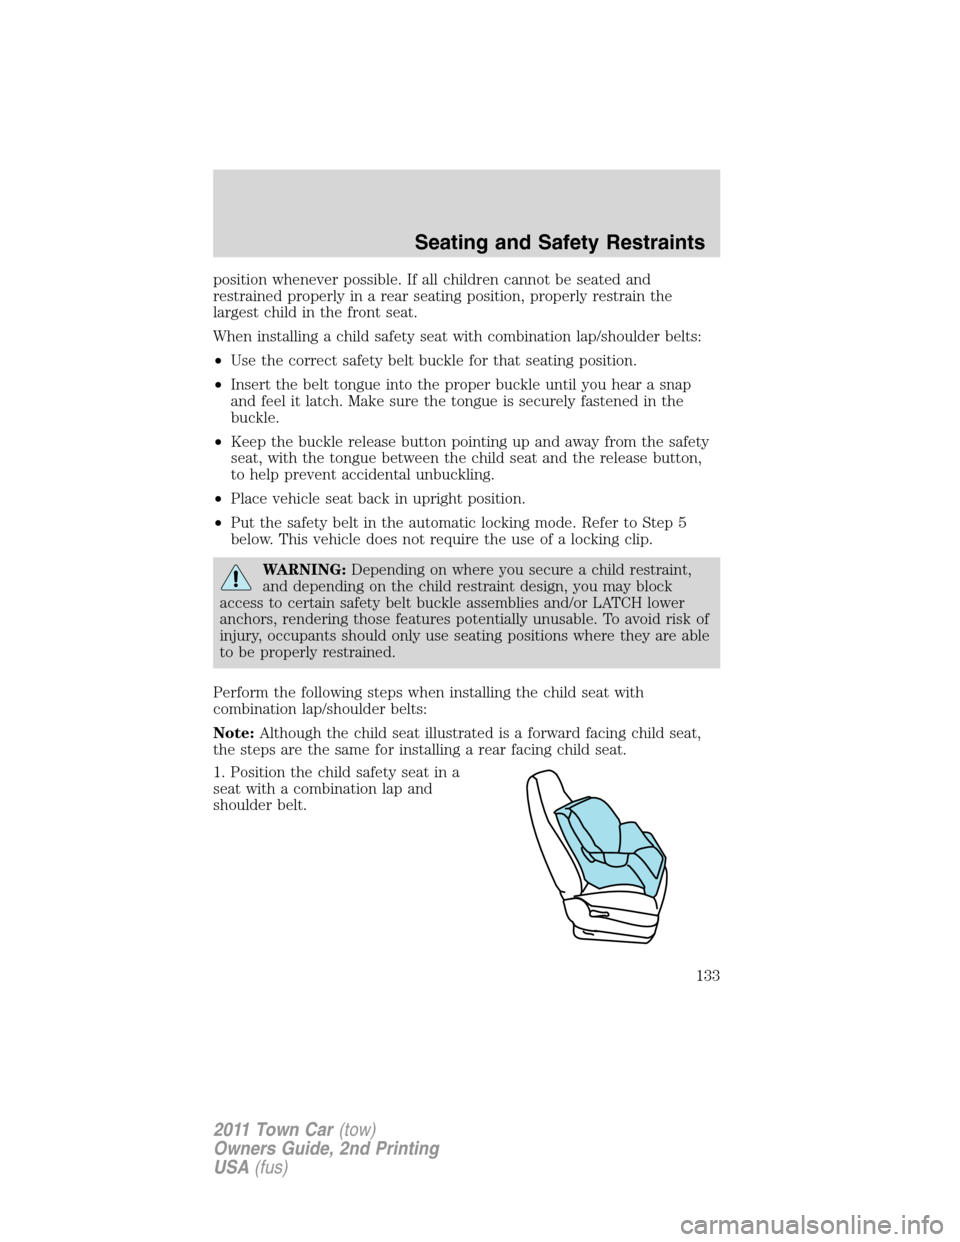
1. Position the child safety seat in a
seat with a combination lap and
shoulder belt.
Seating and Safety Restraints
133
2011 Town Car(tow)
Owners Guide, 2nd Printing
USA(fus)
Page 135 of 306
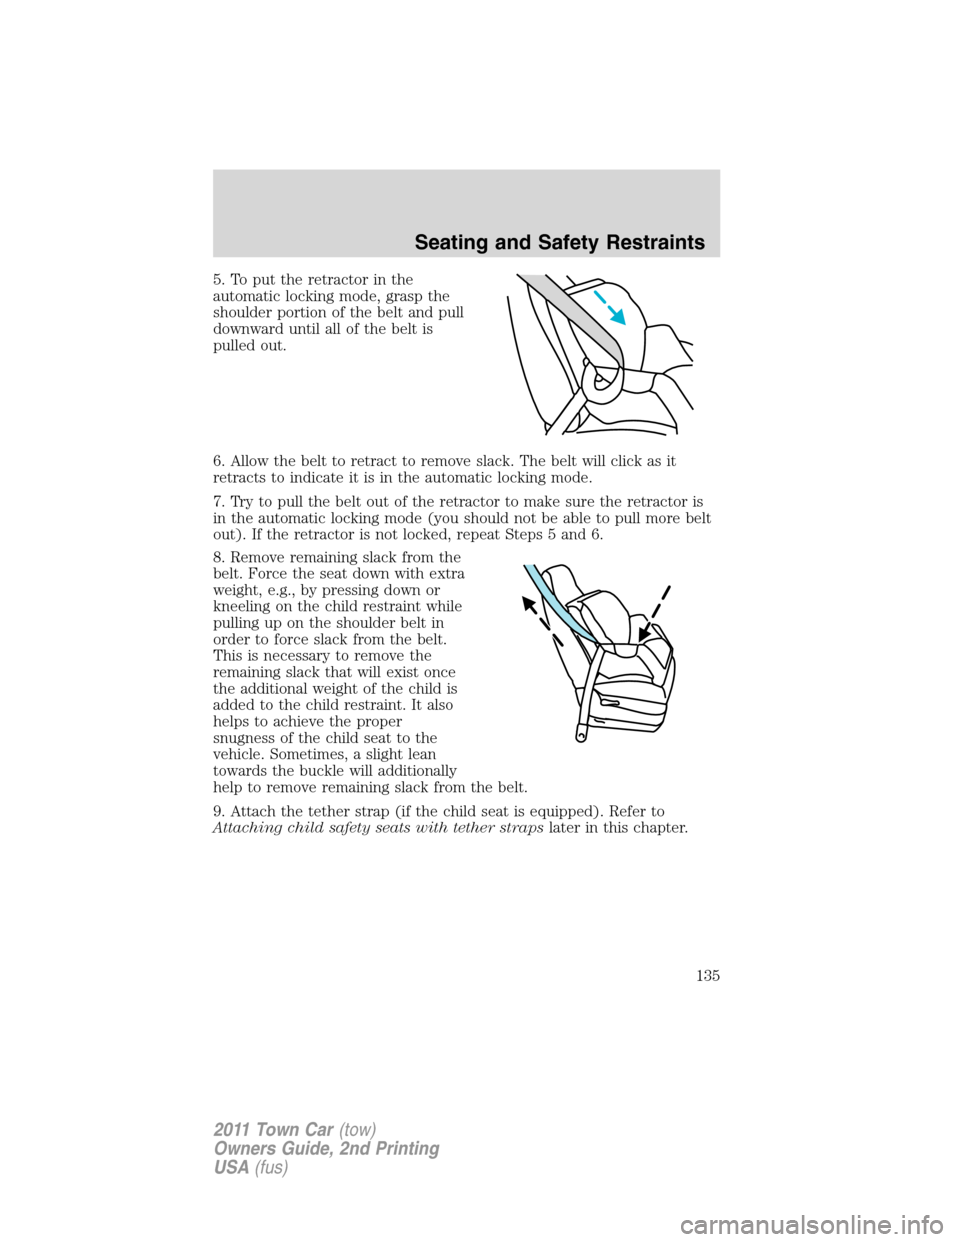
5. To put the retractor in the
automatic locking mode, grasp the
shoulder portion of the belt and pull
downward until all of the belt is
pulled out.
6. Allow the belt to retract to remove slack. The belt will click as it
retracts to indicate it is in the automatic locking mode.
7. Try to pull the belt out of the retractor to make sure the retractor is
in the automatic locking mode (you should not be able to pull more belt
out). If the retractor is not locked, repeat Steps 5 and 6.
8. Remove remaining slack from the
belt. Force the seat down with extra
weight, e.g., by pressing down or
kneeling on the child restraint while
pulling up on the shoulder belt in
order to force slack from the belt.
This is necessary to remove the
remaining slack that will exist once
the additional weight of the child is
added to the child restraint. It also
helps to achieve the proper
snugness of the child seat to the
vehicle. Sometimes, a slight lean
towards the buckle will additionally
help to remove remaining slack from the belt.
9. Attach the tether strap (if the child seat is equipped). Refer to
Attaching child safety seats with tether strapslater in this chapter.
Seating and Safety Restraints
135
2011 Town Car(tow)
Owners Guide, 2nd Printing
USA(fus)
Page 139 of 306
Two plastic LATCH guides can be obtained at no charge from an
authorized dealer. They snap onto the LATCH lower anchors in the seat
to help attach a child seat with rigid attachments. The guides hold the
seat trim away to expose the anchor and make it easier to attach some
child seats.
WARNING:Never attach two child safety seats to the same
anchor. In a crash, one anchor may not be strong enough to hold
two child safety seat attachments and may break, causing serious
injury or death.
WARNING:Depending on where you secure a child restraint,
and depending on the child restraint design, you may block
access to certain safety belt buckle assemblies and/or LATCH lower
anchors, rendering those features potentially unusable. To avoid risk of
injury, occupants should only use seating positions where they are able
to be properly restrained.
Use of inboard lower anchors from the outboard seating positions
(center seating use)
The lower anchors at the center of the second row rear seat are spaced
570 mm (22.4 inches) apart. The standardized spacing for LATCH lower
anchors is 280 mm (11 inches) center to center. A child seat with rigid
LATCH attachments cannot be installed at the center seating position.
LATCH compatible child seats (with attachments on belt webbing) can
only be used at this seating position provided that the child seat
manufacturer’s instructions permit use with the anchor spacing stated.
Do not attach a child seat to any lower anchor if an adjacent child seat is
attached to that anchor.
WARNING:The standardized spacing for LATCH lower anchors
is 280 mm (11 inches) center to center. Do not use LATCH
lower anchors for the center seating position unless the child seat
manufacturer’s instructions permit and specify using anchors spaced at
least as far apart as those in this vehicle.
Each time you use the safety seat, check that the seat is properly
attached to the lower anchors and tether anchor, if applicable. Tug the
child seat from side to side and forward and back where it is secured to
the vehicle. The seat should move less than one inch when you do this
for a proper installation.
Seating and Safety Restraints
139
2011 Town Car(tow)
Owners Guide, 2nd Printing
USA(fus)
Page 241 of 306
WARNING:Keep batteries out of reach of children. Batteries
contain sulfuric acid. Avoid contact with skin, eyes or clothing.
Shield your eyes when working near the battery to protect against
possible splashing of acid solution. In case of acid contact with skin or
eyes, flush immediately with water for a minimum of 15 minutes and
get prompt medical attention. If acid is swallowed, call a physician
immediately.
WARNING:Battery posts, terminals and related accessories
contain lead and lead compounds.Wash hands after handling.
Because your vehicle’s engine is electronically controlled by a computer,
some control conditions are maintained by power from the battery. When
the battery is disconnected or a new battery is installed, the engine must
relearn its idle and fuel trim strategy for optimum driveability and
performance. To begin this process:
1. With the vehicle at a complete stop, set the parking brake.
2. Put the gearshift in P (Park), turn off all accessories and start the
engine.
3. Run the engine until it reaches normal operating temperature.
4. Allow the engine to idle for at least one minute.
5. Turn the A/C on and allow the engine to idle for at least one minute.
6. Release the parking brake. With your foot on the brake pedal and with
the A/C on, put the vehicle in D (Drive) and allow the engine to idle for
at least one minute.
7. Drive the vehicle to complete the relearning process.
•The vehicle may need to be driven 10 miles (16 km) or more to
relearn the idle and fuel trim strategy.
•If you do not allow the engine to relearn its idle trim, the idle
quality of your vehicle may be adversely affected until the idle
trim is eventually relearned.
If the battery has been disconnected or a new battery has been installed,
the clock and radio settings must be reset once the battery is
reconnected.
Maintenance and Specifications
241
2011 Town Car(tow)
Owners Guide, 2nd Printing
USA(fus)