Page 256 of 529

242
3-2. Using the audio system
IS F_EE
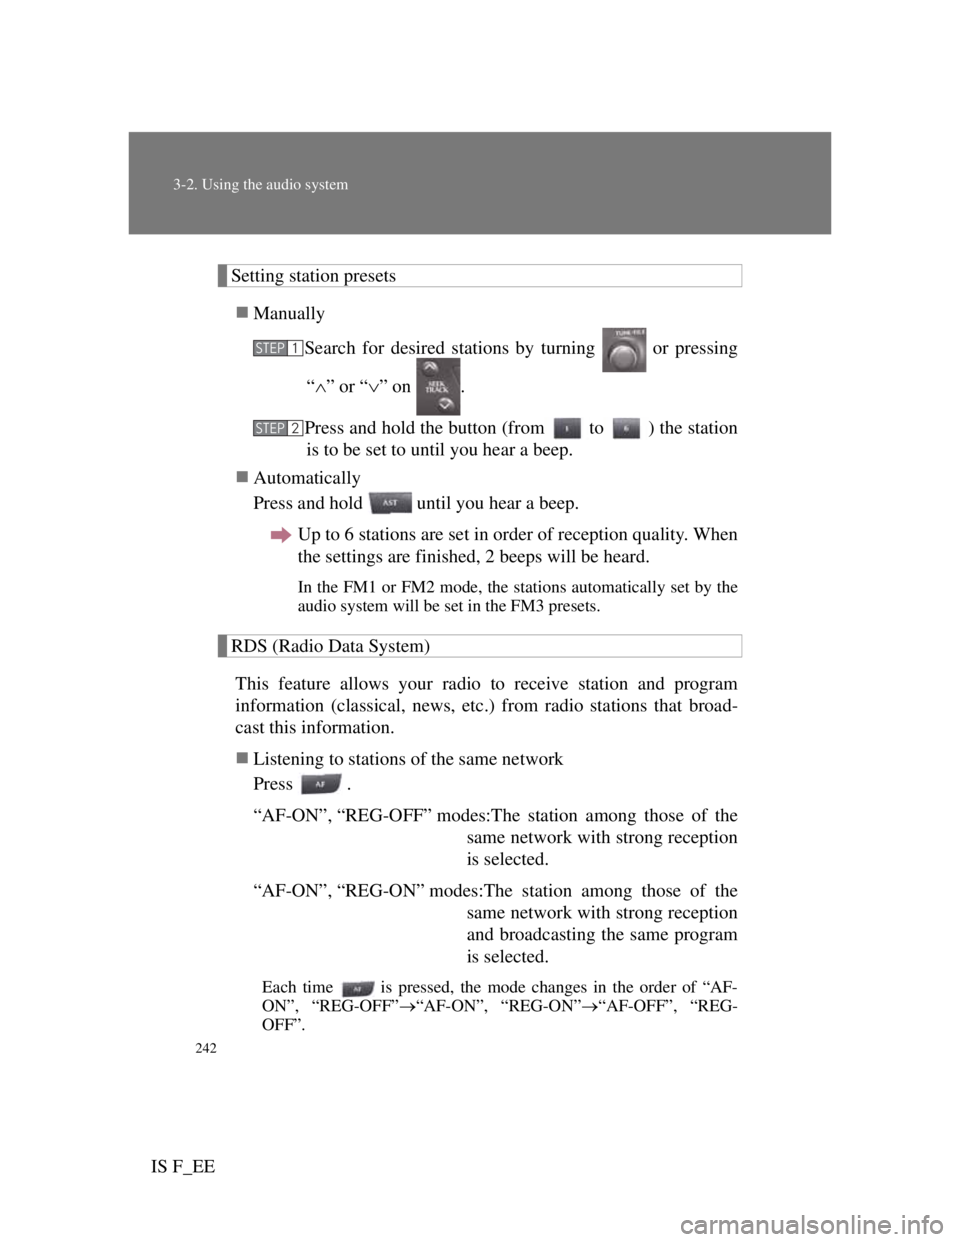
Setting station presets
Manually
Search for desired stations by turning or pressing
“” or “” on .
Press and hold the button (from to ) the station
is to be set to until you hear a beep.
Automatically
Press and hold until you hear a beep.
Up to 6 stations are set in order of reception quality. When
the settings are finished, 2 beeps will be heard.
In the FM1 or FM2 mode, the stations automatically set by the
audio system will be set in the FM3 presets.
RDS (Radio Data System)
This feature allows your radio to receive station and program
information (classical, news, etc.) from radio stations that broad-
cast this information.
Listening to stations of the same network
Press .
“AF-ON”, “REG-OFF” modes:The station among those of the
same network with strong reception
is selected.
“AF-ON”, “REG-ON” modes:The station among those of the
same network with strong reception
and broadcasting the same program
is selected.
Each time is pressed, the mode changes in the order of “AF-
ON”, “REG-OFF”“AF-ON”, “REG-ON”“AF-OFF”, “REG-
OFF”.
STEP1
STEP2
Page 258 of 529

244
3-2. Using the audio system
IS F_EE
EON (Enhanced Other Network) system (for traffic announcement func-
tion)
If the RDS station (with EON data) you are listening to is not broadcasting a
traffic information program and the audio system is in the TA (traffic
announcement) mode, the radio will be switched automatically to a station
broadcasting a traffic information program in the EON AF list when traffic
information begins.
When the battery is disconnected
Station presets are erased.
Reception sensitivity
Maintaining perfect radio reception at all times is difficult due to the
continually changing position of the antenna, differences in signal
strength and surrounding objects, such as trains, transmitters, etc.
When is used, automatic station selection and automatic register-
ing of stations may not be possible.
The radio antenna is mounted inside the rear window. To maintain clear
radio reception, do not attach metallic window tinting or other metallic
objects to the antenna wire mounted inside the rear window.
Digital Audio Broadcast (DAB) radio
The optional radio antenna and tuner are necessary for the use of Digital
Audio Broadcast (DAB) radio.
Page 279 of 529

265
3-2. Using the audio system
3
Interior features
IS F_EE
About iPod
Apple is not responsible for the operation of this device or its compli-
ance with safety and regulatory standards.
iPod is a trademark of Apple Inc., registered in the U.S. and other coun-
tries.
iPod functions
When an iPod is connected and the audio source is changed to iPod
mode, the iPod will resume play from the same point in which it was last
used.
Depending on the iPod that is connected to the system, certain functions
may not be available. If a function is unavailable due to a malfunction
(as opposed to a system specification), disconnecting the device and
reconnecting it once again may resolve the problem.
While connected to the system, the iPod cannot be operated with its own
controls. It is necessary to use the controls of the vehicle's audio system
instead.
iPod problems
To resolve most problems encountered when using your iPod, disconnect
your iPod from the vehicle iPod connection and reset it.
For instructions on how to reset your iPod, refer to your iPod Owner’s Man-
ual.
Display
Up to 12 characters can be displayed at a time.
If there are 13 characters or more, pressing and holding until you
hear a beep will display the remaining characters.
A maximum of 24 characters can be displayed.
If is pressed until you hear a beep again or has not been pressed for 6
seconds or more, the display will return to the first 12 characters.
Depending on the contents recorded, the characters may not be displayed
properly or may not be displayed at all.
Page 323 of 529
307
3-4. Using the hands-free phone system (for mobile phones)
3
Interior features
IS F_EE
Dialing by inputting a name
Press the talk switch and say a registered name.
The desired name or number is displayed.
Dial by one of the following methods:
a. Press the off-hook switch.
b. Select “Dial” using , and .
In , if the pronounced name cannot be recognized, select
the desired name using
, and .
Speed dialing
Press the off-hook switch.
Press the preset button in which the desired number is regis-
tered.
Press the off-hook switch.
When receiving a phone call
Answering a phone call
Press the off-hook switch.
Refusing a phone call
Press the on-hook switch.
STEP1
STEP2
STEP1
STEP1
STEP2
STEP3
Page 336 of 529

320
3-4. Using the hands-free phone system (for mobile phones)
IS F_EE
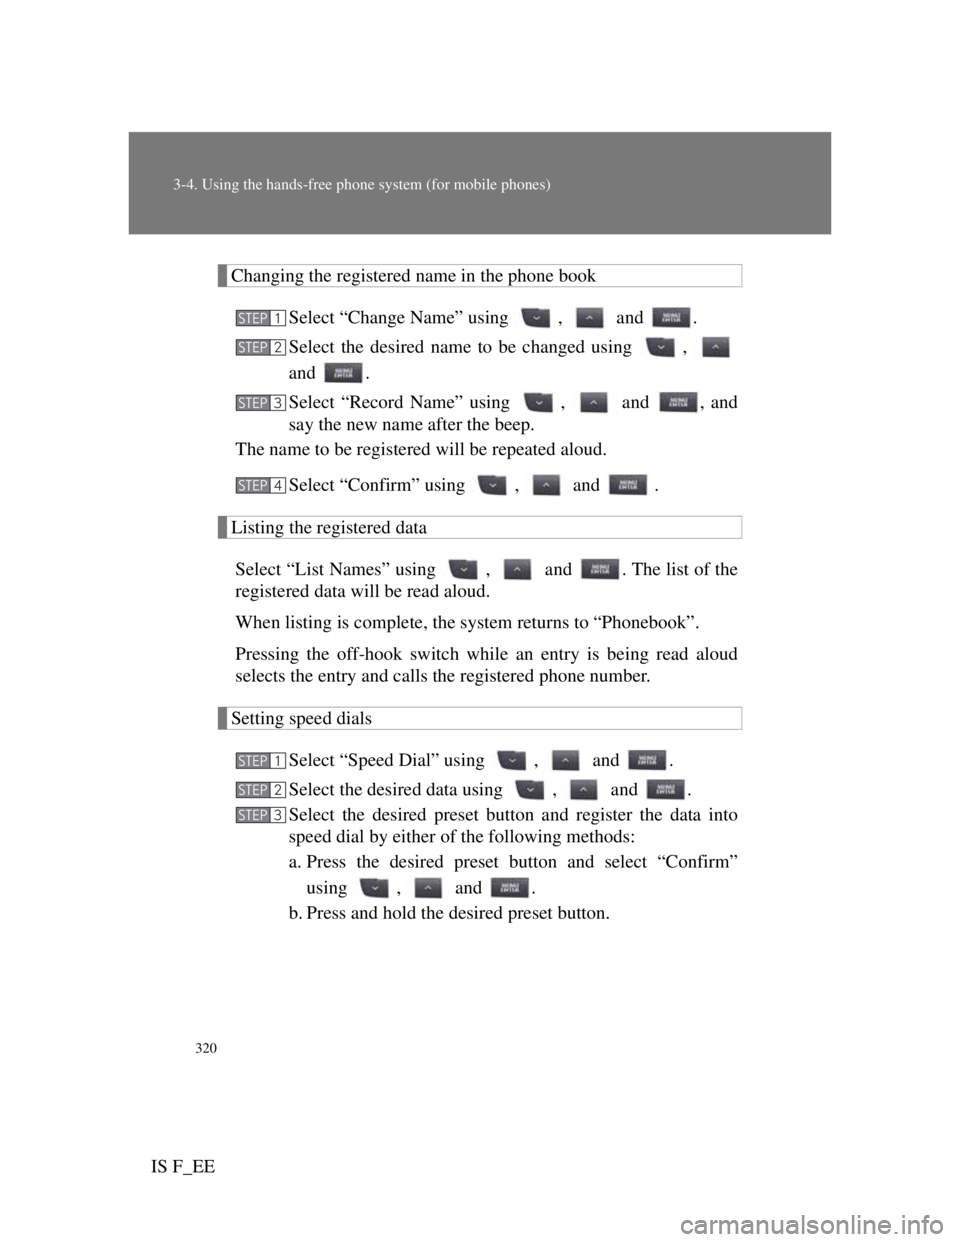
Changing the registered name in the phone book
Select “Change Name” using , and .
Select the desired name to be changed using ,
and .
Select “Record Name” using , and , and
say the new name after the beep.
The name to be registered will be repeated aloud.
Select “Confirm” using , and .
Listing the registered data
Select “List Names” using , and . The list of the
registered data will be read aloud.
When listing is complete, the system returns to “Phonebook”.
Pressing the off-hook switch while an entry is being read aloud
selects the entry and calls the registered phone number.
Setting speed dials
Select “Speed Dial” using , and .
Select the desired data using , and .
Select the desired preset button and register the data into
speed dial by either of the following methods:
a. Press the desired preset button and select “Confirm”
using , and .
b. Press and hold the desired preset button.
STEP1
STEP2
STEP3
STEP4
STEP1
STEP2
STEP3
Page 337 of 529
321
3-4. Using the hands-free phone system (for mobile phones)
3
Interior features
IS F_EE
Deleting the registered data
Select “Delete Entry” using , and .
Select the desired data to be deleted using , and
.
Deleting speed dials
Select “Del Spd Dial” using , and .
Press the preset button to which the desired speed dial is
registered after the beep.
The name to be deleted will be heard.
Select “Confirm” using , and .
Limitation of number of digits
A phone number that exceeds 24 digits cannot be registered.
STEP1
STEP2
STEP1
STEP2
STEP3