Page 463 of 761
Features of your vehicle
42
4
Instrument panel illumination (if equipped)
When the vehicle’s parking lights or headlights are on, rotate the illumination
control switch to adjust the instrument
panel illumination intensity. Gauges
Speedometer
The speedometer indicates the forward
speed of the vehicle.
The speedometer is calibrated in kilome-
ters per hour and/or miles per hour.
Tachometer
The tachometer indicates the approxi-
mate number of engine revolutions per
minute (rpm). Use the tachometer to select the correct
shift points and to prevent lugging and/or
over-revving the engine.
The tachometer pointer may move slight-
ly when the ignition switch is in ACC or
ON position with the engine OFF. This
movement is normal and will not affect
the accuracy of the tachometer once the
engine is running.
OYN049044R
CAUTION
Do not operate the engine within
the tachometer's RED ZONE.
This may cause severe engine dam-age.
YN RHD 4(~98).QXP 10/20/2009 4:29 PM Page 42
Page 483 of 761
Features of your vehicle
62
4
Parking light position ( )
When the light switch is in the parking light position (1st position), the tail posi-
tion, license and instrument panel lights
will turn ON.
Headlight position ( )
When the light switch is in the headlight position (2nd position), the head, tail,
position, license and instrument panellights are ON.
✽✽
NOTICE
The ignition switch must be in the ON position to turn on the headlights.
Auto light position (if equipped)
When the light switch is in the AUTO light position, the taillights and headlights will
be turned ON or OFF automaticallydepending on the amount of light outside
the vehicle.
OED040800OYN049201OED040046
YN RHD 4(~98).QXP 10/20/2009 4:30 PM Page 62
Page 484 of 761
463
Features of your vehicle
High beam operation
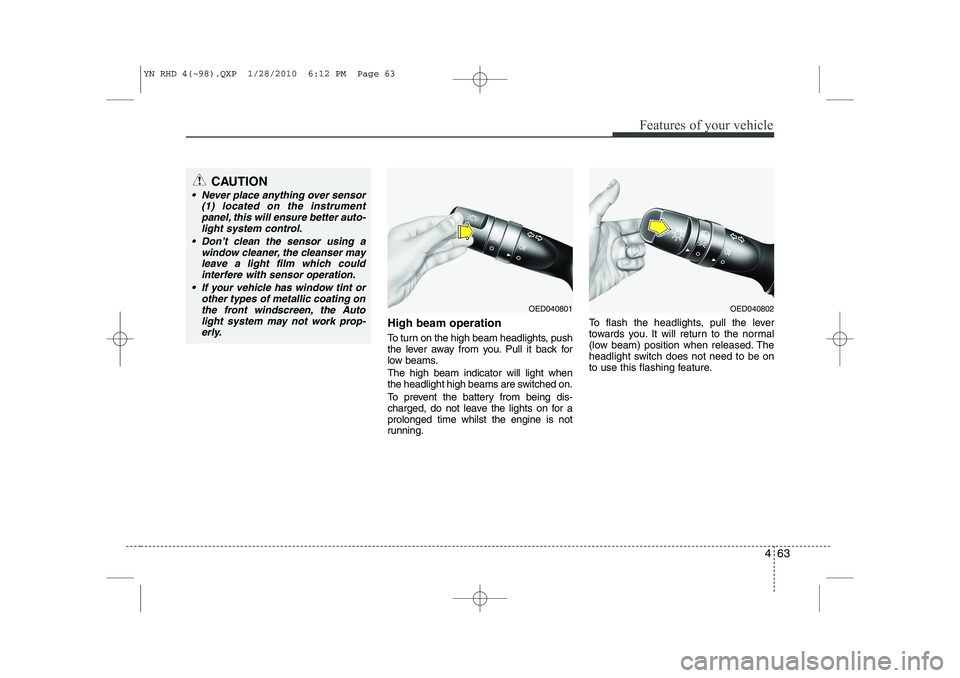
To turn on the high beam headlights, push
the lever away from you. Pull it back for
low beams. The high beam indicator will light when
the headlight high beams are switched on.
To prevent the battery from being dis-
charged, do not leave the lights on for aprolonged time whilst the engine is not
running.To flash the headlights, pull the lever
towards you. It will return to the normal
(low beam) position when released. The
headlight switch does not need to be on
to use this flashing feature.
OED040802OED040801
CAUTION
Never place anything over sensor
(1) located on the instrument
panel, this will ensure better auto-light system control.
Don’t clean the sensor using a window cleaner, the cleanser may
leave a light film which could interfere with sensor operation.
If your vehicle has window tint or other types of metallic coating onthe front windscreen, the Auto
light system may not work prop- erly.
YN RHD 4(~98).QXP 1/28/2010 6:12 PM Page 63
Page 485 of 761
Features of your vehicle
64
4
Turn signals and lane change sig- nals
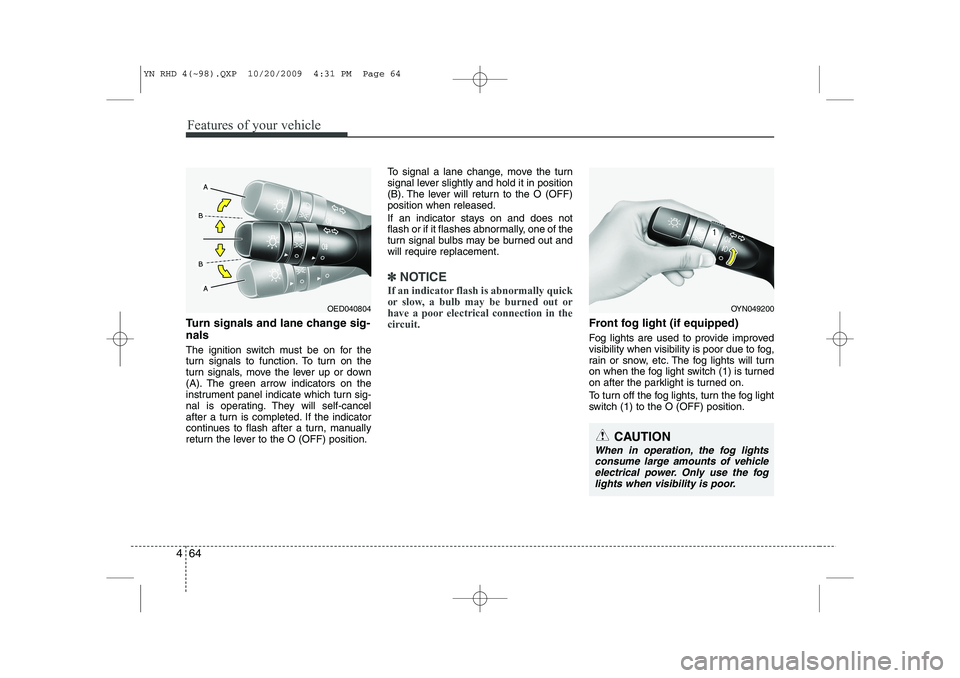
The ignition switch must be on for the
turn signals to function. To turn on the
turn signals, move the lever up or down
(A). The green arrow indicators on the
instrument panel indicate which turn sig-
nal is operating. They will self-cancel
after a turn is completed. If the indicator
continues to flash after a turn, manually
return the lever to the O (OFF) position. To signal a lane change, move the turn
signal lever slightly and hold it in position
(B). The lever will return to the O (OFF)position when released.
If an indicator stays on and does not
flash or if it flashes abnormally, one of the
turn signal bulbs may be burned out andwill require replacement.
✽✽
NOTICE
If an indicator flash is abnormally quick
or slow, a bulb may be burned out or
have a poor electrical connection in the
circuit.
Front fog light (if equipped)
Fog lights are used to provide improved
visibility when visibility is poor due to fog,
rain or snow, etc. The fog lights will turn
on when the fog light switch (1) is turned
on after the parklight is turned on.
To turn off the fog lights, turn the fog light
switch (1) to the O (OFF) position.
OYN049200
CAUTION
When in operation, the fog lights consume large amounts of vehicleelectrical power. Only use the fog lights when visibility is poor.
OED040804
YN RHD 4(~98).QXP 10/20/2009 4:31 PM Page 64
Page 492 of 761
471
Features of your vehicle
✽✽NOTICE
If you want to defrost and defog the
front windscreen, refer to “Windscreen
defrosting and defogging” in this sec-tion.
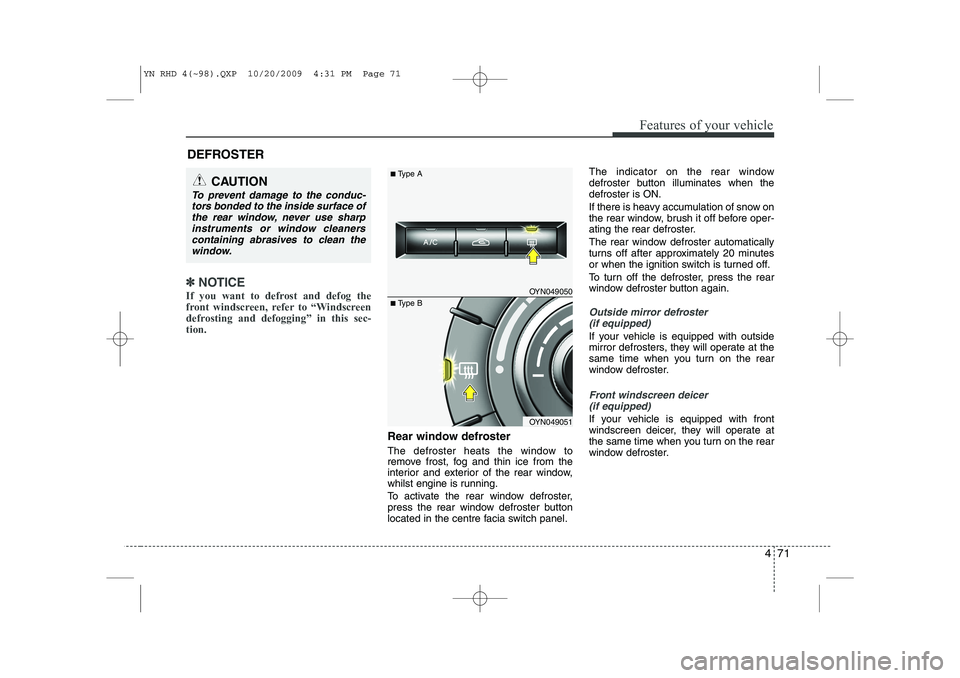
Rear window defroster
The defroster heats the window to
remove frost, fog and thin ice from the
interior and exterior of the rear window,
whilst engine is running.
To activate the rear window defroster,
press the rear window defroster button
located in the centre facia switch panel. The indicator on the rear window
defroster button illuminates when thedefroster is ON.
If there is heavy accumulation of snow on
the rear window, brush it off before oper-
ating the rear defroster.
The rear window defroster automatically
turns off after approximately 20 minutes
or when the ignition switch is turned off.
To turn off the defroster, press the rear
window defroster button again.
Outside mirror defroster
(if equipped)
If your vehicle is equipped with outside
mirror defrosters, they will operate at the
same time when you turn on the rear
window defroster.
Front windscreen deicer (if equipped)
If your vehicle is equipped with front
windscreen deicer, they will operate at
the same time when you turn on the rear
window defroster.
DEFROSTER
CAUTION
To prevent damage to the conduc-
tors bonded to the inside surface of
the rear window, never use sharpinstruments or window cleanerscontaining abrasives to clean the window.
OYN049050
OYN049051
■ Type A
■Type B
YN RHD 4(~98).QXP 10/20/2009 4:31 PM Page 71
Page 496 of 761
475
Features of your vehicle
Instrument panel vents
The outlet vents can be opened or closed
separately using the thumbwheel. To
close the vent, rotate it left to the maxi-
mum position.
Also, you can adjust the direction of air
delivery from these vents using the vent
control lever as shown.Temperature control
The temperature control knob allows you
to control the temperature of the air flow-
ing from the ventilation system. To
change the air temperature in the pas-
senger compartment, turn the knob to
the right position for warm and hot air or
left position for cooler air.
Air intake control
This is used to select outside (fresh) air position or recirculated air position.
To change the air intake control position,
push the control button.
OYN049097ROYN049057OYN049058
YN RHD 4(~98).QXP 10/20/2009 4:32 PM Page 75
Page 503 of 761
Features of your vehicle
82
4
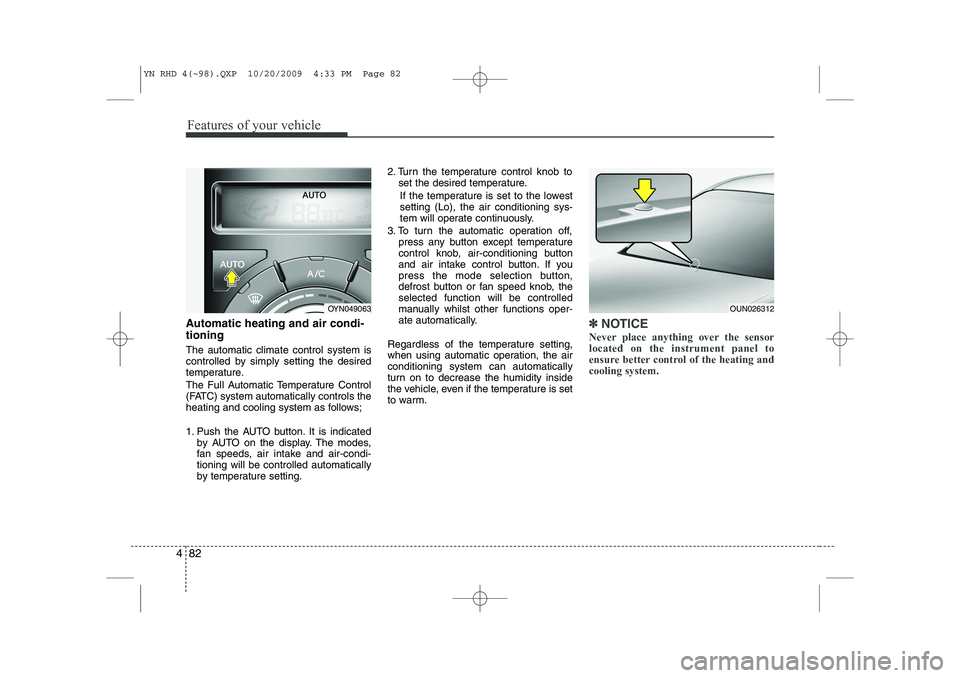
Automatic heating and air condi- tioning The automatic climate control system is
controlled by simply setting the desired
temperature.
The Full Automatic Temperature Control
(FATC) system automatically controls the
heating and cooling system as follows;
1. Push the AUTO button. It is indicated
by AUTO on the display. The modes,
fan speeds, air intake and air-condi-tioning will be controlled automatically
by temperature setting. 2. Turn the temperature control knob to
set the desired temperature.
If the temperature is set to the lowestsetting (Lo), the air conditioning sys-
tem will operate continuously.
3. To turn the automatic operation off, press any button except temperature
control knob, air-conditioning button
and air intake control button. If you
press the mode selection button,
defrost button or fan speed knob, theselected function will be controlled
manually whilst other functions oper-
ate automatically.
Regardless of the temperature setting,
when using automatic operation, the airconditioning system can automatically
turn on to decrease the humidity inside
the vehicle, even if the temperature is set
to warm.✽✽ NOTICE
Never place anything over the sensor located on the instrument panel to
ensure better control of the heating andcooling system.
OUN026312OYN049063
YN RHD 4(~98).QXP 10/20/2009 4:33 PM Page 82
Page 505 of 761
Features of your vehicle
84
4
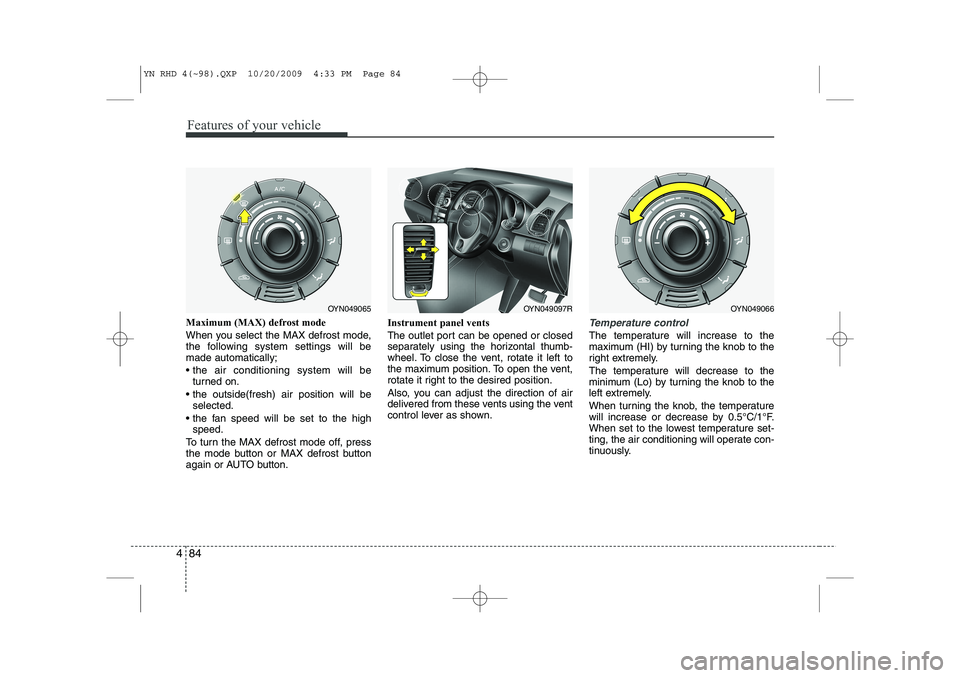
Maximum (MAX) defrost mode
When you select the MAX defrost mode,
the following system settings will bemade automatically;
the air conditioning system will be
turned on.
the outside(fresh) air position will be selected.
the fan speed will be set to the high speed.
To turn the MAX defrost mode off, press
the mode button or MAX defrost button
again or AUTO button. Instrument panel vents
The outlet port can be opened or closed
separately using the horizontal thumb-
wheel. To close the vent, rotate it left to
the maximum position. To open the vent,
rotate it right to the desired position.
Also, you can adjust the direction of air
delivered from these vents using the vent
control lever as shown.Temperature control
The temperature will increase to the
maximum (HI) by turning the knob to the
right extremely.
The temperature will decrease to the
minimum (Lo) by turning the knob to the
left extremely.
When turning the knob, the temperature
will increase or decrease by 0.5°C/1°F.
When set to the lowest temperature set-
ting, the air conditioning will operate con-
tinuously.
OYN049065OYN049097ROYN049066
YN RHD 4(~98).QXP 10/20/2009 4:33 PM Page 84