Page 208 of 385
4127
Features of your vehicle
7.Knob & Button
When you rotate the knob clockwise, it
will display the songs (category) ahead
of the song currently played (category in
the same level).
Also, when you rotate the knob counter-
clockwise, it will display the songs (cate-
gory) before the song currently played
(category in the same level).
To listen to the song displayed in the
song category, press the button to skip to
and play the selected song.
Pressing the button changes the BASS,
MIDDLE, TREBLE, FADER and BAL-
ANCE TUNE mode. The mode selected
is shown on the display. After selecting
each mode, rotate the Audio control knob
clockwise or counterclockwise.
8. Button
Displays the information of the file cur-
rently played in the order of
TITLE ➟ARTIST ➟ALBUM ➟NORMAL
DISPLAY ➟TITLE... (Displays no informa-
tion if the file has no song information.)
INFO
ENTERTUNE
SL_USA_iPod
Page 211 of 385
Features of your vehicle
130
4
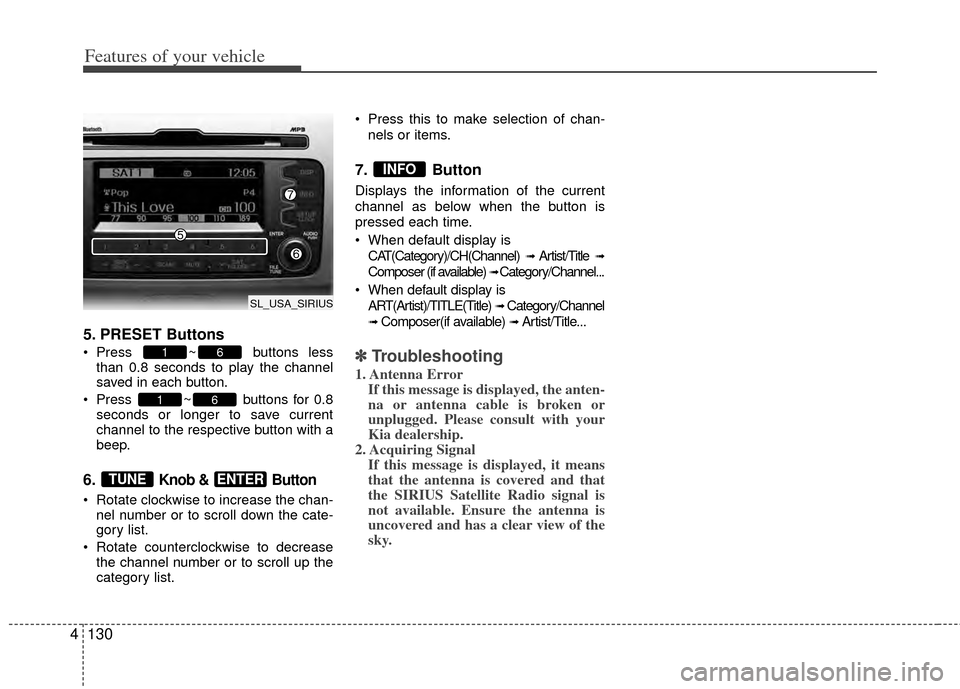
5. PRESET Buttons
Press ~ buttons less
than 0.8 seconds to play the channel
saved in each button.
Press ~ buttons for 0.8 seconds or longer to save current
channel to the respective button with a
beep.
6. Knob & Button
Rotate clockwise to increase the chan-nel number or to scroll down the cate-
gory list.
Rotate counterclockwise to decrease the channel number or to scroll up the
category list. Press this to make selection of chan-
nels or items.
7. Button
Displays the information of the current
channel as below when the button is
pressed each time.
When default display isCAT(Category)/CH(Channel)
➟ Artist/Title ➟
Composer (if available) ➟ Category/Channel...
When default display is ART(Artist)/TITLE(Title)
➟ Category/Channel
➟ Composer(if available) ➟ Artist/Title...
✽ ✽ Troubleshooting
1. Antenna Error
If this message is displayed, the anten-
na or antenna cable is broken or
unplugged. Please consult with your
Kia dealership.
2. Acquiring Signal If this message is displayed, it means
that the antenna is covered and that
the SIRIUS Satellite Radio signal is
not available. Ensure the antenna is
uncovered and has a clear view of the
sky.
INFO
ENTERTUNE
61
61
SL_USA_SIRIUS
Page 215 of 385
Features of your vehicle
134
4
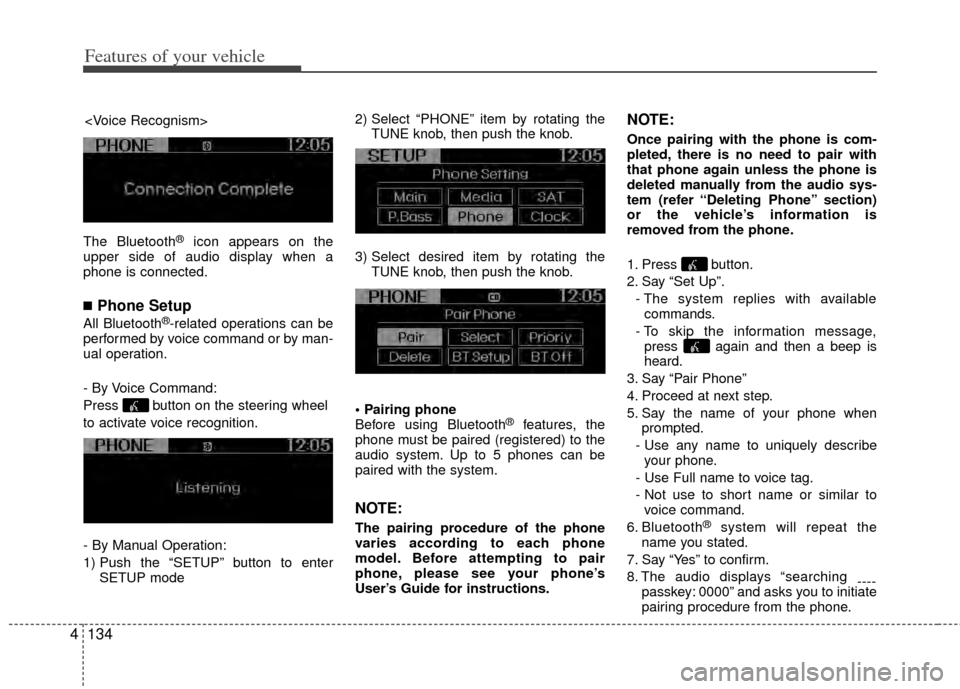
The Bluetooth®icon appears on the
upper side of audio display when a
phone is connected.
■Phone Setup
All Bluetooth®-related operations can be
performed by voice command or by man-
ual operation.
- By Voice Command:
Press button on the steering wheel
to activate voice recognition.
- By Manual Operation:
1) Push the “SETUP” button to enter SETUP mode 2) Select “PHONE” item by rotating the
TUNE knob, then push the knob.
3) Select desired item by rotating the TUNE knob, then push the knob.
Before using Bluetooth
®features, the
phone must be paired (registered) to the
audio system. Up to 5 phones can be
paired with the system.
NOTE:
The pairing procedure of the phone
varies according to each phone
model. Before attempting to pair
phone, please see your phone’s
User’s Guide for instructions.
NOTE:
Once pairing with the phone is com-
pleted, there is no need to pair with
that phone again unless the phone is
deleted manually from the audio sys-
tem (refer “Deleting Phone” section)
or the vehicle’s information is
removed from the phone.
1. Press button.
2. Say “Set Up”.
- The system replies with availablecommands.
- To skip the information message, press again and then a beep is
heard.
3. Say “Pair Phone”
4. Proceed at next step.
5. Say the name of your phone when prompted.
- Use any name to uniquely describe your phone.
- Use Full name to voice tag.
- Not use to short name or similar to voice command.
6. Bluetooth
®system will repeat the
name you stated.
7. Say “Yes” to confirm.
8. The audio displays “searching ----
passkey: 0000” and asks you to initiate
pairing procedure from the phone.
Page 217 of 385
Features of your vehicle
136
4
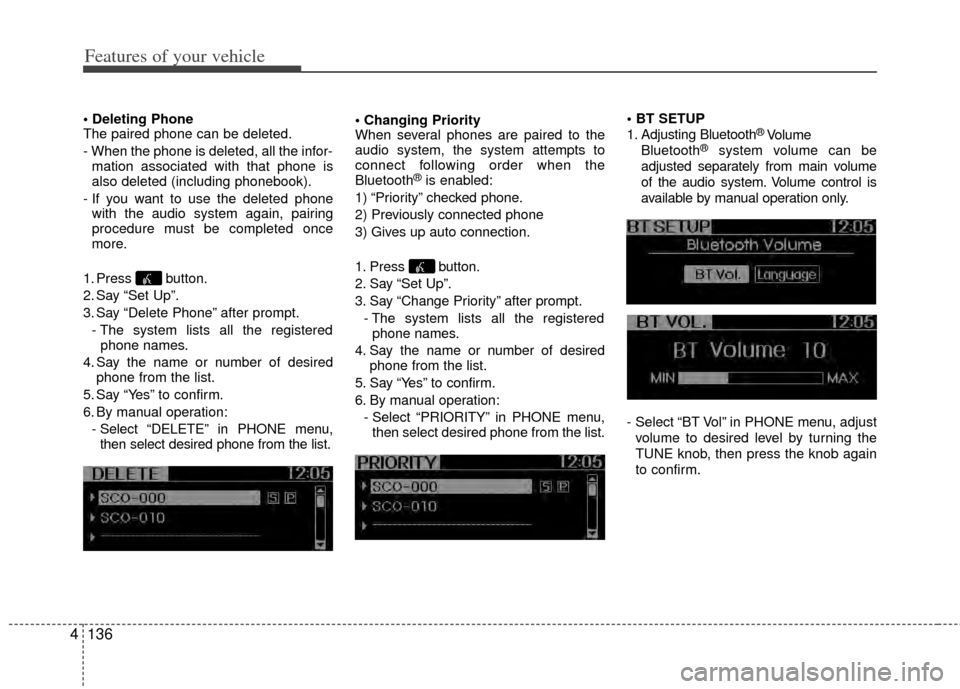
The paired phone can be deleted.
- When the phone is deleted, all the infor-
mation associated with that phone is
also deleted (including phonebook).
- If you want to use the deleted phone with the audio system again, pairing
procedure must be completed once
more.
1. Press button.
2. Say “Set Up”.
3. Say “Delete Phone” after prompt. - The system lists all the registeredphone names.
4. Say the name or number of desired phone from the list.
5. Say “Yes” to confirm.
6. By manual operation: - Select “DELETE” in PHONE menu,then select desired phone from the list.
When several phones are paired to the
audio system, the system attempts to
connect following order when the
Bluetooth
®is enabled:
1) “Priority” checked phone.
2) Previously connected phone
3) Gives up auto connection.
1. Press button.
2. Say “Set Up”.
3. Say “Change Priority” after prompt. - The system lists all the registeredphone names.
4. Say the name or number of desired phone from the list.
5. Say “Yes” to confirm.
6. By manual operation: - Select “PRIORITY” in PHONE menu,then select desired phone from the list.
1. Adjusting Bluetooth
®Volume
Bluetooth®system volume can be
adjusted separately from main volume
of the audio system. Volume control is
available by manual operation only.
- Select “BT Vol” in PHONE menu, adjust volume to desired level by turning the
TUNE knob, then press the knob again
to confirm.
Page 218 of 385
4137
Features of your vehicle
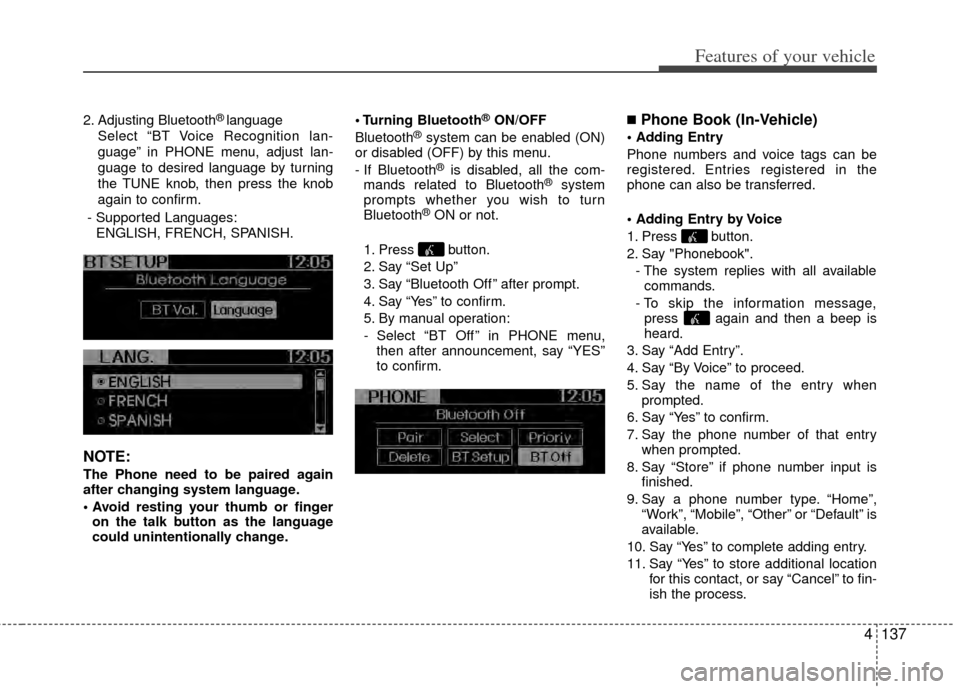
2. Adjusting Bluetooth®language
Select “BT Voice Recognition lan-
guage” in PHONE menu, adjust lan-
guage to desired language by turning
the TUNE knob, then press the knob
again to confirm.
- Supported Languages: ENGLISH, FRENCH, SPANISH.
NOTE:
The Phone need to be paired again
after changing system language.
on the talk button as the language
could unintentionally change. Bluetooth
®ON/OFF
Bluetooth®system can be enabled (ON)
or disabled (OFF) by this menu.
- If Bluetooth
®is disabled, all the com-
mands related to Bluetooth®system
prompts whether you wish to turn
Bluetooth
®ON or not.
1. Press button.
2. Say “Set Up”
3. Say “Bluetooth Off ” after prompt.
4. Say “Yes” to confirm.
5. By manual operation:
- Select “BT Off ” in PHONE menu, then after announcement, say “YES”
to confirm.
■Phone Book (In-Vehicle)
Phone numbers and voice tags can be
registered. Entries registered in the
phone can also be transferred.
1. Press button.
2. Say "Phonebook".
- The system replies with all availablecommands.
- To skip the information message, press again and then a beep is
heard.
3. Say “Add Entry”.
4. Say “By Voice” to proceed.
5. Say the name of the entry when prompted.
6. Say “Yes” to confirm.
7. Say the phone number of that entry when prompted.
8. Say “Store” if phone number input is finished.
9. Say a phone number type. “Home”, “Work”, “Mobile”, “Other” or “Default” is
available.
10. Say “Yes” to complete adding entry.
11. Say “Yes” to store additional location for this contact, or say “Cancel” to fin-
ish the process.
Page 234 of 385
Driving your vehicle
12
5
E050000AUN E050100BUN-C1
Manual transaxle operation
The manual transaxle has 6 forward
gears.
This shift pattern is imprinted on the shift
knob. The transaxle is fully synchronized
in all forward gears so shifting to either a
higher or a lower gear is easily accom-
plished.
Press the clutch pedal down fully while
shifting, then release it slowly.
The gearshift lever must be returned to
the neutral position before shifting into R
(Reverse).
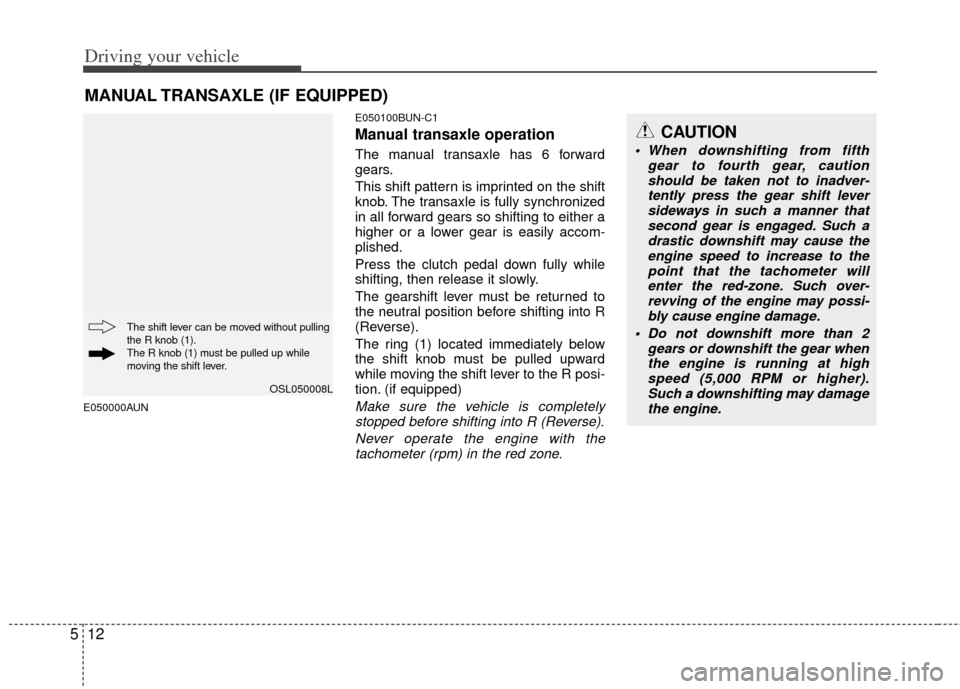
The ring (1) located immediately below
the shift knob must be pulled upward
while moving the shift lever to the R posi-
tion. (if equipped)
Make sure the vehicle is completely
stopped before shifting into R (Reverse).
Never operate the engine with thetachometer (rpm) in the red zone.
MANUAL TRANSAXLE (IF EQUIPPED)
CAUTION
When downshifting from fifth gear to fourth gear, cautionshould be taken not to inadver- tently press the gear shift leversideways in such a manner thatsecond gear is engaged. Such a drastic downshift may cause theengine speed to increase to the point that the tachometer willenter the red-zone. Such over- revving of the engine may possi-bly cause engine damage.
Do not downshift more than 2 gears or downshift the gear whenthe engine is running at highspeed (5,000 RPM or higher). Such a downshifting may damagethe engine.
OSL050008L
The shift lever can be moved without pulling
the R knob (1).
The R knob (1) must be pulled up while
moving the shift lever.
Page:
< prev 1-8 9-16 17-24