2011 JEEP WRANGLER warning
[x] Cancel search: warningPage 16 of 88

Height Adjustment• Ratchet the front lever, located on theoutboard side of the seat, upward to
raise the seat height.
• Ratchet the lever downward to lower the seat height.
Recliner • Lift the recliner lever located on the outboard side of the seat, lean back
and release at the desired position.
Driver’s and Passenger Easy Entry Seats (Two-Door) • Push the lever on the seatbackrearward (toward the rear of the vehicle)
to tilt the entire seat forward.
• To return the seat to a sitting position, rotate the seatback upright until it locks.
Push the seat rearward until the track
locks.
NOTE:
• If equipped with a combination lever, the seatback will return to its first locked position. The recliner handle will have to be actuated to adjust the seatback to the desired
reclined position.
• The front passenger seats have a track memory which returns the seat to just past the halfway point of the track, regardless of its original position.
• The recliner and easy entry levers should not be used during the automatic returning of the seat to its fully upright position.
WARNING!
• Adjusting a seat while the vehicle is moving is dangerous. The suddenmovement of the seat could cause you to lose control. The seat belt might not
be properly adjusted, and you could be severely injured or killed. Only adjust a
seat while the vehicle is parked.
• Do not ride with the seatback reclined so that the seat belt is no longer resting against your chest. In a collision, you could slide under the seat belt and be
severely injured or killed. Use the recliner only when the vehicle is parked.
GETTING STARTED
14
Page 17 of 88

REAR SEATS
Folding Rear Seat
• Be sure that the front seats are fully upright and positioned forward. This will allowthe rear seat to fold down easily.
To Fold The Rear Seat • Lift the seatback release lever and fold the seatback forward (two-door models). • Slowly flip the entire seat (two-doormodels) forward.
• Locate the pull strap, located on the outboard side of the seat, and pull it
toward you until the seatback releases
(four-door models).
To Raise The Rear Seat • Lift up on the seatback to return it to the upright position.
WARNING!
• It is extremely dangerous to ride in a cargo area, inside or outside of a vehicle.In a collision, people riding in these areas are more likely to be severely injured
or killed. Do not allow people to ride in any area of your vehicle that is not
equipped with seats and seat belts. Be sure everyone in your vehicle is in a
seat and using a seat belt properly.
• Be certain that the seatback is securely locked into position. If the seatback is not securely locked into position, the seat will not provide the proper stability
for child seats and/or passengers. An improperly latched seat could cause you
or others to be severely injured or killed.
GETTING STARTED
15
Page 18 of 88

TILT STEERING COLUMN
• The tilt lever is located on the steeringcolumn, below the turn signal lever.
• Push down on the lever to unlock the steering column.
• With one hand firmly on the steering wheel, move the steering column up or
down as desired.
• Pull upward on the lever to lock the column firmly in place.
WARNING!
Do not adjust the steering column while driving. Adjusting the steering column
while driving, or driving with the steering column unlocked, could cause the driver
to lose control of the vehicle. Be sure the steering column is locked before driving
your vehicle. Failure to follow this warning may result in you or others being
severely injured or killed.
HEATED SEATS
Front Heated Seats
• The controls for front heated seats arelocated near the bottom center of the
instrument panel (below the heater/air
conditioning controls).
• Press the switch once to select High-level heating. Press the switch a
second time to select Low-level
heating. Press the switch a third time to
shut the heating elements Off.
• If the High-level setting is selected, the system will automatically switch to Low-level after approximately 30 minutes. The Low-level setting will turn Off automatically after
approximately 30 minutes.
CAUTION!
Repeated overheating of the seat could damage the heating element and/or
degrade the material of the seat.
GETTING STARTED
16
Page 19 of 88

WARNING!
• Persons who are unable to feel pain to the skin because of advanced age,chronic illness, diabetes, spinal cord injury, medication, alcohol use, exhaustion
or other physical conditions must exercise care when using the seat heater. It
may cause burns even at low temperatures, especially if used for long periods
of time.
• Do not place anything on the seat that insulates against heat, such as a blanket or cushion. This may cause the seat heater to overheat. Sitting in a
seat that has been overheated could cause serious burns due to the increased
surface temperature of the seat.
GETTING STARTED
17
Page 45 of 88

Mute (Or Unmute) Microphone During Call
• During a call, press the Voice Command button.
• (After the BEEP), say “mute” (or “mute off”).
Transfer Ongoing Call Between Handset And Vehicle
• During a call, press the Voice Command button.
• (After the BEEP), say “transfer call”.
Changing The Volume
• Start a dialogue by pressing the Phone button, then adjust the volume during a
normal call.
• Use the radio ON/OFF VOLUME rotary knob to adjust the volume to a comfortable level while the Uconnect™ system is speaking. Please note the volume setting for
Uconnect™ is different than the audio system.
NOTE: To access the tutorial, press the Uconnect™ hard-key. After the BEEP, say
“tutorial”. Press any hard-key/button or touch the display (Touch-Screen radio) to cancel
the tutorial.
WARNING!
• Any voice commanded system should be used only in safe driving conditions following local laws and phone use. All attention should be kept on the
roadway ahead. Failure to do so may result in a collision causing you and
others to be severely injured or killed.
• In an emergency, to use Uconnect™ Phone, your mobile phone must be: • turned on,
• paired to Uconnect™ Phone,
• and have network coverage.
Uconnect™ VOICE COMMAND
• The Uconnect™ Voice Command system allows you to control your AM, FM radio,satellite radio, disc player, Uconnect™ Phone, a memo recorder, and supported
portable media devices. The Voice Command system also provides limited capability
to select and play music by artist, song, album, music, genre, or playlist from your
compatible iPod
®device (this capability is available for Media Center 430/430N
when connected to the USB port).
• When you press the Voice Command button
located on the radio faceplate
or steering wheel, you will hear a beep. The beep is your signal to give a command.
If you do not say a command within a few seconds, the system will present you with
a list of options. If you ever wish to interrupt the system while it lists options, press
the Voice Command button
, listen for the BEEP, and say your command.
ELECTRONICS
43
Page 46 of 88

Voice Command for Text Messaging
• If equipped with Uconnect™ Voice Command, your Media Center 430N radio maybe able to play incoming SMS messages through the vehicle sound system.
• It also allows you to respond by selecting from various pre-defined phrases.
• Not all phones are compatible with this feature. Refer to the phone compatibility list at www.jeep.com/uconnect. Connected mobile phones must be bluetooth-
compatible, and paired with your radio.
Changing The Volume
• Start a dialogue by pressing the Voice Command button,thensaya
command (for example, “tutorial”).
• Use the radio ON/OFF VOLUME rotary knob to adjust the volume to a comfortable level while the Voice Command system is speaking. The volume setting for Voice
Command is different than the audio system.
• For vehicles equipped with Video Entertainment System (VES)™, refer to the Uconnect™ Voice Command section of the Uconnect™ User's Manual on the DVD
for further details.
• For vehicles not equipped with VES™, refer to your vehicle Owner's Manual on the DVD for Uconnect™ Voice Command information.
NOTE: To access the tutorial, press the Voice Command button
. After the
BEEP, say “tutorial”. Press any hard-key/button or touch the display (Touch-Screen radio)
to cancel the tutorial.
WARNING!
Any voice commanded system should be used only in safe driving conditions
following local laws and phone use. All attention should be kept on the roadway
ahead. Failure to do so may result in a collision causing you and others to be
severely injured or killed.
iPod®/USB/MP3 CONTROL
• There are many ways to play music from iPod®players or other portable devices
through your vehicle's speakers. Your choices depend on what radio your vehicle is
equipped with.
• The radio sales code is located on the lower right side of the radio faceplate.
If Equipped with Media Center 130 with Satellite Radio (Sales
Code RES + RSC) or Media Center 430/430N (Sales Code
RBZ/RHB)
• The USB port located within the center console, allows you to plug an iPod®into the
vehicle's sound system.
• To hear audio from devices connected to this port from a non-touch-screen radio, press the AUX button on the radio faceplate. From a touch-screen radio, press the
MEDIA hard-key, then touch the AUX or iPod
®soft-key.
ELECTRONICS
44
Page 47 of 88

• When connected to this feature:• The iPod®can be controlled using the radio buttons to Play, Browse, and List the
iPod®or external devices contents. Refer to the Owner's Manual on the DVD for
details.
• The iPod
®battery charges when plugged into the USB port (if supported by the
specific audio device).
• Compatible iPod
®devices may also be controllable using voice commands
(Media Center 430/430N with Uconnect™ Phone required). Refer to the Owner's
Manual on the DVD for details.
NOTE:
• The USB port supports certain Mini, Classic, Nano, Touch, and iPhone
®devices. The
USB port also supports playing music from compatible external USB Mass Storage
Class memory devices. For supported audio file formats, refer to the USB Port section
in the Owner's Manual on the DVD. Refer to www.jeep.com/uconnect website for a list
of tested iPod
®s. Some iPod®software versions may not fully support the USB port
features. Please visit Apple’s website for iPod®software updates.
Bluetooth®Streaming Audio
If equipped with Uconnect™ Voice Command, your bluetooth-equipped iPod®devices,
cellphones or other media players, may also be able to stream music to your vehicle's
speakers. Your connected device must be bluetooth-compatible, and paired with your
Media Center radio (see Uconnect™ Phone for pairing instructions). Press the AUX
button on the radio faceplate until "BT" is displayed on the radio screen.
WARNING!
Do not plug in or remove the iPod®or external device while driving. Failure to
follow this warning could result in a collision.
ELECTRONIC VEHICLE INFORMATION CENTER (EVIC)
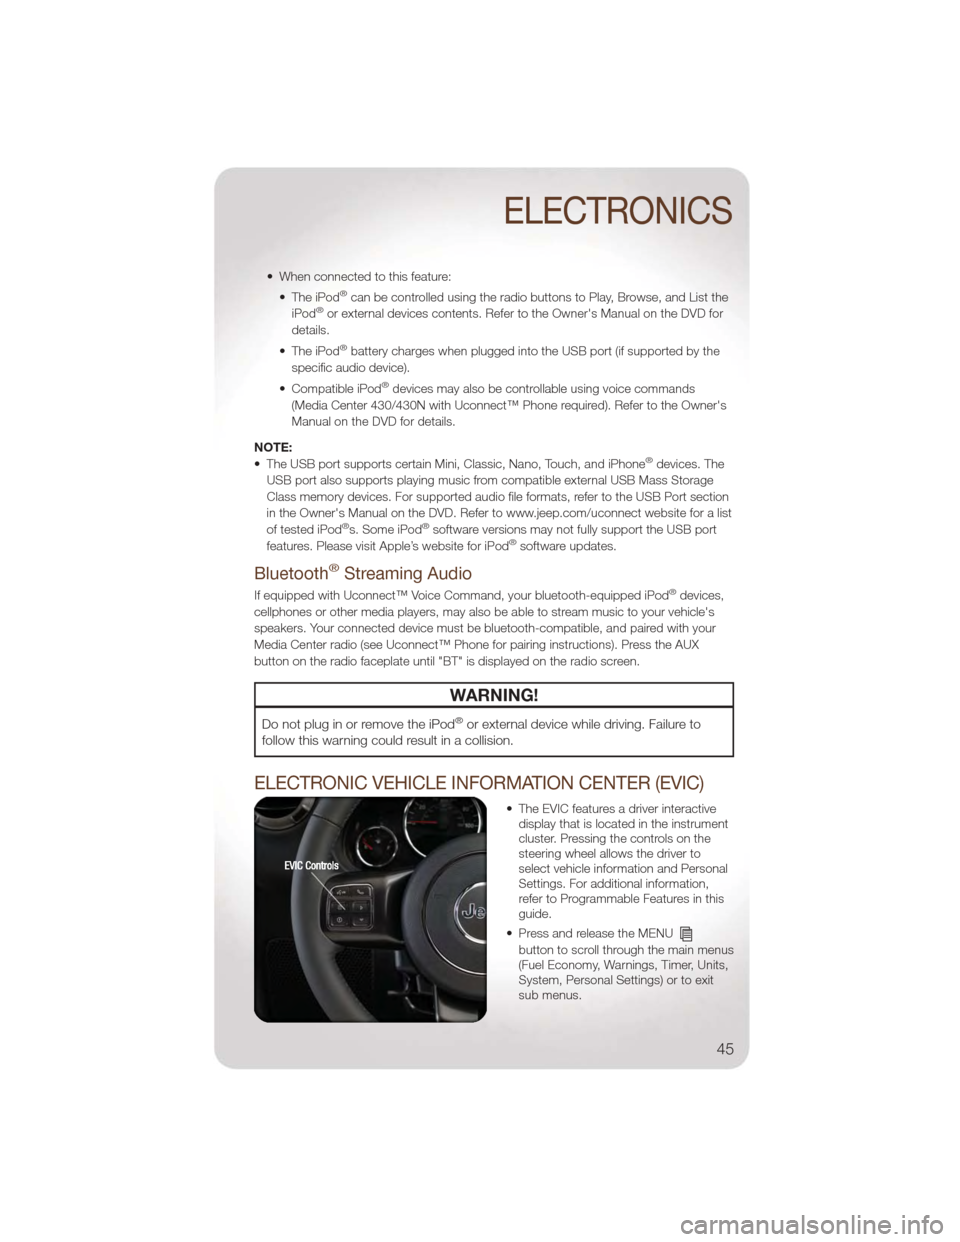
• The EVIC features a driver interactive display that is located in the instrument
cluster. Pressing the controls on the
steering wheel allows the driver to
select vehicle information and Personal
Settings. For additional information,
refer to Programmable Features in this
guide.
• Press and release the MENU
button to scroll through the main menus
(Fuel Economy, Warnings, Timer, Units,
System, Personal Settings) or to exit
sub menus.
ELECTRONICS
45
Page 49 of 88

Flashing Lights With Lock• The turn signal lights flashing, when the doors are locked or unlocked, feature can be turned on or off. To turn this feature on or off:
• Press and hold the UNLOCK button for at least 4 seconds, but no longer than
10 seconds. Then, press and hold the LOCK button while still holding the
UNLOCK button.
• Release both buttons at the same time.
POWER INVERTER
• A 115 Volt, 150 Watt AC power inverter is located on the front of the center
console.
• This outlet can power cellular phones, electronics and other low power
devices requiring power up to 150
Watts.
• The power inverter switch is located on the instrument panel below the climate controls. To turn on the power outlet, press the switch once. The indicator light will
illuminate. Press the switch a second time to turn the power inverter outlet off.
NOTE: The power inverter is designed with built-in overload protection. If the power
rating of 150 Watts is exceeded, the power inverter will automatically shut down. Once
the electrical device has been removed from the outlet, the inverter should automatically
reset. If the power rating exceeds approximately 170 Watts, the power inverter may have
to be reset manually. To reset the inverter manually, unplug the device and plug it in
again. To avoid overloading the circuit, check the power ratings on electrical devices prior
to using the inverter.
WARNING!
To avoid being severely injured or killed: Do not use a three-prong adaptor. Do
not insert any objects into the receptacles. Do not touch with wet hands. Close
the lid when not in use. If this outlet is mishandled, it may cause an electric shock
and failure.
ELECTRONICS
47