2011 JEEP PATRIOT warning lights
[x] Cancel search: warning lightsPage 28 of 490
•Remote Start Aborted - Hood Ajar
•Remote Start Aborted - Fuel Low
•Remote Start Aborted - System Fault
The EVIC message stays active until the ignition is turned
to the ON/RUN position.
To Enter Remote Start
Press and release the REMOTE START button
on the RKE transmitter twice within five sec-
onds. The parking lights will flash and the horn
will chirp twice (if programmed). Then, the
engine will start and the vehicle will remain in the
Remote Start mode for a 15-minute cycle.
NOTE:
•The park lamps will turn on and remain on during
Remote Start mode.
•For security, power window and power sunroof op-
eration (if equipped) are disabled when the vehicle is
in the Remote Start mode.
•The engine can be started two consecutive times (two
15-minute cycles) with the RKE transmitter. However,
the ignition switch must be cycled to the ON/RUN
position before you can repeat the start sequence for a
third cycle.
Remote start will also cancel if any of the following occur:
•The engine stalls or RPM exceeds 2500
•Any engine warning lamps come on
•Fuel lamp turns on
•The hood is opened
•The hazard switch is pressed
•The transmission is moved out of PARK
26 THINGS TO KNOW BEFORE STARTING YOUR VEHICLE
Page 65 of 490

WARNING!
•No objects should be placed over or near the air bag
on the instrument panel, because any such objects
could cause harm if the vehicle is in a collision
severe enough to cause the air bag to inflate.
•Do not put anything on or around the air bag
covers or attempt to open them manually. You may
damage the air bags and you could be injured
because the air bags may no longer be functional.
The protective covers for the air bag cushions are
designed to open only when the air bags are
inflating.
•Do not drill, cut or tamper with the knee bolster in
any way.
•Do not mount any accessories to the knee bolster
such as alarm lights, stereos, citizen band radios,
etc.
Supplemental Seat-Mounted Side Air Bags
(SAB) — If Equipped
Supplemental Seat-Mounted Side Air Bags may provide
enhanced protection to help protect an occupant during a
side impact. The Supplemental Seat-Mounted Side Air
Bag is marked with an air bag label sewn into the
outboard side of the front seats.
Supplemental Seat-Mounted Side Air Bag Label
2
THINGS TO KNOW BEFORE STARTING YOUR VEHICLE 63
Page 89 of 490
WARNING! (Continued)
•Always make sure that objects cannot fall into the
driver footwell while the vehicle is moving. Ob-
jects can become trapped under the brake pedal
and accelerator pedal causing a loss of vehicle
control.
•If required, mounting posts must be properly
installed, if not equipped from the factory.
Failure to properly follow floor mat installation or
mounting can cause interference with the brake
pedal and accelerator pedal operation causing loss
of control of the vehicle.
Periodic Safety Checks You Should Make Outside
The Vehicle
Tires
Examine tires for excessive tread wear and uneven wear
patterns. Check for stones, nails, glass, or other objectslodged in the tread or sidewall. Inspect the tread for cuts
and cracks. Inspect sidewalls for cuts, cracks and bulges.
Check the wheel nuts for tightness. Check the tires
(including spare) for proper cold inflation pressure.
Lights
Have someone observe the operation of exterior lights
while you work the controls. Check turn signal and high
beam indicator lights on the instrument panel.
Door Latches
Check for positive closing, latching, and locking.
Fluid Leaks
Check area under vehicle after overnight parking for fuel,
engine coolant, oil, or other fluid leaks. Also, if gasoline
fumes are detected or if fuel, power steering fluid, or
brake fluid leaks are suspected, the cause should be
located and corrected immediately.
2
THINGS TO KNOW BEFORE STARTING YOUR VEHICLE 87
Page 138 of 490
Heated Seats — If Equipped
On some models, the front driver and passenger seats
may be equipped with heaters in both the seat cushions
and seatbacks. The controls for the front heated seats are
located on the center instrument panel area.
You can choose from HIGH, LOW or OFF heat settings.
Amber indicator lights in each switch indicate the level of
heat in use. Two indicator lights will illuminate for
HIGH, one for LOW and none for OFF.Press the switch once to select HIGH-level
heating. Press the switch a second time to select
LOW-level heating. Press the switch a third
time to shut the heating elements OFF.
If HIGH-level heating is selected, the system automati-
cally switches to LOW-level heating and turns one indi-
cator light OFF after a maximum of 60 minutes of
continuous operation. It will turn the heater and the
remaining indicator light OFF after an a maximum of 45 minutes of continuous operation. If LOW-level heating
is selected, the system automatically turns the heater and
the indicator light OFF after a maximum of 45 minutes of
continuous operation.
NOTE:
Once a heat setting is selected, heat will be felt
within two to five minutes.
WARNING!
•Persons who are unable to feel pain to the skin
because of advanced age, chronic illness, diabetes,
spinal cord injury, medication, alcohol use, ex-
haustion or other physical condition must exercise
care when using the seat heater. It may cause burns
even at low temperatures, especially if used for
long periods of time.
(Continued)
136 UNDERSTANDING THE FEATURES OF YOUR VEHICLE
Page 197 of 490
on briefly as a bulb check. If the light does not come on
during starting, have the system checked by an autho-
rized dealer.
4. Oil Pressure Warning LightThis light indicates low engine oil pressure. The
light should turn on momentarily when the engine
is started. If the light turns on while driving, stop the
vehicle and shut off the engine as soon as possible. A
chime will sound for four minutes when this light turns
on.
Do not operate the vehicle until the cause is corrected.
This light does not indicate how much oil is in the engine.
The engine oil level must be checked under the hood.
5. Low Fuel Light When the fuel level reaches approximately 2.0 gal
(7.8 L) this light will turn on, and remain on until
fuel is added. 6. Speedometer
Indicates vehicle speed.
7. Airbag Warning Light
This light will turn on for four to eight seconds
as a bulb check when the ignition switch is first
turned to ON/RUN. If the light is either not on
during starting, stays on, or turns on while
driving, have the system inspected at an authorized
dealer as soon as possible. Refer to “Occupant Restraints”
in “Things To Know Before Starting Your Vehicle” for
further information.
8. Turn Signal Indicators The arrow will flash with the exterior turn signal
when the turn signal lever is operated.
9. High Beam Indicator This indicator shows that the high beam head-
lights are on. Push the multifunction lever forward
4
UNDERSTANDING YOUR INSTRUMENT PANEL 195
Page 198 of 490
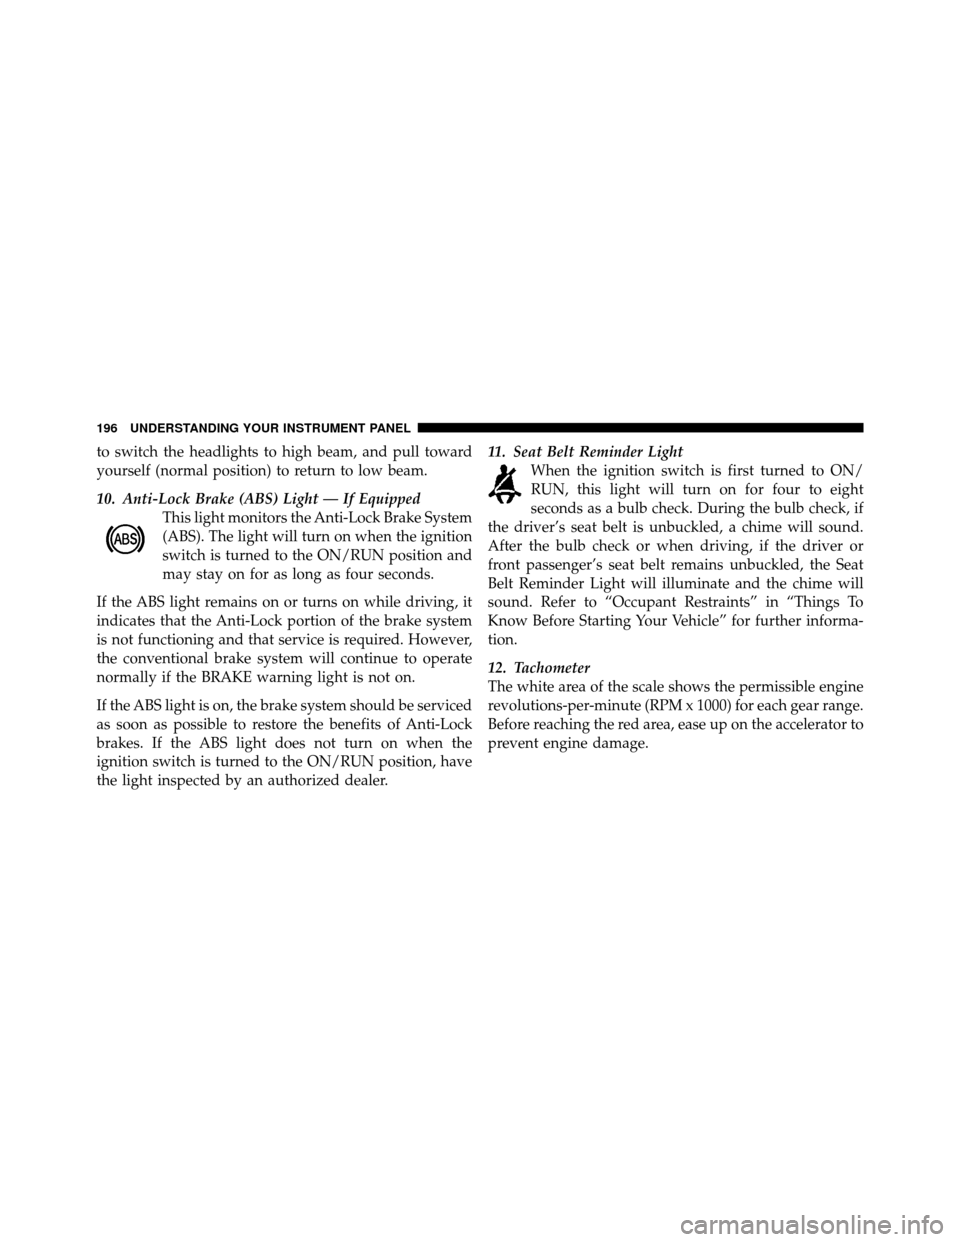
to switch the headlights to high beam, and pull toward
yourself (normal position) to return to low beam.
10. Anti-Lock Brake (ABS) Light — If EquippedThis light monitors the Anti-Lock Brake System
(ABS). The light will turn on when the ignition
switch is turned to the ON/RUN position and
may stay on for as long as four seconds.
If the ABS light remains on or turns on while driving, it
indicates that the Anti-Lock portion of the brake system
is not functioning and that service is required. However,
the conventional brake system will continue to operate
normally if the BRAKE warning light is not on.
If the ABS light is on, the brake system should be serviced
as soon as possible to restore the benefits of Anti-Lock
brakes. If the ABS light does not turn on when the
ignition switch is turned to the ON/RUN position, have
the light inspected by an authorized dealer. 11. Seat Belt Reminder Light
When the ignition switch is first turned to ON/
RUN, this light will turn on for four to eight
seconds as a bulb check. During the bulb check, if
the driver’s seat belt is unbuckled, a chime will sound.
After the bulb check or when driving, if the driver or
front passenger’s seat belt remains unbuckled, the Seat
Belt Reminder Light will illuminate and the chime will
sound. Refer to “Occupant Restraints” in “Things To
Know Before Starting Your Vehicle” for further informa-
tion.
12. Tachometer
The white area of the scale shows the permissible engine
revolutions-per-minute (RPM x 1000) for each gear range.
Before reaching the red area, ease up on the accelerator to
prevent engine damage.
196 UNDERSTANDING YOUR INSTRUMENT PANEL
Page 208 of 490
CAUTION!
Prolonged driving with the MIL on could cause
damage to the engine control system. It also could
affect fuel economy and drivability. If the MIL is
flashing, severe catalytic converter damage and
power loss will soon occur. Immediate service is
required.
WARNING!
A malfunctioning catalytic converter, as referenced
above, can reach higher temperatures than in normal
operating conditions. This can cause a fire if you
drive slowly or park over flammable substances such
as dry plants, wood, cardboard, etc. This could result
in death or serious injury to the driver, occupants or
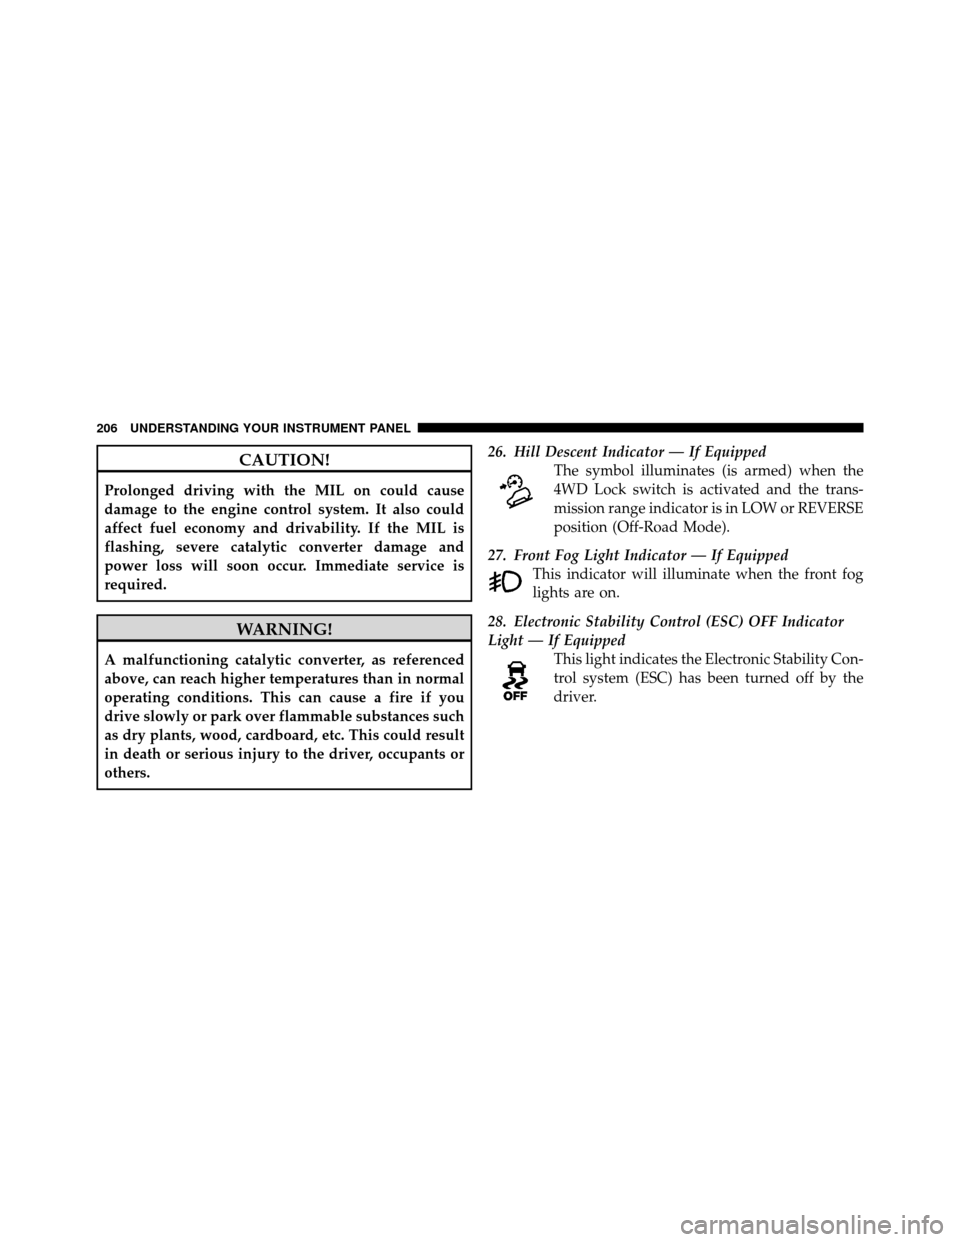
others.26. Hill Descent Indicator — If Equipped
The symbol illuminates (is armed) when the
4WD Lock switch is activated and the trans-
mission range indicator is in LOW or REVERSE
position (Off-Road Mode).
27. Front Fog Light Indicator — If Equipped This indicator will illuminate when the front fog
lights are on.
28. Electronic Stability Control (ESC) OFF Indicator
Light — If Equipped This light indicates the Electronic Stability Con-
trol system (ESC) has been turned off by the
driver.
206 UNDERSTANDING YOUR INSTRUMENT PANEL
Page 305 of 490
They are not designed for cornering at the same speeds as
conventional two-wheel drive vehicles any more than
low-slung sports cars are designed to perform satisfacto-
rily in off-road conditions. If at all possible, avoid sharp
turns or abrupt maneuvers. As with other vehicles of this
type, failure to operate this vehicle correctly may result in
loss of control or vehicle rollover.
OFF-ROAD DRIVING TIPS
You will encounter many types of terrain driving off-
road. You should be familiar with the terrain and area
before proceeding. There are many types of surface
conditions: hard packed dirt, gravel, rocks, grass, sand,
mud, snow and ice. Every surface has a different effect on
your vehicle’s steering, handling and traction. Control-
ling your vehicle is one of the keys to successful off-road
driving, so always keep a firm grip on the steering wheel
and maintain a good driving posture. Avoid sudden
accelerations, turns or braking. In most cases there are no
road signs, posted speed limits or signal lights. Thereforeyou will need to use your own good judgment on what is
safe and what is not. When on a trail, you should always
be looking ahead for surface obstacles and changes in
terrain. The key is to plan your future driving route while
remembering what you are currently driving over.
CAUTION!
Never park your vehicle over dry grass or other
combustible materials. The heat from your vehicle
exhaust system could cause a fire.
WARNING!
Always wear your seat belt and firmly tie down
cargo. Unsecured cargo can become projectiles in an
off-road situation.
5
STARTING AND OPERATING 303