Page 91 of 542

If you are required to drive with the trunk/liftgate open,
make sure that all windows are closed and the climate
control BLOWER switch is set at high speed. DO NOT
use the recirculation mode.
The best protection against carbon monoxide entry into
the vehicle body is a properly maintained engine exhaust
system.
Whenever a change is noticed in the sound of the exhaust
system, when exhaust fumes can be detected inside the
vehicle, or when the underside or rear of the vehicle is
damaged, have a competent mechanic inspect the com-
plete exhaust system and adjacent body areas for broken,
damaged, deteriorated, or mispositioned parts. Open
seams or loose connections could permit exhaust fumes
to seep into the passenger compartment. In addition,
inspect the exhaust system each time the vehicle is raised
for lubrication or oil change. Replace as required.Safety Checks You Should Make Inside The
Vehicle
Seat Belts
Inspect the belt system periodically, checking for cuts,
frays, and loose parts. Damaged parts must be replaced
immediately. Do not disassemble or modify the system.
Front seat belt assemblies must be replaced after a
collision. Rear seat belt assemblies must be replaced after
a collision if they have been damaged (i.e., bent retractor,
torn webbing, etc.). If there is any question regarding belt
or retractor condition, replace the belt.
Airbag Warning Light
The light should come on and remain on for four to eight
seconds as a bulb check when the ignition switch is first
turned ON. If the light is not lit during starting, see your
authorized dealer. If the light stays on, flickers, or comes
on while driving, have the system checked by an autho-
rized dealer.
2
THINGS TO KNOW BEFORE STARTING YOUR VEHICLE 89
Page 200 of 542
ears. Your vehicle may exhibit wind buffeting with the
windows down, or the Sky Slider™ in certain open or
partially open positions. This is a normal occurrence and
can be minimized. If the buffeting occurs with the rear
windows open, then open the front and rear windows
together to minimize the buffeting. If the buffeting occurs
with the Sky Slider™ open, adjust the Sky Slider™
opening to minimize the buffeting or open any window.
Sky Slider™ Maintenance
Refer to “Sky Slider™ Top Care” in “Maintaining Your
Vehicle” for further information.
ELECTRICAL POWER OUTLET
Your vehicle is equipped with a fused 12 Volt (13 Amp)
power outlet. This power outlet is located on the instru-
ment panel, below the climate controls. It has power
available when the ignition switch is in the ON or ACC
position.Insert the cigar lighter or accessory plug into the outlet
for use to ensure proper operation.
NOTE:
To ensure proper operation a MOPAR� knob
and element must be used.
Front Power Outlet
198 UNDERSTANDING THE FEATURES OF YOUR VEHICLE
Page 213 of 542
Rotate the switch upward past the first detent to
activate the rear washer. The washer pump will
continue to operate as long as the switch is held
(for a maximum of 10 seconds). Upon release, the wiper
will cycle two times before returning to the set position.
If the rear wiper is operating when the ignition is turned
OFF, the wiper will automatically return to the “park”
position. When the vehicle is restarted, the wiper will
resume function at whichever position the switch is set.
NOTE: The rear wiper and the rear washer will not
operate If the liftgate flipper glass is open.
Rear Window Defroster
The rear window defroster button is located on the
climate control (Mode) knob. Press this button to
turn on the rear window defroster and the heated outside
mirrors. An indicator in the button will illuminate when
the rear window defroster is on. The rear window defroster automatically turns off after approximately
10 minutes. For an additional five minutes of operation,
press the button a second time.
NOTE:
To prevent excessive battery drain, use the rear
window defroster only when the engine is operating.
CAUTION!
Failure to follow these cautions can cause damage to
the heating elements:
•Use care when washing the inside of the rear
window. Do not use abrasive window cleaners on
the interior surface of the window. Use a soft cloth
and a mild washing solution, wiping parallel to
the heating elements. Labels can be peeled off
after soaking with warm water.
(Continued)
3
UNDERSTANDING THE FEATURES OF YOUR VEHICLE 211
Page 219 of 542
�Steering Wheel Audio Controls ............ 293
▫ Radio Operation ..................... 294
▫ CD Player ......................... 294
� CD/DVD Disc Maintenance .............. 295
� Radio Operation And Mobile Phones ....... 295�
Climate Controls ...................... 295
▫ Manual Heating And Air Conditioning ..... 296
▫ Automatic Temperature Control (ATC) — If
Equipped .......................... 300
▫ Operating Tips ...................... 305
4
UNDERSTANDING YOUR INSTRUMENT PANEL 217
Page 220 of 542
INSTRUMENT PANEL FEATURES
1 — Air Outlet4 — Radio7 — Power Outlet
2 — Instrument Cluster 5 — Glove Compartment8 — Lower Switch Bank
3 — Storage Tray 6 — Climate Control9 — Storage Bin (if equipped)
218 UNDERSTANDING YOUR INSTRUMENT PANEL
Page 297 of 542
CD/DVD DISC MAINTENANCE
To keep a CD/DVD in good condition, take the following
precautions:
1. Handle the disc by its edge; avoid touching the
surface.
2. If the disc is stained, clean the surface with a soft cloth,
wiping from center to edge.
3. Do not apply paper or tape to the disc; avoid scratch-
ing the disc.
4. Do not use solvents such as benzene, thinner, cleaners,
or anti-static sprays.
5. Store the disc in its case after playing.
6. Do not expose the disc to direct sunlight.
7. Do not store the disc where temperatures may become
too high.NOTE:
If you experience difficulty in playing a particu-
lar disc, it may be damaged (i.e., scratched, reflective
coating removed, a hair, moisture or dew on the disc)
oversized, or have protection encoding. Try a known
good disc before considering disc player service.
RADIO OPERATION AND MOBILE PHONES
Under certain conditions, the mobile phone being on in
your vehicle can cause erratic or noisy performance from
your radio. This condition may be lessened or eliminated
by relocating the mobile phone antenna. This condition is
not harmful to the radio. If your radio performance does
not satisfactorily “clear” by the repositioning of the
antenna, it is recommended that the radio volume be
turned down or off during mobile phone operation when
not using Uconnect™ (if equipped).
CLIMATE CONTROLS
The air conditioning and heating system is designed to
make you comfortable in all types of weather.
4
UNDERSTANDING YOUR INSTRUMENT PANEL 295
Page 302 of 542
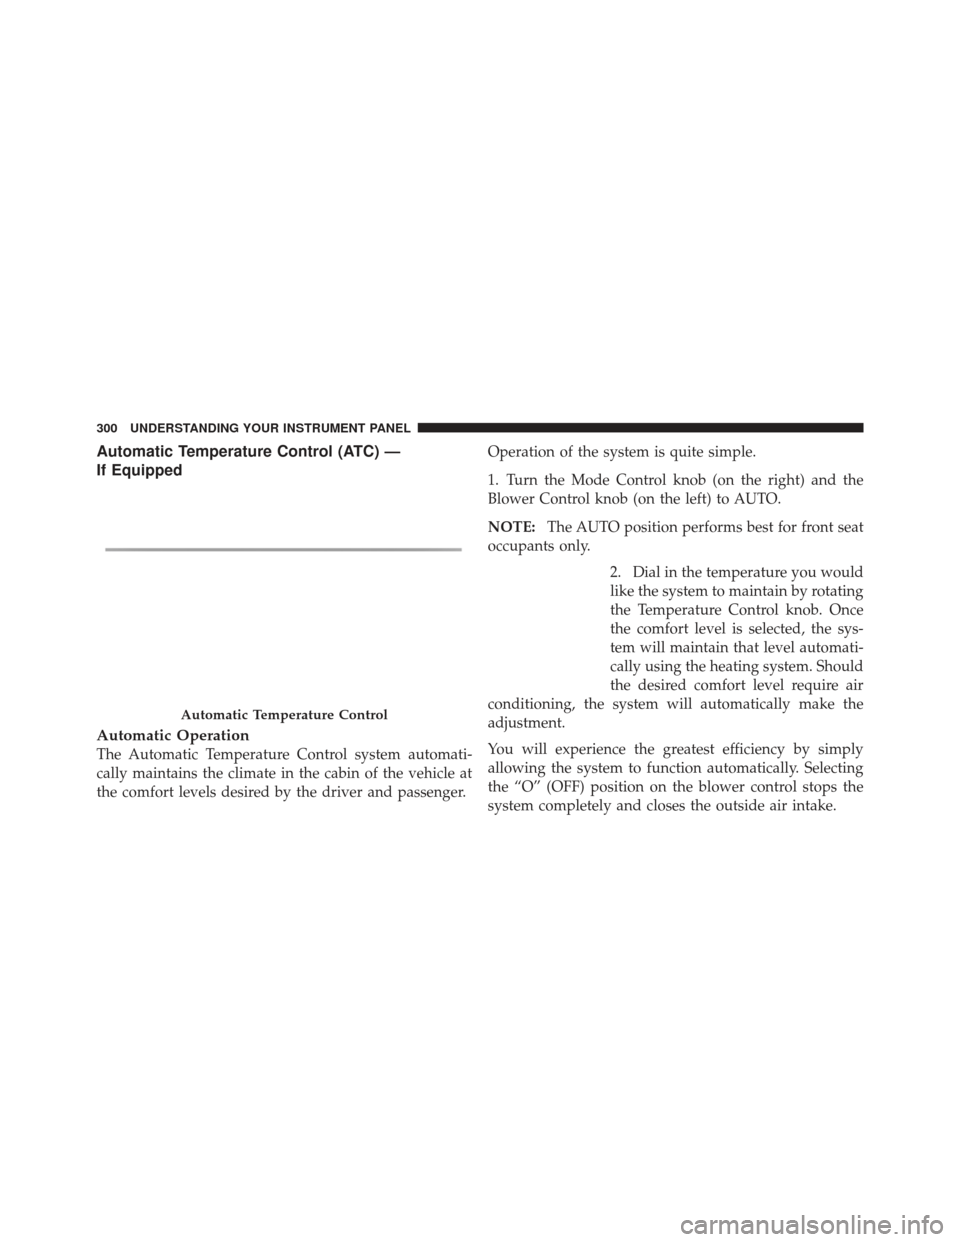
Automatic Temperature Control (ATC) —
If Equipped
Automatic Operation
The Automatic Temperature Control system automati-
cally maintains the climate in the cabin of the vehicle at
the comfort levels desired by the driver and passenger.Operation of the system is quite simple.
1. Turn the Mode Control knob (on the right) and the
Blower Control knob (on the left) to AUTO.
NOTE:
The AUTO position performs best for front seat
occupants only.
2. Dial in the temperature you would
like the system to maintain by rotating
the Temperature Control knob. Once
the comfort level is selected, the sys-
tem will maintain that level automati-
cally using the heating system. Should
the desired comfort level require air
conditioning, the system will automatically make the
adjustment.
You will experience the greatest efficiency by simply
allowing the system to function automatically. Selecting
the “O” (OFF) position on the blower control stops the
system completely and closes the outside air intake.
Automatic Temperature Control
300 UNDERSTANDING YOUR INSTRUMENT PANEL
Page 352 of 542
3. Apply the parking brake.
4. Start the engine.
5. Rotate the steering wheel one-half turn to the left.
6. Press the “ESC Off” button located in the lower switch
bank below the climate control four times within twenty
seconds. The “ESC Off Indicator Light” should turn on
and turn off two times.
7. Rotate the steering wheel back to center and then an
additional one-half turn to the right.
8. Turn the ignition switch to the OFF position and then
back to the ON position. If the sequence was completed
properly, the “ESC Off Indicator Light” will blink several
times to confirm HSA is disabled.
9. Repeat these steps if you want to return this feature to
its previous setting.Hill Descent Control (HDC) – If Equipped
HDC is only intended for low speed off-road driving.
HDC maintains vehicle speed while descending hills in
off-road driving conditions by applying the brakes when
necessary.
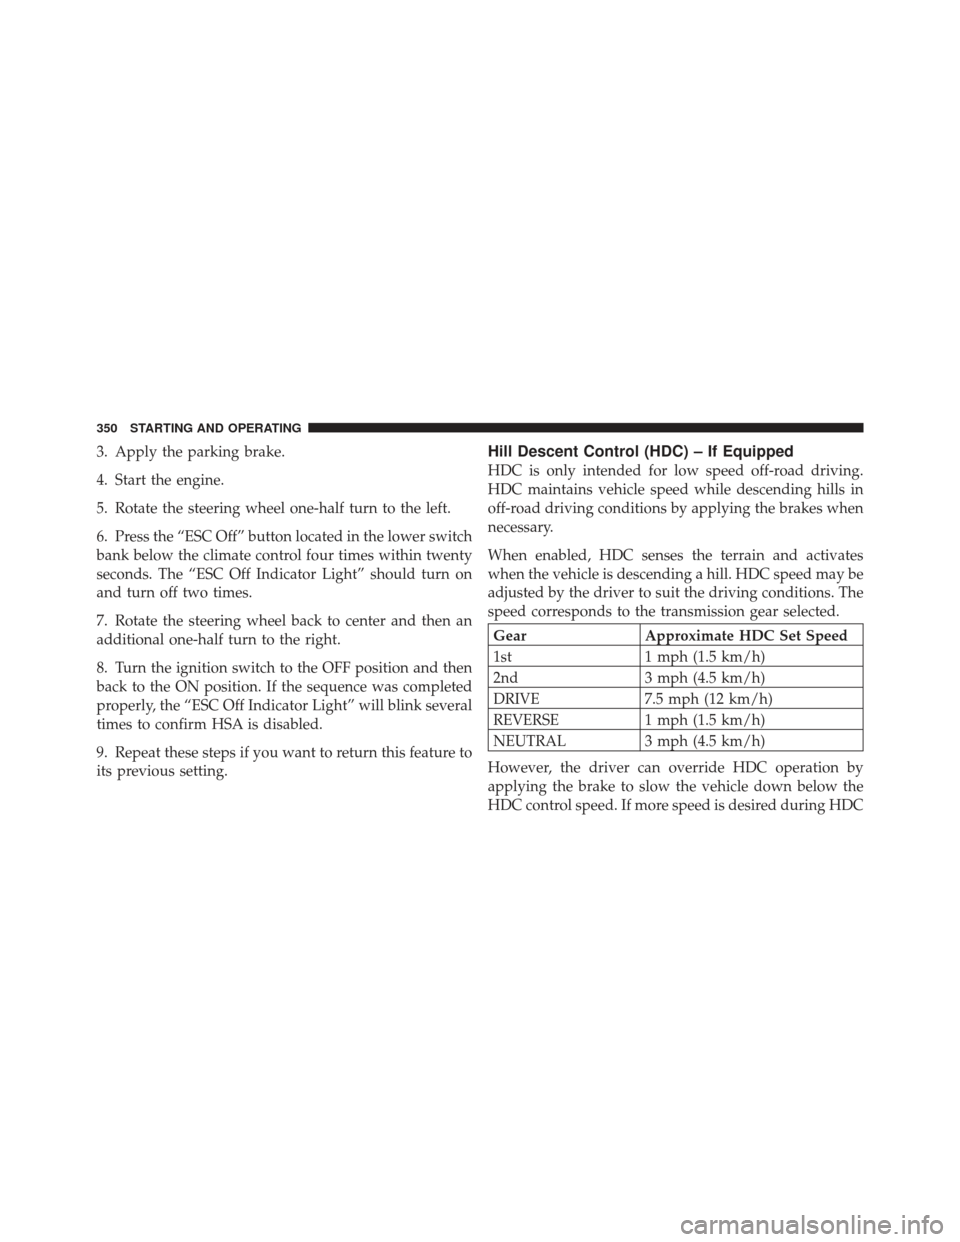
When enabled, HDC senses the terrain and activates
when the vehicle is descending a hill. HDC speed may be
adjusted by the driver to suit the driving conditions. The
speed corresponds to the transmission gear selected.
GearApproximate HDC Set Speed
1st 1 mph (1.5 km/h)
2nd 3 mph (4.5 km/h)
DRIVE 7.5 mph (12 km/h)
REVERSE 1 mph (1.5 km/h)
NEUTRAL 3 mph (4.5 km/h)
However, the driver can override HDC operation by
applying the brake to slow the vehicle down below the
HDC control speed. If more speed is desired during HDC
350 STARTING AND OPERATING