2011 JEEP LIBERTY child lock
[x] Cancel search: child lockPage 54 of 542

anytime a child safety seat is installed in a seating
position that has a belt with this feature. Children
12 years old and under should always be properly
restrained in the rear seat.
How To Engage The Automatic Locking Mode
1. Buckle the combination lap and shoulder belt.
2. Grasp the shoulder portion and pull downward until
the entire belt is extracted.
3. Allow the belt to retract. As the belt retracts, you will
hear a clicking sound. This indicates the safety belt is
now in the Automatic Locking Mode.
How To Disengage The Automatic Locking Mode
Unbuckle the combination lap/shoulder belt and allow it
to retract completely to disengage the Automatic Locking
Mode and activate the vehicle sensitive (emergency)
locking mode.
WARNING!
•The belt and retractor assembly must be replaced
if the seat belt assembly Automatic Locking Re-
tractor (ALR) feature or any other seat belt func-
tion is not working properly when checked ac-
cording to the procedures in the Service Manual.
•Failure to replace the belt and retractor assembly
could increase the risk of injury in collisions.
Supplemental Active Head Restraints (AHR)
These head restraints are passive, deployable compo-
nents, and vehicles with this equipment cannot be readily
identified by any markings, only through visual inspec-
tion of the head restraint. The head restraint will be split
in two halves, with the front half being soft foam and
trim, the back half being decorative plastic.
52 THINGS TO KNOW BEFORE STARTING YOUR VEHICLE
Page 73 of 542

and damage by themselves are not good indicators of
whether or not an air bag should have deployed.
A quantity of non-toxic gas is generated to inflate the side
curtain air bag. The inflating side curtain air bag pushes
the outside edge of the headliner out of the way and
covers the window. The air bag inflates in about 30
milliseconds (about one quarter of the time it takes to
blink your eyes) with enough force to injure you if you
are not belted and seated properly, or if items are
positioned in the area where the side curtain air bag
inflates. This especially applies to children. The side
curtain air bag is only about 3
1�2inches (9 cm) thick when
it is inflated.
The system includes side impact sensors that are cali-
brated to deploy the side air bags during impacts that
require air bag occupant protection.
WARNING!
If your vehicle is equipped with left and right
Supplemental Side Air Bag Inflatable Curtains
(SABIC), do not stack luggage or other cargo up high
enough to block the location of the SABIC. The area
where the SABIC is located should remain free from
any obstructions.
The front passenger seat assembly contains critical com-
ponents that affect the front passenger air bag deploy-
ment. Correctly functioning front passenger seat compo-
nents are critical for the Occupant Classification System
(OCS) to properly classify the front passenger and calcu-
late the proper air bag deployment. Do not make any
modifications to the front passenger seat components,
assembly, or to the seat cover.
2
THINGS TO KNOW BEFORE STARTING YOUR VEHICLE 71
Page 86 of 542

downward into the seat, removing slack in the straps
according to the child restraint manufacturer’s instruc-
tions.
WARNING!
Improper installation of a child restraint to the
LATCH anchorages can lead to failure of an infant or
child restraint. The child could be badly injured or
killed. Follow the manufacturer’s directions exactly
when installing an infant or child restraint.
Installing Child Restraints Using The Vehicle Seat
Belts
The seat belts in the passenger seating positions are
equipped with an Automatic Locking Retractor (ALR) or
a cinching latch plate to secure a Child Restraint System
(CRS). These types of seat belts are designed to keep the
lap portion of the seat belt tight around the child restraint
so that it is not necessary to use a locking clip. The ALRwill make a ratcheting noise if you extract the entire belt
from the retractor and then allow the belt to retract into
the retractor. For additional information on ALR, refer to
“Automatic Locking Mode” description under “Seat
Belts in Passenger Seating Positions” section. The chart
below defines the seating positions with an Automatic
Locking Retractor (ALR) or a cinching latch plate.
Driver Center Passenger
First Row N/A N/A ALR
Second Row ALR Cinching Latch PlateALR
Third Row N/A N/A N/A
•N/A — Not Applicable
•ALR — Automatic Locking Retractor
To attach a child restraint tether strap:
1. To install a child restraint with ALR, first, pull enough
of the seat belt webbing from the retractor to route it
84 THINGS TO KNOW BEFORE STARTING YOUR VEHICLE
Page 87 of 542
through the belt path of the child restraint. Slide the latch
plate into the buckle until you hear a “click.” Next,
extract all the seat belt webbing out of the retractor and
then allow the belt to retract into the retractor. As the belt
retracts, you will hear a ratcheting sound. This indicates
the safety belt is now in the Automatic Locking mode.
2. Finally, pull on any excess webbing to tighten the lap
portion around the child restraint. Any seat belt system
will loosen with time, so check the belt occasionally, and
pull it tight if necessary.
Installing a Child Restraint with a Cinching Latch Plate:
1. To install a child restraint with a cinching latch plate,
first, pull enough of the seat belt webbing from the
retractor to route it through the belt path of the child.
Slide the latch plate into the buckle until you hear a
“click.”2. Finally, pull on any excess webbing to tighten the lap
portion around the child restraint. Any seat belt system
will loosen with time, so check the belt occasionally, and
pull it tight if necessary.
•In the rear seat, you may have trouble tightening the
lap/shoulder belt on the child restraint because the
buckle or latch plate is too close to the belt path
opening on the restraint. Disconnect the latch plate
from the buckle and twist the short buckle-end belt
several times to shorten it. Insert the latch plate into
the buckle with the release button facing out.
•If the belt still can’t be tightened, or if pulling and
pushing on the restraint loosens the belt, disconnect
the latch plate from the buckle, turn the buckle
around, and insert the latch plate into the buckle
again. If you still can’t make the child restraint secure,
try a different seating position.
To attach a child restraint tether strap
2
THINGS TO KNOW BEFORE STARTING YOUR VEHICLE 85
Page 152 of 542
2. Pull the release strap (toward the front of the vehicle).
3. Fold the rear seat completely forward.
4. If desired, push down on the seatback to lock it in the
folded position.To Raise The Rear Seat
NOTE:If interference from the cargo area prevents the
seatback from fully locking, you will have difficulty
returning the seat to its proper position.
1. If locked in the folded position, pull the release strap
(toward the front of the vehicle).
2. Raise the seatback and lock it into place.
WARNING!
Be certain that the seatback is securely locked into
position. If the seatback is not securely locked into
position the seat will not provide the proper stability
for child seats and/or passengers. An improperly
latched seat could cause serious injury.
Rear Seat Release Strap
150 UNDERSTANDING THE FEATURES OF YOUR VEHICLE
Page 315 of 542
STARTING PROCEDURES
Before starting your vehicle, adjust your seat, adjust both
inside and outside mirrors, and fasten your seat belts.
WARNING!
Never leave children alone in a vehicle. Leaving
children in a vehicle unattended is dangerous for a
number of reasons. A child or others could be seri-
ously or fatally injured. Do not leave the keys in the
ignition. A child could operate power windows,
other controls, or move the vehicle.
Start the engine with the shift lever in the NEUTRAL or
PARK position. Apply the brake before shifting to any
driving range.
Normal Starting
NOTE: Normal starting of either a cold or a warm
engine is obtained without pumping or pressing the
accelerator pedal.
Turn the ignition switch to the START position and
release when the engine starts. If the engine fails to start
within 10 seconds, turn the ignition switch to the LOCK
position, wait 10 to 15 seconds, then repeat the “Normal
Starting” procedure.
Tip Start Feature
Turn the ignition switch to START position and release it
as soon as the starter engages. The starter motor will
continue to run, but will automatically disengage itself
when the engine is running. If the engine fails to start, the
starter will disengage automatically in 10 seconds. If this
occurs, turn the ignition switch to the LOCK position,
wait 10 to 15 seconds, then repeat the “Normal Starting”
procedure.
5
STARTING AND OPERATING 313
Page 522 of 542
Bulbs, Light.......................... 91,484
Calibration, Compass ..................... 242
Capacities, Fluid ........................ 487
Caps, Filler Fuel .............................. 393
Oil (Engine) ........................ 449
Power Steering ...................... 339
Radiator (Coolant Pressure) ............. 461
Car Washes ............................ 473
Carbon Monoxide Warning ...............88,392
Cargo (Vehicle Loading) ................... 395
Cargo Area Cover ....................... 208
Cargo Area Features ...................... 204
Cargo Compartment ...................... 204
Light ............................. 164
Cargo Light ............................ 164
Cargo Load Floor ........................ 204
Cargo Tie-Downs ........................ 206 Cellular Phone
....................... 103,295
Certification Label ....................... 395
Changing A Flat Tire ..................... 423
Chart, Tire Sizing ........................ 358
Check Engine Light
(Malfunction Indicator Light) .............222,445
Checking Your Vehicle For Safety ............. 87
Checks, Safety ........................... 87
Child Restraint .................... 77,78,82,84
Child Restraint Tether Anchors .............81,82
Child Safety Locks ........................ 33
Clean Air Gasoline ....................... 389
Cleaning Windshield Wiper Blades ............... 455
Climate Control ......................... 295
Clock ........................... 250,269,279
Coin Holder ........................... 203
Cold Weather Operation ................... 314
Command-Trac Operation .................. 321
520 INDEX
Page 529 of 542
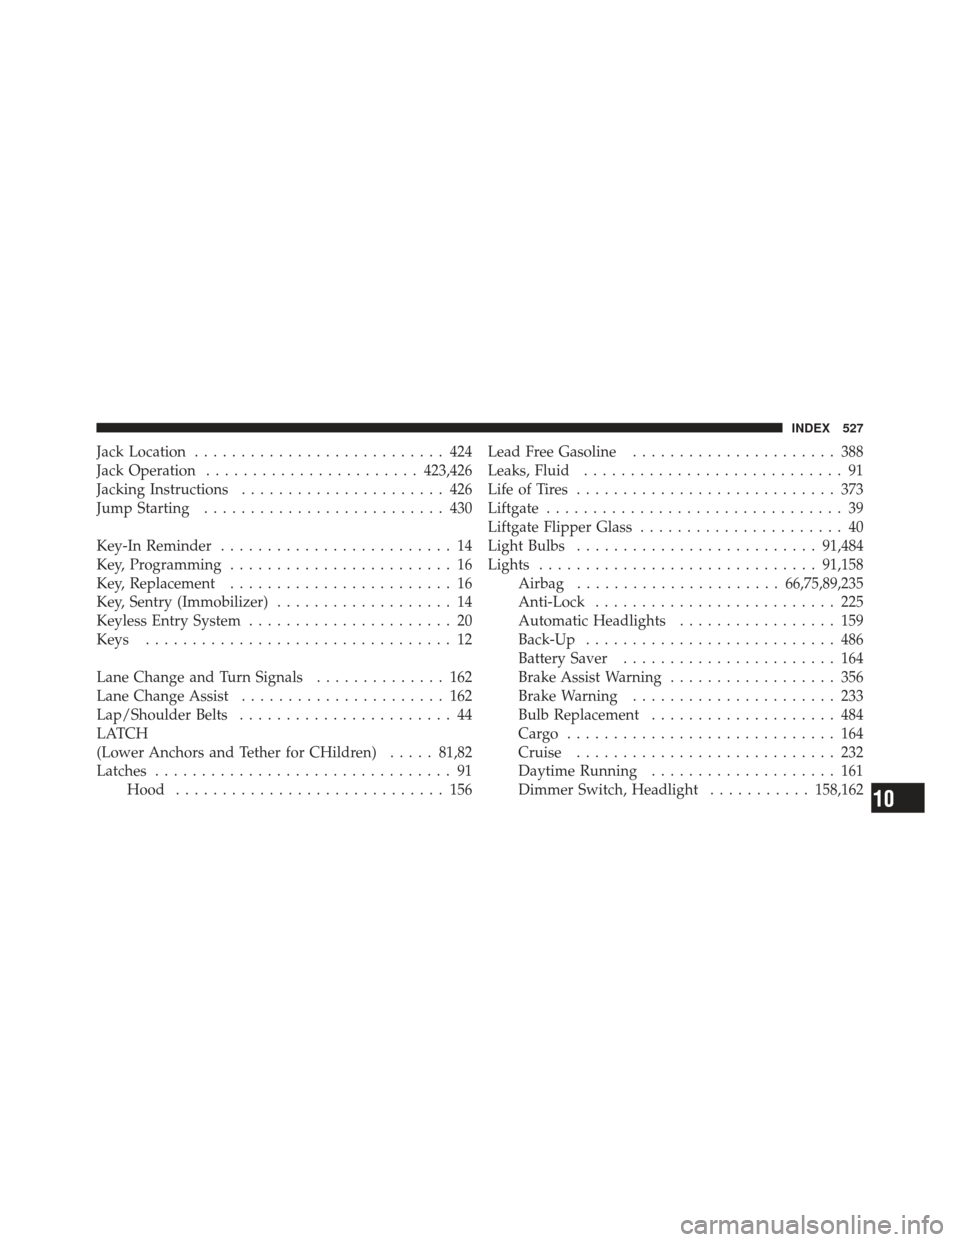
Jack Location........................... 424
Jack Operation ....................... 423,426
Jacking Instructions ...................... 426
Jump Starting .......................... 430
Key-In Reminder ......................... 14
Key, Programming ........................ 16
Key, Replacement ........................ 16
Key, Sentry (Immobilizer) ................... 14
Keyless Entry System ...................... 20
Keys ................................. 12
Lane Change and Turn Signals .............. 162
Lane Change Assist ...................... 162
Lap/Shoulder Belts ....................... 44
LATCH
(Lower Anchors and Tether for CHildren) .....81,82
Latches ................................ 91
Hood ............................. 156 Lead Free Gasoline
...................... 388
Leaks, Fluid ............................ 91
Life of Tires ............................ 373
Liftgate ................................ 39
Liftgate Flipper Glass ...................... 40
Light Bulbs .......................... 91,484
Lights .............................. 91,158
Airbag ...................... 66,75,89,235
Anti-Lock .......................... 225
Automatic Headlights ................. 159
Back-Up ........................... 486
Battery Saver ....................... 164
Brake Assist Warning .................. 356
Brake Warning ...................... 233
Bulb Replacement .................... 484
Cargo ............................. 164
Cruise ............................ 232
Daytime Running .................... 161
Dimmer Switch, Headlight ...........158,162
10
INDEX 527