Page 351 of 542
WARNING!
•If you use a trailer brake controller with your
trailer, the trailer brakes may be activated and
deactivated with the brake switch. If so, there may
not be enough brake pressure to hold both the
vehicle and the trailer on a hill when the brake
pedal is released. In order to avoid rolling down
an incline while resuming acceleration, manually
activate the trailer brake or apply more vehicle
brake pressure prior to releasing the brake pedal.
•HSA is not a parking brake. Always apply the
parking brake fully when leaving your vehicle.
Also, be certain to leave the transmission in PARK.
•Failure to follow these warnings can result in a
collision or serious personal injury.
Disabling And Enabling HSA
This feature can be turned on or turned off. To change the
current setting, proceed as follows:
For vehicles equipped with the Electronic Vehicle Infor-
mation Center (EVIC), refer to “Hill Start Assist,” under
�Personal Settings (Customer Programmable Features),”
under “Electronic Vehicle Information Center (EVIC)” in
“Understanding Your Instrument Panel” for further in-
formation.
For vehicles not equipped with the EVIC, perform the
following steps:
NOTE:You must complete Steps 1 through 8 within
90 seconds.
1. Center the steering wheel (front wheels pointing
straight forward).
2. Shift the transmission into PARK.
5
STARTING AND OPERATING 349
Page 396 of 542

WARNING!
•Never have any smoking materials lit in or near
the vehicle when the gas cap is removed or the
tank is being filled.
•Never add fuel when the engine is running. This is
in violation of most state and federal fire regula-
tions and may cause the MIL to turn on.
•A fire may result if gasoline is pumped into a
portable container that is inside of a vehicle. You
could be burned. Always place gas containers on
the ground while filling.
NOTE:
•When the fuel nozzle “clicks” or shuts off, the fuel
tank is full.
•Tighten the gas cap about one quarter turn until you
hear one click. This is an indication that the cap is
properly tightened.
•If the gas cap is not tightened properly, the MIL will
come on. Be sure the gas cap is tightened every time
the vehicle is refueled.
Loose Fuel Filler Cap Message
If the vehicle diagnostic system determines that the fuel
filler cap is loose, improperly installed, or damaged, a
gASCAP” message will display in the odometer or a
“CHECK GASCAP” message will be displayed in the
Electronic Vehicle Information Center (EVIC). Refer to
“Electronic Vehicle Information Center (EVIC)” in “Un-
derstanding Your Instrument Panel” for further review.
Tighten the fuel filler cap until a “clicking” sound is
heard. This is an indication that the fuel filler cap is
properly tightened. Refer to “Onboard Diagnostic Sys-
tem” in “Maintaining Your Vehicle” for further
information.
394 STARTING AND OPERATING
Page 447 of 542
“Electronic Vehicle Information Center (EVIC)” in “Un-
derstanding Your Instrument Panel” for further informa-
tion. Tighten the gas cap until a�clicking�sound is heard.
This is an indication that the gas cap is properly tight-
ened.
Press the odometer reset button to turn the message off.
If the problem persists, the message will appear the next
time the vehicle is started. This might indicate a damaged
cap. If the problem is detected twice in a row, the system
will turn on the MIL. Resolving the problem will turn the
MIL light off.
EMISSIONS INSPECTION AND MAINTENANCE
PROGRAMS
In some localities, it may be a legal requirement to pass
an inspection of your vehicle’s emissions control system.
Failure to pass could prevent vehicle registration. For states that require an Inspection and Mainte-
nance (I/M), this check verifies the “Malfunction
Indicator Light (MIL)” is functioning and is not
on when the engine is running, and that the OBD II
system is ready for testing.
Normally, the OBD II system will be ready. The OBD II
system may notbe ready if your vehicle was recently
serviced, recently had a dead battery or a battery replace-
ment. If the OBD II system should be determined not
ready for the I/M test, your vehicle may fail the test.
Your vehicle has a simple ignition key-actuated test,
which you can use prior to going to the test station. To
check if your vehicle’s OBD II system is ready, you must
do the following:
1. Turn the ignition switch to the ON position, but do not
crank or start the engine.
2. If you crank or start the engine, you will have to start
this test over.
7
MAINTAINING YOUR VEHICLE 445
Page 477 of 542
•For tough stains, apply MOPAR�Total Clean or
equivalent, or a mild soap solution to a clean, damp
cloth and remove the stain. Use a fresh, damp towel to
remove soap residue.
•For grease stains, apply MOPAR� Multi-Purpose
Cleaner or equivalent to a clean, damp cloth and
remove the stain. Use a fresh, damp towel to remove
soap residue.
•Do not use any harsh solvents or any other form of
protectants on Stain Repel products.
Interior Care
Instrument Panel Cover
The instrument panel cover has a low glare surface,
which minimizes reflections in the windshield. Do not
use protectants or other products, which may cause
undesirable reflections. Use soap and warm water to
restore the low glare surface. Cleaning Interior Trim
Clean interior trim with a damp cloth and MOPAR�
Total
Clean or equivalent, and if necessary, follow with
MOPAR� Spot & Stain Remover or equivalent. Do not
use harsh cleaners or Armor All�. Use MOPAR� Total
Clean or equivalent to clean vinyl upholstery.
Cleaning Leather Upholstery
MOPAR� Total Clean or equivalent is specifically recom-
mended for leather upholstery.
Your leather upholstery can be best preserved by regular
cleaning with a damp soft cloth. Small particles of dirt
can act as an abrasive and damage the leather upholstery
and should be removed promptly with a damp cloth.
Stubborn soils can be removed easily with a soft cloth
and MOPAR� Total Clean or equivalent. Care should be
taken to avoid soaking leather upholstery with any
liquid. Please do not use polishes, oils, cleaning fluids,
solvents, detergents, or ammonia-based cleaners to clean7
MAINTAINING YOUR VEHICLE 475
Page 495 of 542
NOTE:
•The oil change indicator message will not monitor the
time since the last oil change. Change your vehicles oil
if it has been six months since your last oil change even
if the oil change indicator message is NOT illumi-
nated.
•Change your engine oil more often if you drive your
vehicle off-road for an extended period of time.
•Under no circumstances should oil change intervals
exceed 8,000 miles (13 000 km) or six months, which-
ever comes first.
Your authorized dealer will reset the oil change indicator
message after completing the scheduled oil change. If a
scheduled oil change is performed by someone other
than your authorized dealer, the message can be reset by referring to the steps described under “Electronic Vehicle
Information Center (EVIC)/Oil Change Required” in
“Understanding Your Instrument Panel” or under “In-
strument Cluster Description/Odometer/Trip Odom-
eter” in “Understanding Your Instrument Panel” for
further information.
At Each Stop For Fuel
•Check the engine oil level about five minutes after a
fully warmed engine is shut off. Checking the oil level
while the vehicle is on level ground will improve the
accuracy of the oil level reading. Add oil only when
the level is at or below the ADD or MIN mark.
•Check the windshield washer solvent and add if
required.
8
M
A I
N T
E
N A
N CE
S
C
H E
D
U L
E
SMAINTENANCE SCHEDULES 493
Page 528 of 542
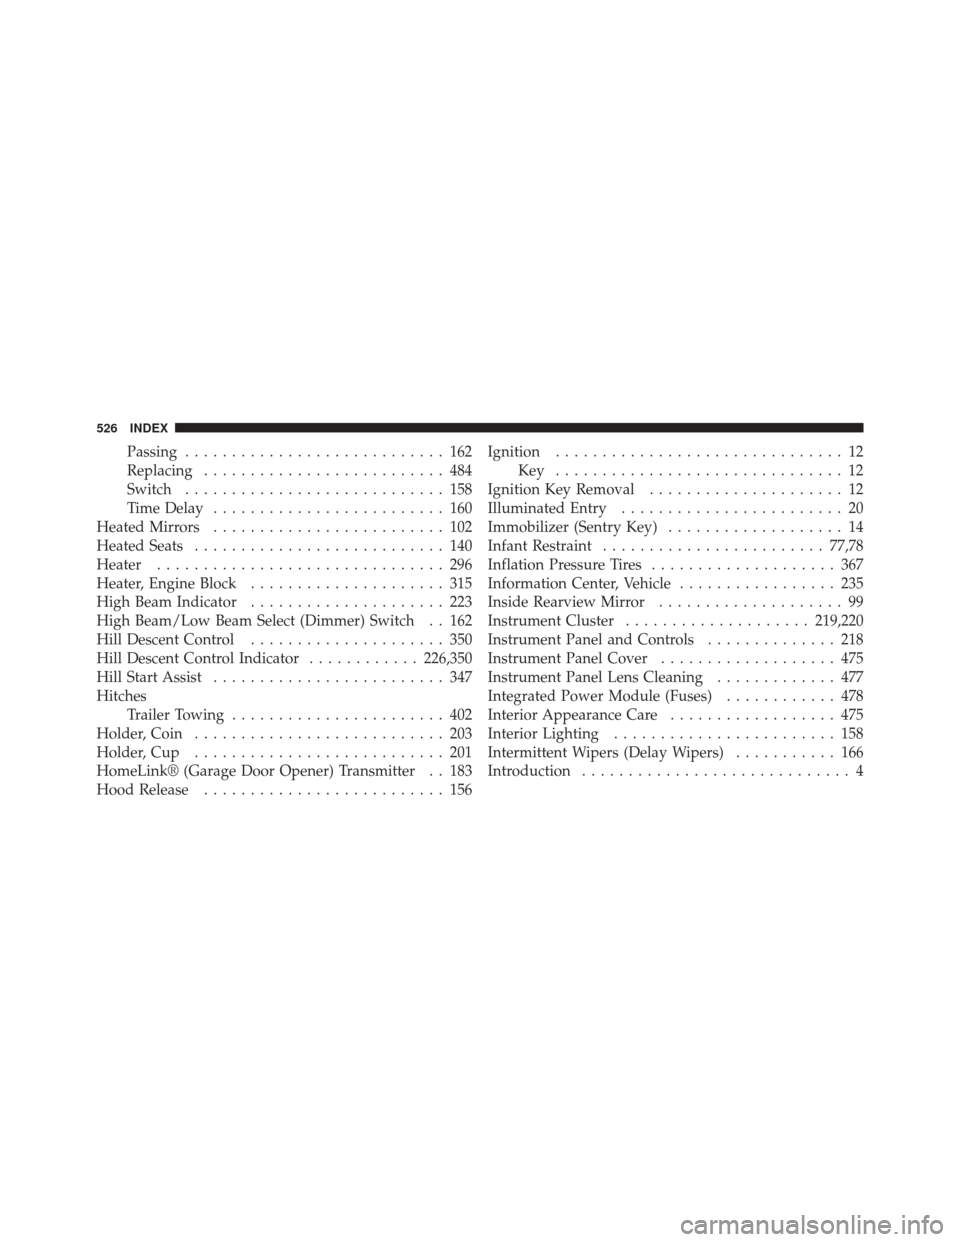
Passing............................ 162
Replacing .......................... 484
Switch ............................ 158
Time Delay ......................... 160
Heated Mirrors ......................... 102
Heated Seats ........................... 140
Heater ............................... 296
Heater, Engine Block ..................... 315
High Beam Indicator ..................... 223
High Beam/Low Beam Select (Dimmer) Switch . . 162
Hill Descent Control ..................... 350
Hill Descent Control Indicator ............226,350
Hill Start Assist ......................... 347
Hitches Trailer Towing ....................... 402
Holder, Coin ........................... 203
Holder, Cup ........................... 201
HomeLink® (Garage Door Opener) Transmitter . . 183
Hood Release .......................... 156 Ignition
............................... 12
Key ............................... 12
Ignition Key Removal ..................... 12
Illuminated Entry ........................ 20
Immobilizer (Sentry Key) ................... 14
Infant Restraint ........................ 77,78
Inflation Pressure Tires .................... 367
Information Center, Vehicle ................. 235
Inside Rearview Mirror .................... 99
Instrument Cluster .................... 219,220
Instrument Panel and Controls .............. 218
Instrument Panel Cover ................... 475
Instrument Panel Lens Cleaning ............. 477
Integrated Power Module (Fuses) ............ 478
Interior Appearance Care .................. 475
Interior Lighting ........................ 158
Intermittent Wipers (Delay Wipers) ........... 166
Introduction ............................. 4
526 INDEX