Page 247 of 587

�iPod�/USB/MP3 Control — If Equipped ..... 313
▫ Connecting The iPod� Or External USB
Device ............................ 314
▫ Using This Feature ................... 314
▫ Controlling The iPod� Or External USB
Device Using Radio Buttons ............. 315
▫ Play Mode ......................... 315
▫ List Or Browse Mode ................. 317
▫ Bluetooth Streaming Audio (BTSA) ........ 319
� Uconnect™ Multimedia
(Sirius Backseat TV™) — If Equipped ........ 320
� Video Entertainment System™
(Sales Code XRV) — If Equipped ........... 320�
Steering Wheel Audio Controls ............ 321
▫ Radio Operation ..................... 322
▫ CD Player ......................... 322
� CD/DVD Disc Maintenance .............. 323
� Radio Operation And Mobile Phones ....... 323
� Climate Controls ...................... 323
▫ Dual-Zone Manual Heating And Air
Conditioning ....................... 324
▫ Dual-Zone Automatic Temperature Control
(ATC) — If Equipped ................. 328
▫ Operating Tips ...................... 334
▫ Operating Tips Chart ................. 336
4
UNDERSTANDING YOUR INSTRUMENT PANEL 245
Page 303 of 587

Program Type 16-Digit Character DisplayInformation Inform
Jazz Jazz
News News
Nostalgia Nostalga
Oldies Oldies
Personality Persnlty
Public Public
Rhythm and Blues R & B
Religious Music Rel Musc
Religious Talk Rel Talk
Rock Rock
Soft Soft
Soft Rock Soft Rck
Soft Rhythm and Blues Soft R&B
Sports Sports
Talk TalkProgram Type 16-Digit Character Display
Top 40 Top 40
Weather Weather
By pressing the SEEK button when the Music Type icon
is displayed, the radio will be tuned to the next frequency
station with the same selected Music Type name. The
Music Type function only operates when in the FM
mode.
If a preset button is activated while in the Music Type
(Program Type) mode, the Music Type mode will be
exited and the radio will tune to the preset station.
SETUP Button
Pressing the SETUP button allows you to select between
the following items:
•Set Clock — Pressing the SELECT button will allow
you to set the clock. Adjust the hours by turning the
TUNE/SCROLL control knob. After adjusting the
4
UNDERSTANDING YOUR INSTRUMENT PANEL 301
Page 321 of 587

Bluetooth Streaming Audio (BTSA)
Music can be streamed from your cellular phone to the
Uconnect™ phone system.
Controlling BTSA using Radio Buttons
To get into the BTSA mode, press either “AUX” button on
the radio or press VR button and say “Bluetooth Stream-
ing Audio”.
Play Mode
When switched to BTSA mode, some audio devices can
start playing music over the vehicle’s audio system, but
some devices require the music to be initiated on the
device first, then it will get streamed to Uconnect™
phone system. Seven devices can be paired to Uconnect™
phone system, but just one can be selected and played.
Selecting different Audio Device
1. Press PHONE button to begin.2. After the
�Ready�prompt and the following beep, say
�Setup�, then �Select Audio Devices�.
3. Say name of the audio device or ask Uconnect™
phone system to list audio devices.
Next Track
Use the SEEK UP button, or press the VR button on the
radio and say “Next Track” to jump to the next track
music on your cellular phone.
Previous Track
Use the SEEK DOWN button, or press the VR button on
the radio and say “Previous Track” to jump to the
previous track music on your cellular phone.
Browse
Browsing is not available on a BTSA device. Only the
current song that is playing will display info.
4
UNDERSTANDING YOUR INSTRUMENT PANEL 319
Page 326 of 587
Dual-Zone Manual Heating and Air Conditioning
The Dual-Zone Manual Climate Controls allow both
driver and front passenger seat occupants to select indi-
vidual comfort settings. The controls consist of a series of
outer rotary dials and inner push knobs.
Blower Control
Rotate this control to regulate the
amount of air forced through the ven-
tilation system in any mode. The
blower speed increases as you move
the control to the right from the “O”
(OFF) position. There are seven blower
speeds.
Temperature Controls
•
Driver Temperature ControlRotate this control to regulate the tem-
perature of the air inside the passenger
compartment for the left front seat
occupant. Rotating the dial left into
the blue area of the scale indicates
cooler temperatures while rotating
right into the red area indicates
warmer temperatures.
324 UNDERSTANDING YOUR INSTRUMENT PANEL
Page 327 of 587

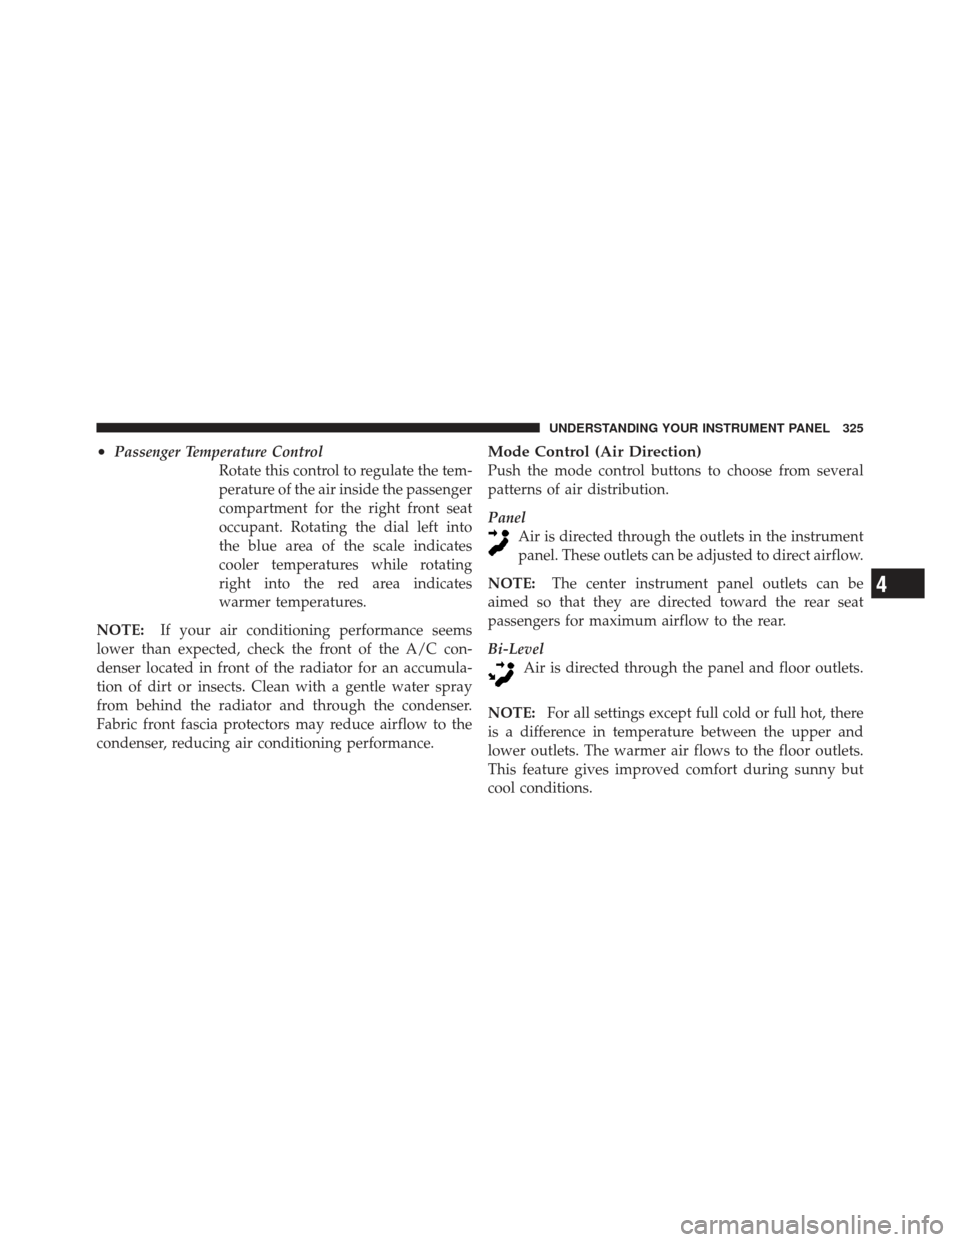
•Passenger Temperature ControlRotate this control to regulate the tem-
perature of the air inside the passenger
compartment for the right front seat
occupant. Rotating the dial left into
the blue area of the scale indicates
cooler temperatures while rotating
right into the red area indicates
warmer temperatures.
NOTE: If your air conditioning performance seems
lower than expected, check the front of the A/C con-
denser located in front of the radiator for an accumula-
tion of dirt or insects. Clean with a gentle water spray
from behind the radiator and through the condenser.
Fabric front fascia protectors may reduce airflow to the
condenser, reducing air conditioning performance.Mode Control (Air Direction)
Push the mode control buttons to choose from several
patterns of air distribution.
Panel Air is directed through the outlets in the instrument
panel. These outlets can be adjusted to direct airflow.
NOTE: The center instrument panel outlets can be
aimed so that they are directed toward the rear seat
passengers for maximum airflow to the rear.
Bi-Level Air is directed through the panel and floor outlets.
NOTE: For all settings except full cold or full hot, there
is a difference in temperature between the upper and
lower outlets. The warmer air flows to the floor outlets.
This feature gives improved comfort during sunny but
cool conditions.
4
UNDERSTANDING YOUR INSTRUMENT PANEL 325
Page 329 of 587

NOTE:
•Continuous use of the recirculation mode may make
the inside air stuffy and window fogging may occur.
Extended use of this mode is not recommended.
•The use of the recirculation mode in cold or damp
weather could cause windows to fog on the inside,
because of moisture buildup inside the vehicle. Select
the Outside Air position for maximum defogging.
•The A/C will engage automatically to prevent fogging
when the recirculation button is pressed and the mode
control is set to panel or panel / floor.
•The A/C can be deselected manually without disturb-
ing the mode control selection.
•When the ignition switch is turned to the LOCK
position or the ignition switch START/STOP button is
cycled to OFF, the recirculation feature will be
cancelled.
Air Conditioning Control
Press this button to engage the Air
Conditioning. A light will illuminate
when the Air Conditioning System is
engaged. Rotating the dial left into the
blue area of the scale indicates cooler
temperatures while rotating right into
the red area indicates warmer tem-
peratures.
NOTE: The air conditioning compressor will not engage
until the engine has been running for about 10 seconds.
•MAX A/C
For maximum cooling use the A/C and recirculation
buttons at the same time.
•ECONOMY MODE
If economy mode is desired, press the A/C button to turn
OFF the indicator light and the A/C compressor. Then,
move the temperature control to the desired temperature.
4
UNDERSTANDING YOUR INSTRUMENT PANEL 327
Page 523 of 587
Cavity CartridgeFuseMini
Fuse Description
J03 30 Amp Pink Trailer Tow
J04 25 Amp Natural Driver Door Node
J05 25 Amp Natural Passenger Door Node
J06 40 Amp Green Antilock Brakes
Pump/Stability Con-
trol System
J07 30 Amp Pink Antilock Brakes
Valve/Stability Control
System
J08 40 Amp Green Power Seat
J09 30 Amp Pink E-BrakeCavity Cartridge
FuseMini
Fuse Description
J10 30 Amp Pink Headlamp Wash Relay
Contact
J11 30 Amp Pink Drive Train Control
Module
J12 30 Amp Pink Rear Defroster
J13 60 Amp Yellow Main Ignition Off
Draw (IOD)
J14 20 Amp Blue Trailer Tow Lamps/
Park Lamps
J15 40 Amp Green Front Cabin Fan/
Blower
J17 40 Amp Green Starter Motor Solenoid
7
MAINTAINING YOUR VEHICLE 521
Page 524 of 587
Cavity CartridgeFuseMini
Fuse Description
J18 20 Amp Blue Powertrain Control
Module/Powertrain
Control Module Trans-
mission Range
J19 60 Amp Yellow Radiator Fan Motor
HI/Radiator Fan Mo-
tor Low
J20 30 Amp Pink Front Wiper
J21 20 Amp Blue Front/Rear Washer
Control
J22 25 Amp Natural Sunroof Module
M1 15 Amp
Blue Stop LampsCavity Cartridge
FuseMini
Fuse Description
M2 20 Amp YellowElectronic Limit Slip
Differential/Air Sus-
pension
M3 20 Amp YellowLiftgate/Headrest
M5 25 Amp
Natural 115V AC Power In-
verter
M6 20 Amp
Yellow Cigar Lighter
M7 20 Amp
Yellow Power Outlet #2 (Swit-
chable)
M8 20 Amp
Yellow Front Heated Seat &
Steering Wheel
M9 20 Amp
Yellow Rear Heated Seats
M10 15 Amp
Blue Video/Universal Ga-
rage Door Opener
522 MAINTAINING YOUR VEHICLE