2011 JEEP GRAND CHEROKEE lights
[x] Cancel search: lightsPage 264 of 587

•Clean Radar Sensor in the Front of Vehicle — If the
ACC system deactivates due to performance limiting
conditions. Refer to “Adaptive Cruise Control (ACC)”
in “Understanding The Features Of Your Vehicle” (if
equipped).
•ACC/FCW Unavailable Vehicle System Error — If the
ACC system turns off due to a temporary malfunction
that limits functionality. Refer to “Adaptive Cruise
Control (ACC)” in “Understanding The Features Of
Your Vehicle” (if equipped).
•ACC/FCW Unavailable Service Radar Sensor — If the
ACC system turns off due to an internal system fault
that requires service from an authorized dealer. Refer
to “Adaptive Cruise Control (ACC)” in “Understand-
ing The Features Of Your Vehicle” (if equipped).
•Coolant low
•Service air suspension system
•Oil change due
•Key in ignition
•Lights on
•Key in Ignition Lights On
•Ignition or Accessory On
•Ignition or Accessory On. Lights On
•Turn signal on
•Park assist on
•Warning object detected
•Remote start aborted — Door ajar
•Remote start aborted — Hood ajar
•Remote start aborted — L/Gate ajar
•Remote start aborted — Fuel low
262 UNDERSTANDING YOUR INSTRUMENT PANEL
Page 268 of 587
EVIC White Telltale Lights
This area will show reconfigurable white caution tell-
tales. These telltales include:
•Shift Lever Status
The shift lever status “P,R,N,D,L,5,4,3,2,1” are displayed
indicating the shift lever position. Telltales “5,4,3,2,1”
indicate the Electronic Range Select (ERS) feature has
been engaged and the gear selected is displayed. For
further information on ERS, refer to “Starting And Oper-
ating”
•Electronic Speed Control ON This light will turn on when the electronic
speed control is ON. For further information,
refer to “Electronic Speed Control” in “Under-
standing The Features Of Your Vehicle”.
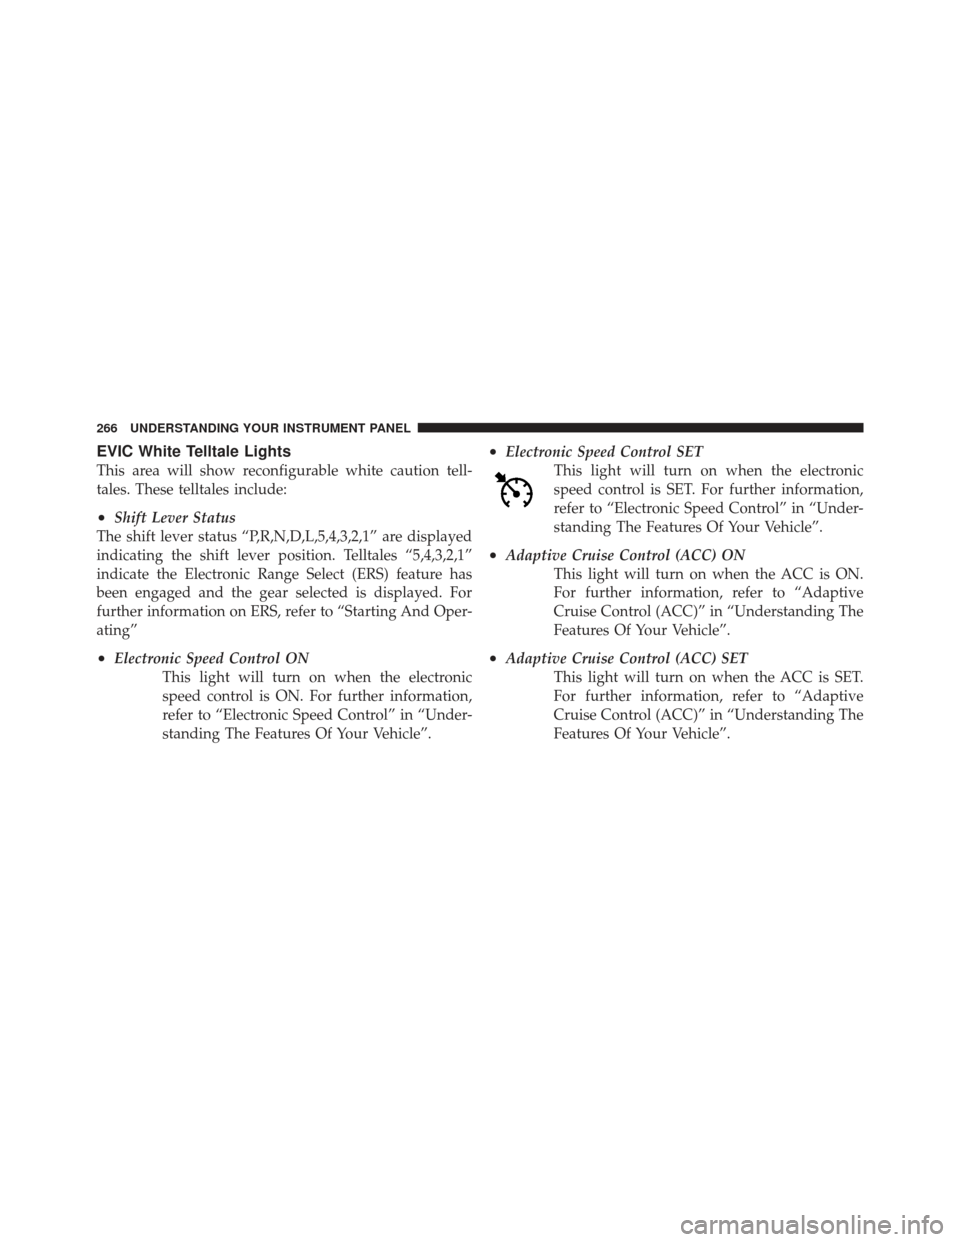
•Electronic Speed Control SET This light will turn on when the electronic
speed control is SET. For further information,
refer to “Electronic Speed Control” in “Under-
standing The Features Of Your Vehicle”.
•Adaptive Cruise Control (ACC) ONThis light will turn on when the ACC is ON.
For further information, refer to “Adaptive
Cruise Control (ACC)” in “Understanding The
Features Of Your Vehicle”.
•Adaptive Cruise Control (ACC) SETThis light will turn on when the ACC is SET.
For further information, refer to “Adaptive
Cruise Control (ACC)” in “Understanding The
Features Of Your Vehicle”.
266 UNDERSTANDING YOUR INSTRUMENT PANEL
Page 269 of 587
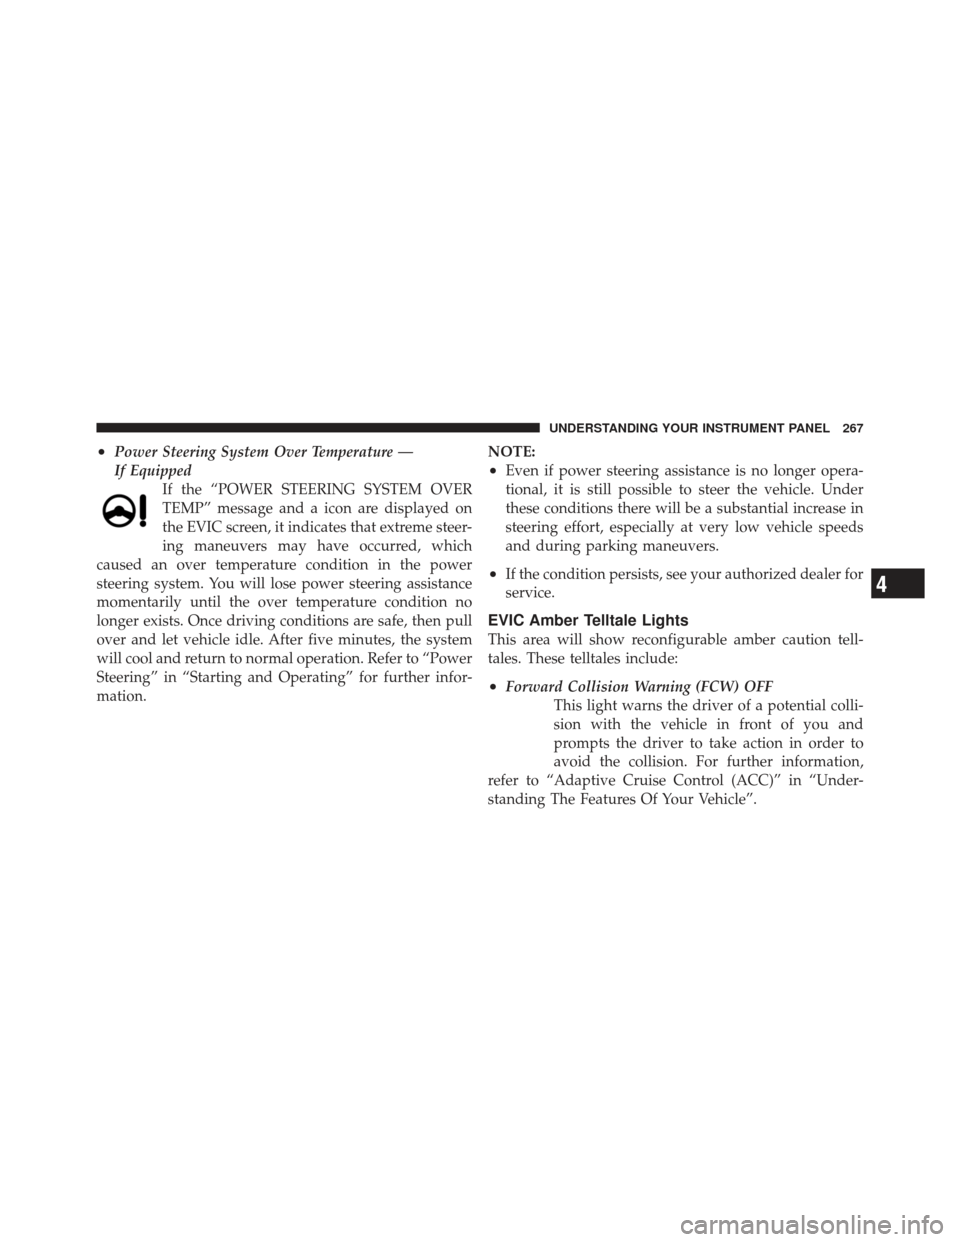
•Power Steering System Over Temperature —
If EquippedIf the “POWER STEERING SYSTEM OVER
TEMP” message and a icon are displayed on
the EVIC screen, it indicates that extreme steer-
ing maneuvers may have occurred, which
caused an over temperature condition in the power
steering system. You will lose power steering assistance
momentarily until the over temperature condition no
longer exists. Once driving conditions are safe, then pull
over and let vehicle idle. After five minutes, the system
will cool and return to normal operation. Refer to “Power
Steering” in “Starting and Operating” for further infor-
mation. NOTE:
•Even if power steering assistance is no longer opera-
tional, it is still possible to steer the vehicle. Under
these conditions there will be a substantial increase in
steering effort, especially at very low vehicle speeds
and during parking maneuvers.
•If the condition persists, see your authorized dealer for
service.
EVIC Amber Telltale Lights
This area will show reconfigurable amber caution tell-
tales. These telltales include:
•Forward Collision Warning (FCW) OFF
This light warns the driver of a potential colli-
sion with the vehicle in front of you and
prompts the driver to take action in order to
avoid the collision. For further information,
refer to “Adaptive Cruise Control (ACC)” in “Under-
standing The Features Of Your Vehicle”.
4
UNDERSTANDING YOUR INSTRUMENT PANEL 267
Page 271 of 587
EVIC Red Telltale Lights
This area will show reconfigurable red telltales. These
telltales include:
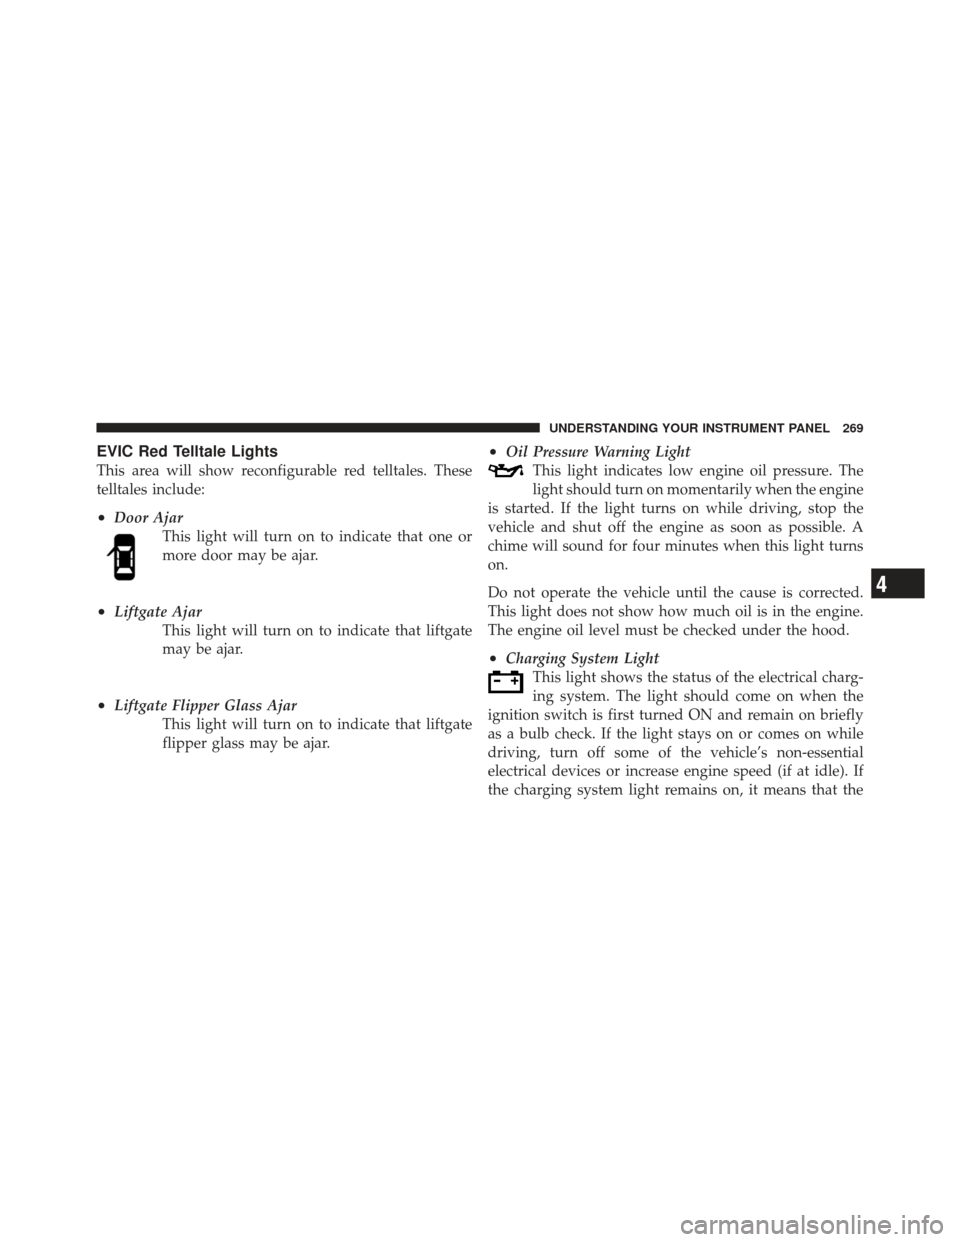
•Door AjarThis light will turn on to indicate that one or
more door may be ajar.
•Liftgate AjarThis light will turn on to indicate that liftgate
may be ajar.
•Liftgate Flipper Glass AjarThis light will turn on to indicate that liftgate
flipper glass may be ajar.
•Oil Pressure Warning LightThis light indicates low engine oil pressure. The
light should turn on momentarily when the engine
is started. If the light turns on while driving, stop the
vehicle and shut off the engine as soon as possible. A
chime will sound for four minutes when this light turns
on.
Do not operate the vehicle until the cause is corrected.
This light does not show how much oil is in the engine.
The engine oil level must be checked under the hood.
•Charging System Light This light shows the status of the electrical charg-
ing system. The light should come on when the
ignition switch is first turned ON and remain on briefly
as a bulb check. If the light stays on or comes on while
driving, turn off some of the vehicle’s non-essential
electrical devices or increase engine speed (if at idle). If
the charging system light remains on, it means that the
4
UNDERSTANDING YOUR INSTRUMENT PANEL 269
Page 285 of 587

This feature may be selected with or without the “Flash
Lamps with Lock” feature. To make your selection, press
and release the SELECT button until a check-mark ap-
pears next to the feature showing the system has been
activated or the check-mark is removed, showing the
system has been deactivated.
Horn With Remote Start
When this feature is selected, a short horn sound will
occur when the RKE transmitter REMOTE START button
is pressed. To make your selection, press and release the
SELECT button until a check-mark appears next to the
feature showing the system has been activated or the
check-mark is removed, showing the system has been
deactivated.
Flash Lamps With Lock
When this feature is selected, the front and rear turn
signals will flash when the doors are locked or unlocked
with the RKE transmitter. This feature may be selectedwith or without the sound horn on lock feature selected.
To make your selection, press and release the SELECT
button until a check-mark appears next to the feature
showing the system has been activated or the check-mark
is removed, showing the system has been deactivated.
Headlamp Off Delay
When this feature is selected, the driver can choose to
have the headlights remain on for 0, 30, 60, or 90 seconds
when exiting the vehicle. To make your selection, scroll
up or down until the preferred setting is highlighted,
then press and release the SELECT button until a check-
mark appears next to the setting, showing that setting has
been selected.
Headlamps with Wipers
(Available with Automatic Headlamps Only)
When this feature is selected, and the headlight switch is
in the AUTO position, the headlights will turn on ap-
proximately 10 seconds after the wipers are turned on.
4
UNDERSTANDING YOUR INSTRUMENT PANEL 283
Page 286 of 587
The headlights will also turn off when the wipers are
turned off if they were turned on by this feature. To make
your selection, press and release the SELECT button until
a check-mark appears next to the feature showing the
system has been activated or the check-mark is removed,
showing the system has been deactivated.
NOTE:Turning the headlights on during the daytime
causes the instrument panel lights to dim. To increase the
brightness, refer to “Lights” in “Understanding The
Features Of Your Vehicle”.
Easy Entry/Exit Seat
(Available with Memory Seat Only)
This feature provides automatic driver seat positioning to
enhance driver mobility when entering and exiting the
vehicle. To make your selection, press and release the
SELECT button until a check-mark appears next to the
feature showing the system has been activated or the
check-mark is removed, showing the system has been
deactivated. NOTE:
The seat will return to the memorized seat
location (if Recall Memory with Remote Key Unlock is set
to ON) when the RKE transmitter is used to unlock the
door. Refer to “Driver Memory Seat” in “Understanding
The Features Of Your Vehicle” for further information.
Tilt Mirror in Reverse
When this feature is selected, the outside rearview mir-
rors will tilt downward when the ignition switch is in the
RUN position and the transmission shift lever is in the
REVERSE position. The mirrors will move back to their
previous position when the transmission is shifted out of
REVERSE. To make your selection, press and release the
SELECT button until a check-mark appears next to the
feature showing the system has been activated or the
check-mark is removed, showing the system has been
deactivated.
284 UNDERSTANDING YOUR INSTRUMENT PANEL
Page 287 of 587
Key-Off Power Delay
When this feature is selected, the power window
switches, radio, hands-free system (if equipped), DVD
video system (if equipped), power sunroof (if equipped),
and power outlets will remain active for up to 10 minutes
after the ignition switch is turned OFF. Opening either
front vehicle door will cancel this feature. To make your
selection, scroll up or down until the preferred setting is
highlighted, then press and release the SELECT button
until a check-mark appears next to the setting, showing
that setting has been selected.
Illuminated Approach
When this feature is selected, the headlights will activate
and remain on for 0, 30, 60, or 90 seconds when the doors
are unlocked with the RKE transmitter. To make your
selection, scroll up or down until the preferred setting is
highlighted, then press and release the SELECT button
until a check-mark appears next to the setting, showing
that setting has been selected.
Display Fuel Saver — If Equipped
The “ECO” message is located in the Compass/
Temperature display, this message can be turned on or
off. To make your selection, press and release the FUNC-
TION SELECT button until “ON” or “OFF” appears.
Keyless Enter-N-Go (Passive Entry)
This feature allows you to lock and unlock the vehicle’s
door(s) without having to press the RKE transmitter lock
or unlock buttons. To make your selection, press and
release the SELECT button until a check-mark appears
next to the feature showing the system has been activated
or the check-mark is removed, showing the system has
been deactivated. Refer to “Keyless Enter-N-Go” in
“Things To Know Before Starting Your Vehicle”.
Auto High Beams
(Available with SmartBeam™ Only)
When this feature is selected, the high beam headlights
will deactivate automatically under certain conditions. To
4
UNDERSTANDING YOUR INSTRUMENT PANEL 285
Page 288 of 587
make your selection, press and release the SELECT
button until a check-mark appears next to the feature
showing the system has been activated or the check-mark
is removed, showing the system has been deactivated.
Refer to “Lights/SmartBeam™ — If Equipped” in “Un-
derstanding The Features Of Your Vehicle” for further
information.
Wiper Mode — If Equipped
When this feature is selected, the system will automati-
cally activate the windshield wipers if it senses moisture
on the windshield. To make your selection, press and
release the SELECT button until a check-mark appears
next to the feature showing the system has been activated
or the check-mark is removed, showing the system has
been deactivated. When this feature is deactivated, the
system reverts to the standard intermittent wiper
operation.
Hill Start Assist (HSA)
When this feature is selected, the HSA system is active.
Refer to “Electronic Brake Control System” in “Starting
And Operating” for system function and operating infor-
mation. To make your selection, press and release the
SELECT button until a check-mark appears next to the
feature showing the system has been activated or the
check-mark is removed, showing the system has been
deactivated.
Blind Spot Alert
There are three selections when operating Blind Spot
Alert. By pressing and releasing the SELECT button once,
the Blind Spot Alert feature can be activated in “Blind
Spot: Lights Only” mode. When this mode is selected the
Blind Spot Monitor (BSM) system is activated and will
only show a visual alert in the outside mirrors. By
pressing and releasing the SELECT button a second time
“Blind Spot: Lights/CHM” mode is activated. In this
mode the Blind Spot Monitor (BSM) will show a visual
286 UNDERSTANDING YOUR INSTRUMENT PANEL