Page 279 of 587
NOTE:
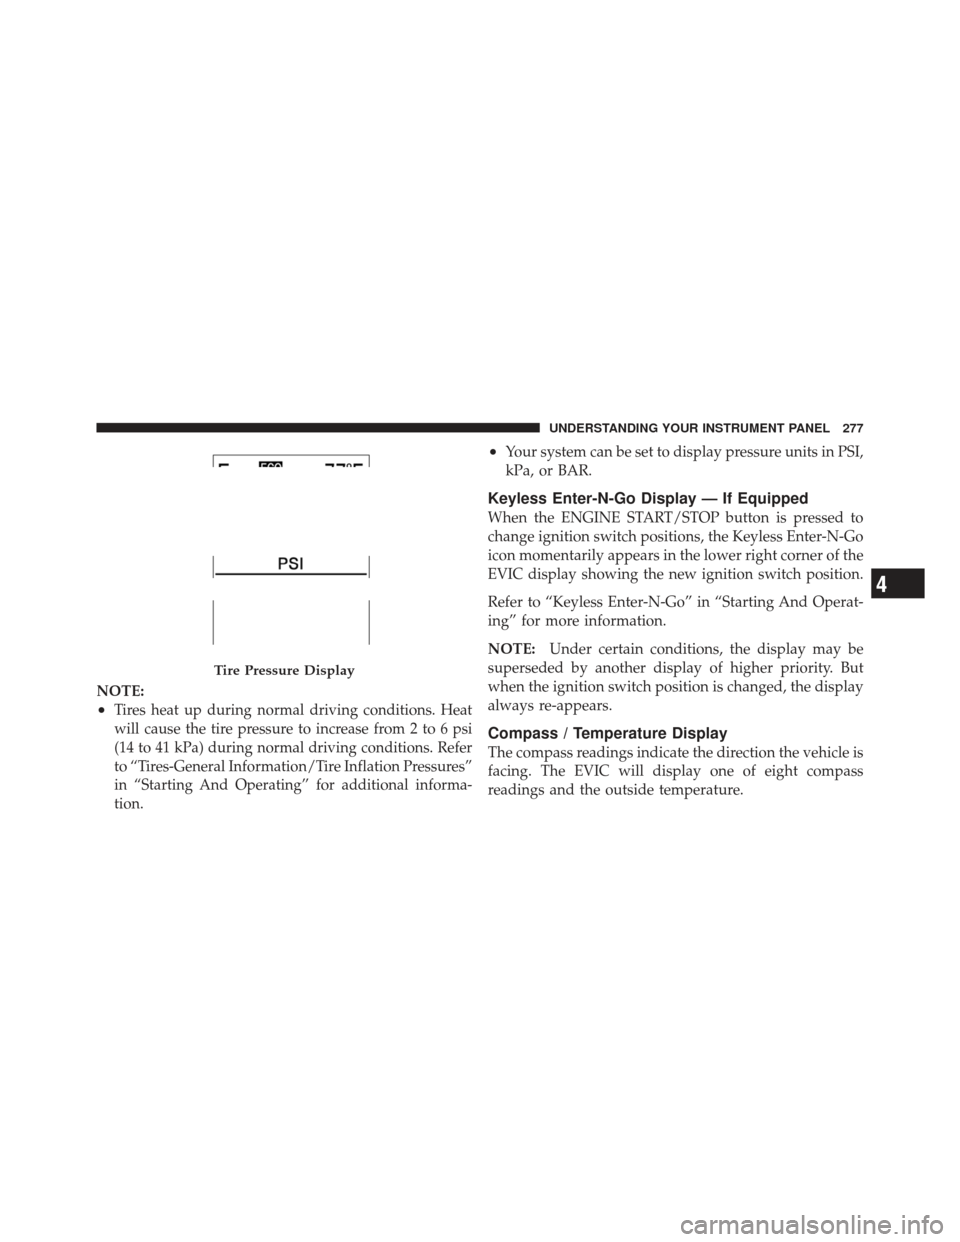
•Tires heat up during normal driving conditions. Heat
will cause the tire pressure to increase from 2 to 6 psi
(14 to 41 kPa) during normal driving conditions. Refer
to “Tires-General Information/Tire Inflation Pressures”
in “Starting And Operating” for additional informa-
tion.
•Your system can be set to display pressure units in PSI,
kPa, or BAR.
Keyless Enter-N-Go Display — If Equipped
When the ENGINE START/STOP button is pressed to
change ignition switch positions, the Keyless Enter-N-Go
icon momentarily appears in the lower right corner of the
EVIC display showing the new ignition switch position.
Refer to “Keyless Enter-N-Go” in “Starting And Operat-
ing” for more information.
NOTE:Under certain conditions, the display may be
superseded by another display of higher priority. But
when the ignition switch position is changed, the display
always re-appears.
Compass / Temperature Display
The compass readings indicate the direction the vehicle is
facing. The EVIC will display one of eight compass
readings and the outside temperature.
Tire Pressure Display
4
UNDERSTANDING YOUR INSTRUMENT PANEL 277
Page 280 of 587
NOTE:The system will display the last known outside
temperature when starting the vehicle and may need to
be driven several minutes before the updated tempera-
ture is displayed. Engine temperature can also affect the
displayed temperature, therefore temperature readings
are not updated when the vehicle is not moving.
Automatic Compass Calibration
This compass is self-calibrating, which eliminates the
need to manually reset the compass. When the vehicle is
new, the compass may appear erratic and the EVIC will
display CAL until the compass is calibrated. You may
also calibrate the compass by completing one or more
360–degree turns (in an area free from large metal or
metallic objects) until the CAL indicator displayed in the
EVIC turns off. The compass will now function normally. NOTE:
A good calibration requires a level surface and
an environment free from large metallic objects such as
buildings, bridges, underground cables, railroad tracks,
etc.
Manual Compass Calibration
If the compass appears erratic and the CAL indicator
does not appear in the EVIC display, you must put the
compass into the Calibration Mode manually, as follows:
1. Turn ON the ignition switch.
2. Press the UP or DOWN button until the Setup
(Customer-Programmable Features) menu is reached,
then press the SELECT button.
3. Press the DOWN button until “Calibrate Compass” is
displayed in the EVIC.
4. Press and release the SELECT button to start the
calibration. The “CAL” indicator will be displayed in the
EVIC.
278 UNDERSTANDING YOUR INSTRUMENT PANEL
Page 329 of 587
NOTE:
•Continuous use of the recirculation mode may make
the inside air stuffy and window fogging may occur.
Extended use of this mode is not recommended.
•The use of the recirculation mode in cold or damp
weather could cause windows to fog on the inside,
because of moisture buildup inside the vehicle. Select
the Outside Air position for maximum defogging.
•The A/C will engage automatically to prevent fogging
when the recirculation button is pressed and the mode
control is set to panel or panel / floor.
•The A/C can be deselected manually without disturb-
ing the mode control selection.
•When the ignition switch is turned to the LOCK
position or the ignition switch START/STOP button is
cycled to OFF, the recirculation feature will be
cancelled.
Air Conditioning Control
Press this button to engage the Air
Conditioning. A light will illuminate
when the Air Conditioning System is
engaged. Rotating the dial left into the
blue area of the scale indicates cooler
temperatures while rotating right into
the red area indicates warmer tem-
peratures.
NOTE: The air conditioning compressor will not engage
until the engine has been running for about 10 seconds.
•MAX A/C
For maximum cooling use the A/C and recirculation
buttons at the same time.
•ECONOMY MODE
If economy mode is desired, press the A/C button to turn
OFF the indicator light and the A/C compressor. Then,
move the temperature control to the desired temperature.
4
UNDERSTANDING YOUR INSTRUMENT PANEL 327
Page 333 of 587

3. When the system is set up for your comfort level, it is
not necessary to change the settings. You will experience
the greatest efficiency by simply allowing the system to
function automatically.
NOTE:
•It is not necessary to move the temperature settings for
cold or hot vehicles. The system automatically adjusts
the temperature, mode and fan speed to provide
comfort as quickly as possible.
•The temperature can be displayed in U.S. or Metric
units by selecting the US/M customer-programmable
feature. Refer to the “Electronic Vehicle Information
Center (EVIC) — Customer-Programmable Features
(SETUP)” in this section of the manual.
To provide you with maximum comfort in the Automatic
mode, during cold start-ups the blower fan will remain
on low until the engine warms up. The blower will
increase in speed and transition into Auto mode.
Manual Operation
This system offers a full complement of manual override
features.
NOTE: Each of these features operate independently
from each other. If any one feature is controlled manually,
temperature control will continue to operate automati-
cally.
There are seven fixed blower speeds.
Use the outer dial control to regulate
the amount of air forced through the
system in any mode you select. The
blower speed increases as you move
the control clockwise and decreases
when you move the control counter-
clockwise.
Blower Control
4
UNDERSTANDING YOUR INSTRUMENT PANEL 331
Page 337 of 587
Summer Operation
NOTE:In some cases during high temperature trailer
tow operation the Air Conditioning system performance
may be reduced. This is to help protect the engine from
overheating during the high load condition.
Your air conditioning system is also equipped with an
automatic recirculation system. When the system senses
a heavy load or high heat conditions, it may use partial
Recirculation A/C mode to provide additional comfort.
Winter Operation
When operating the system during the winter months,
make sure the air intake, located directly in front of the
windshield, is free of ice, slush, snow, or other obstructions.
Vacation Storage
Anytime you store your vehicle, or keep it out of service
(i.e. vacation) for two weeks or more, run the air condi-
tioning system at idle for about five minutes in the fresh
air and high blower setting. This will ensure adequate
system lubrication to minimize the possibility of com-
pressor damage when the system is started again.
4
UNDERSTANDING YOUR INSTRUMENT PANEL 335
Page 339 of 587
STARTING AND OPERATING
CONTENTS
�Starting Procedures .................... 343
▫ Automatic Transmission ............... 343
▫ Keyless Enter-N-Go ................... 344
▫ Normal Starting ..................... 345
▫ Extreme Cold Weather
(Below –20°F Or �29°C)............... 346
▫ If Engine Fails To Start ................ 347
▫ After Starting ....................... 348
� Engine Block Heater — If Equipped ........ 348�
Automatic Transmission ................. 349
▫ Key Ignition Park Interlock ............. 349
▫ Brake/Transmission Shift Interlock System . . 350
▫ Five-Speed Automatic Transmission ....... 350
▫ Gear Ranges ........................ 350
� Four-Wheel Drive Operation ............. 357
▫ Quadra-Trac I� Operating Instructions/
Precautions – If Equipped .............. 357
▫ Quadra-Trac II� Operating Instructions/
Precautions – If Equipped .............. 358
5
Page 340 of 587
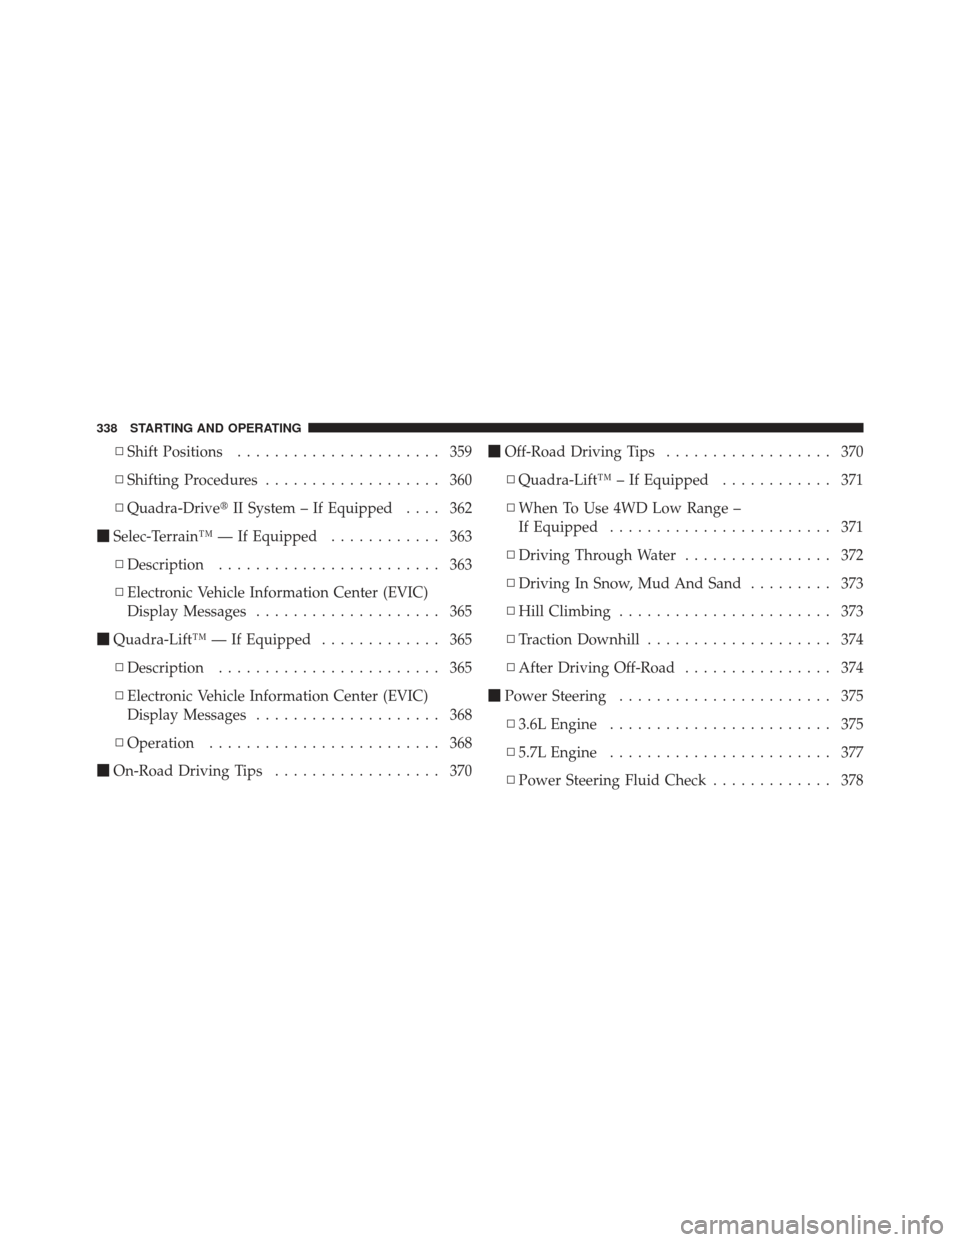
▫Shift Positions ...................... 359
▫ Shifting Procedures ................... 360
▫ Quadra-Drive� II System – If Equipped .... 362
� Selec-Terrain™ — If Equipped ............ 363
▫ Description ........................ 363
▫ Electronic Vehicle Information Center (EVIC)
Display Messages .................... 365
� Quadra-Lift™ — If Equipped ............. 365
▫ Description ........................ 365
▫ Electronic Vehicle Information Center (EVIC)
Display Messages .................... 368
▫ Operation ......................... 368
� On-Road Driving Tips .................. 370 �
Off-Road Driving Tips .................. 370
▫ Quadra-Lift™ – If Equipped ............ 371
▫ When To Use 4WD Low Range –
If Equipped ........................ 371
▫ Driving Through Water ................ 372
▫ Driving In Snow, Mud And Sand ......... 373
▫ Hill Climbing ....................... 373
▫ Traction Downhill .................... 374
▫ After Driving Off-Road ................ 374
� Power Steering ....................... 375
▫ 3.6L Engine ........................ 375
▫ 5.7L Engine ........................ 377
▫ Power Steering Fluid Check ............. 378
338 STARTING AND OPERATING
Page 341 of 587
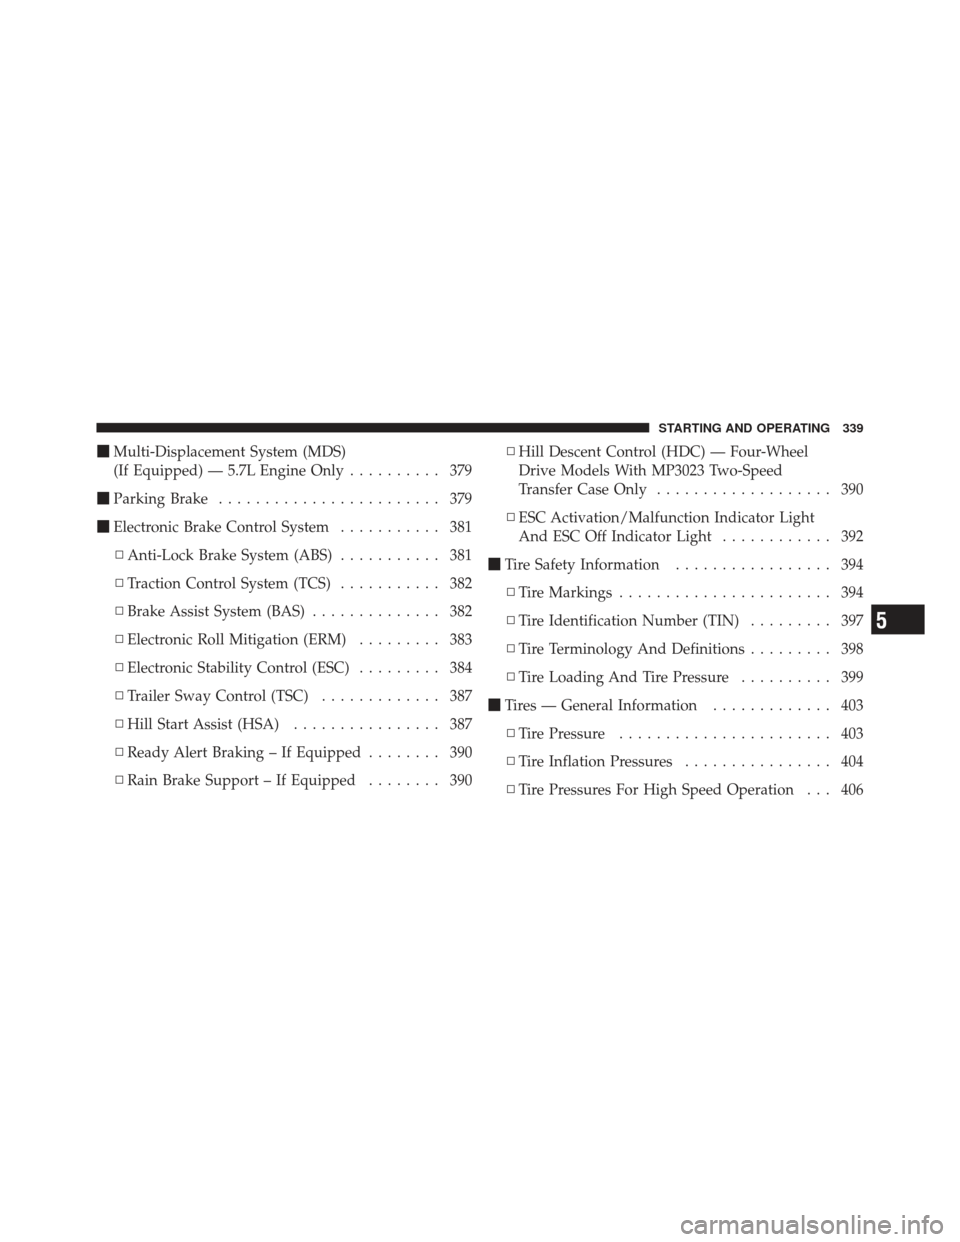
�Multi-Displacement System (MDS)
(If Equipped) — 5.7L Engine Only .......... 379
� Parking Brake ........................ 379
� Electronic Brake Control System ........... 381
▫ Anti-Lock Brake System (ABS) ........... 381
▫ Traction Control System (TCS) ........... 382
▫ Brake Assist System (BAS) .............. 382
▫ Electronic Roll Mitigation (ERM) ......... 383
▫ Electronic Stability Control (ESC) ......... 384
▫ Trailer Sway Control (TSC) ............. 387
▫ Hill Start Assist (HSA) ................ 387
▫ Ready Alert Braking – If Equipped ........ 390
▫ Rain Brake Support – If Equipped ........ 390▫
Hill Descent Control (HDC) — Four-Wheel
Drive Models With MP3023 Two-Speed
Transfer Case Only ................... 390
▫ ESC Activation/Malfunction Indicator Light
And ESC Off Indicator Light ............ 392
� Tire Safety Information ................. 394
▫ Tire Markings ....................... 394
▫ Tire Identification Number (TIN) ......... 397
▫ Tire Terminology And Definitions ......... 398
▫ Tire Loading And Tire Pressure .......... 399
� Tires — General Information ............. 403
▫ Tire Pressure ....................... 403
▫ Tire Inflation Pressures ................ 404
▫ Tire Pressures For High Speed Operation . . . 406
5
STARTING AND OPERATING 339