Page 223 of 587
Wind Buffeting
Wind buffeting can be described as the perception of
pressure on the ears or a helicopter-type sound in the
ears. Your vehicle may exhibit wind buffeting with the
windows down, or the sunroof (if equipped) in certain
open or partially open positions. This is a normal occur-
rence and can be minimized. If the buffeting occurs with
the rear windows open, open the front and rear windows
together to minimize the buffeting. If the buffeting occurs
with the sunroof open, adjust the sunroof opening to
minimize the buffeting or open any window.
Sunroof Maintenance
Use only a non-abrasive cleaner and a soft cloth to clean
the glass panel.
Ignition OFF Operation
The power sunroof switches can be programmed to
remain active for up to approximately ten minutes after
the ignition switch has been turned OFF. Refer to “Elec-
tronic Vehicle Information Center (EVIC)/Customer-
Programmable Features (System Setup)” under “Under-
standing Your Instrument Panel” for further information.
NOTE:Opening either front door will cancel this
feature.
Sunroof Fully Closed
Press the switch forward and release to ensure that the
sunroof is fully closed.
ELECTRICAL POWER OUTLETS
Your vehicle is equipped with 12 Volt (13 Amp) power
outlets that can be used to power cellular phones, small
electronics and other low powered electrical accessories.
The power outlets are labeled with either a “key” or a
“battery” symbol to indicate how the outlet is powered.
3
UNDERSTANDING THE FEATURES OF YOUR VEHICLE 221
Page 224 of 587
Power outlets labeled with a “key” are powered when
the ignition switch is in the ON or ACC position, while
the outlets labeled with a “battery” are connected directly
to the battery and powered at all times.
NOTE:
•All accessories connected to the “battery” powered
outlets should be removed or turned off when the
vehicle is not in use to protect the battery against
discharge.
•To ensure proper operation a MOPAR�knob and
element must be used.
•Do not exceed the maximum power of 160 Watts (13
Amps) at 12 Volts. If the 160 Watt (13 Amp) power
rating is exceeded the fuse protecting the system will
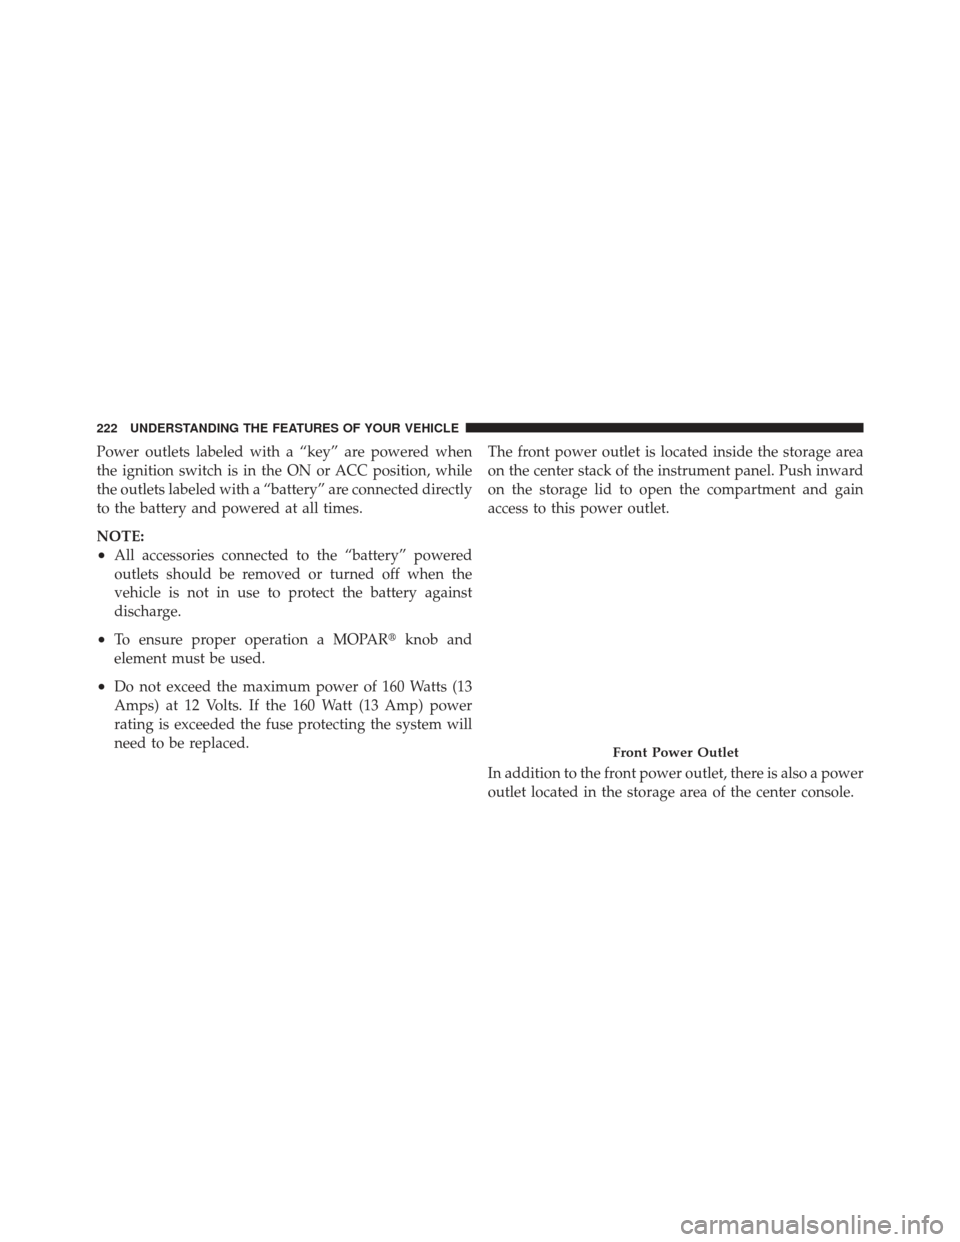
need to be replaced. The front power outlet is located inside the storage area
on the center stack of the instrument panel. Push inward
on the storage lid to open the compartment and gain
access to this power outlet.
In addition to the front power outlet, there is also a power
outlet located in the storage area of the center console.
Front Power Outlet
222 UNDERSTANDING THE FEATURES OF YOUR VEHICLE
Page 227 of 587
CAUTION!
•Many accessories that can be plugged in draw
power from the vehicle’s battery, even when not in
use (i.e., cellular phones, etc.). Eventually, if
plugged in long enough, the vehicle’s battery will
discharge sufficiently to degrade battery life
and/or prevent the engine from starting.
•Accessories that draw higher power (i.e., coolers,
vacuum cleaners, lights, etc.) will degrade the
battery even more quickly. Only use these inter-
mittently and with greater caution.(Continued)
CAUTION! (Continued)
•After the use of high power draw accessories, or
long periods of the vehicle not being started (with
accessories still plugged in), the vehicle must be
driven a sufficient length of time to allow the
generator to recharge the vehicle’s battery.
3
UNDERSTANDING THE FEATURES OF YOUR VEHICLE 225
Page 241 of 587
NOTE:To prevent excessive battery drain, use the rear
window defroster only when the engine is operating.
CAUTION!
Failure to follow these cautions can cause damage to
the heating elements:
•Use care when washing the inside of the rear
window. Do not use abrasive window cleaners on
the interior surface of the window. Use a soft cloth
and a mild washing solution, wiping parallel to
the heating elements. Labels can be peeled off
after soaking with warm water.
•Do not use scrapers, sharp instruments, or abra-
sive window cleaners on the interior surface of the
window.
•Keep all objects a safe distance from the window.
ROOF LUGGAGE RACK — IF EQUIPPED
The crossbars and siderails are designed to carry the
weight on vehicles equipped with a luggage rack. The
load must not exceed 150 lbs (68 kg), and should be
uniformly distributed over the luggage rack crossbars.
NOTE: If not equipped with crossbars, your authorized
dealer can order and install MOPAR� crossbars built
specifically for this roof rack system.
Distribute cargo weight evenly on the roof rack crossbars.
The roof rack does not increase the total load carrying
capacity of the vehicle. Be sure the total load of cargo
inside the vehicle plus that on the external rack does not
exceed the maximum vehicle load capacity.
3
UNDERSTANDING THE FEATURES OF YOUR VEHICLE 239
Page 262 of 587
BACK ButtonPress the BACK button to scroll back to a
previous menu or sub menu.
Electronic Vehicle Information Center (EVIC)
Displays
When the appropriate conditions exist, the EVIC displays
the following messages:
•Service Tire Pressure System
•Service Park Assist System
•Park Assist System Blinded
•Park Assist Disabled
•Keyfob Battery Low
•Liftglass Open
•Left front turn signal lamp out
•Right front turn signal lamp out
•Left rear turn signal lamp out
•Right rear turn signal lamp out
•Check Tire Pressure
•ESC System Off
•Service blind spot system
•Blind spot detection unavailable
•Blind spot system off
•Blind spot system unavailable sensor blocked
•Normal Cruise Ready — When Adaptive Cruise Con-
trol (ACC) system is turned off and Normal (Fixed
Speed) Cruise Control mode is available. Refer to
“Adaptive Cruise Control (ACC)” in “Understanding
The Features Of Your Vehicle” (if equipped).
260 UNDERSTANDING YOUR INSTRUMENT PANEL
Page 316 of 587
Connecting The iPod�or External USB Device
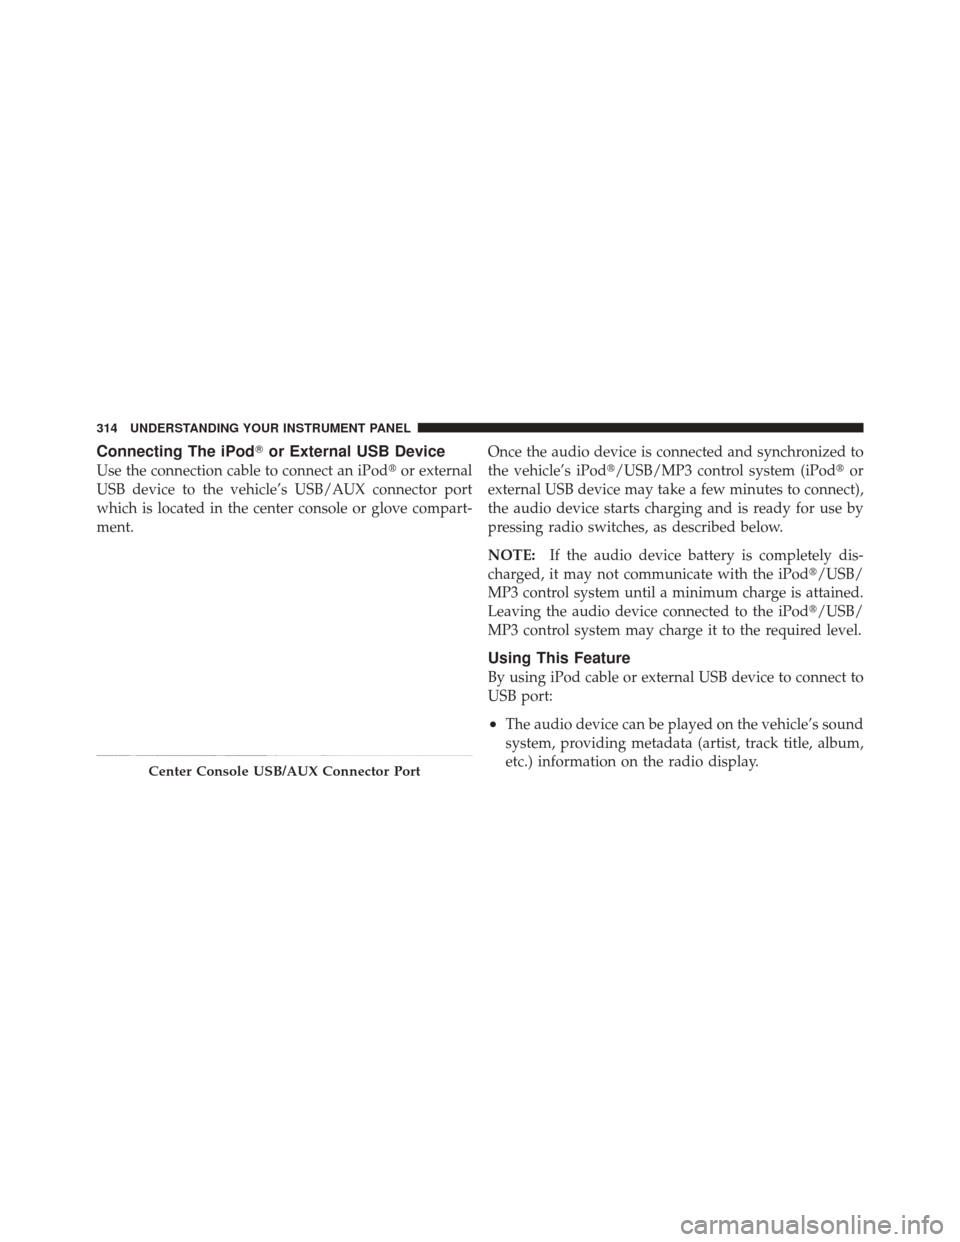
Use the connection cable to connect an iPod� or external
USB device to the vehicle’s USB/AUX connector port
which is located in the center console or glove compart-
ment. Once the audio device is connected and synchronized to
the vehicle’s iPod�/USB/MP3 control system (iPod�
or
external USB device may take a few minutes to connect),
the audio device starts charging and is ready for use by
pressing radio switches, as described below.
NOTE: If the audio device battery is completely dis-
charged, it may not communicate with the iPod�/USB/
MP3 control system until a minimum charge is attained.
Leaving the audio device connected to the iPod �/USB/
MP3 control system may charge it to the required level.
Using This Feature
By using iPod cable or external USB device to connect to
USB port:
•The audio device can be played on the vehicle’s sound
system, providing metadata (artist, track title, album,
etc.) information on the radio display.
Center Console USB/AUX Connector Port
314 UNDERSTANDING YOUR INSTRUMENT PANEL
Page 317 of 587
•The audio device can be controlled using the radio
buttons to Play, Browse, and List the iPod�contents.
•The audio device battery charges when plugged into
the USB/AUX connector (if supported by the specific
audio device)
Controlling The iPod�or External USB Device
Using Radio Buttons
To get into the iPod�/USB/MP3 control mode and access
a connected audio device, either press the “AUX” button
on the radio faceplate or press VR button and say �USB�
or �Switch to USB�. Once in the iPod�/USB/MP3 control
mode, audio tracks (if available from audio device) start
playing over the vehicle’s audio system.
Play Mode
When switched to iPod�/USB/MP3 control mode, the
iPod� or external USB device automatically starts Play
mode. In Play mode, the following buttons on the radio
faceplate may be used to control the iPod� or external
USB device and display data:
•Use the TUNE control knob to select the next or
previous track.
•Turning it clockwise (forward) by one click, while
playing a track, skips to the next track or press VR
button and say �Next Track�.
•Turning it counterclockwise (backward) by one
click, will jump to the previous track in the list or
press VR button and say �Previous Track�
•Jump backward in the current track by pressing and
holding the <
button long enough will jump to the beginning of
the current track.
4
UNDERSTANDING YOUR INSTRUMENT PANEL 315
Page 322 of 587

Uconnect™ Multimedia
(SIRIUS BACKSEAT TV™) — IF EQUIPPED
Satellite video uses direct satellite receiver broadcasting
technology to provide streaming video. The subscription
service provider is SIRIUS Satellite Radio. Uconnect™
studio (SIRIUS Backseat TV™) offers three video chan-
nels for family entertainment, directly from its satellites
and broadcasting studios.
NOTE:SIRIUS Backseat TV™ service is not available in
Hawaii or Canada and has limited coverage in Alaska.
Refer to the Uconnect™ User Manual located on the
DVD, RER Navigation, RHB Multimedia or RBZ Multi-
media User Manuals for detailed operating instructions.
VIDEO ENTERTAINMENT SYSTEM™
(SALES CODE XRV) — IF EQUIPPED
The optional VES™ (Video Entertainment System) con-
sists of a DVD player and LCD (liquid crystal display) screen, a battery-powered remote control, and two head-
sets. Refer to the “Uconnect™ Multimedia” section of
Uconnect™ User Manual located on the DVD for further
details.
The LCD screen is located on the headliner behind the
front seats.
Lowering the Display Screen
320 UNDERSTANDING YOUR INSTRUMENT PANEL