2011 JEEP GRAND CHEROKEE check engine light
[x] Cancel search: check engine lightPage 453 of 587
Towing Tips
Before setting out on a trip, practice turning, stopping
and backing the trailer in an area away from heavy
traffic.
Automatic Transmission
The DRIVE range can be selected when towing. How-
ever, if frequent shifting occurs while in this range, the
TOW/HAUL mode (if equipped), or a lower gear range,
should be selected.
NOTE:Using the TOW/HAUL mode (if equipped) or
selecting a lower gear range (using the Electronic Range
Select (ERS) feature) while operating the vehicle under
heavy operating conditions, will improve performance
and extend transmission life by reducing excessive shift-
ing and heat buildup. This action will also provide better
engine braking. The transmission fluid and filter should be changed if
you REGULARLY tow a trailer for more than 45 minutes
of continuous operation. Refer to “Maintenance Sched-
ule” for the proper maintenance intervals.
NOTE:
Check the transmission fluid level before towing
(5.7L engine).
Electronic Speed Control – If Equipped
�
Do not use in hilly terrain or with heavy loads.
�When using the speed control, if you experience speed
drops greater than 10 mph (16 km/h), disengage until
you can get back to cruising speed.
�Use speed control in flat terrain and with light loads to
maximize fuel efficiency.
5
STARTING AND OPERATING 451
Page 462 of 587
NOTE:When shifting out of transfer case NEUTRAL
(N), turning the engine OFF may be required to avoid
gear clash.
7. Shift the transmission into PARK.
8. Release the brake pedal.
9. Disconnect vehicle from the tow vehicle.
10. Start the engine.
11. Press and hold the brake pedal.
12. Release the parking brake.
13. Shift the transmission into DRIVE, release the brake
pedal, and check that the vehicle operates normally.
14. The Keyless Enter-N-Go button (if equipped) may
now be reinstalled if desired. Refer to “Starting
Procedures/Keyless Enter-N-Go” in “Starting and Oper-
ating” for further information. NOTE:
•Steps 1 through 5 are requirements that must be met
prior to pressing the NEUTRAL (N) button, and must
continue to be met until the shift has been completed.
If any of these requirements are not met prior to
pressing the NEUTRAL (N) button or are no longer
met during the shift, the NEUTRAL (N) indicator light
will flash continuously until all requirements are met
or until the NEUTRAL (N) button is released.
•The ignition switch must be in the ON/RUN position
for a shift to take place and for the position indicator
lights to be operable. If the ignition switch is not in the
ON/RUN position, the shift will not take place and no
position indicator lights will be on or flashing.
•A flashing NEUTRAL (N) position indicator light
indicates that shift requirements have not been met.
460 STARTING AND OPERATING
Page 488 of 587
the SELECT button to turn off the message. If the
problem continues, the message will appear the next time
the vehicle is started.
A loose, improperly installed, or damaged fuel filler cap
may also turn on the Malfunction Indicator Light (MIL).
EMISSIONS INSPECTION AND MAINTENANCE
PROGRAMS
In some localities, it may be a legal requirement to pass
an inspection of your vehicle’s emissions control system.
Failure to pass could prevent vehicle registration.For states that require an Inspection and Mainte-
nance (I/M), this check verifies the “Malfunction
Indicator Light (MIL)” is functioning and is not
on when the engine is running, and that the OBD II
system is ready for testing. Normally, the OBD II system will be ready. The OBD II
system may
notbe ready if your vehicle was recently
serviced, recently had a dead battery or a battery replace-
ment. If the OBD II system should be determined not
ready for the I/M test, your vehicle may fail the test.
Your vehicle has a simple ignition key-actuated test,
which you can use prior to going to the test station. To
check if your vehicle’s OBD II system is ready, you must
do the following:
1. Turn the ignition switch to the ON position, but do not
crank or start the engine.
2. If you crank or start the engine, you will have to start
this test over.
3. As soon as you turn the ignition switch to the ON
position, you will see the MIL symbol come on as part of
a normal bulb check.
486 MAINTAINING YOUR VEHICLE
Page 500 of 587

3. Grab the bottom of the wiper blade and rotate it
forward to unsnap the blade pivot pin from the wiper
blade holder.4. Install the wiper blade pivot pin into the wiper blade
holder at the end of the wiper arm, and firmly press the
wiper blade until it snaps into place.
5. Lower the wiper blade and snap the pivot cap into
place.
Adding Washer Fluid
On vehicles equipped with a Electronic Vehicle Informa-
tion Center (EVIC), the low washer fluid level will be
indicated. When the sensor detects a low fluid level, the
windshield will light on the vehicle graphic outline and
the “WASHER FLUID LOW” message will be displayed.
The fluid reservoir for the windshield washers and the
rear window washer is shared. The fluid reservoir is
located in the engine compartment, be sure to check the
fluid level at regular intervals. Fill the reservoir with
windshield washer solvent only (not radiator antifreeze).
When refilling the washer fluid reservoir, take some
washer fluid and apply it to a cloth or towel and wipe
1—WiperBlade
2 — Blade Pivot Pin
3—WiperArm
4 — Wiper Blade Holder
498 MAINTAINING YOUR VEHICLE
Page 541 of 587
referring to the steps described under “Electronic Vehicle
Information Center (EVIC)/Oil Change Required” in
“Understanding Your Instrument Panel” for further in-
formation.
At Each Stop for Fuel
•Check the engine oil level about five minutes after a
fully warmed engine is shut off. Checking the oil level
while the vehicle is on level ground will improve the
accuracy of the oil level reading. Add oil only when
the level is at or below the ADD or MIN mark.
•Check the windshield washer solvent and add if
required.
Once a Month
•Check tire pressure and look for unusual wear or
damage.
•Check the fluid levels of the coolant reservoir, brake
master cylinder, power steering and transmission
(5.7L only) and add as needed.
•Check all lights and other electrical items for correct
operation.
At Each Oil Change
•Change the engine oil filter.
•Inspect the brake hoses and lines.
CAUTION!
Failure to perform the required maintenance items
may result in damage to the vehicle.
Required Maintenance Intervals
Refer to the Maintenance Schedules on the following
pages for the required maintenance intervals.
8
M A I
N T
E
N A
N CE
S
C
H E
D
U L
E
SMAINTENANCE SCHEDULES 539
Page 568 of 587

Cargo Area Cover....................... 234
Cargo Area Features ...................... 231
Cargo Compartment ...................... 231
Light ............................... 233
Cargo Light ............................ 233
Cargo Tie-Downs ........................ 236
Cellular Phone ....................... 121,323
Center High Mounted Stop Light ............ 532
Certification Label ....................... 436
Chains, Tire ............................ 412
Changing A Flat Tire ..................... 463
Chart, Tire Sizing ........................ 395
Check Engine Light
(Malfunction Indicator Light) ............... 486
Checking Your Vehicle For Safety ............. 96
Checks, Safety ........................... 96
Child Restraint .................... 82,83,88,91
Child Restraint Tether Anchors .............86,88
Child Safety Locks ........................ 35 Clean Air Gasoline
....................... 425
Climate Control ......................... 323
Clock ............................. 289,298
Cold Weather Operation ................... 346
Compact Disc (CD) Maintenance ............. 323
Compact Spare Tire ...................... 407
Compass .............................. 277
Compass Calibration ..................... 278
Compass Variance ....................... 279
Computer, Trip/Travel .................... 274
Connector UCI ................................ 313
Universal Consumer Interface (UCI) ......... 313
Conserving Fuel ........................ 273
Console, Overhead ....................... 206
Contract, Service ........................ 557
Cooling System ......................... 502
Adding Coolant (Antifreeze) .............. 504
Coolant Capacity ...................... 533
566 INDEX
Page 571 of 587
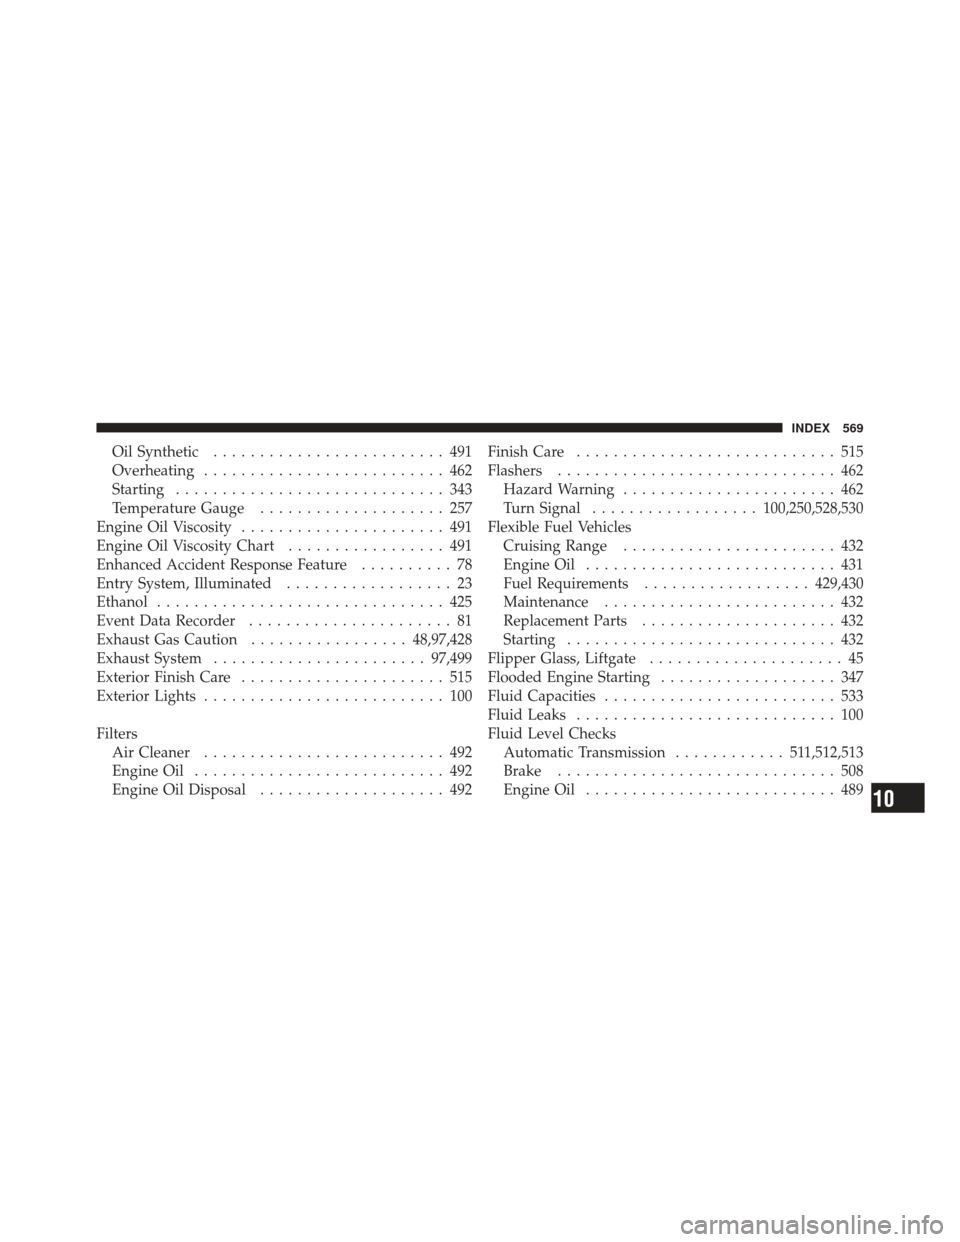
Oil Synthetic......................... 491
Overheating .......................... 462
Starting ............................. 343
Temperature Gauge .................... 257
Engine Oil Viscosity ...................... 491
Engine Oil Viscosity Chart ................. 491
Enhanced Accident Response Feature .......... 78
Entry System, Illuminated .................. 23
Ethanol ............................... 425
Event Data Recorder ...................... 81
Exhaust Gas Caution ................. 48,97,428
Exhaust System ....................... 97,499
Exterior Finish Care ...................... 515
Exterior Lights .......................... 100
Filters Air Cleaner .......................... 492
Engine Oil ........................... 492
Engine Oil Disposal .................... 492 Finish Care
............................ 515
Flashers .............................. 462
Hazard Warning ....................... 462
Turn Signal .................. 100,250,528,530
Flexible Fuel Vehicles Cruising Range ....................... 432
Engine Oil ........................... 431
Fuel Requirements .................. 429,430
Maintenance ......................... 432
Replacement Parts ..................... 432
Starting ............................. 432
Flipper Glass, Liftgate ..................... 45
Flooded Engine Starting ................... 347
Fluid Capacities ......................... 533
Fluid Leaks ............................ 100
Fluid Level Checks Automatic Transmission ............ 511,512,513
Brake .............................. 508
Engine Oil ........................... 489
10
INDEX 569
Page 575 of 587
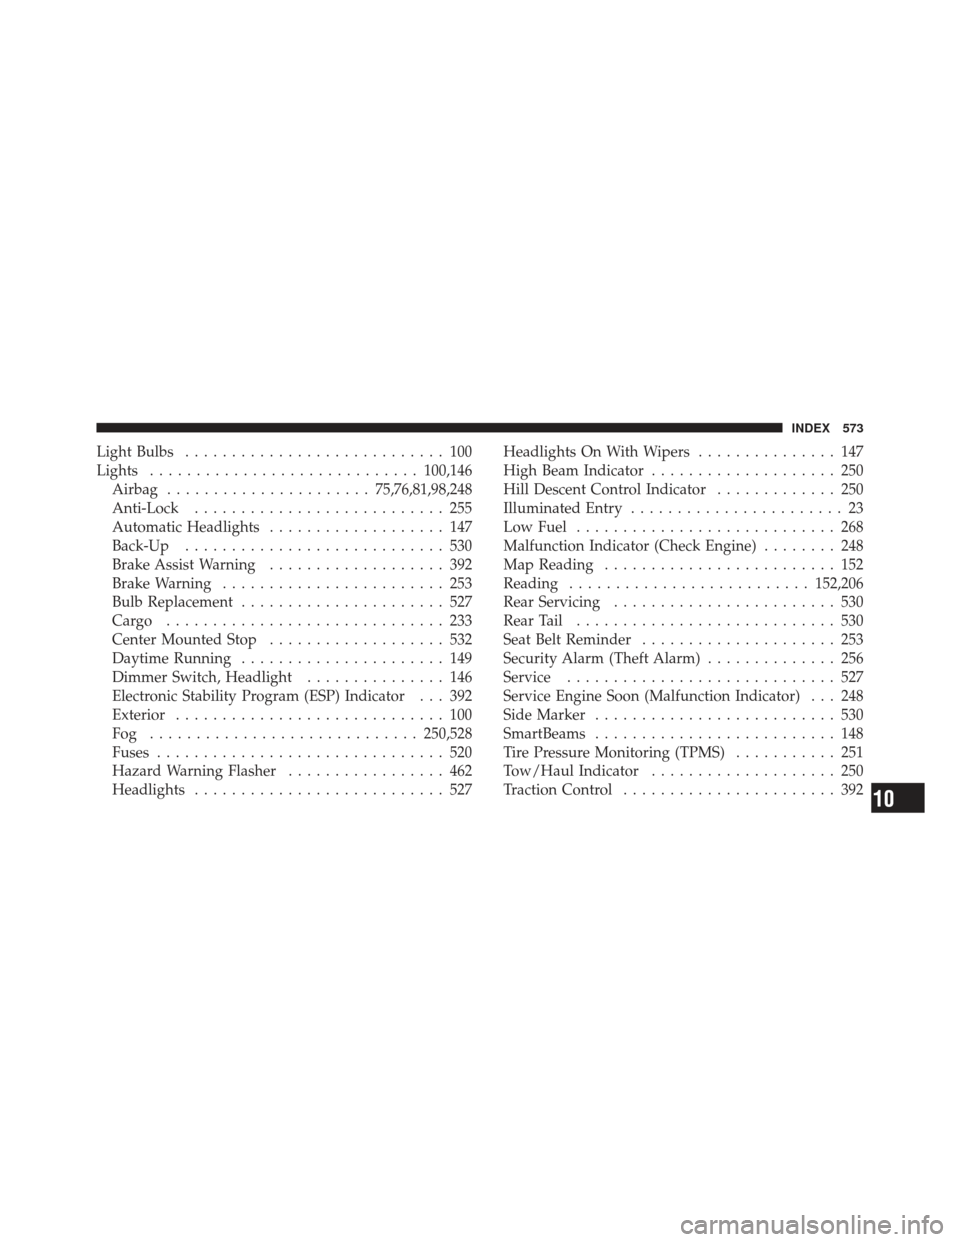
Light Bulbs............................ 100
Lights ............................. 100,146
Airbag ...................... 75,76,81,98,248
Anti-Lock ........................... 255
Automatic Headlights ................... 147
Back-Up ............................ 530
Brake Assist Warning ................... 392
Brake Warning ........................ 253
Bulb Replacement ...................... 527
Cargo .............................. 233
Center Mounted Stop ................... 532
Daytime Running ...................... 149
Dimmer Switch, Headlight ............... 146
Electronic Stability Program (ESP) Indicator . . . 392
Exterior ............................. 100
Fog ............................. 250,528
Fuses ............................... 520
Hazard Warning Flasher ................. 462
Headlights ........................... 527 Headlights On With Wipers
............... 147
High Beam Indicator .................... 250
Hill Descent Control Indicator ............. 250
Illuminated Entry ....................... 23
Low Fuel ............................ 268
Malfunction Indicator (Check Engine) ........ 248
Map Reading ......................... 152
Reading .......................... 152,206
Rear Servicing ........................ 530
Rear Tail ............................ 530
Seat Belt Reminder ..................... 253
Security Alarm (Theft Alarm) .............. 256
Service ............................. 527
Service Engine Soon (Malfunction Indicator) . . . 248
Side Marker .......................... 530
SmartBeams .......................... 148
Tire Pressure Monitoring (TPMS) ........... 251
Tow/Haul Indicator .................... 250
Traction Control ....................... 392
10
INDEX 573