Page 79 of 419
4
Keys / 4-3
Smart key / 4-5
Remote keyless entry / 4-8
Theft-alarm system / 4-11
Door locks / 4-13
Tailgate / 4-17
Windows / 4-24
Hood / 4-28
Fuel filler lid / 4-30
Sunroof / 4-33
Driver position memory system / 4-37
Steering wheel / 4-39
Mirrors / 4-41
Instrument cluster / 4-49
Rear parking assist system / 4-69
Rear view camera / 4-72
Hazard warning flasher / 4-72
Lighting / 4-73
Wipers and washers / 4-79
Interior light / 4-84
Defroster / 4-88
Manual climate control system / 4-89
Automatic climate control system / 4-101
Features of your vehicle
procarmanuals.com
Page 103 of 419

425
Features of your vehicle
D080100AUN
Power windows
The ignition switch must be in the ON
position for power windows to operate.
Each door has a power window switch
that controls the door's window. The driv-
er has a power window lock switch which
can block the operation of passenger
windows. The power windows can be
operated for approximately 30 seconds
after the ignition key is removed or turned
to the ACC or LOCK position. However, if
the front doors are opened, the power
windows cannot be operated within the
30 second period after the ignition key
removal.
✽✽NOTICE
While driving with the rear windows
down or with the sunroof (if equipped)
in an open (or partially open) position,
your vehicle may demonstrate a wind
buffeting or pulsation noise. This
noise is a normal occurrence and can be
reduced or eliminated by taking the fol-
lowing actions. If the noise occurs with
one or both of the rear windows down,
partially lower both front windows
approximately one inch. If you expe-
rience the noise with the sunroof open,
slightly reduce the size of the sunroof
opening.
D080101AUN
Window opening and closing
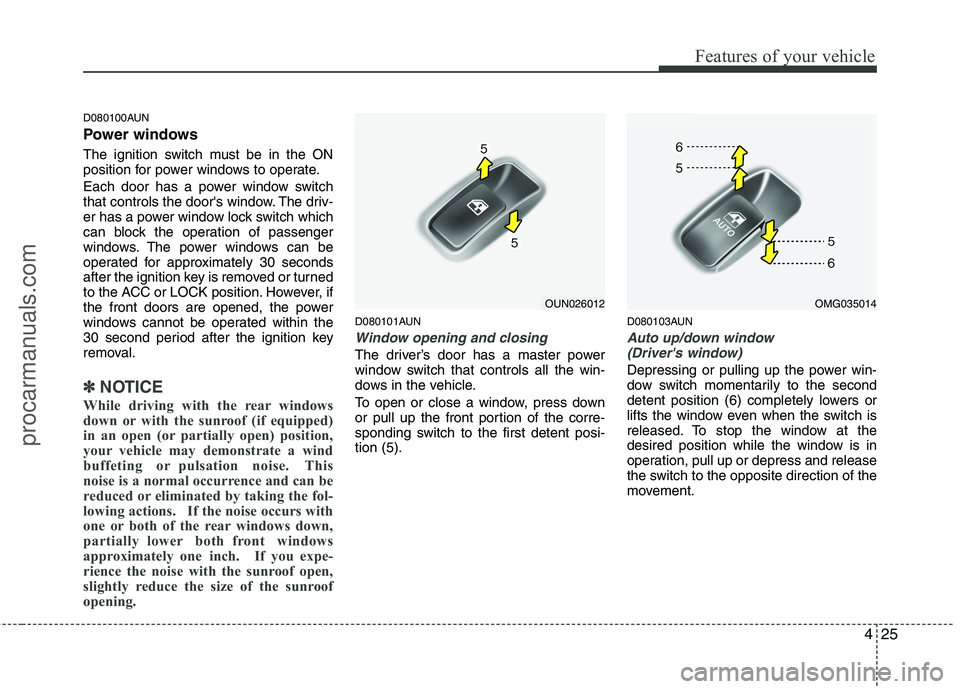
The driver’s door has a master power
window switch that controls all the win-
dows in the vehicle.
To open or close a window, press down
or pull up the front portion of the corre-
sponding switch to the first detent posi-tion (5). D080103AUN
Auto up/down window
(Driver's window)
Depressing or pulling up the power win-
dow switch momentarily to the second
detent position (6) completely lowers or
lifts the window even when the switch is
released. To stop the window at the
desired position while the window is in
operation, pull up or depress and release
the switch to the opposite direction of the
movement.
OUN026012OMG035014
procarmanuals.com
Page 111 of 419

433
Features of your vehicle
D110000AEN
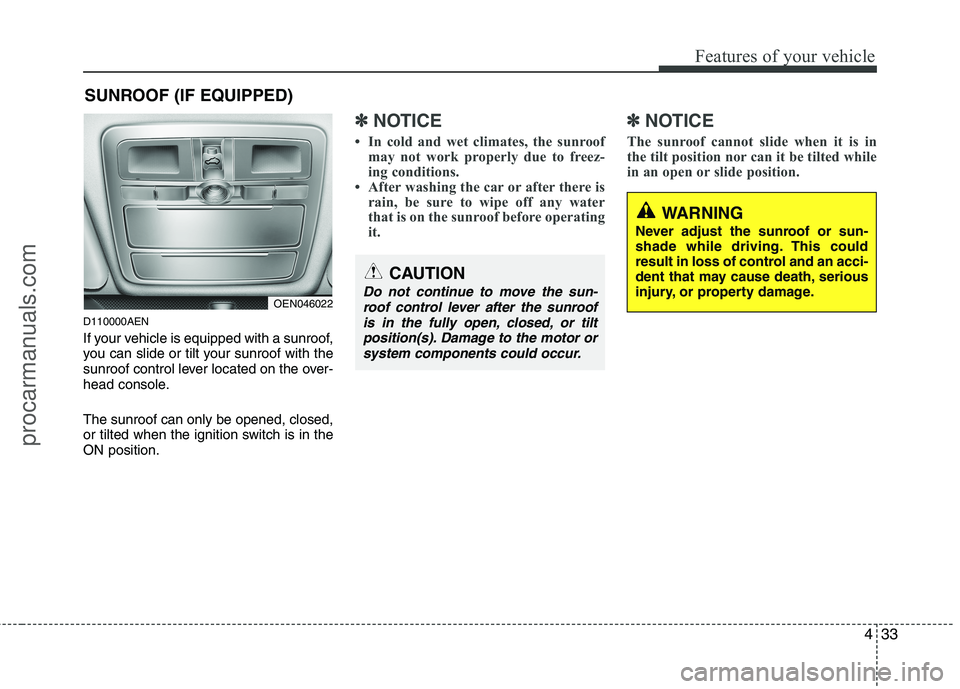
If your vehicle is equipped with a sunroof,
you can slide or tilt your sunroof with the
sunroof control lever located on the over-
head console. The sunroof can only be opened, closed,
or tilted when the ignition switch is in theON position.
✽✽NOTICE
In cold and wet climates, the sunroof may not work properly due to freez-
ing conditions.
After washing the car or after there is
rain, be sure to wipe off any water
that is on the sunroof before operating
it. ✽✽
NOTICE
The sunroof cannot slide when it is in
the tilt position nor can it be tilted while
in an open or slide position.
SUNROOF (IF EQUIPPED)
OEN046022
CAUTION
Do not continue to move the sun- roof control lever after the sunroof is in the fully open, closed, or tilt
position(s). Damage to the motor orsystem components could occur.
WARNING
Never adjust the sunroof or sun-
shade while driving. This could
result in loss of control and an acci-
dent that may cause death, serious
injury, or property damage.
procarmanuals.com
Page 112 of 419

Features of your vehicle
34
4
D110100AEN
Sliding the sunroof
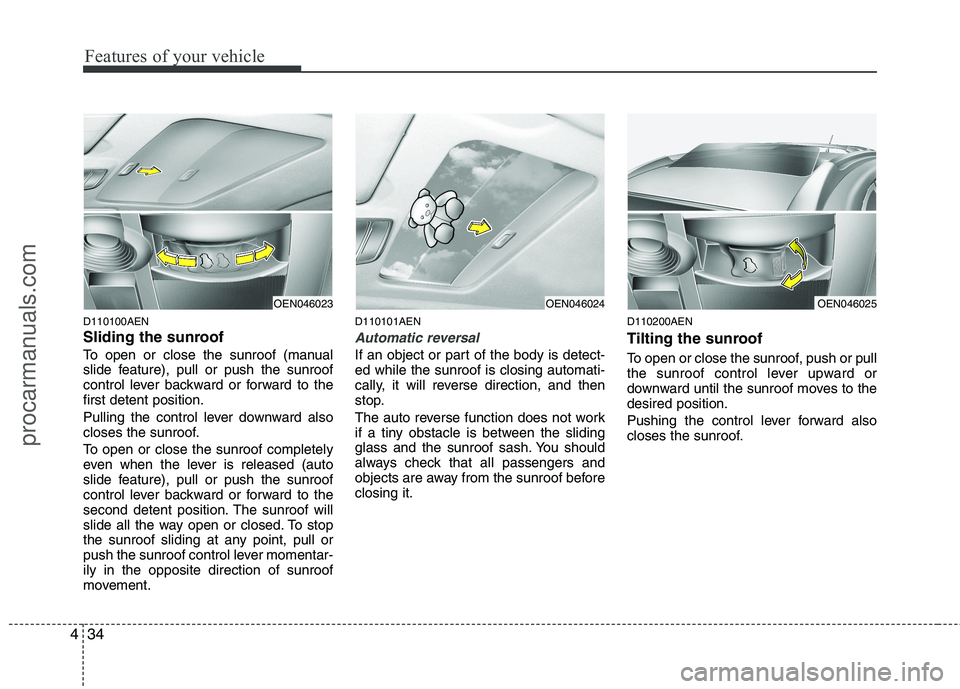
To open or close the sunroof (manual
slide feature), pull or push the sunroof
control lever backward or forward to thefirst detent position.
Pulling the control lever downward also
closes the sunroof.
To open or close the sunroof completely
even when the lever is released (auto
slide feature), pull or push the sunroof
control lever backward or forward to the
second detent position. The sunroof will
slide all the way open or closed. To stop
the sunroof sliding at any point, pull or
push the sunroof control lever momentar-ily in the opposite direction of sunroof
movement. D110101AEN
Automatic reversal
If an object or part of the body is detect- ed while the sunroof is closing automati-
cally, it will reverse direction, and then
stop.
The auto reverse function does not work
if a tiny obstacle is between the sliding
glass and the sunroof sash. You should
always check that all passengers and
objects are away from the sunroof beforeclosing it.
D110200AEN
Tilting the sunroof
To open or close the sunroof, push or pull
the sunroof control lever upward or
downward until the sunroof moves to thedesired position.
Pushing the control lever forward also
closes the sunroof.
OEN046025OEN046023OEN046024
procarmanuals.com
Page 113 of 419
435
Features of your vehicle
D110300AEN Sunshade The sunshade will automatically open with the glass panel when the glass
panel moves. Close it manually if you
want it closed.
CAUTION
Periodically remove any dirt thatmay accumulate on the guide rail.
If you try to open the sunroof when the temperature is belowfreezing or when the sunroof iscovered with snow or ice, the
glass or the motor could be dam- aged.
The sunroof is made to slide together with the sunshade. Donot leave the sunshade closed
while the sunroof is open.
OEN046026
WARNING - Sunroof
Be careful that no heads, hands and body parts are obstructing a
closing sunroof.
Do not extend the face, neck, arms or body outside the sunroofwhile driving.
Make sure your hands and head are safely out of the way before
closing a sunroof.
procarmanuals.com
Page 114 of 419
Features of your vehicle
36
4
D110500CEN
Resetting the sunroof
Whenever the vehicle battery is discon-
nected or discharged, you must reset
your sunroof system as follows:
1. Turn the ignition switch to the ON posi-
tion.
2. Close the sunroof completely.
3. Release the sunroof control lever.
4. Pull and hold the sunroof control lever downward until the sunroof has
returned to the original position of tilt
after it is raised a little higher than the
maximum tilt position. Then, release
the lever.
5. Pull and hold the sunroof control lever downward until the sunroof is operated
as follows;
TILT DOWN �SLIDE OPEN �
SLIDE CLOSE
Then, release the lever.
When this is complete, the sunroof sys- tem is reset.
procarmanuals.com
Page 201 of 419
4123
Features of your vehicle
D281000AEN
Luggage net (holder) (if equipped)
To keep items from shifting in the cargo
area, you can use the 6 holders locatedin the cargo area to attach the luggagenet.If necessary, contact your authorized
HYUNDAI dealer to obtain a luggage net.
D290100BEN
Roof rack (if equipped)
If the vehicle has a roof rack, you can
load cargo on top of your vehicle.
✽✽NOTICE
If the vehicle is equipped with a sunroof,
be sure not to position cargo onto the
roof rack in such a way that it could
interfere with sunroof operation.
OEN049175L
CAUTION
To prevent damage to the goods or the vehicle, care should be takenwhen carrying fragile or bulky
objects in the luggage compart-ment.
WARNING
Avoid eye injury. DO NOT over-
stretch the luggage net, ALWAYS
keep your face and body out of the
luggage net’s recoil path. DO NOT
use when the strap has visible
signs of wear or damage.
EXTERIOR FEATURES
OEN047164
OEN047165L-1
Type A
Type B
procarmanuals.com
Page 363 of 419
Maintenance
46
7
G190400AEN
Removing the battery
1. Remove the nut (1) and disconnect the
battery cable from the negative termi-
nal of the battery.
2. Remove the nuts (2, 3) and disconnect the battery cable from the positive ter-
minal of the battery.
3. Remove the battery.
4. Reinstall the battery in the reverse order of removal. G190300AEN Reset items
Items should be reset after the battery
has been discharged or the battery hasbeen disconnected.
Power tailgate (See section 4)
Auto up/down window (See section 4)
Sunroof (See section 4)
Driver position memory system
(See section 4)
Trip computer (See section 4)
Climate control system (See section 4)
Clock (See section 4)
Audio (See section 4)
OEN076052
WARNING
Before performing maintenance or recharging the battery, turn off all accessories and stop the
engine.
The negative battery cable must be removed first and installed
last when the battery is discon-nected.
procarmanuals.com