Page 234 of 534
Downloaded from www.Manualslib.com manuals search engine 4147
Features of your vehicle
To remove the barrier net
1. Press the lock release button(1) locat-ed at the end of both sides.
2. While pressing the button(1), pull out the barrier net(2).
✽
✽NOTICE
The cargo security screen must be
removed first to remove the barrier net.
Cargo security screen
(if equipped)
Use the cargo security screen to hide
items stored in the cargo area.
To use the cargo security screen
1. Pull the cargo security screen towards
the rear of the vehicle by the handle
(1).
2. Insert the guide pin into the guide (2).
✽ ✽ NOTICE
Pull out the cargo security screen with
the handle in the center to prevent the
guide pin from falling out of the guide.
OVF041194OVF041195OVF041196
Page 236 of 534
Downloaded from www.Manualslib.com manuals search engine 4149
Features of your vehicle
Luggage rail system
The luggage rail system may prevent the
luggage from sliding around in the lug-
gage compartment.
Build in segmentation bar
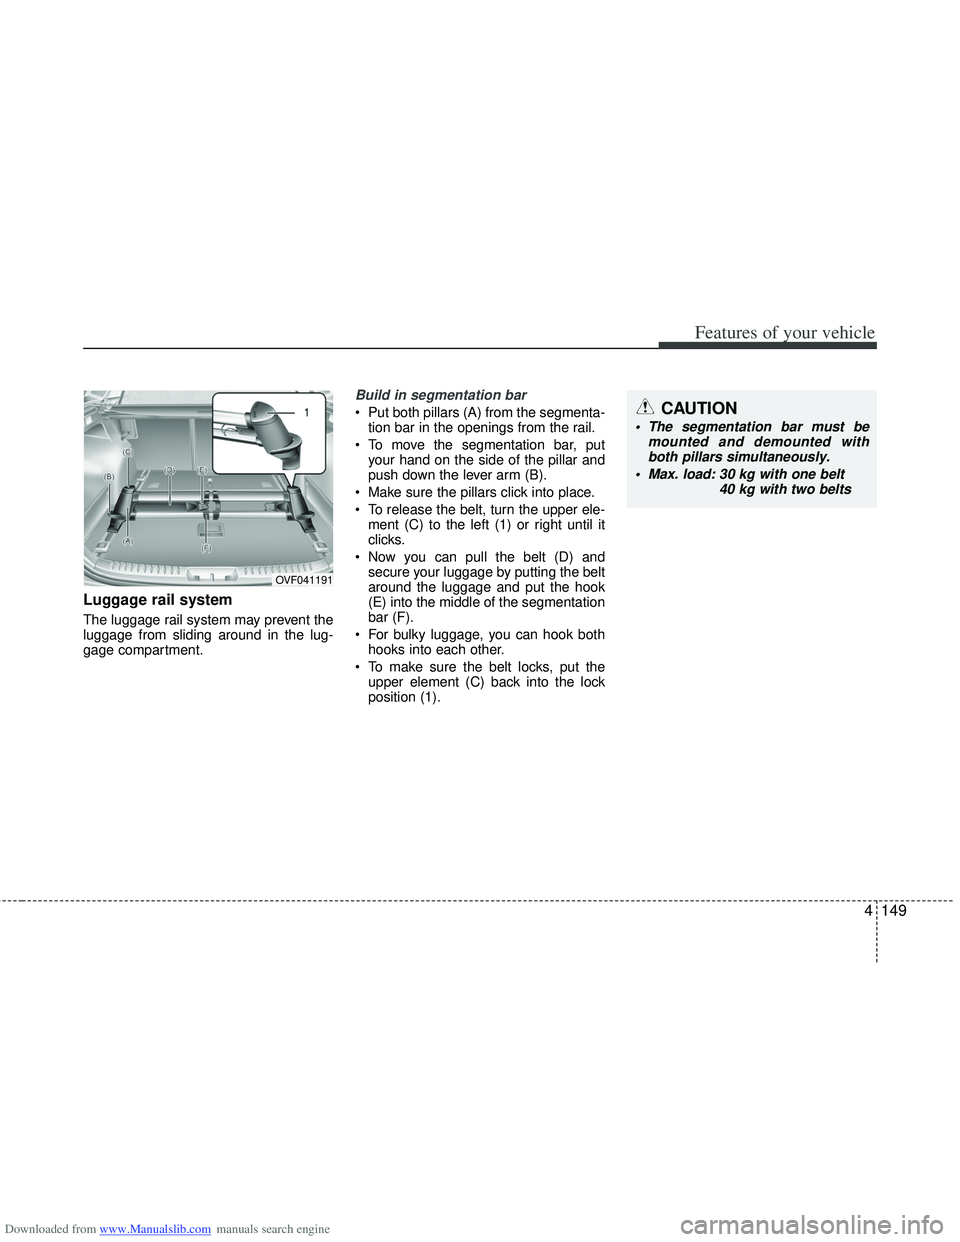
Put both pillars (A) from the segmenta-tion bar in the openings from the rail.
To move the segmentation bar, put your hand on the side of the pillar and
push down the lever arm (B).
Make sure the pillars click into place.
To release the belt, turn the upper ele- ment (C) to the left (1) or right until it
clicks.
Now you can pull the belt (D) and secure your luggage by putting the belt
around the luggage and put the hook
(E) into the middle of the segmentation
bar (F).
For bulky luggage, you can hook both hooks into each other.
To make sure the belt locks, put the upper element (C) back into the lock
position (1).
OVF041191
CAUTION
The segmentation bar must be mounted and demounted withboth pillars simultaneously.
Max. load: 30 kg with one belt
40 kg with two belts
Page 240 of 534
Downloaded from www.Manualslib.com manuals search engine 4153
Features of your vehicle
✽
✽NOTICE
If you install an aftermarket HID head
lamp, your vehicle’s audio and electron-
ic device may malfunction.
Antenna
Roof antenna
Your car uses a roof antenna to receive
both AM and FM broadcast signals. This
antenna is a removable type. To remove
the antenna, turn it counterclockwise. To
install the antenna, turn it clockwise.
AUDIO SYSTEM
CAUTION
• Before entering a place with a low
height clearance or a car wash,remove the antenna by rotating it counterclockwise. If not, theantenna may be damaged.
When reinstalling your antenna, it is important that it is fully tight-ened and adjusted to the uprightposition to ensure proper recep- tion. But it could be removedwhen parking the vehicle or when loading cargo on the roof rack.
When cargo is loaded on the roof rack, do not place the cargo nearthe antenna pole to ensure properreception.
OTA040097
Page 243 of 534
Downloaded from www.Manualslib.com manuals search engine Features of your vehicle
156
4
CAUTION
When using a communication sys-
tem such a cellular phone or a radio set inside the vehicle, a separateexternal antenna must be fitted. When a cellular phone or a radio setis used with an internal antenna alone, it may interfere with the vehi-cle's electrical system and adverse- ly affect safe operation of the vehi-cle.
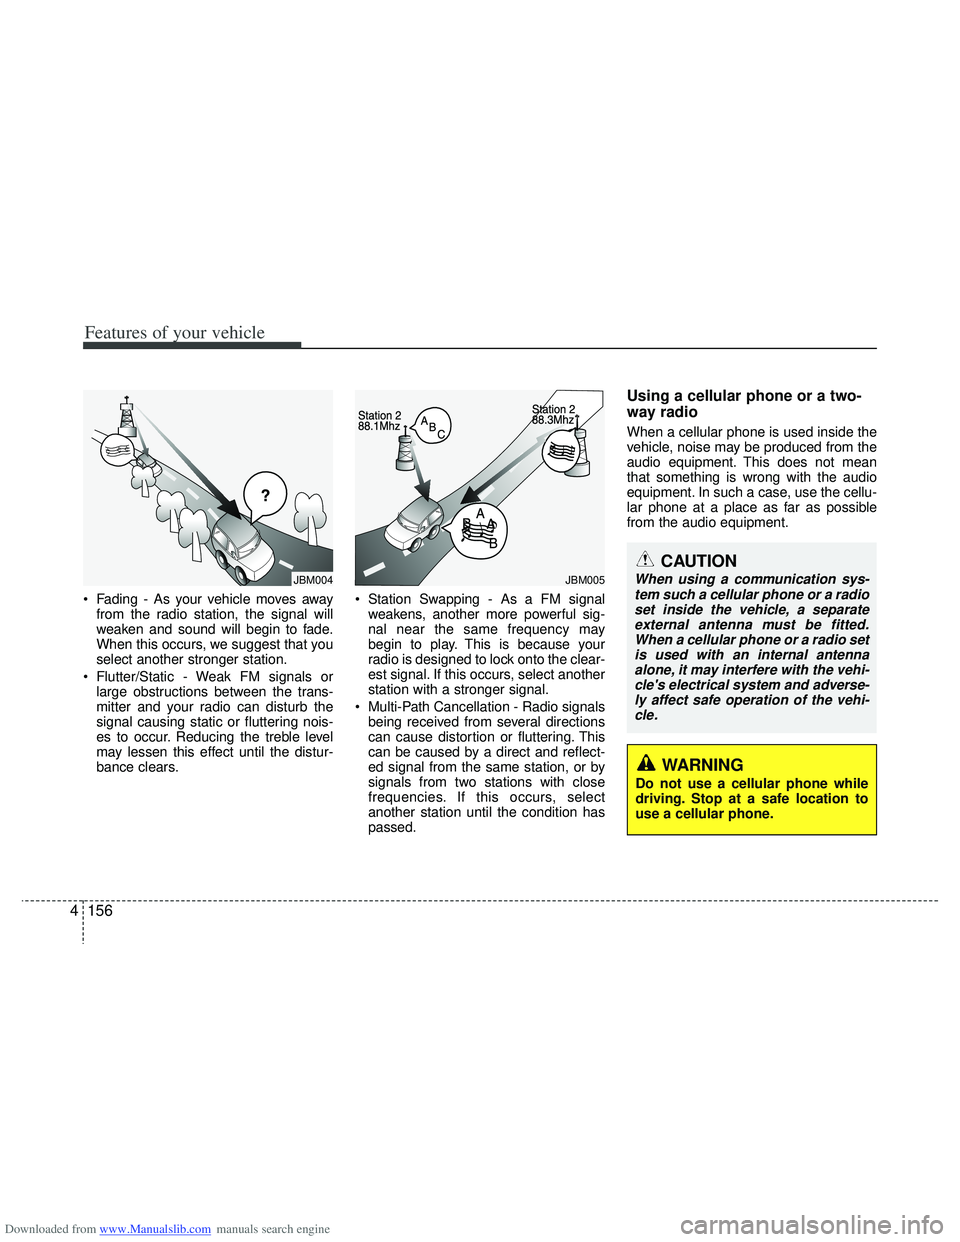
Fading - As your vehicle moves away from the radio station, the signal will
weaken and sound will begin to fade.
When this occurs, we suggest that you
select another stronger station.
Flutter/Static - Weak FM signals or large obstructions between the trans-
mitter and your radio can disturb the
signal causing static or fluttering nois-
es to occur. Reducing the treble level
may lessen this effect until the distur-
bance clears. Station Swapping - As a FM signal
weakens, another more powerful sig-
nal near the same frequency may
begin to play. This is because your
radio is designed to lock onto the clear-
est signal. If this occurs, select another
station with a stronger signal.
Multi-Path Cancellation - Radio signals being received from several directions
can cause distortion or fluttering. This
can be caused by a direct and reflect-
ed signal from the same station, or by
signals from two stations with close
frequencies. If this occurs, select
another station until the condition has
passed.
Using a cellular phone or a two-
way radio
When a cellular phone is used inside the
vehicle, noise may be produced from the
audio equipment. This does not mean
that something is wrong with the audio
equipment. In such a case, use the cellu-
lar phone at a place as far as possible
from the audio equipment.
¢¢¢
JBM004JBM005
WARNING
Do not use a cellular phone while
driving. Stop at a safe location to
use a cellular phone.
Page 246 of 534
Downloaded from www.Manualslib.com manuals search engine 4159
Features of your vehicle
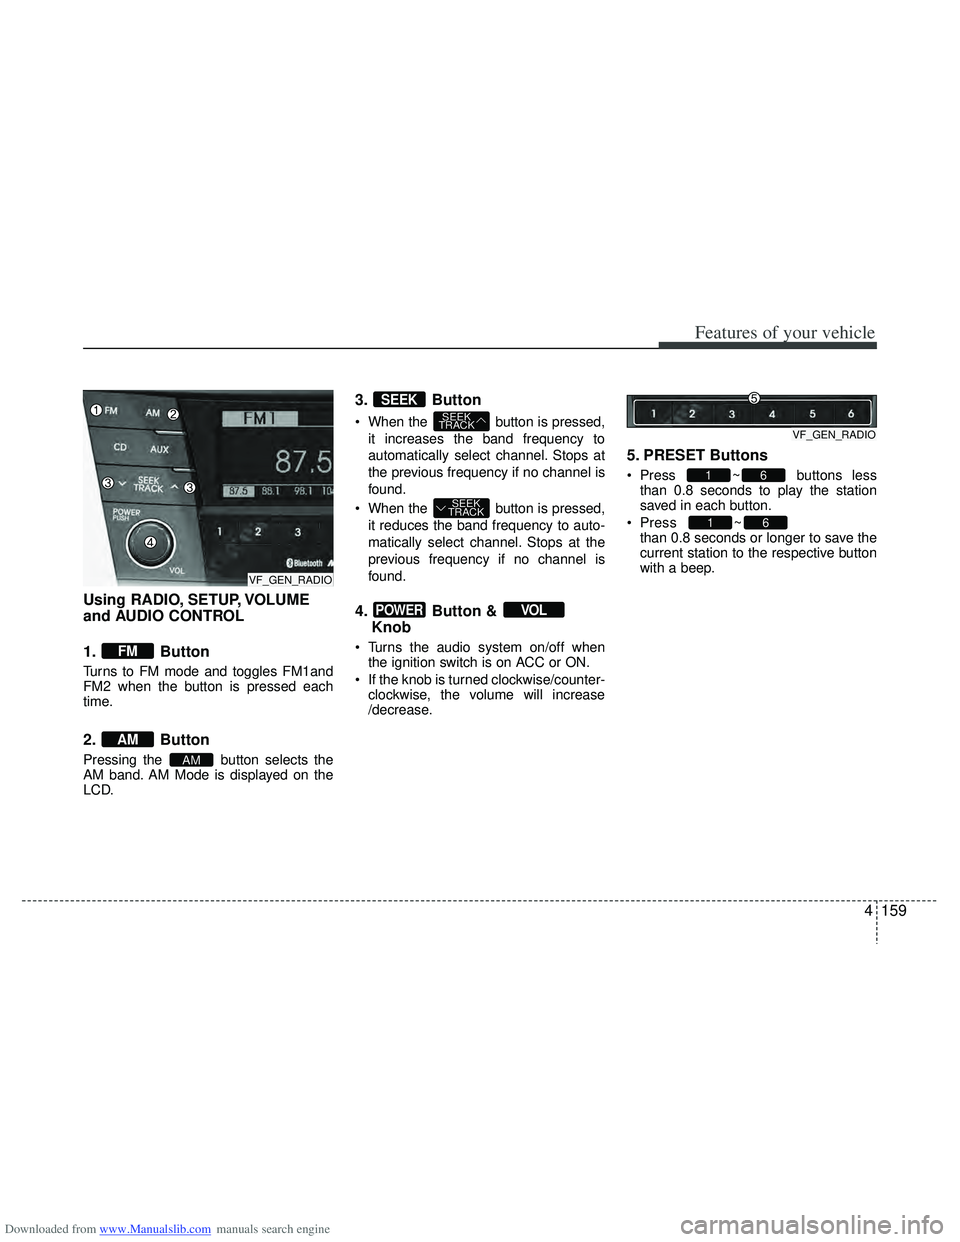
Using RADIO, SETUP, VOLUME
and AUDIO CONTROL
1. Button
Turns to FM mode and toggles FM1and
FM2 when the button is pressed each
time.
2. Button
Pressing the button selects the
AM band. AM Mode is displayed on the
LCD.
3. Button
When the button is pressed,it increases the band frequency to
automatically select channel. Stops at
the previous frequency if no channel is
found.
When the button is pressed, it reduces the band frequency to auto-
matically select channel. Stops at the
previous frequency if no channel is
found.
4. Button & Knob
Turns the audio system on/off when
the ignition switch is on ACC or ON.
If the knob is turned clockwise/counter- clockwise, the volume will increase
/decrease.
5. PRESET Buttons
Press ~ buttons lessthan 0.8 seconds to play the station
saved in each button.
Press ~
button more
than 0.8 seconds or longer to save the
current station to the respective button
with a beep.
61
61
VOLPOWER
SEEK
TRACK
SEEK
TRACK
SEEK
AM
AM
FM
VF_GEN_RADIOVF_GEN_RADIO
VF_GEN_RADIO
Page 248 of 534
Downloaded from www.Manualslib.com manuals search engine 4161
Features of your vehicle
Select default display of MP3 play infor-
mation. “Folder/File” or “Artist/Title” can
be selected.
)
This function displays the previous
MODE screen.
Select this item to enter CLOCK setup
mode.
Adjust the hour and press the
button to set. Adjust the minute and
press the button to complete
and exit from clock adjustment mode.
Pressing the button more than
0.8 seconds while in power off, screen
will allow the user to make immediately
adjustments to the clock.
Select this item to enter PHONE setup
mode. Refer to “BLUETOOTH PHONE
OPERATION” section for detailed infor-
mation.
❈
“PHONE” menu is not available if the
audio does not support Bluetooth fea-
tures.
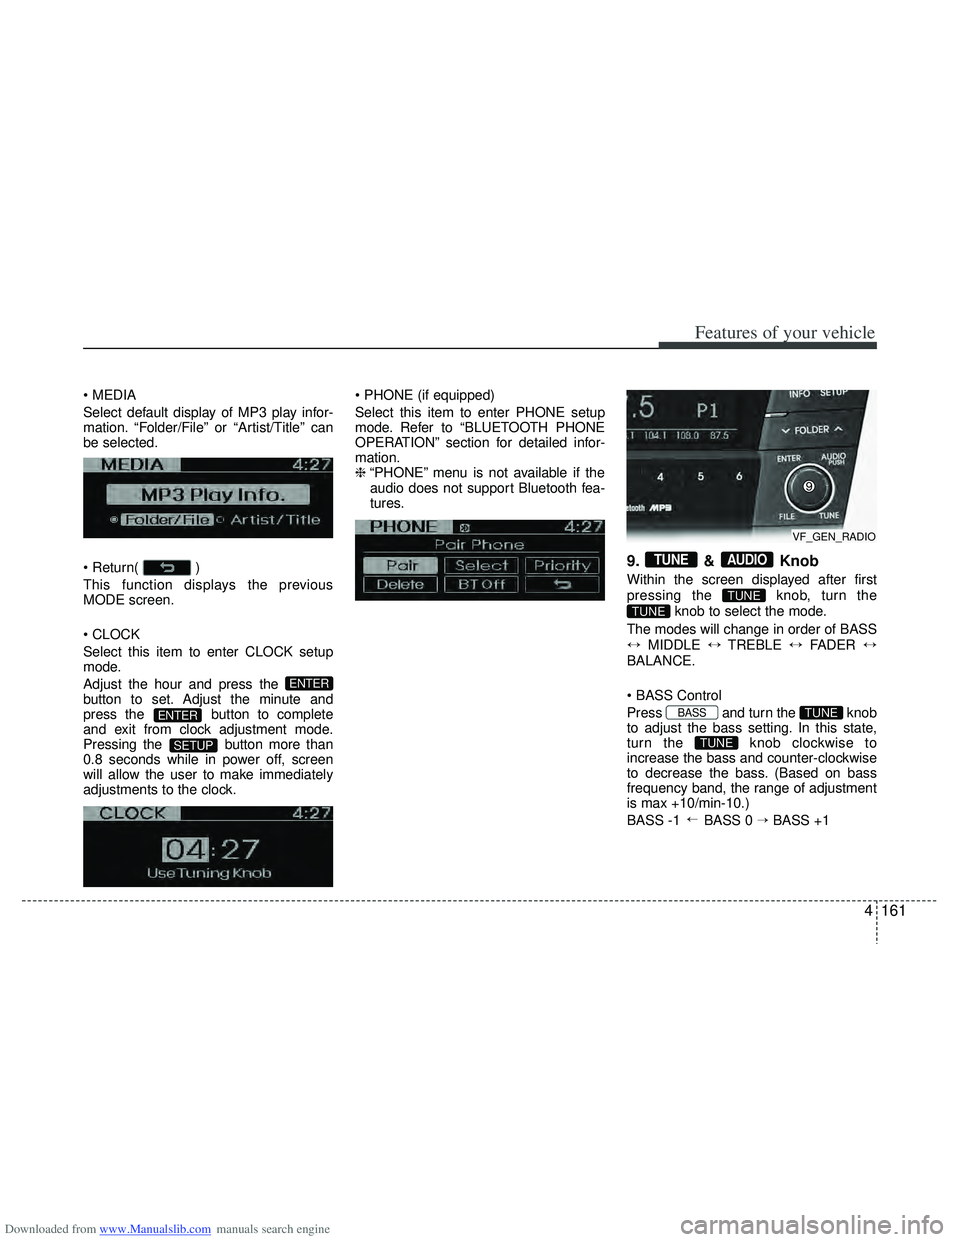
9. & Knob
Within the screen displayed after first
pressing the knob, turn the
knob to select the mode.
The modes will change in order of BASS
↔ MIDDLE ↔TREBLE ↔FADER ↔
BALANCE.
Press and turn the knob
to adjust the bass setting. In this state,
turn the knob clockwise to
increase the bass and counter-clockwise
to decrease the bass. (Based on bass
frequency band, the range of adjustment
is max +10/min-10.)
BASS -1 BASS 0 → BASS +1
→
TUNE
TUNEBASS
TUNE
TUNE
AUDIOTUNE
SETUP
ENTER
ENTER
VF_GEN_RADIO
Page 249 of 534
Downloaded from www.Manualslib.com manuals search engine Features of your vehicle
162
4
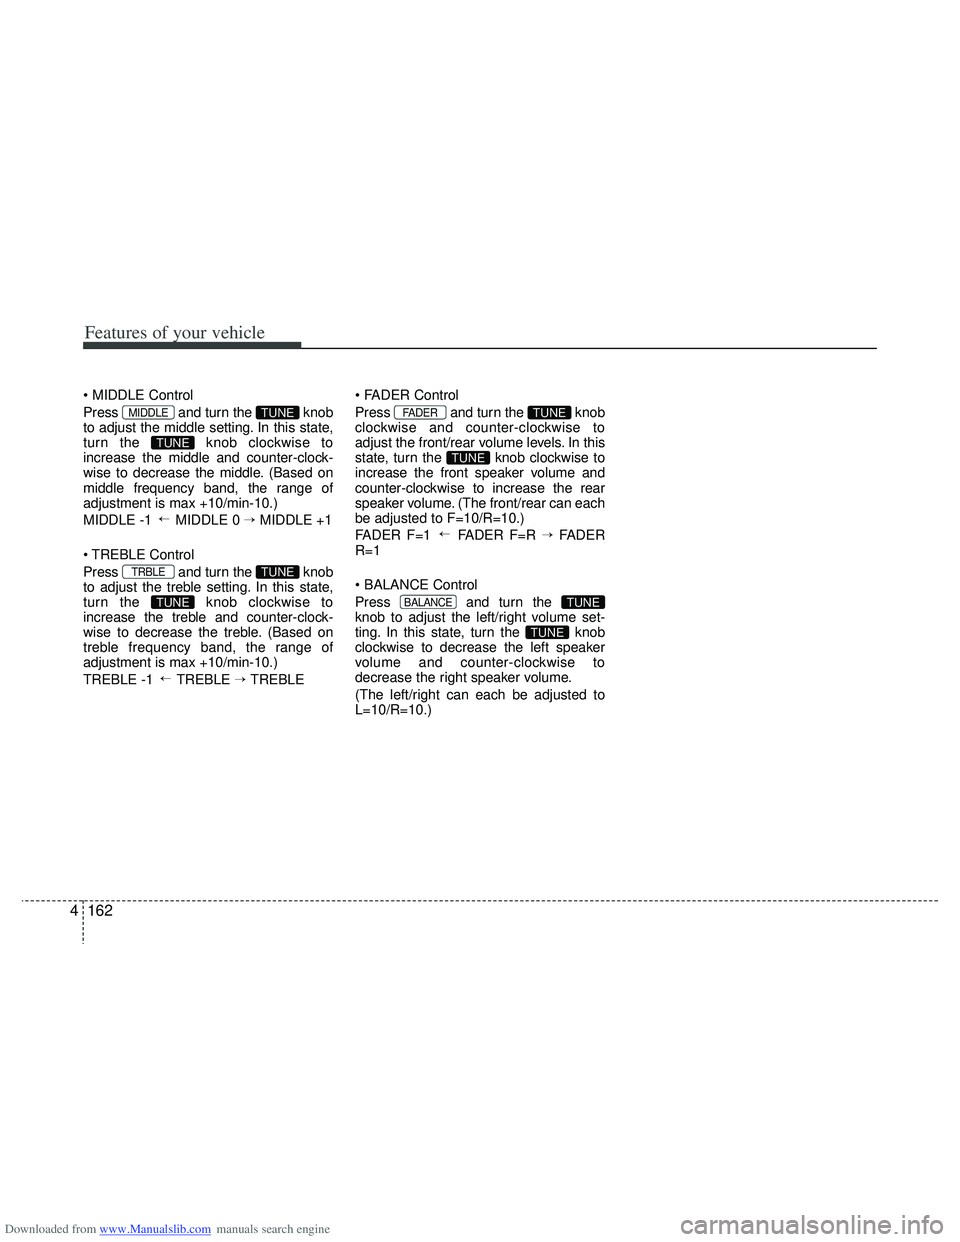
Press and turn the knob
to adjust the middle setting. In this state,
turn the knob clockwise to
increase the middle and counter-clock-
wise to decrease the middle. (Based on
middle frequency band, the range of
adjustment is max +10/min-10.)
MIDDLE -1 MIDDLE 0 → MIDDLE +1
Control
Press and turn the knob
to adjust the treble setting. In this state,
turn the knob clockwise to
increase the treble and counter-clock-
wise to decrease the treble. (Based on
treble frequency band, the range of
adjustment is max +10/min-10.)
TREBLE -1 TREBLE → TREBLE
Press and turn the knob
clockwise and counter-clockwise to
adjust the front/rear volume levels. In this
state, turn the knob clockwise to
increase the front speaker volume and
counter-clockwise to increase the rear
speaker volume. (The front/rear can each
be adjusted to F=10/R=10.)
FADER F=1 FADER F=R →
FADER
R=1
Press and turn the
knob to adjust the left/right volume set-
ting. In this state, turn the knob
clockwise to decrease the left speaker
volume and counter-clockwise to
decrease the right speaker volume.
(The left/right can each be adjusted to
L=10/R=10.)
TUNE
TUNEBALANCE
→
TUNE
TUNEFADER
→
TUNE
TUNETRBLE
→
TUNE
TUNEMIDDLE
Page 251 of 534
Downloaded from www.Manualslib.com manuals search engine Features of your vehicle
164
4
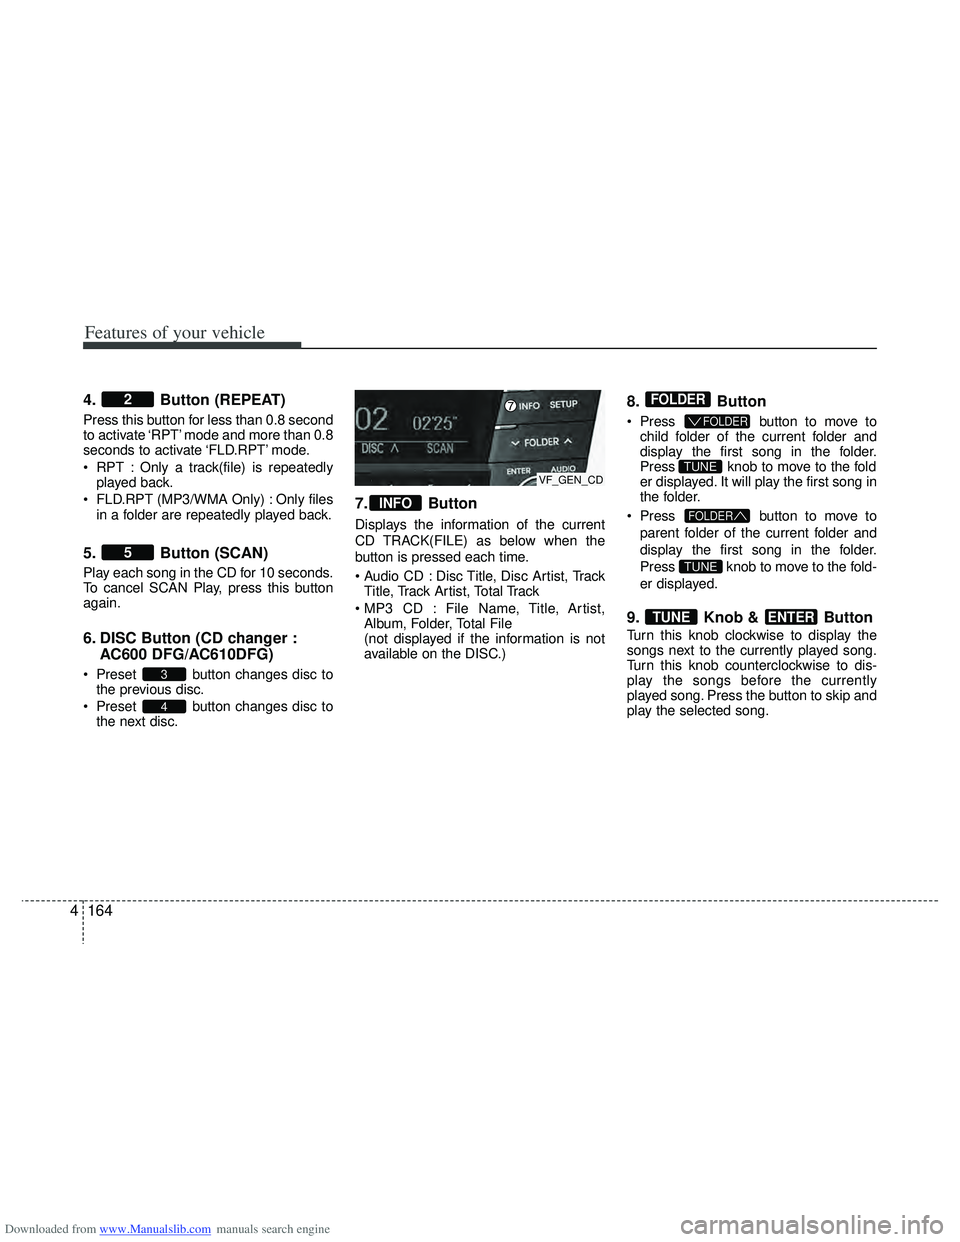
4. Button (REPEAT)
Press this button for less than 0.8 second
to activate ‘RPT’ mode and more than 0.8
seconds to activate ‘FLD.RPT’ mode.
RPT : Only a track(file) is repeatedly
played back.
FLD.RPT (MP3/WMA Only) : Only files in a folder are repeatedly played back.
5. Button (SCAN)
Play each song in the CD for 10 seconds.
To cancel SCAN Play, press this button
again.
6. DISC Button (CD changer : AC600 DFG/AC610DFG)
Preset button changes disc to
the previous disc.
Preset button changes disc to the next disc.
7. Button
Displays the information of the current
CD TRACK(FILE) as below when the
button is pressed each time.
Disc Title, Disc Artist, TrackTitle, Track Artist, Total Track
File Name, Title, Artist, Album, Folder, Total File
(not displayed if the information is not
available on the DISC.)
8. Button
Press button to move to
child folder of the current folder and
display the first song in the folder.
Press knob to move to the fold
er displayed. It will play the first song in
the folder.
Press button to move to
parent folder of the current folder and
display the first song in the folder.
Press knob to move to the fold-
er displayed.
9. Knob & Button
Turn this knob clockwise to display the
songs next to the currently played song.
Turn this knob counterclockwise to dis-
play the songs before the currently
played song. Press the button to skip and
play the selected song.
ENTERTUNE
TUNE
FOLDER
TUNE
FOLDER
FOLDER
INFO
4
3
5
2
VF_GEN_CD