Page 122 of 354

443
Features of your vehicle
D150326APA
Lights on warning chime (if equipped)
The lights on warning chime will sound if
the headlight switch is left in the 1st or
2nd position and the driver’s door isopened.
D150327AUN
Key reminder warning chime
(if equipped)
If the driver’s door is opened while the
ignition key is left in the ignition switch
(ACC or LOCK position), the key
reminder warning chime will sound. This
is to prevent you from locking your keys
in the vehicle. The chime sounds until the
key is removed from the ignition switch or
the driver’s door is closed. D150330AEN
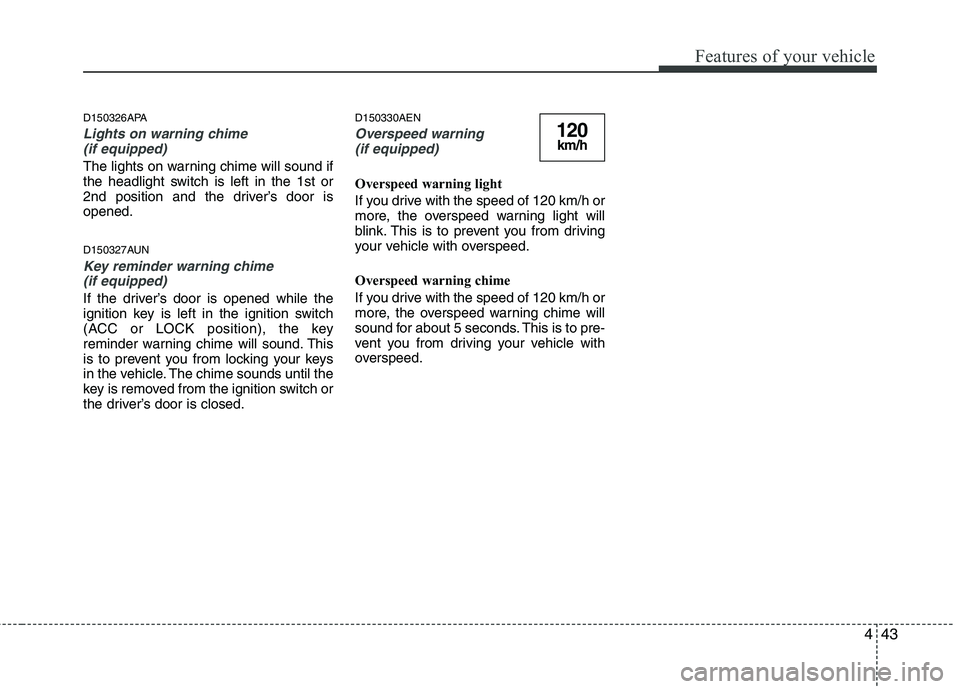
Overspeed warning
(if equipped)
Overspeed warning light
If you drive with the speed of 120 km/h or
more, the overspeed warning light will
blink. This is to prevent you from driving
your vehicle with overspeed.
Overspeed warning chime
If you drive with the speed of 120 km/h or
more, the overspeed warning chime will
sound for about 5 seconds. This is to pre-
vent you from driving your vehicle with
overspeed.
120km/h
Page 124 of 354

445
Features of your vehicle
D170200AEN Non-operational conditions of rear parking assist system
The rear parking assist system may
not operate properly when:
1. Moisture is frozen to the sensor. (It willoperate normally when the moisture has been cleared.)
2. The sensor is covered with foreign matter, such as snow or water, or the
sensor cover is blocked. (It will operate
normally when the material is removed
or the sensor is no longer blocked.)
3. Driving on uneven road surfaces (unpaved roads, gravel, bumps, gradi-ent).
4. Objects generating excessive noise (vehicle horns, loud motorcycle
engines, or truck air brakes) are within
range of the sensor.
5. Heavy rain or water spray exists.
6. Wireless transmitters or mobile phones are within range of the sensor.
7. The sensor is covered with snow.
8. Trailer towing The detecting range may decrease when:
1. The sensor is stained with foreign mat-
ter such as snow or water. (The sens-
ing range will return to normal when
removed.)
2. Outside air temperature is extremely hot or cold.
The following objects may not be rec-
ognized by the sensor:
1. Sharp or slim objects such as ropes, chains or small poles.
2. Objects which tend to absorb the sen- sor frequency such as clothes, spongy
material or snow.
3. Undetectable objects smaller than 1 m (40 in.) in height and narrower than 14
cm (6 in.) in diameter. D170300AEN Rear parking assist system pre- cautions
The rear parking assist system may
not sound sequentially depending on the speed and shapes of the objectsdetected.
The rear parking assist system may malfunction if the vehicle bumperheight or sensor installation has been
modified or damaged. Any non-factory
installed equipment or accessories
may also interfere with the sensor per-
formance.
The sensor may not recognize objects less than 40 cm (15 in.) from the sen-
sor, or it may sense an incorrect dis-
tance. Use caution.
When the sensor is frozen or stained with snow, dirt, or water, the sensor
may be inoperative until the stains are
removed using a soft cloth.
Do not push, scratch or strike the sen- sor. Sensor damage could occur.
Page 142 of 354

463
Features of your vehicle
D230105AUN
Air conditioning (if equipped)
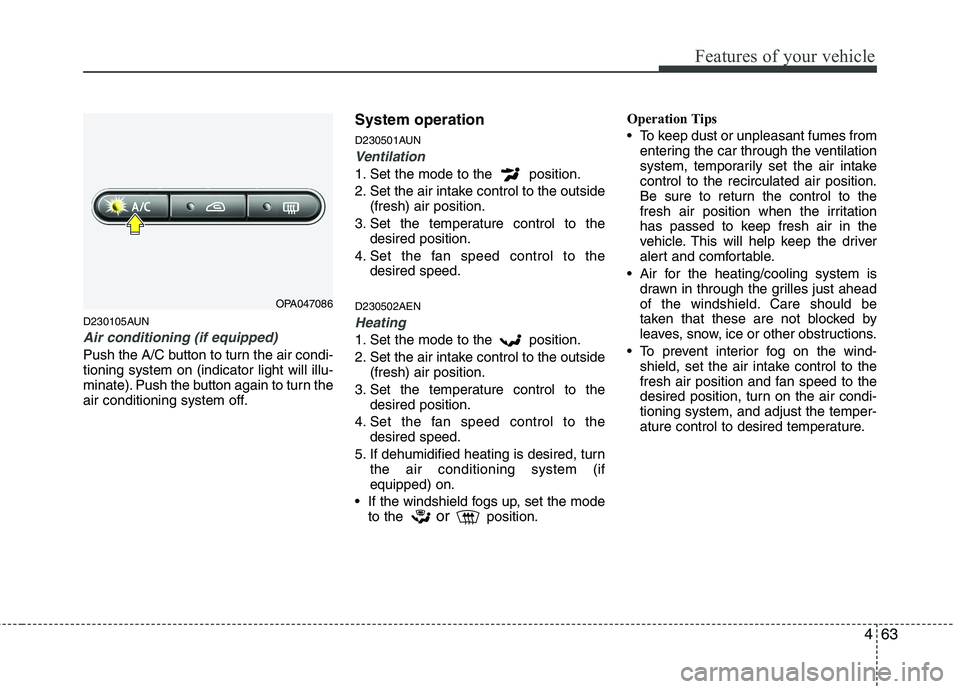
Push the A/C button to turn the air condi- tioning system on (indicator light will illu-
minate). Push the button again to turn the
air conditioning system off.System operation
D230501AUN
Ventilation
1. Set the mode to the position.
2. Set the air intake control to the outside
(fresh) air position.
3. Set the temperature control to the desired position.
4. Set the fan speed control to the desired speed.
D230502AEN
Heating
1. Set the mode to the position.
2. Set the air intake control to the outside (fresh) air position.
3. Set the temperature control to the desired position.
4. Set the fan speed control to the desired speed.
5. If dehumidified heating is desired, turn the air conditioning system (if equipped) on.
If the windshield fogs up, set the mode to the or
position. Operation Tips
To keep dust or unpleasant fumes from
entering the car through the ventilation
system, temporarily set the air intakecontrol to the recirculated air position.
Be sure to return the control to the
fresh air position when the irritation
has passed to keep fresh air in the
vehicle. This will help keep the driver
alert and comfortable.
Air for the heating/cooling system is drawn in through the grilles just ahead
of the windshield. Care should be
taken that these are not blocked by
leaves, snow, ice or other obstructions.
To prevent interior fog on the wind- shield, set the air intake control to the
fresh air position and fan speed to the
desired position, turn on the air condi-tioning system, and adjust the temper-
ature control to desired temperature.
OPA047086
Page 151 of 354

Features of your vehicle
72
4
D280600AEN
Digital clock (if equipped)
Whenever the battery terminals or relat-
ed fuses are disconnected, you must
reset the time.
When the ignition switch is in the ACC or
ON position, the clock buttons operate as
follows:
CAUTION
Use the power outlet only when
the engine is running and remove
the accessory plug after use.Using the accessory plug for pro-longed periods of time with the engine off could cause the bat-
tery to discharge.
Only use 12V electric accessories which are less than 10A in elec-tric capacity.
Adjust the air-conditioner or heater to the lowest operatinglevel when using the power outlet.
Close the cover when not in use. Some electronic devices can cause electronic interference
when plugged into a vehicle’spower outlet. These devices may cause excessive audio static andmalfunctions in other electronic
systems or devices used in yourvehicle.
WARNING
Do not put a finger or a foreign ele-
ment (pin, etc.) into a power outlet
and do not touch with a wet hand.
You may get an electric shock.
OPA047103
OPA041095
Type A
Type B
WARNING
Do not adjust the clock while driv-
ing. You may lose your steering
control and cause an accident that
results in severe personal injury ordeath.
Page 152 of 354

473
Features of your vehicle
Type A
D280601AUN
Hour (2)
Pressing the H button with your finger, a
pencil or similar object will advance the
time displayed by one hour.
D280602AUN
Minute (3)
Pressing the M button with your finger, a
pencil or similar object will advance the
time displayed by one minute.
D280603APA
Reset (1)
To clear away minutes, press and release
the R button with your finger, a pencil or
similar object. Then the clock will be set
precisely on the hour.
For example, if the R button is pressed
while the time is between 9:01 and 9:29,
the display will be reset to 9:00.
9:01 ~ 9:29 display changed to 9:00
9:30 ~ 9:59 display changed to 10:00D280604APA
Display conversion
To change the 12 hour format to the 24
hour format or the 24 hour format to the
12 hour format, press the R button until
the display blinks.
For example, if the R button is pressed
while the time is 10:15 p.m., the displaywill be changed to 22:15.
Type B
1. Turn on the audio and press the
[SETUP] button.
2. Select the [CLOCK] mode by turning the switch (4) and press it.
3. When you select the [TIME] mode, you can set the clock. Turn the switch (4) to
change the hour or minute and pressit.
4. When you select the [12/24 Hr.] mode, you can change the 12 hour format to
the 24 hour format. Turn the switch (4)and press it.
Page 156 of 354
477
Features of your vehicle
✽✽NOTICE
If you install an aftermarket HID head
lamp, your vehicle’s audio and electron-
ic device may malfunction.
D300102APA Antenna
Roof antenna (if equipped)
Your car uses a roof antenna to receive
both AM and FM broadcast signals. This
antenna is a removable type. To remove
the antenna, turn it counterclockwise. To
install the antenna, turn it clockwise.
AUDIO SYSTEM
OHM048154L
CAUTION
• Before entering a place with a low
height clearance or a car wash,
remove surely the antenna by rotating it counterclockwise. Ifnot, the antenna may be dam-aged.
When reinstalling your antenna, it is important that it is fully tight-ened to ensure proper reception. But it could be removed when
parking the vehicle.
Page 159 of 354

Features of your vehicle
80
4
FM broadcasts are transmitted at high
frequencies and do not bend to follow the
earth's surface. Because of this, FM
broadcasts generally begin to fade at
short distances from the station. Also,
FM signals are easily affected by build-
ings, mountains, or other obstructions.
These can result in certain listening con-
ditions which might lead you to believe a
problem exists with your radio. The fol-
lowing conditions are normal and do not
indicate radio trouble: Fading - As your vehicle moves away
from the radio station, the signal will
weaken and sound will begin to fade.
When this occurs, we suggest that youselect another stronger station.
Flutter/Static - Weak FM signals or large obstructions between the trans-
mitter and your radio can disturb the
signal causing static or fluttering nois-
es to occur. Reducing the treble level
may lessen this effect until the distur-
bance clears. Station Swapping - As a FM signal
weakens, another more powerful sig-
nal near the same frequency may
begin to play. This is because your
radio is designed to lock onto the clear-
est signal. If this occurs, select anotherstation with a stronger signal.
Multi-Path Cancellation - Radio signals being received from several directions
can cause distortion or fluttering. This
can be caused by a direct and reflect-
ed signal from the same station, or by
signals from two stations with close
frequencies. If this occurs, selectanother station until the condition haspassed.
JBM003
FM radio stationJBM005JBM004
Page 163 of 354
Features of your vehicle
84
4
7. Button
When the button is pressed, it scan up
from the current broadcast that received.
In case of the broadcast having more
than the certain electric field, receive the
appropriate broadcast for 5 sec. The fre-
quency received is flickering for 5 sec.
When inputting button during
receiving the broadcast for 5 sec, cancel
the operation of SCAN and receive the
broadcast flickering at that time.
In case of no input for cancel after
inputting button, operate SCAN
only 1CYCLE. 8. & Knob
Turn this button clockwise by one notch
to increase frequency by 50kHz from cur-
rent frequency.
Turn this button counterclockwise by one
notch to decrease frequency by 50kHz
from current frequency.
Turns to AUDIO CONTROL mode, and toggles in the order of BASS
➟
MIDDLE
➟ TREBLE ➟FADER ➟BALANCE ➟BASS··
· when the button is pressed each time.
GENERAL FM 100kHz
AM 9kHz
EUROPE FM 50kHz
AM 9kHz
USA FM 200kHz
AM 10kHz
AUDIO CONTROLTUNE
SCAN
SCAN
SCAN
PA_SA710PA