2011 Hyundai Accent fuse
[x] Cancel search: fusePage 52 of 232
1
FEATURES OF YOUR HYUNDAI
41
B990B01MC
o The SRS can function only when
the ignition key is in the "ON" position. If the SRS is not working properly,(1) The SRS SRI does not come on when the ignition key is turnedto the "ON" position or after the engine is started.
(2) The SRS SRI blinks for a sec- ond and remains on after illu-minating for about 6 secondswhen the ignition key is turned to the "ON" position or after the engine is started.
(3) The SRS SRI illuminates while driving.
If this occurs, have your vehicleimmediately inspected by your Hyundai dealer.
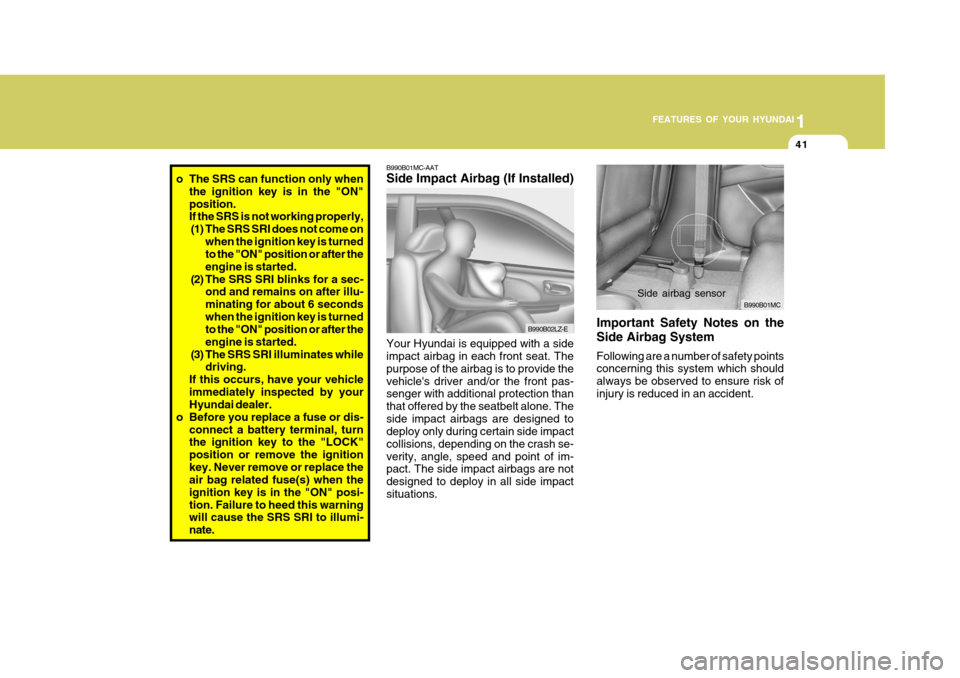
o Before you replace a fuse or dis- connect a battery terminal, turnthe ignition key to the "LOCK" position or remove the ignitionkey. Never remove or replace the air bag related fuse(s) when the ignition key is in the "ON" posi-tion. Failure to heed this warning will cause the SRS SRI to illumi- nate. B990B01MC-AAT Side Impact Airbag (If Installed) Your Hyundai is equipped with a side impact airbag in each front seat. The purpose of the airbag is to provide thevehicle's driver and/or the front pas- senger with additional protection than that offered by the seatbelt alone. Theside impact airbags are designed to deploy only during certain side impact collisions, depending on the crash se-verity, angle, speed and point of im- pact. The side impact airbags are not designed to deploy in all side impactsituations.
Side airbag sensor
B990B02LZ-E
Important Safety Notes on the Side Airbag System Following are a number of safety points concerning this system which should always be observed to ensure risk ofinjury is reduced in an accident.
Page 72 of 232
1
FEATURES OF YOUR HYUNDAI
61MULTI-FUNCTION LIGHT SWITCH
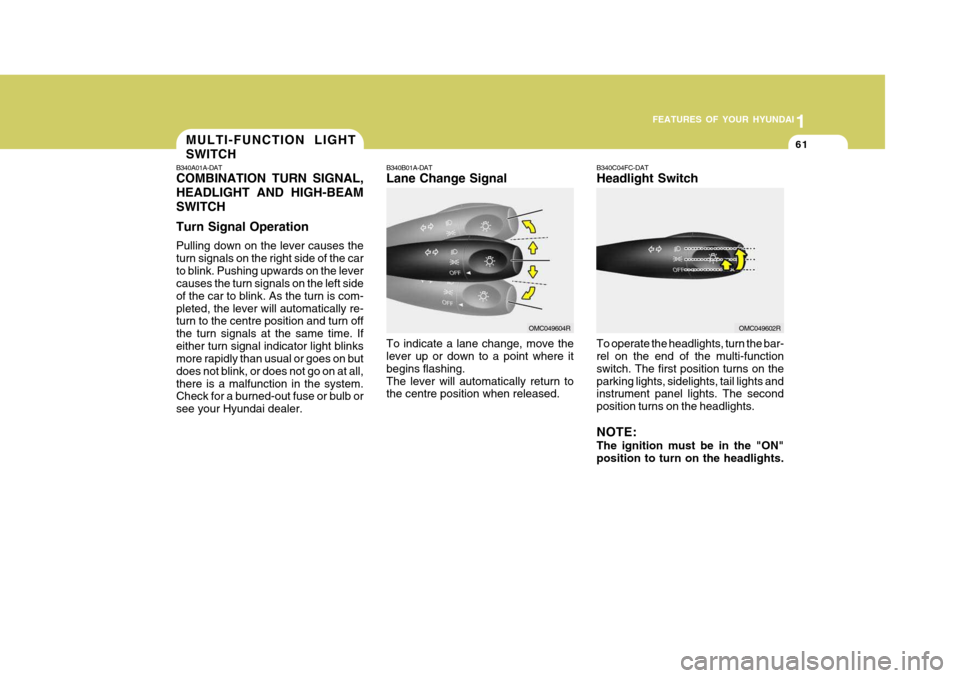
B340A01A-DAT COMBINATION TURN SIGNAL, HEADLIGHT AND HIGH-BEAMSWITCH Turn Signal Operation Pulling down on the lever causes the turn signals on the right side of the carto blink. Pushing upwards on the lever causes the turn signals on the left side of the car to blink. As the turn is com-pleted, the lever will automatically re- turn to the centre position and turn off the turn signals at the same time. Ifeither turn signal indicator light blinks more rapidly than usual or goes on but does not blink, or does not go on at all,there is a malfunction in the system. Check for a burned-out fuse or bulb or see your Hyundai dealer. B340B01A-DAT Lane Change Signal To indicate a lane change, move the lever up or down to a point where it begins flashing.The lever will automatically return to the centre position when released.
B340C04FC-DAT Headlight Switch To operate the headlights, turn the bar- rel on the end of the multi-function switch. The first position turns on theparking lights, sidelights, tail lights and instrument panel lights. The second position turns on the headlights. NOTE: The ignition must be in the "ON" position to turn on the headlights.
OMC049604ROMC049602R
Page 126 of 232
1
FEATURES OF YOUR HYUNDAI
115
1
FEATURES OF YOUR HYUNDAI
115
1
FEATURES OF YOUR HYUNDAI
115
1
FEATURES OF YOUR HYUNDAI
115
!
CAUTION:
o Do not insert warped or poor qual- ity discs into the CD player as damage to the unit may occur.
o Do not insert anything like coins
into the player slot as damage tothe unit may occur.
o Do not place beverages close to
the audio system. The playbackmechanism may be damaged if you spill them.
10. CD SCAN Button
o To playback the first 10 seconds of
each track, press the CD SCAN button more than 1 second.
o To playback the first 10 seconds of
each track in the selected folder,press the CD SCAN button within 1 second. (MP3 CD only)
o Press the CD SCAN button again within 10 sec. when you have reachedthe desired track.
11. FILE SEARCH Knob (TUNE Select Knob)
o You can skip the track by turning the FILE SEARCH knob clockwise or counterclockwise.After selecting the desired track, press the FILE SEARCH knob to playback the track.If you do not press the FILE SEARCH knob within five seconds, the search will stop. 12. DIRECTORY SEARCH
Button
o You can move through the folder by pushing the DIR button to up ( ) anddown ( ). After moving the desired folder, press the FILE SEARCH knob to playbackthe selected folder. If you do not press the FILE SEARCH knob within five seconds, the searchwill stop.
NOTE :
o To assure proper operation of the unit, keep the vehicle interior tem- perature within a normal range by using the vehicle's air condition- ing or heating system.
o When replacing the fuse, replace it with a fuse having the correctcapacity.
o All stored bookmarks are all erased when the car battery is discon-nected or power to the vehicle islost. If this occurs, the bookmarks will have to be reset.
o This equipment is designed to be used only in a 12 volt DC batterysystem with negative ground.
o This unit is made of precisionparts. Do not attempt to disas- semble or adjust any parts.
o When driving your vehicle, be sure
to keep the volume of the unit setlow enough to allow you to hear sounds coming from the outside.
o Do not expose this equipment (in- cluding the speakers and tape) towater or excessive moisture.
Page 154 of 232
3 WHAT TO DO IN AN EMERGENCY
2
!
IF THE ENGINE WILL NOT START
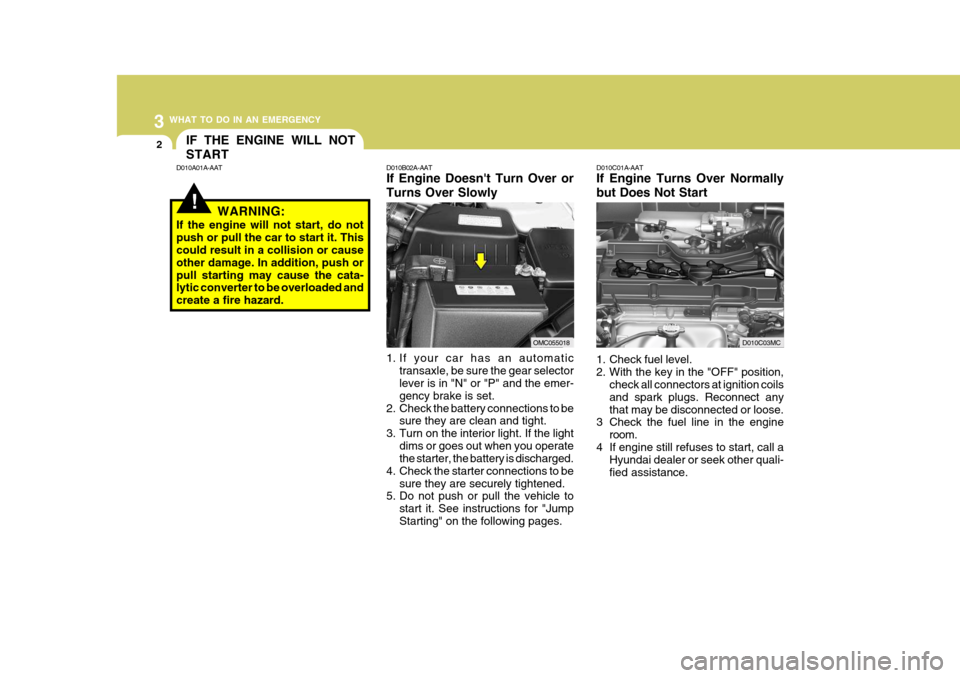
D010B02A-AAT If Engine Doesn't Turn Over or Turns Over Slowly
1. If your car has an automatic
transaxle, be sure the gear selector lever is in "N" or "P" and the emer- gency brake is set.
2. Check the battery connections to be sure they are clean and tight.
3. Turn on the interior light. If the light
dims or goes out when you operate the starter, the battery is discharged.
4. Check the starter connections to be
sure they are securely tightened.
5. Do not push or pull the vehicle to
start it. See instructions for "Jump Starting" on the following pages. D010C01A-AAT If Engine Turns Over Normally but Does Not Start
1. Check fuel level.
2. With the key in the "OFF" position,
check all connectors at ignition coilsand spark plugs. Reconnect anythat may be disconnected or loose.
3 Check the fuel line in the engine
room.
4 If engine still refuses to start, call a Hyundai dealer or seek other quali-fied assistance.
D010A01A-AAT
WARNING:
If the engine will not start, do notpush or pull the car to start it. This could result in a collision or cause other damage. In addition, push orpull starting may cause the cata- lytic converter to be overloaded and create a fire hazard.
OMC055018D010C03MC
Page 182 of 232
Engine Compartment .................................................... 6-2
General Checks ........................................................... 6-3
Maintenance Precautions ............................................. 6-4
Checking the Engine Oil ............................................... 6-4
Checking and Changing the Engine Coolant ................ 6-7
Changing the Air Cleaner Filter ..................................... 6-8
Checking the Transaxle Oil (Manual) ..........................6-11
Checking the Transaxle Fluid (Automatic)..................6-11
Checking the B rakes ................................................... 6-13
Checking the Clutch Fluid ............................................ 6-14
Air Conditioning Care ................................................... 6-15
Changing the Climate Control Air Filter........................ 6-16
Checking and Replacing Fuses .................................. 6-17
Checking the Battery ................................................... 6-19
Power Steering Fluid Level .......................................... 6-21
Headlight Aiming Adjustment ....................................... 6-22
Replacement of Light Bulbs ......................................... 6-23
Bulb Wattage ............................................................... 6-29
Fuse Panel Description ............................................... 6-30
DO-IT-YOURSELF MAINTENANCE
6
6
Page 183 of 232

6 DO-IT-YOURSELF MAINTENANCE
2ENGINE COMPARTMENT
G010B01MC-DAT
CAUTION:
When inspecting or servicing the engine, you should handle tools and other heavy objects carefully so that the plastic rocker cover of the engine is not damaged.
!
OMC059036R
1. Engine coolant reservoir ......... 6-7
2. Clutch fluid reservoir (With Manual Transaxle) ...... 6-14
3. Engine oil filler cap ................. 6-6
4. Brake fluid reservoir ............. 6-14
5. Air cleaner filter ...................... 6-8 6. Windshield washer fluid reservoir
cap ...................................... 6-10
7. Power steering fluid reservoir ............................................ 6-21
8. Engine oil level dipstick ......... 6-5 9. Radiator cap
........................... 6-7
10. Automatic transaxle fluid level dipstick (If Installed) ............ 6-12
11. Battery ................................. 6-19
12. Fuse/Relay box .................... 6-17
Page 198 of 232

6
DO-IT-YOURSELF MAINTENANCE
17CHECKING AND REPLAC- ING FUSES
!
CAUTION:
When replacing a fusible link, never use anything but a new fusible linkwith the same or lower amperage rating. Never use a piece of wire or a higher-rated fusible link. Thiscould result in serious damage and create a fire hazard. G200B02HP-AAT Replacing Accessory Fuse The fuse box for the lights and other electrical accessories will be found lowon the dashboard on the driver's side. Inside the box you will find a list show- ing the circuits protected by each fuse.If any of your car's lights or other elec- trical accessories stop working, a blown fuse could be the reason. If the fuse hasburned out, you will see that the metal strip inside the fuse has burned through. If you suspect a blown fuse, follow thisprocedure:
1. Turn off the ignition and all other
switches.
2. Open the fuse box and examine
each fuse. Remove each fuse by pulling it toward you (a small "fuse puller" tool is contained in the relay and fuse box of the engine room tosimplify this operation).
3. Be sure to check all other fuses even
if you find one that appears to haveburned out.
G200A01A-AAT Replacing a Fusible Link
OMC045003
A fusible link will melt if the electrical circuits from the battery are ever over- loaded, thus preventing damage to the entire wiring harness. (This could becaused by a short in the system draw- ing too much current.) If this ever happens, have a Hyundai dealer de-termine the cause, repair the system and replace the fusible link. The fusible links are located in a fuse box for easyinspection.
OMC045001R
Page 199 of 232
6 DO-IT-YOURSELF MAINTENANCE
18
G200B02L
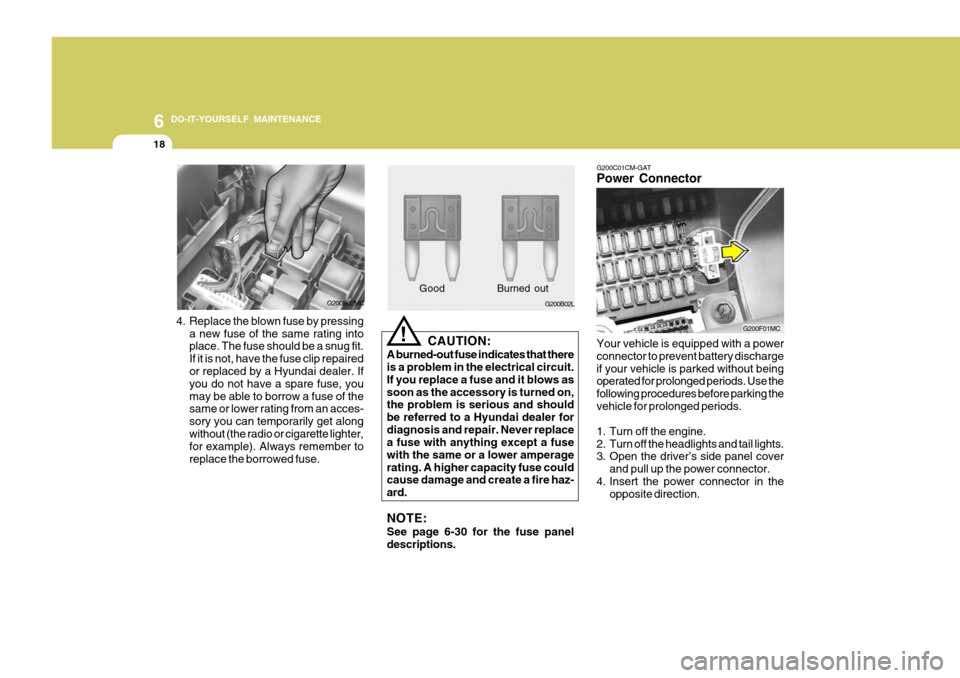
4. Replace the blown fuse by pressing a new fuse of the same rating into place. The fuse should be a snug fit. If it is not, have the fuse clip repaired or replaced by a Hyundai dealer. If you do not have a spare fuse, youmay be able to borrow a fuse of the same or lower rating from an acces- sory you can temporarily get alongwithout (the radio or cigarette lighter, for example). Always remember to replace the borrowed fuse. Good B
urned out
CAUTION:
A burned-out fuse indicates that there is a problem in the electrical circuit. If you replace a fuse and it blows assoon as the accessory is turned on, the problem is serious and should be referred to a Hyundai dealer fordiagnosis and repair. Never replace a fuse with anything except a fuse with the same or a lower amperagerating. A higher capacity fuse could cause damage and create a fire haz- ard. NOTE: See page 6-30 for the fuse panel descriptions.
!
G200B02MC G200C01CM-GAT Power Connector Your vehicle is equipped with a power connector to prevent battery dischargeif your vehicle is parked without being operated for prolonged periods. Use the following procedures before parking thevehicle for prolonged periods.
1. Turn off the engine.
2. Turn off the headlights and tail lights.
3. Open the driver’s side panel cover
and pull up the power connector.
4. Insert the power connector in the opposite direction.
G200F01MC