Page 212 of 414

Black plate (6,1)GMC Savana Owner Manual - 2011
8-6 Climate Controls
Air Delivery Mode Control:Turn
clockwise or counterclockwise to
change the direction of the airflow in
the rear seating area.
To change the current mode, select
one of the following:
H(Vent): Air is directed to the
upper outlets, with some directed to
the floor outlets.
2(Floor): Air is directed to the
floor outlets.
Be sure to keep the area under the
front seats clear of any objects so
that the air inside of the vehicle can
circulate effectively.
For information on how to use the
main climate control system, see
Climate Control Systems on
page 8‑1. For information on
ventilation, see Air Vents on
page 8‑6.
Air Vents
Use the outlets located near the
center and on the sides of the
instrument panel to change the
direction of airflow.
Operation Tips
.Clear away any ice, snow or
leaves from the air inlets at the
base of the windshield that may
block the flow of air into the
vehicle.
.Use of non-GM approved hood
deflectors may adversely affect
the performance of the system.
.Keep the path under the front
seats clear of objects to help
circulate the air inside of the
vehicle more effectively.
Page 217 of 414

Black plate (5,1)GMC Savana Owner Manual - 2011
Driving and Operating 9-5
Steering in Emergencies
There are times when steering can
be more effective than braking. For
example, you come over a hill and
find a truck stopped in your lane,
or a car suddenly pulls out from
nowhere, or a child darts out from
between parked cars and stops right
in front of you. These problems can
be avoided by braking—if you can
stop in time. But sometimes you
cannot stop in time because there
is no room. That is the time for
evasive action —steering around
the problem.
The vehicle can perform very well in
emergencies like these. First apply
the brakes. See Braking on
page 9‑3. It is better to remove as
much speed as possible from a
collision. Then steer around the
problem, to the left or right
depending on the space available.
An emergency like this requires
close attention and a quick decision.
If holding the steering wheel at the
recommended 9 and 3 o'clock
positions, it can be turned a full
180 degrees very quickly without
removing either hand. But you have
to act fast, steer quickly, and just as
quickly straighten the wheel once
you have avoided the object.
The fact that such emergency
situations are always possible is a
good reason to practice defensive
driving at all times and wear safety
belts properly.
Off-Road Recovery
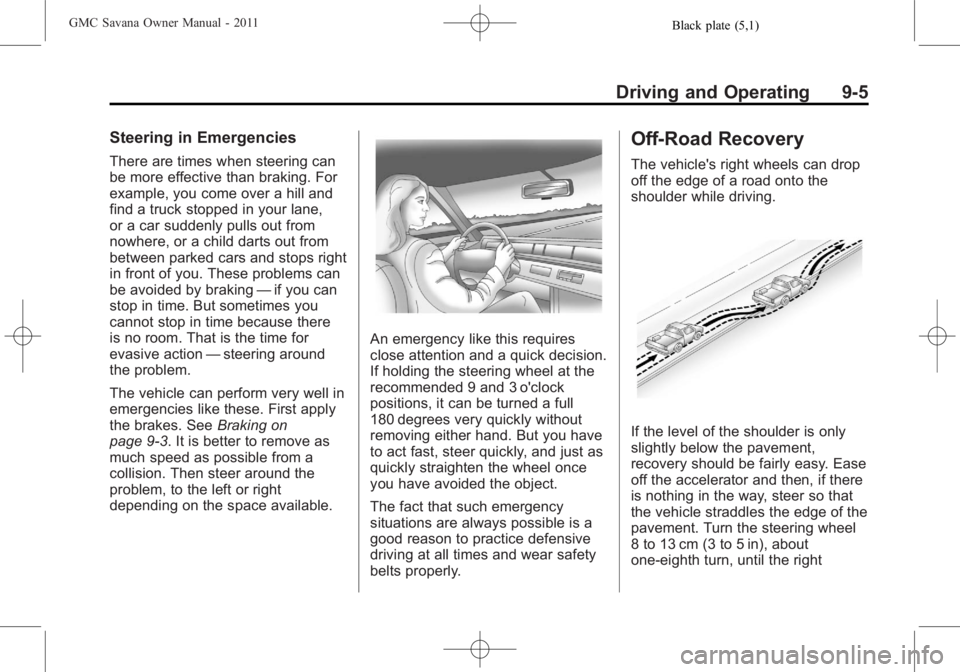
The vehicle's right wheels can drop
off the edge of a road onto the
shoulder while driving.
If the level of the shoulder is only
slightly below the pavement,
recovery should be fairly easy. Ease
off the accelerator and then, if there
is nothing in the way, steer so that
the vehicle straddles the edge of the
pavement. Turn the steering wheel
8 to 13 cm (3 to 5 in), about
one-eighth turn, until the right
Page 258 of 414

Black plate (46,1)GMC Savana Owner Manual - 2011
9-46 Driving and Operating
Filling the Tank
{WARNING
Fuel vapor burns violently and a
fuel fire can cause bad injuries.
To help avoid injuries to you and
others, read and follow all the
instructions on the fuel pump
island. Turn off the engine when
refueling. Do not smoke near fuel
or when refueling the vehicle. Do
not use cellular phones. Keep
sparks, flames, and smoking
materials away from fuel. Do not
leave the fuel pump unattended
when refueling the vehicle. This is
against the law in some places.
Do not re-enter the vehicle while
pumping fuel. Keep children away
from the fuel pump; never let
children pump fuel.
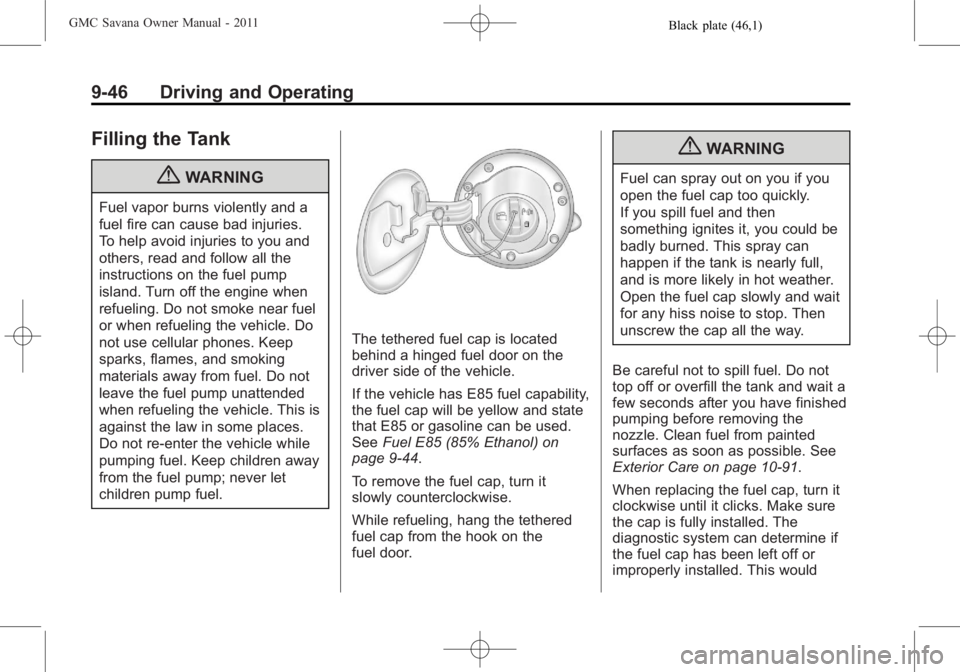
The tethered fuel cap is located
behind a hinged fuel door on the
driver side of the vehicle.
If the vehicle has E85 fuel capability,
the fuel cap will be yellow and state
that E85 or gasoline can be used.
SeeFuel E85 (85% Ethanol) on
page 9‑44.
To remove the fuel cap, turn it
slowly counterclockwise.
While refueling, hang the tethered
fuel cap from the hook on the
fuel door.
{WARNING
Fuel can spray out on you if you
open the fuel cap too quickly.
If you spill fuel and then
something ignites it, you could be
badly burned. This spray can
happen if the tank is nearly full,
and is more likely in hot weather.
Open the fuel cap slowly and wait
for any hiss noise to stop. Then
unscrew the cap all the way.
Be careful not to spill fuel. Do not
top off or overfill the tank and wait a
few seconds after you have finished
pumping before removing the
nozzle. Clean fuel from painted
surfaces as soon as possible. See
Exterior Care on page 10‑91.
When replacing the fuel cap, turn it
clockwise until it clicks. Make sure
the cap is fully installed. The
diagnostic system can determine if
the fuel cap has been left off or
improperly installed. This would
Page 294 of 414

Black plate (22,1)GMC Savana Owner Manual - 2011
10-22 Vehicle Care
How to Add Coolant to the
Radiator
If the vehicle has a diesel engine,
see“How to Add Coolant to the
Radiator” under“Van Models” in the
Cooling System section of the
Duramax diesel supplement for the
proper radiator fill procedure.
{WARNING
An electric engine cooling fan
under the hood can start up even
when the engine is not running
and can cause injury. Keep
hands, clothing, and tools away
from any underhood electric fan.
{WARNING
Steam and scalding liquids from a
hot cooling system can blow out
and burn you badly. They are
under pressure, and if you turn
the surge tank pressure
cap —even a little —they can
come out at high speed. Never
turn the cap when the cooling
system, including the surge tank
pressure cap, is hot. Wait for the
cooling system and surge tank
pressure cap to cool if you ever
have to turn the pressure cap.
If coolant is needed, add the proper
mixture directly to the radiator, but
be sure the cooling system is cool
before this is done.
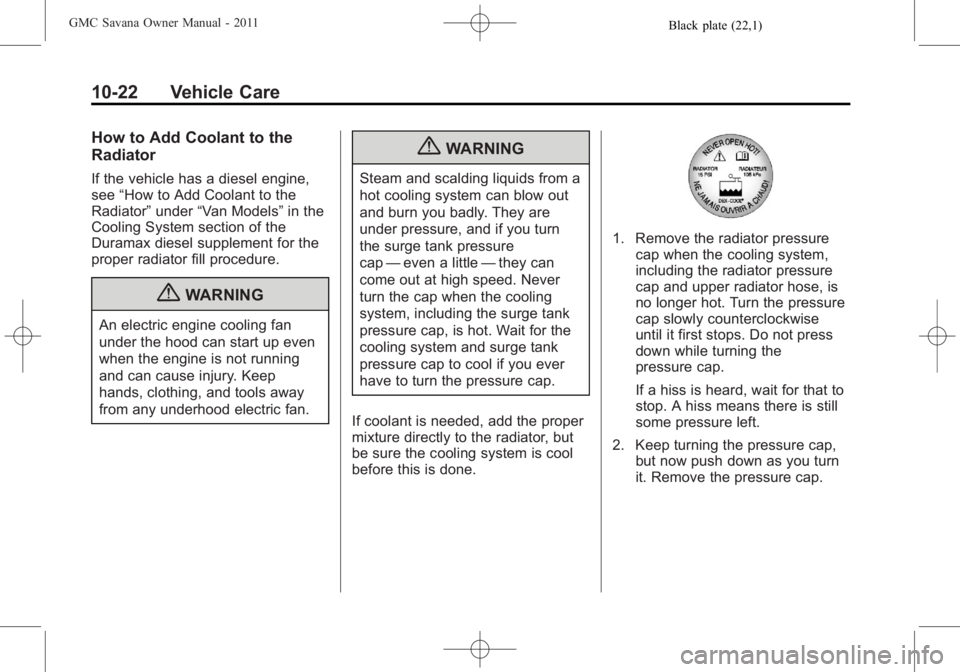
1. Remove the radiator pressure cap when the cooling system,
including the radiator pressure
cap and upper radiator hose, is
no longer hot. Turn the pressure
cap slowly counterclockwise
until it first stops. Do not press
down while turning the
pressure cap.
If a hiss is heard, wait for that to
stop. A hiss means there is still
some pressure left.
2. Keep turning the pressure cap, but now push down as you turn
it. Remove the pressure cap.
Page 311 of 414
Black plate (39,1)GMC Savana Owner Manual - 2011
Vehicle Care 10-39
5. Disconnect the electricalconnector.
6. Turn the bulb counterclockwise one quarter turn to remove it
from the headlamp assembly.
7. Install the new bulb into the headlamp assembly and connect
the electrical connector.
8. Reverse the steps to reinstall the headlamp assembly. To prevent headlamp vibration
and shortened bulb life, be sure
to insert the headlamp assembly
tabs in the slots at the lower
portion of the housing.
Sealed‐Beam Headlamp
A. Headlamp retainer screws
B. Headlamp retainer
C. Sealed‐beam headlamp bulb
1. Remove the four screws (A)
from the headlamp retainer (B).
Pull the retainer (B) out and set
it aside. 2. Pull the bulb (C) forward to gain
access to the electrical
connector.
3. Disconnect the electrical
connector (B) and remove the
headlamp bulb (A).
4. Reverse Steps 1 through 3 to reinstall the headlamp.
Page 312 of 414
Black plate (40,1)GMC Savana Owner Manual - 2011
10-40 Vehicle Care
Front Turn Signal,
Sidemarker, and Parking
Lamps
A. Front Parking and TurnSignal Lamp
B. Front Sidemarker Lamp To replace the front turn signal,
sidemarker, and/or parking lamp
bulb(s):
1. Use a small tool to unlatch the
outboard clip on the lamp by
pushing inboard and prying the
lamp assembly forward.
2. Remove the lamp from the grille.
3. Turn the bulb socket counterclockwise one quarter
turn and remove it from the lamp
assembly.
4. Remove the bulb from the socket by pulling it straight out.
5. Replace the bulb.
6. Turn the bulb socket clockwise to reinstall it in the lamp
assembly. 7. Reinstall the lamp assembly into
the grille until the outboard clip
snaps into place.
Taillamps
To replace a taillamp/turn signal
lamp or back‐up lamp bulb:
1. Remove the two inboard nuts
from the inside of the taillamp
assembly.
Page 313 of 414
Black plate (41,1)GMC Savana Owner Manual - 2011
Vehicle Care 10-41
2. The third nut (C) is under theapplique piece (B) above the
lamp. Remove the two inboard
applique nuts. Pull the
applique (B) straight rearward
slightly to clear the studs. Then
rotate the applique (B) just far
enough to gain access to the
outer push pins (A). 3. Carefully disconnect the push
pins (A) from the applique
bracket
4. Remove the third nut (C) from the upper outboard side of
the lamp.
5. Remove the taillamp assembly from the vehicle.
6. Remove the taillamp/turn signallamp (A) or back‐up lamp (B)
bulb socket by turning it
counterclockwise one quarter
turn and pulling it out of the lamp
assembly. 7. Remove the bulb by pulling it
straight out.
8. Push the new bulb into the socket.
9. Reinstall the bulb socket by turning it clockwise into the lamp
assembly.
10. Reverse Steps 1 through 5 to reinstall the taillamp assembly
and applique.
Page 314 of 414
Black plate (42,1)GMC Savana Owner Manual - 2011
10-42 Vehicle Care
Center High-Mounted
Stoplamp (CHMSL)
The Center High-Mounted Stoplamp
(CHMSL) is located above the rear
doors at the center of the vehicle.
To replace a bulb:
1. Remove the two screws from theCHMSL assembly.
2. Remove the CHMSL assembly. 3. Turn the bulb socket
counterclockwise one quarter
turn to remove it from the lamp
assembly.
4. Pull the old bulb straight out of the socket and push the new
bulb into the socket.
5. Turn the bulb socket clockwise one quarter turn to install it in the
lamp assembly.
6. Reinstall the CHMSL assembly and two screws.
Do not block or damage the CHMSL
when items are loaded on the roof
of the vehicle.
License Plate Lamp
To replace one of these bulbs:
A. Bulb Socket
B. License Plate Bulb Assembly
C. Screws
1. Remove the screws (C) that secure the license plate bulb
assembly (B).
2. Turn the bulb socket (A) counterclockwise and pull the
bulb straight out of the socket.