Page 38 of 295

MANUAL HEATING AND AIR CONDITIONING SYSTEM
1.Temperature control:Controls the temperature of the airflow in the
vehicle. For optimum defrosting performance, set the dial to the defrost
symbol
.
2.Air flow selections:Controls the direction of the airflow in the
vehicle. See the following for a brief description on each control setting:
:Distributes air through the instrument panel vents.
:Distributes air through the instrument panel vents and floor vents.
:Distributes air through the floor vents.Note:You may notice a
small amount of air flowing from the demister and defroster vents.
:Distributes air through the windshield defroster vents, demisters
and floor vents.
:Distributes outside air through the windshield defroster and
demister vents. Can be used to clear thin ice or fog from the windshield.
To exit
select another mode.
3.
Fan speed adjustment:Controls the volume of air circulated in
the vehicle. For optimum defrosting performance, set the dial to at least
the 3 or 4 position.
54A/C
MAX A/C
231
Climate Controls
38
2011 Transit Connect(tst)
Owners Guide, 2nd Printing
USA(fus)
Page 40 of 295

For maximum cooling performance, select MAX A/C by doing the
following:
1. Select the coolest temperature setting.
2. Select both the
(recirculated air) and A/C controls.
3. Set the fan to the highest speed initially. As the interior starts to cool
down, adjust the fan speed to maintain comfort and/or switch from
recirculated air to outside air mode.
To aid in side window defogging/demisting in cold weather:
1. Select
.
2. Select A/C.
3. Adjust the temperature control to maintain comfort.
4. Set the fan speed to the highest setting.
5. Direct the outer instrument panel vents towards the side windows.
To increase airflow to the outer instrument panel vents, close the vents
located in the middle of the instrument panel.
Electric vehicles
For specific information on the Transit Connect Electric, refer to the
Azure Dynamics TC-E Owner’s GuideSupplement.
AUXILIARY CLIMATE CONTROL (IF EQUIPPED)
Your auxiliary climate controls are
located on the rear of the center
console and can be used when the
front climate control system is on.
The temperature will be set by the
front controls. Use the rear control
to adjust the fan speed or turn the
auxiliary controls off (O).
Climate Controls
40
2011 Transit Connect(tst)
Owners Guide, 2nd Printing
USA(fus)
Page 41 of 295

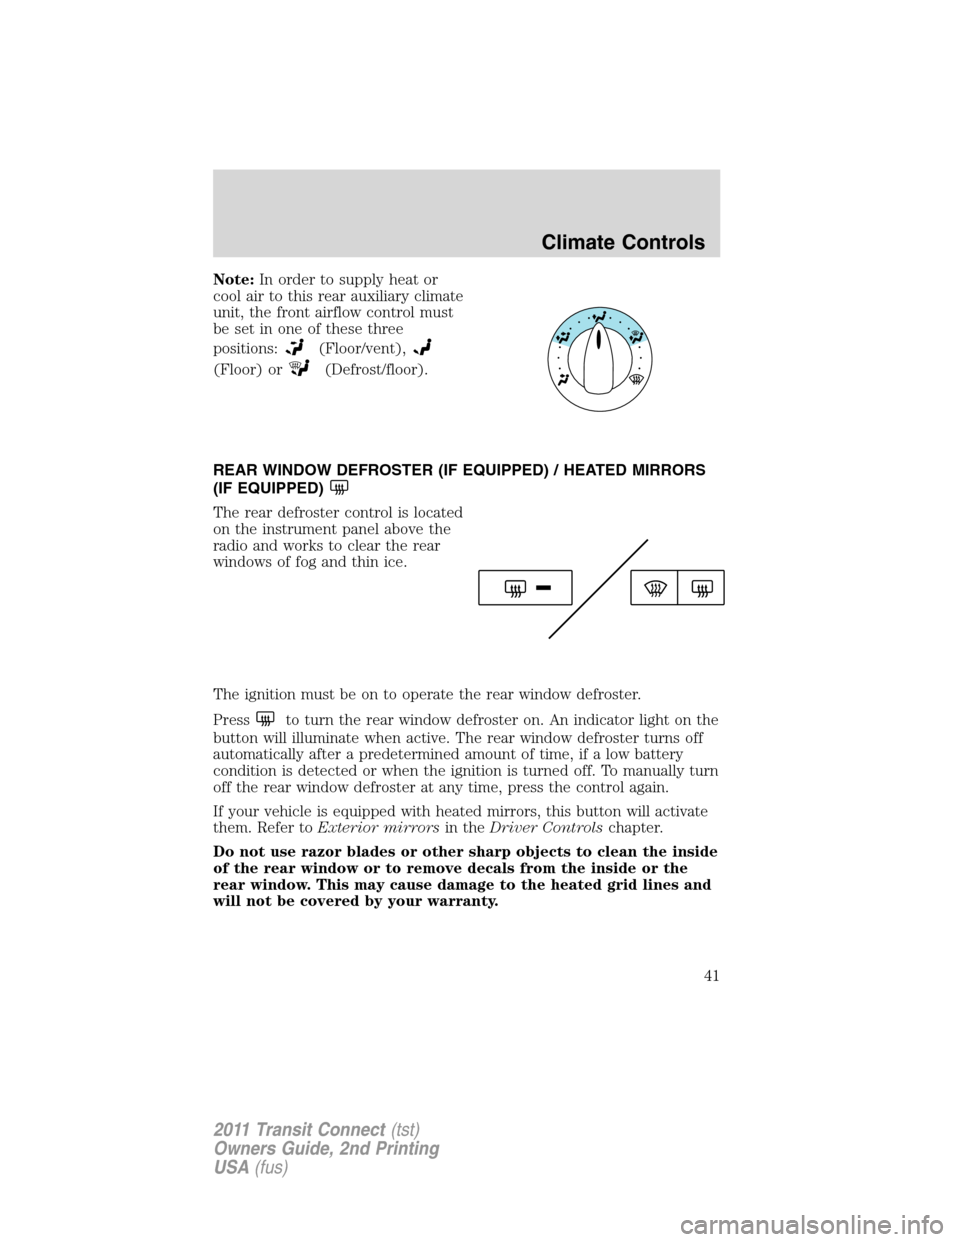
Note:In order to supply heat or
cool air to this rear auxiliary climate
unit, the front airflow control must
be set in one of these three
positions:
(Floor/vent),
(Floor) or(Defrost/floor).
REAR WINDOW DEFROSTER (IF EQUIPPED) / HEATED MIRRORS
(IF EQUIPPED)
The rear defroster control is located
on the instrument panel above the
radio and works to clear the rear
windows of fog and thin ice.
The ignition must be on to operate the rear window defroster.
Press
to turn the rear window defroster on. An indicator light on the
button will illuminate when active. The rear window defroster turns off
automatically after a predetermined amount of time, if a low battery
condition is detected or when the ignition is turned off. To manually turn
off the rear window defroster at any time, press the control again.
If your vehicle is equipped with heated mirrors, this button will activate
them. Refer toExterior mirrorsin theDriver Controlschapter.
Do not use razor blades or other sharp objects to clean the inside
of the rear window or to remove decals from the inside or the
rear window. This may cause damage to the heated grid lines and
will not be covered by your warranty.
Climate Controls
41
2011 Transit Connect(tst)
Owners Guide, 2nd Printing
USA(fus)
Page 42 of 295
Heated Windshield Control (if equipped)
The heated windshield control is
located on the instrument panel.
To activate the heated windshield,
the engine must be running while
the heated windshield control is
pushed.
Note:During initial start-up, the windshield may have a shimmering
appearance. This is normal operation and will only last for approximately
1 minute.
The heated windshield will turn off automatically after the engine is
turned off.
To manually turn off the heated windshield before the specified time has
passed, push the control switch again.
Climate Controls
42
2011 Transit Connect(tst)
Owners Guide, 2nd Printing
USA(fus)
Page 43 of 295
HEADLAMP CONTROL
Turns the lamps off.
Turns on the parking lamps,
instrument panel lamps, license
plate lamps and tail lamps.
Turns the headlamps on.
Front fog lamps (if equipped)
The headlamp control operates the
front fog lamps. The front fog lamps
can only be turned on when the
headlamp control is in the
orposition.
Pull the headlamp control towards you until the first detent is felt to
turn the front fog lamps on. The front fog lamp indicator light
will
illuminate.
Rear fog lamp
The headlamp control also operates
the rear fog lamp. The rear fog lamp
can only be turned on when the
headlamp control is in the
orposition.
Lights
43
2011 Transit Connect(tst)
Owners Guide, 2nd Printing
USA(fus)
Page 45 of 295

WARNING:Always remember to turn on your headlamps at
dusk or during inclement weather. The Daytime Running Lamp
(DRL) system does not activate the tail lamps and generally may not
provide adequate lighting during these conditions. Failure to activate
your headlamps under these conditions may result in a collision.
PANEL DIMMER CONTROL
Use to adjust the brightness of the
instrument panel and all applicable
switches in the vehicle during
headlamp and parking lamp
operation.
Move the control from left to right
to increase the brightness. Move the control from right to left to reduce
the brightness.
AIMING THE HEADLAMPS
The headlamps on your vehicle are properly aimed at the assembly plant.
If your vehicle has been in an accident, the alignment of your headlamps
should be checked by your authorized dealer.
Vertical aim adjustment
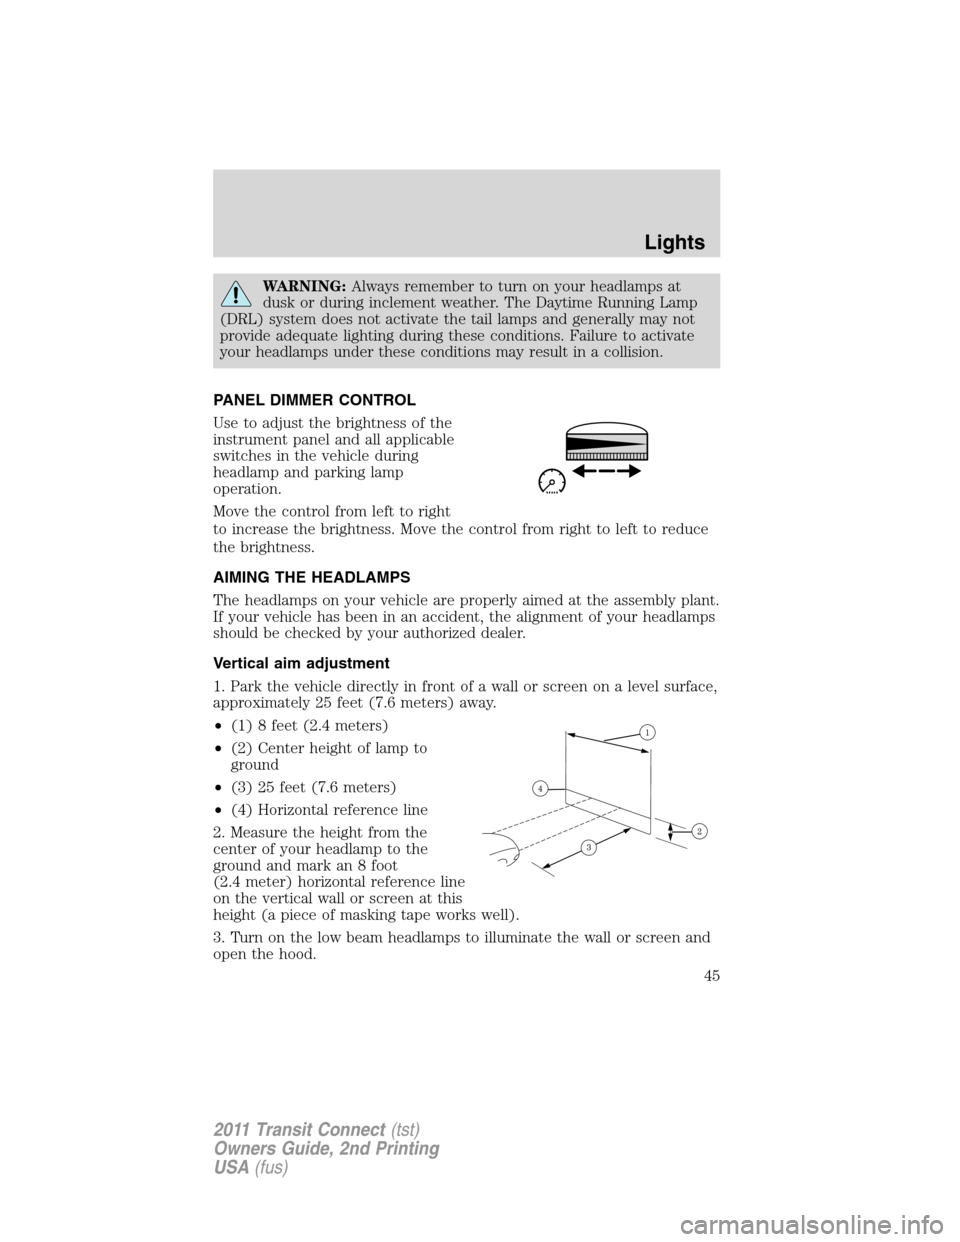
1. Park the vehicle directly in front of a wall or screen on a level surface,
approximately 25 feet (7.6 meters) away.
•(1) 8 feet (2.4 meters)
•(2) Center height of lamp to
ground
•(3) 25 feet (7.6 meters)
•(4) Horizontal reference line
2. Measure the height from the
center of your headlamp to the
ground and mark an 8 foot
(2.4 meter) horizontal reference line
on the vertical wall or screen at this
height (a piece of masking tape works well).
3. Turn on the low beam headlamps to illuminate the wall or screen and
open the hood.
Lights
45
2011 Transit Connect(tst)
Owners Guide, 2nd Printing
USA(fus)
Page 48 of 295

Examples of acceptable condensation are:
•Presence of thin mist (no streaks, drip marks or droplets)
•Fine mist covers less than 50% of the lens
Examples of unacceptable moisture (usually caused by a lamp water
leak) are:
•Water puddle inside the lamp
•Large water droplets, drip marks or streaks present on the interior of
the lens
Take your vehicle to a dealer for service if any of the above conditions of
unacceptable moisture are present.
Using the right bulbs
Replacement bulbs are specified in the chart below. Headlamp bulbs
must be marked with an authorized “D.O.T.” for North America to ensure
lamp performance, light brightness and pattern and safe visibility. The
correct bulbs will not damage the lamp assembly or void the lamp
assembly warranty and will provide quality bulb burn time.
Function Trade number
Headlamps H13
Turn lamp indicator (front) 3457NAK
Turn lamp indicator (rear) WY21W
Side marker lamp W5W LL
Side repeater lamp 194NA
Front fog lamp H11
Brake and tail lamps W21/5W
Backup lamp W21W
Rear fog lamp W21W
License plate lamp W5W LL
High-mount brake lamp LED
Dome lamps (front and rear) 211
Reading lamps W5W
To replace all instrument panel lights - see your authorized dealer
Replacing interior bulbs
Check the operation of all bulbs frequently.
Lights
48
2011 Transit Connect(tst)
Owners Guide, 2nd Printing
USA(fus)
Page 104 of 295

WARNING:If the air bag has deployed,the air bag will not
function again and must be replaced immediately.If the air
bag is not replaced, the unrepaired area will increase the risk of injury
in a collision.
Front passenger sensing system
The front passenger sensing system is designed to meet the regulatory
requirements of Federal Motor Vehicle Safety Standard (FMVSS) 208
and is designed to disable (will not inflate) the front passenger’s frontal
airbag under certain conditions.
The front passenger sensing system works with sensors that are part of
the front passenger’s seat and safety belt. The sensors are designed to
detect the presence of a properly seated occupant and determine if the
front passenger’s frontal airbag should be enabled (may inflate) or
disabled (will not inflate).
The front passenger sensing system will disable (will not inflate) the
front passenger’s frontal airbag if:
•the front passenger seat is unoccupied, or has small/medium objects in
the front seat,
•the system determines that an infant is present in a rear-facing infant
seat that is installed according to the manufacturer’s instructions,
•the system determines that a small child is present in a forward-facing
child restraint that is installed according to the manufacturer’s
instructions,
•the system determines that a small child is present in a booster seat,
•a front passenger takes his/her weight off of the seat for a period of
time,
•a child or a small person occupies the front passenger seat.
Note:When the passenger airbag off light is illuminated, the passenger
(seat mounted) side airbag may be disabled to avoid the risk of airbag
deployment injuries.
The front passenger sensing system
uses a�passenger airbag off�or
�pass airbag off�indicator which will
illuminate and stay lit to remind you
that the front passenger frontal airbag is disabled. The indicator lamp is
located at the top of the instrument panel center stack area above the
radio and next to the hazard warning indicator.
Seating and Safety Restraints
104
2011 Transit Connect(tst)
Owners Guide, 2nd Printing
USA(fus)