Page 249 of 345

Fuse/Relay
LocationFuse Amp
RatingProtected Circuits
7 10A Low beam headlamps (left)
8 10A Low beam headlamps (right)
9 15A Courtesy lights
10 15A Backlighting, Puddle lamps
11 10A Not used (spare)
12 7.5A Power outside mirrors
13 5A SYNC�module
14 10A Electronic finish panel (EFP) radio
and climate control buttons module,
Navigation display, Center
information display, GPS module
15 10A Climate control
16 15A Not used (spare)
17 20A Door locks, Trunk release
18 20A Heated seats
19 25A Amplifier
20 15A On-board diagnostic connector
21 15A Fog lamps
22 15A Front sidemarker lamps, Park lamps,
License plate lamp
23 15A High beam headlamps
24 20A Horn
25 10A Demand lamps/power saver relay
26 10A Instrument cluster battery power
27 20A Ignition switch
28 5A Radio crank sense circuit
29 5A Instrument cluster ignition power
30 5A Not used (spare)
31 10A Not used (spare)
32 10A Restraint control module
33 10A Not used (spare)
34 5A Not used (spare)
Roadside Emergencies
249
2011 Fusion Hybrid(hfv)
Owners Guide, 2nd Printing
USA(fus)
Page 250 of 345

Fuse/Relay
LocationFuse Amp
RatingProtected Circuits
35 10A Reverse sensing system, Blind spot
information system, Heated seats,
Rearview camera, 110V inverter
36 5A Passive Anti-Theft Sensor (PATS)
transceiver
37 10A Humidity sensor
38 20A Subwoofer amplifier
39 20A Radio
40 20A Not used (spare)
41 15A Automatic dimming mirror, Moon
roof, Compass, Ambient lighting
42 10A Electronic power assist steering
43 10A Not used (spare)
44 10A Fuel diode/Powertrain control module
45 5A Heated backlight and blower relay
coil, Wiper washer
46 7.5A Occupant classification sensor (OCS)
module, Passenger airbag off lamp
47 30A Circuit
BreakerPower windows
48 — Delayed accessory relay
Power distribution box
The power distribution box is located in the engine compartment. The
power distribution box contains high-current fuses that protect your
vehicle’s main electrical systems from overloads.
WARNING:Always disconnect the battery before servicing high
current fuses.
WARNING:To reduce risk of electrical shock, always replace
the cover to the power distribution box before reconnecting the
battery or refilling fluid reservoirs.
Roadside Emergencies
250
2011 Fusion Hybrid(hfv)
Owners Guide, 2nd Printing
USA(fus)
Page 251 of 345
If the battery has been disconnected and reconnected, refer to the
Batterysection of theMaintenance and Specificationschapter.
The high-current fuses are coded as follows.
Fuse/Relay
LocationFuse Amp
RatingProtected Circuits
1 50A* Electronic power assist steering B+
2 50A* Electronic power assist steering B+
3 40A* Powertrain control module (aux relay
5 power)
4 — Not used
5 — Not used
6 40A* Rear defrost (aux relay 4 power)
7 40A* Vacuum pump (aux relay 6 power)
8 50A* Brake system controller pump
9 20A* Wiper washer
10 30A* Brake system controller valves
11 — Not used
12 — Not used
13 15A** Motor electronics coolant/heater
pump (relay 42 & 44 power)
14 — Not used
Roadside Emergencies
251
2011 Fusion Hybrid(hfv)
Owners Guide, 2nd Printing
USA(fus)
Page 252 of 345
Fuse/Relay
LocationFuse Amp
RatingProtected Circuits
15 — Not used
16 — Not used
17 10A** HEV high voltage battery module
18 30A* 110V electrical outlet
19 — Not used
20 — Not used
21 — Not used
22 20A* Console power point
23 10A** Powertrain control module/
Transmission control module
keep-alive power, Canister vent
24 — Not used
25 — Not used
26 — Not used
27 — Not used
28 60A* Cooling fan motor
29 20A* Front power point
30 30A* Fuel relay (relay 43 power)
31 30A* Passenger power seat
32 30A* Driver power seat
33 20A* Moon roof
34 — Not used
35 40A* Front A/C blower motor (aux relay 3
power)
36 1A Diode Fuel pump
37 5A** Vacuum pump monitoring
38 10A** Heated side mirrors
39 10A** Transmission control module
40 10A** Powertrain control module
41 G8VA relay Backup lamps
42 G8VA relay Heater pump
Roadside Emergencies
252
2011 Fusion Hybrid(hfv)
Owners Guide, 2nd Printing
USA(fus)
Page 253 of 345
Fuse/Relay
LocationFuse Amp
RatingProtected Circuits
43 G8VA relay Fuel pump
44 G8VA relay Motor electronics coolant pump
45 15A** Injectors
46 15A** Coil on plugs
47 10A** Powertrain control module (general):
Heater pump, Motor electronics
coolant pump relay coils, DC/DC
converter, Back-up lamps, Brake
controller
48 20A** HEV high voltage battery module,
Fuel pump relay
4915A** Powertrain control module (emissions
related)
* Cartridge Fuses ** Mini Fuses
Auxiliary relay box
The auxiliary relay box is located in front of the radiator in the engine
compartment.
The components are coded as follows:
Relay Location Relay Type Function
1 — Not used
2 — Not used
3 High current
microBlower motor
Roadside Emergencies
253
2011 Fusion Hybrid(hfv)
Owners Guide, 2nd Printing
USA(fus)
Page 261 of 345

the Easy Fuel™ “no cap” fuel system as it can be damaged. You must
use the included funnel in such circumstances.
WARNING:Do not insert the nozzle of portable fuel containers
or aftermarket funnels into the Easy Fuel™ system. This could
damage the fuel system and its seal, and may cause fuel to run onto
the ground instead of filling the tank, all of which could result in
serious personal injury.
JUMP STARTING (LOW VOLTAGE [UNDERHOOD] BATTERY ONLY)
WARNING:The gases around the battery can explode if
exposed to flames, sparks, or lit cigarettes. An explosion could
result in injury or vehicle damage.
WARNING:Batteries contain sulfuric acid which can burn skin,
eyes and clothing, if contacted.
Do not attempt to push-start your automatic transmission
vehicle. Automatic transmissions do not have push-start
capability. Attempting to push-start a vehicle with an automatic
transmission may cause transmission damage.
Preparing your vehicle
If your low voltage (underhood) battery becomes disconnected or
disabled for any reason, the vehicle controller must relearn the engine’s
operating characteristics in order to operate it at maximum efficiency.
This relearning process occurs the first time the vehicle is driven after
reconnecting the low voltage battery. If the learning procedure does not
have time to complete during the drive, the engine will continue to
operate for 3-5 seconds after you turn the ignition off to complete the
relearning process. This is a normal condition and will not re-occur until
the low voltage battery is disconnected again. Refer toLow voltage
(underhood) batteryin theMaintenance and Specificationchapter
for more information.
1.Use only a 12–volt supply to start your vehicle.
2. Do not disconnect the battery of the disabled vehicle as this could
damage the vehicle’s electrical system.
3. Park the booster vehicle close to the hood of the disabled vehicle
making sure the two vehiclesdo nottouch. Set the parking brake on
both vehicles and stay clear of the engine cooling fan and other moving
parts.
Roadside Emergencies
261
2011 Fusion Hybrid(hfv)
Owners Guide, 2nd Printing
USA(fus)
Page 262 of 345

4. Check all battery terminals and remove any excessive corrosion before
you attach the battery cables. Ensure that vent caps are tight and level.
5. Turn the heater fan on in both vehicles to protect from any electrical
surges. Turn all other accessories off.
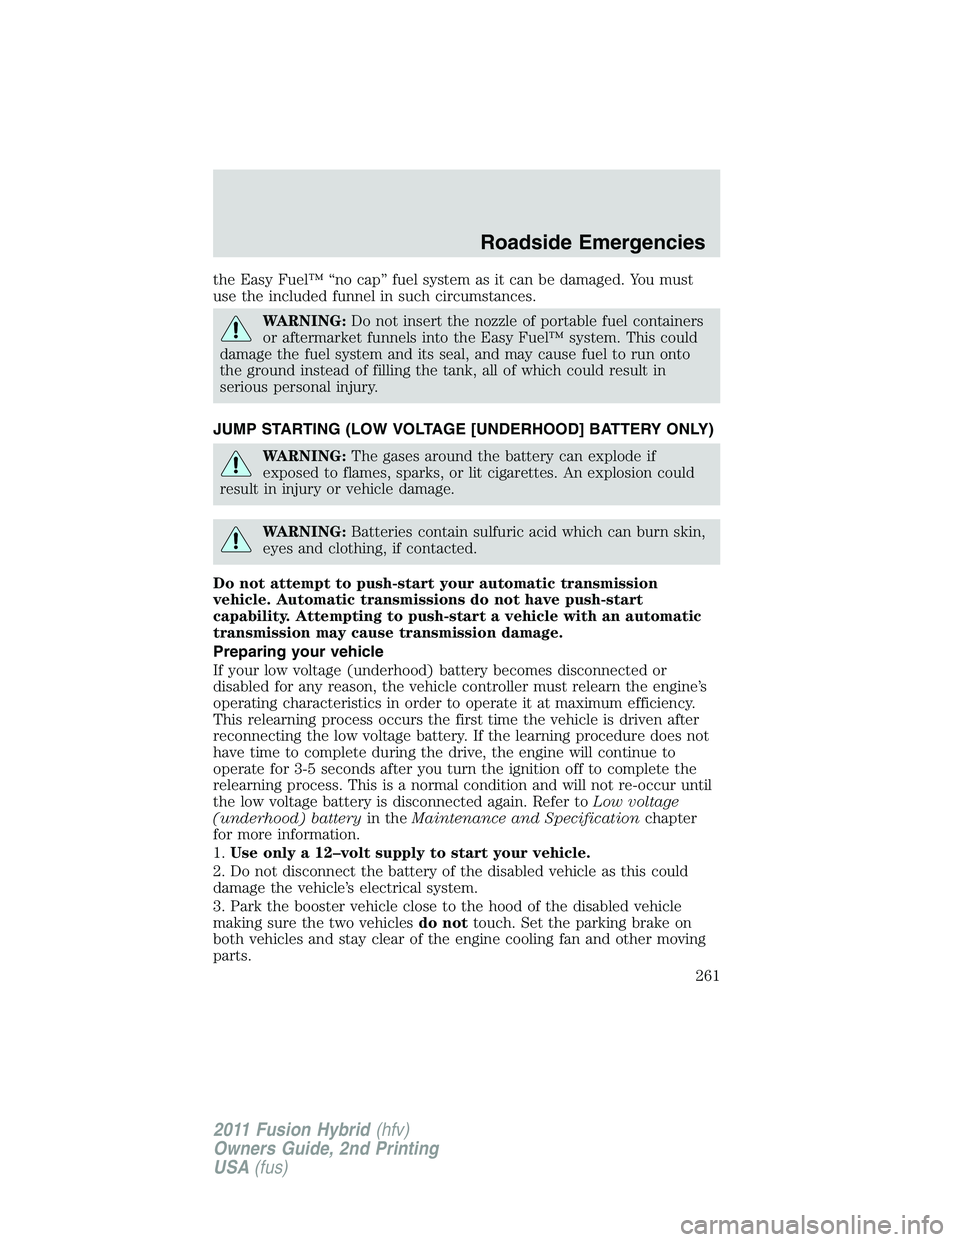
Connecting the jumper cables
Note:In the illustration, the vehicle on the bottom is used to designate
the assisting (boosting) battery.
1. Connect the positive (+) jumper
cable to the positive (+) terminal of
the discharged battery.
2. Connect the other end of the
positive (+) cable to the positive
(+) terminal of the assisting battery.
3. Connect the negative (-) cable to
the negative (-) terminal of the
assisting battery.
4. Make the final connection of the
negative (-) cable to an exposed
metal part of the stalled vehicle’s
engine, away from the battery and
the carburetor/fuel injection system.
Note:Do not attach the negative (-) cable to fuel lines, engine rocker
covers, the intake manifold or electrical components as grounding points.
WARNING:Do not connect the end of the second cable to the
negative (-) terminal of the battery to be jumped. A spark may
cause an explosion of the gases that surround the battery.
Ensure that the cables are clear of fan blades, belts, moving parts of both
engines, or any fuel delivery system parts.
Jump starting
1. Start the engine of the booster vehicle and run the engine at
moderately increased speed.
+–
+–
2
3
14
Roadside Emergencies
262
2011 Fusion Hybrid(hfv)
Owners Guide, 2nd Printing
USA(fus)
Page 263 of 345

2. Start the engine of the disabled vehicle.
3. Once the disabled vehicle has been started, run both engines for an
additional three minutes before disconnecting the jumper cables.
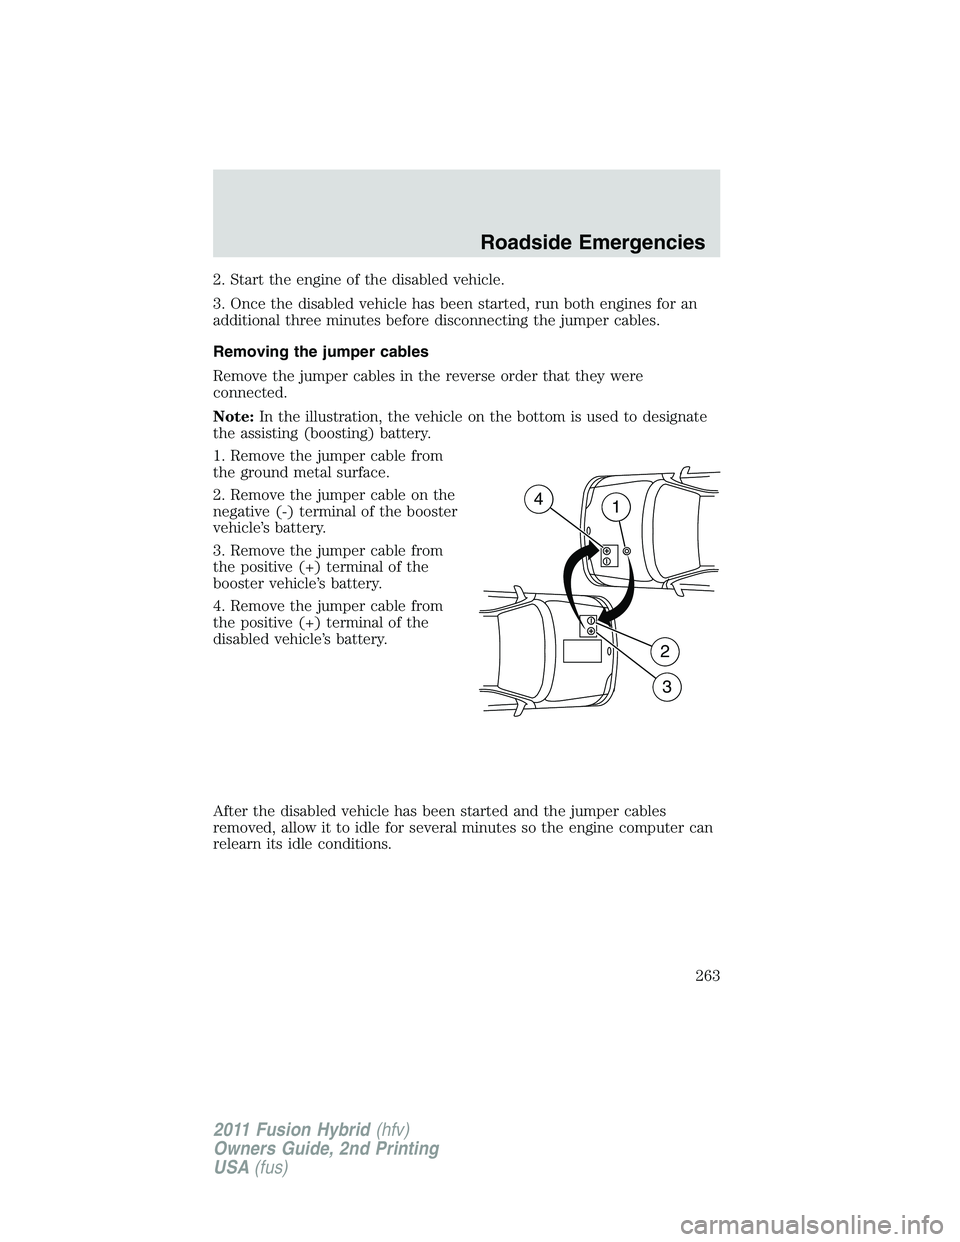
Removing the jumper cables
Remove the jumper cables in the reverse order that they were
connected.
Note:In the illustration, the vehicle on the bottom is used to designate
the assisting (boosting) battery.
1. Remove the jumper cable from
the ground metal surface.
2. Remove the jumper cable on the
negative (-) terminal of the booster
vehicle’s battery.
3. Remove the jumper cable from
the positive (+) terminal of the
booster vehicle’s battery.
4. Remove the jumper cable from
the positive (+) terminal of the
disabled vehicle’s battery.
After the disabled vehicle has been started and the jumper cables
removed, allow it to idle for several minutes so the engine computer can
relearn its idle conditions.
+–
+–
DA
B
C
4D1
2
3
Roadside Emergencies
263
2011 Fusion Hybrid(hfv)
Owners Guide, 2nd Printing
USA(fus)