2011 FORD FUSION HYBRID spare wheel
[x] Cancel search: spare wheelPage 204 of 345
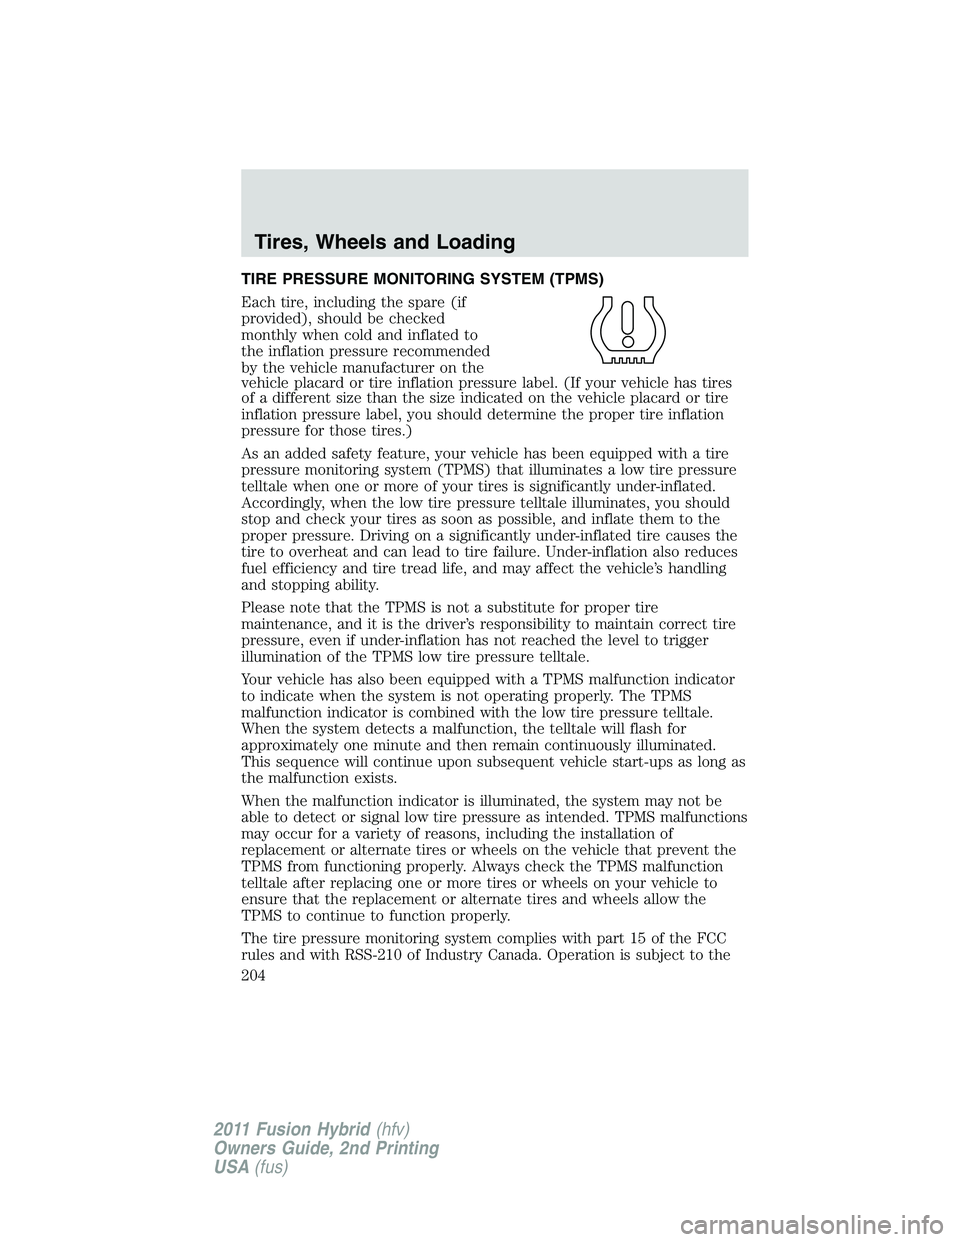
TIRE PRESSURE MONITORING SYSTEM (TPMS)
Each tire, including the spare (if
provided), should be checked
monthly when cold and inflated to
the inflation pressure recommended
by the vehicle manufacturer on the
vehicle placard or tire inflation pressure label. (If your vehicle has tires
of a different size than the size indicated on the vehicle placard or tire
inflation pressure label, you should determine the proper tire inflation
pressure for those tires.)
As an added safety feature, your vehicle has been equipped with a tire
pressure monitoring system (TPMS) that illuminates a low tire pressure
telltale when one or more of your tires is significantly under-inflated.
Accordingly, when the low tire pressure telltale illuminates, you should
stop and check your tires as soon as possible, and inflate them to the
proper pressure. Driving on a significantly under-inflated tire causes the
tire to overheat and can lead to tire failure. Under-inflation also reduces
fuel efficiency and tire tread life, and may affect the vehicle’s handling
and stopping ability.
Please note that the TPMS is not a substitute for proper tire
maintenance, and it is the driver’s responsibility to maintain correct tire
pressure, even if under-inflation has not reached the level to trigger
illumination of the TPMS low tire pressure telltale.
Your vehicle has also been equipped with a TPMS malfunction indicator
to indicate when the system is not operating properly. The TPMS
malfunction indicator is combined with the low tire pressure telltale.
When the system detects a malfunction, the telltale will flash for
approximately one minute and then remain continuously illuminated.
This sequence will continue upon subsequent vehicle start-ups as long as
the malfunction exists.
When the malfunction indicator is illuminated, the system may not be
able to detect or signal low tire pressure as intended. TPMS malfunctions
may occur for a variety of reasons, including the installation of
replacement or alternate tires or wheels on the vehicle that prevent the
TPMS from functioning properly. Always check the TPMS malfunction
telltale after replacing one or more tires or wheels on your vehicle to
ensure that the replacement or alternate tires and wheels allow the
TPMS to continue to function properly.
The tire pressure monitoring system complies with part 15 of the FCC
rules and with RSS-210 of Industry Canada. Operation is subject to the
Tires, Wheels and Loading
204
2011 Fusion Hybrid(hfv)
Owners Guide, 2nd Printing
USA(fus)
Page 205 of 345
following two conditions: (1) This device may not cause harmful
interference, and (2) This device must accept any interference received,
including interference that may cause undesired operation.
WARNING:The tire pressure monitoring system is NOT a
substitute for manually checking tire pressure. The tire pressure
should be checked periodically (at least monthly) using a tire gauge,
seeInflating your tiresin this chapter. Failure to properly maintain
your tire pressure could increase the risk of tire failure, loss of control,
vehicle rollover and personal injury.
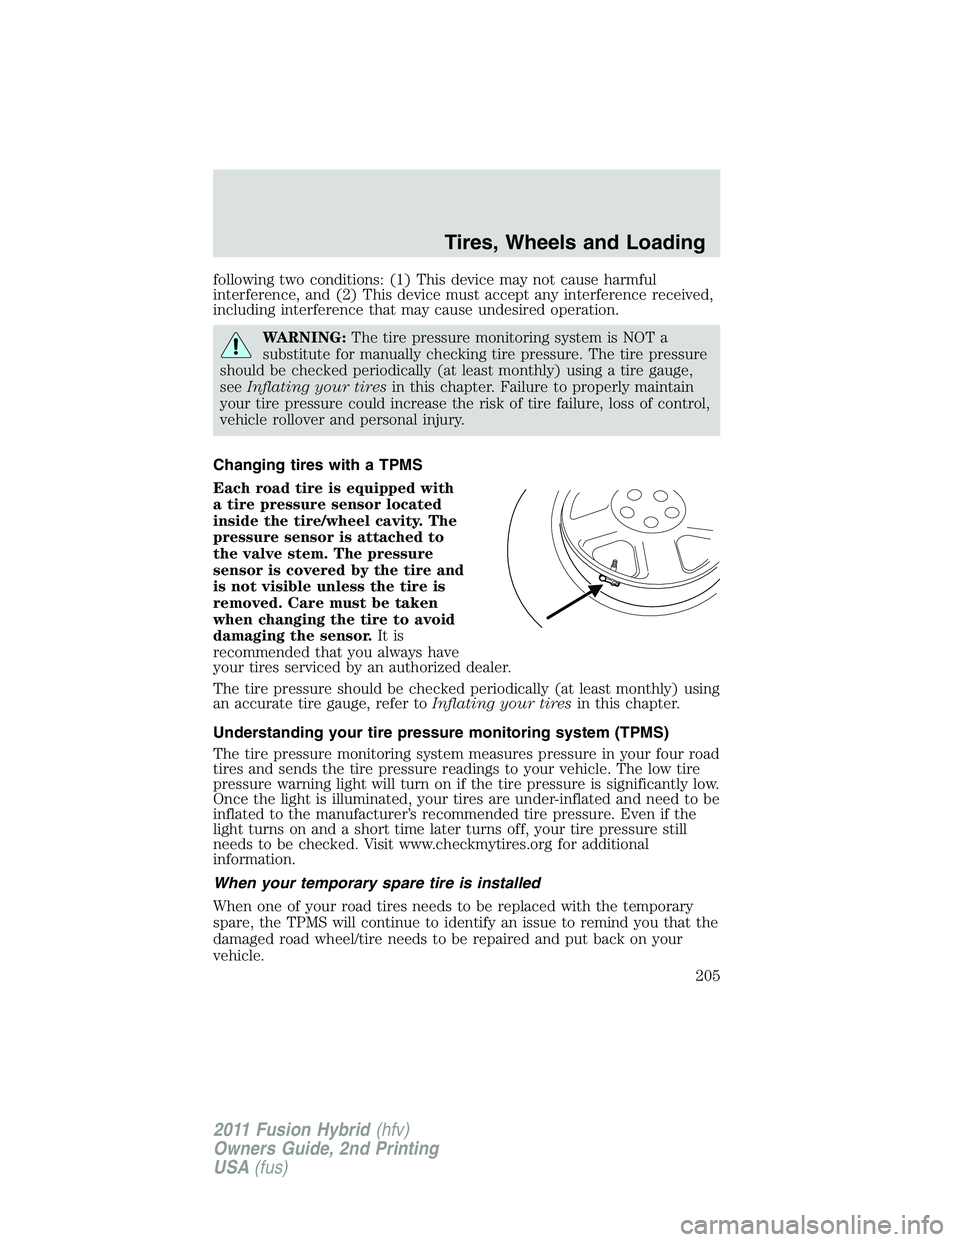
Changing tires with a TPMS
Each road tire is equipped with
a tire pressure sensor located
inside the tire/wheel cavity. The
pressure sensor is attached to
the valve stem. The pressure
sensor is covered by the tire and
is not visible unless the tire is
removed. Care must be taken
when changing the tire to avoid
damaging the sensor.It is
recommended that you always have
your tires serviced by an authorized dealer.
The tire pressure should be checked periodically (at least monthly) using
an accurate tire gauge, refer toInflating your tiresin this chapter.
Understanding your tire pressure monitoring system (TPMS)
The tire pressure monitoring system measures pressure in your four road
tires and sends the tire pressure readings to your vehicle. The low tire
pressure warning light will turn on if the tire pressure is significantly low.
Once the light is illuminated, your tires are under-inflated and need to be
inflated to the manufacturer’s recommended tire pressure. Even if the
light turns on and a short time later turns off, your tire pressure still
needs to be checked. Visit www.checkmytires.org for additional
information.
When your temporary spare tire is installed
When one of your road tires needs to be replaced with the temporary
spare, the TPMS will continue to identify an issue to remind you that the
damaged road wheel/tire needs to be repaired and put back on your
vehicle.
Tires, Wheels and Loading
205
2011 Fusion Hybrid(hfv)
Owners Guide, 2nd Printing
USA(fus)
Page 207 of 345
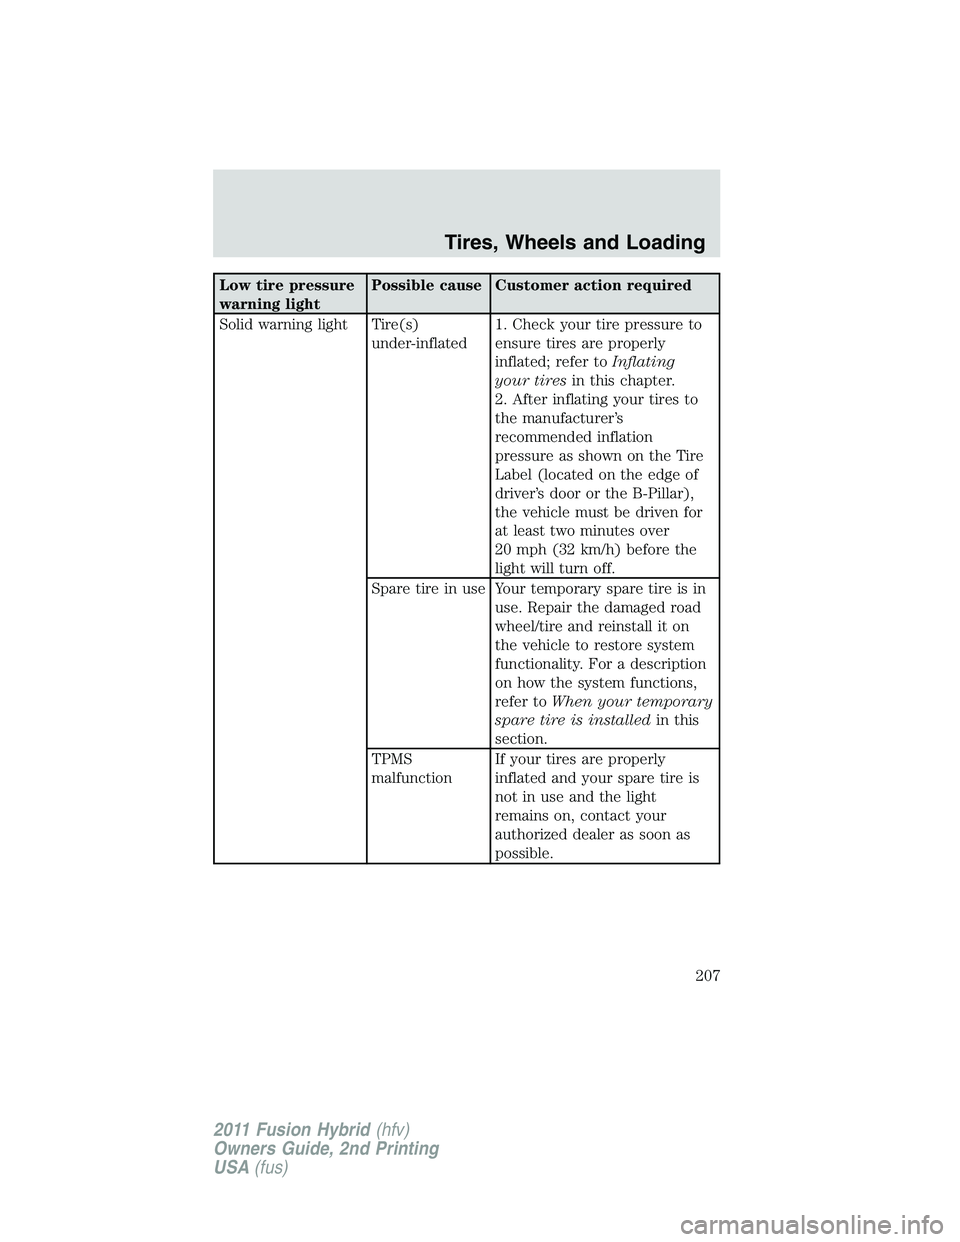
Low tire pressure
warning lightPossible cause Customer action required
Solid warning light Tire(s)
under-inflated1. Check your tire pressure to
ensure tires are properly
inflated; refer toInflating
your tiresin this chapter.
2. After inflating your tires to
the manufacturer’s
recommended inflation
pressure as shown on the Tire
Label (located on the edge of
driver’s door or the B-Pillar),
the vehicle must be driven for
at least two minutes over
20 mph (32 km/h) before the
light will turn off.
Spare tire in use Your temporary spare tire is in
use. Repair the damaged road
wheel/tire and reinstall it on
the vehicle to restore system
functionality. For a description
on how the system functions,
refer toWhen your temporary
spare tire is installedin this
section.
TPMS
malfunctionIf your tires are properly
inflated and your spare tire is
not in use and the light
remains on, contact your
authorized dealer as soon as
possible.
Tires, Wheels and Loading
207
2011 Fusion Hybrid(hfv)
Owners Guide, 2nd Printing
USA(fus)
Page 208 of 345
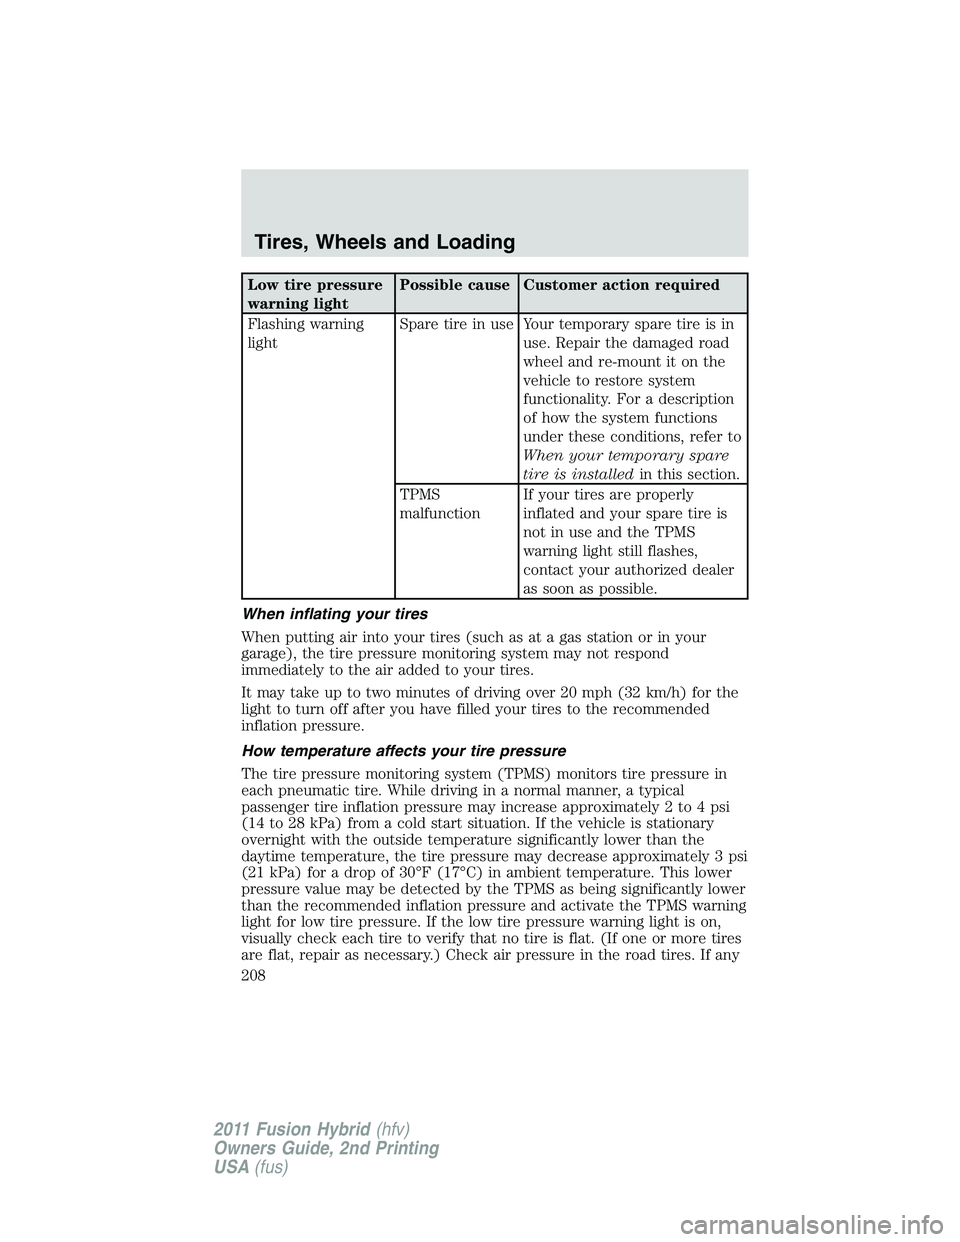
Low tire pressure
warning lightPossible cause Customer action required
Flashing warning
lightSpare tire in use Your temporary spare tire is in
use. Repair the damaged road
wheel and re-mount it on the
vehicle to restore system
functionality. For a description
of how the system functions
under these conditions, refer to
When your temporary spare
tire is installedin this section.
TPMS
malfunctionIf your tires are properly
inflated and your spare tire is
not in use and the TPMS
warning light still flashes,
contact your authorized dealer
as soon as possible.
When inflating your tires
When putting air into your tires (such as at a gas station or in your
garage), the tire pressure monitoring system may not respond
immediately to the air added to your tires.
It may take up to two minutes of driving over 20 mph (32 km/h) for the
light to turn off after you have filled your tires to the recommended
inflation pressure.
How temperature affects your tire pressure
The tire pressure monitoring system (TPMS) monitors tire pressure in
each pneumatic tire. While driving in a normal manner, a typical
passenger tire inflation pressure may increase approximately 2 to 4 psi
(14 to 28 kPa) from a cold start situation. If the vehicle is stationary
overnight with the outside temperature significantly lower than the
daytime temperature, the tire pressure may decrease approximately 3 psi
(21 kPa) for a drop of 30°F (17°C) in ambient temperature. This lower
pressure value may be detected by the TPMS as being significantly lower
than the recommended inflation pressure and activate the TPMS warning
light for low tire pressure. If the low tire pressure warning light is on,
visually check each tire to verify that no tire is flat. (If one or more tires
are flat, repair as necessary.) Check air pressure in the road tires. If any
Tires, Wheels and Loading
208
2011 Fusion Hybrid(hfv)
Owners Guide, 2nd Printing
USA(fus)
Page 254 of 345

Relay Location Relay Type Function
4 High current
microRear window defogger
5 High current
microPowertrain control module
6 High current
microVacuum pump cut-off
7 Solid state Vacuum pump
CHANGING THE TIRES
If you get a flat tire while driving, do not apply the brake heavily.
Instead, gradually decrease your speed. Hold the steering wheel firmly
and slowly move to a safe place on the side of the road.
Note:The tire pressure monitoring system (TPMS) indicator light will
illuminate when the spare tire is in use. To restore the full functionality
of the monitoring system, all road wheels equipped with tire pressure
monitoring sensors must be mounted on the vehicle.
Have a flat serviced by an authorized dealer in order to prevent damage
to the TPMS sensors, refer toTire pressure monitoring system
(TPMS)in theTires, Wheels and Loadingchapter. Replace the spare
tire with a road tire as soon as possible. During repairing or replacing of
the flat tire, have the authorized dealer inspect the TPMS sensor for
damage.
WARNING:The use of tire sealants may damage your tire
pressure monitoring system (TPMS) and should not be used.
However, if you must use a sealant, the TPMS sensor and valve stem
on the wheel must be replaced by an authorized Ford dealer.
WARNING:Refer toTire pressure monitoring system (TPMS)
in theTires, Wheels and Loadingchapter for important
information. If the tire pressure monitor sensor becomes damaged, it
will no longer function.
Roadside Emergencies
254
2011 Fusion Hybrid(hfv)
Owners Guide, 2nd Printing
USA(fus)
Page 255 of 345
Dissimilar spare tire/wheel information
WARNING:Failure to follow these guidelines could result in an
increased risk of loss of vehicle control, injury or death.
If you have a dissimilar spare tire/wheel, then it is intended for
temporary use only. This means that if you need to use it, you should
replace it as soon as possible with a road tire/wheel that is the same size
and type as the road tires and wheels that were originally provided by
Ford. If the dissimilar spare tire or wheel is damaged, it should be
replaced rather than repaired.
A dissimilar spare tire/wheel is defined as a spare tire and/or wheel that
is different in brand, size or appearance from the road tires and wheels
and can be one of three types:
1.T-type mini-spare:This spare tire begins with the letter “T” for tire
size and may have “Temporary Use Only” molded in the sidewall
2.Full-size dissimilar spare with label on wheel:This spare tire has
a label on the wheel that states: “THIS TIRE AND WHEEL FOR
TEMPORARY USE ONLY”
When driving with one of the dissimilar spare tires listed above,do not:
•Exceed 50 mph (80 km/h)
•Load the vehicle beyond maximum vehicle load rating listed on the
Safety Compliance Label
•Tow a trailer
•Use snow chains on the end of the vehicle with the dissimilar spare
tire
•Use more than one dissimilar spare tire at a time
•Use commercial car washing equipment
•Try to repair the dissimilar spare tire
Use of one of the dissimilar spare tires listed above at any one wheel
location can lead to impairment of the following:
•Handling, stability and braking performance
•Comfort and noise
•Ground clearance and parking at curbs
•Winter weather driving capability
•Wet weather driving capability
Roadside Emergencies
255
2011 Fusion Hybrid(hfv)
Owners Guide, 2nd Printing
USA(fus)
Page 256 of 345
•All-wheel driving capability (if applicable)
3.Full-size dissimilar spare without label on wheel
When driving with the full-size dissimilar spare tire/wheel,do not:
•Exceed 70 mph (113 km/h)
•Use more than one dissimilar spare tire/wheel at a time
•Use commercial car washing equipment
•Use snow chains on the end of the vehicle with the dissimilar spare
tire/wheel
The usage of a full-size dissimilar spare tire/wheel can lead to
impairment of the following:
•Handling, stability and braking performance
•Comfort and noise
•Ground clearance and parking at curbs
•Winter weather driving capability
•Wet weather driving capability
•All-wheel driving capability (if applicable)
•Load leveling adjustment (if applicable)
When driving with the full-size dissimilar spare tire/wheel additional
caution should be given to:
•Towing a trailer
•Driving vehicles equipped with a camper body
•Driving vehicles with a load on the cargo rack
Drive cautiously when using a full-size dissimilar spare tire/wheel and
seek service as soon as possible.
Stopping and securing the vehicle
1. Park on a level surface, set the parking brake and activate the hazard
flashers.
2. Place the gearshift lever in P (Park) and turn the engine off.
Roadside Emergencies
256
2011 Fusion Hybrid(hfv)
Owners Guide, 2nd Printing
USA(fus)
Page 257 of 345

Removing the spare tire and jack
1. Remove the carpeted load floor
panel located in the rear of the
vehicle and remove the lug wrench
and long bolt from the tool bag.
2. Remove the bolt securing the
spare tire using the lug wrench,
then lift and remove the spare tire
from the trunk.
3. Remove the jack retention bolt by
turning it counterclockwise and
remove the jack from the vehicle.
Tire change procedure
WARNING:To help prevent the vehicle from moving when you
change a tire, be sure the parking brake is set, then block (in
both directions) the wheel that is diagonally opposite (other side and
end of the vehicle) to the tire being changed.
WARNING:If the vehicle slips off the jack, you or someone else
could be seriously injured.
WARNING:Do not attempt to change a tire on the side of the
vehicle close to moving traffic. Pull far enough off the road to
avoid the danger of being hit when operating the jack or changing the
wheel.
Note:Passengers should not remain in the vehicle when the vehicle is
being jacked.
Roadside Emergencies
257
2011 Fusion Hybrid(hfv)
Owners Guide, 2nd Printing
USA(fus)