2011 FORD F550 reset
[x] Cancel search: resetPage 239 of 449

TPMS reset procedure
The TPMS reset procedure needs to be performed after each tire
rotation on vehicles that require different recommended tire
pressures in the front tires as compared to the rear tires.
WARNING: To determine the required pressure(s) for your
vehicle, refer to the Safety Compliance Certification Label or
Tire Label located on the B-Pillar or the edge of the driver’s door. See
Vehicle loading - with and without a trailer in this chapter for more
information.
Overview
To provide the vehicle’s load carrying capability, some vehicles require
different recommended tire pressures in the front tires as compared to
the rear tires. The tire pressure monitoring system (TPMS) equipped on
these vehicles is designed to illuminate the low tire pressure warning
light at two different pressures; one for the front tires and one for the
rear tires.
Since tires need to be rotated to provide consistent performance and
maximum tire life, the tire pressure monitoring system needs to know
when the tires are rotated to determine which set of tires are on the
front and which are on the rear. With this information, the system can
detect and properly warn of low tire pressures.
TPMS reset tips:
• To reduce the chances of interference from another vehicle, the TPMS
reset procedure should be performed at least three feet (one meter)
away from another Ford Motor Company vehicle undergoing the TPMS
reset procedure at the same time.
• Do not wait more than two minutes between resetting each tire sensor
or the system will time-out and the entire procedure will have to be
repeated on all four wheels.
• A double horn chirp indicates the need to repeat the procedure.
Performing the TPMS reset procedure
It is recommended that you read the entire procedure before attempting.
1. Drive the vehicle above 20 mph (32 km/h) for at least two minutes
and then park in a safe location where you can easily get to all four tires
and have access to an air pump.
2. Place the ignition in the off position and keep the key in the ignition. Tires, Wheels and Loading
239
2011 F-250/350/450/550 (f23)
Owners Guide, 4th Printing
USA (fus)
Page 240 of 449

3. Cycle the ignition to the on
position with the engine off.
4. Turn the hazard flashers on then
off three times. This must be
accomplished within 10 seconds.
If the reset mode has been entered successfully, the horn will sound
once, the TPMS indicator will flash and the message center (if
equipped) will display TRAIN LEFT FRONT TIRE . If this does not
occur, please try again starting at Step 2.
If after repeated attempts to enter the reset mode, the horn does not
sound, the TPMS indicator does not flash and the message center (if
equipped) does not display TRAIN LEFT FRONT TIRE , seek service
from your authorized dealer.
5. Train the TPMS sensors in the tires using the following TPMS reset
sequence starting with the left front tire in the following clockwise
order:
• Left front (Driver’s side front tire)
• Right front (Passenger’s side front tire)
• Right rear (Passenger’s side rear tire)
• Left rear (Driver’s side rear tire)
6. Remove the valve cap from the valve stem on the left front tire;
decrease the air pressure until the horn sounds.
Note: The single horn chirp confirms that the sensor identification code
has been learned by the module for this position. If a double horn is
heard, the reset procedure was unsuccessful, and must be repeated.
7. Remove the valve cap from the valve stem on the right front tire;
decrease the air pressure until the horn sounds.Tires, Wheels and Loading
240
2011 F-250/350/450/550 (f23)
Owners Guide, 4th Printing
USA (fus)
Page 241 of 449

8. Remove the valve cap from the valve stem on the right rear tire;
decrease the air pressure until the horn sounds.
9. Remove the valve cap from the valve stem on the left rear tire;
decrease the air pressure until the horn sounds.
Training is complete after the horn sounds for the last tire trained
(driver’s side rear tire), the TPMS indicator stops flashing, and the
message center (if equipped) displays:
TRAINING COMPLETE .
10. Turn the ignition off. If two short horn beeps are heard, the reset
procedure was unsuccessful and must be repeated.
If after repeating the procedure and two short beeps are heard when the
ignition is turned to off, seek assistance from your authorized dealer.
11. Set all four tires to the recommended air pressure as indicated on
the Safety Compliance Certification Label or Tire Label located on the
B-Pillar or the edge of the driver’s door. See Vehicle loading - with and
without a trailer in this chapter for more information.
SNOW TIRES AND CHAINS
WARNING: Snow tires must be the same size, load index, speed
rating as those originally provided by Ford. Use of any tire or
wheel not recommended by Ford can affect the safety and
performance of your vehicle, which could result in an increased risk of
loss of vehicle control, vehicle rollover, personal injury and death.
Additionally, the use of non-recommended tires and wheels could
cause steering, suspension, axle or transfer case/power transfer unit
failure.
Note: Do not use snow chains on vehicles with 20 inch wheels and tires.
The tires on your vehicle have all-weather treads to provide traction in
rain and snow. However, in some climates, you may need to use snow
tires and chains. If you need to use chains, it is recommended that steel
wheels (of the same size and specifications) be used, as chains may chip
aluminum wheels.
Note: The suspension insulation and bumpers will help prevent vehicle
damage. Do not remove these components from your vehicle when using
snow tires and chains. Tires, Wheels and Loading
241
2011 F-250/350/450/550 (f23)
Owners Guide, 4th Printing
USA (fus)
Page 284 of 449

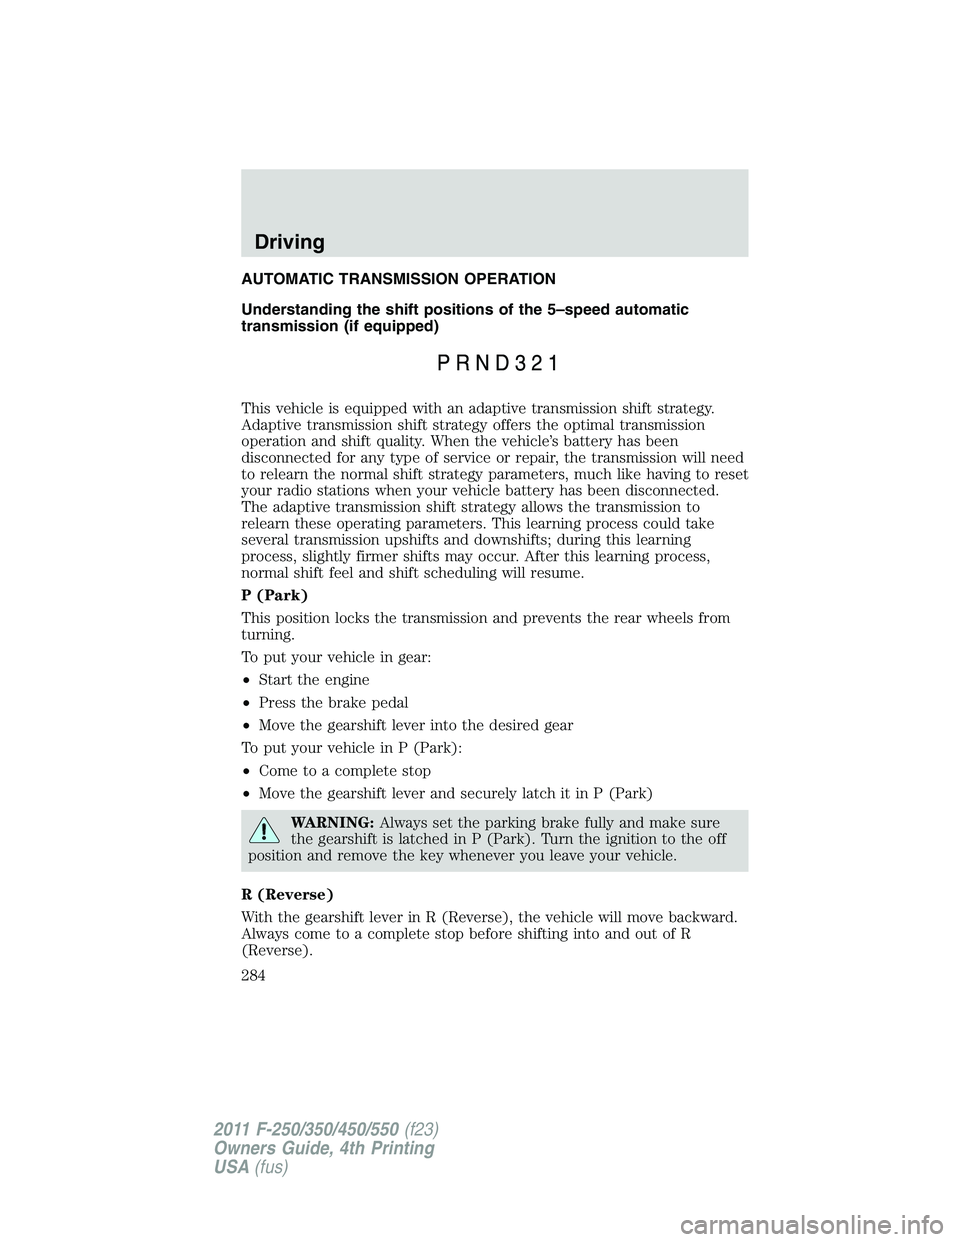
AUTOMATIC TRANSMISSION OPERATION
Understanding the shift positions of the 5–speed automatic
transmission (if equipped)
This vehicle is equipped with an adaptive transmission shift strategy.
Adaptive transmission shift strategy offers the optimal transmission
operation and shift quality. When the vehicle’s battery has been
disconnected for any type of service or repair, the transmission will need
to relearn the normal shift strategy parameters, much like having to reset
your radio stations when your vehicle battery has been disconnected.
The adaptive transmission shift strategy allows the transmission to
relearn these operating parameters. This learning process could take
several transmission upshifts and downshifts; during this learning
process, slightly firmer shifts may occur. After this learning process,
normal shift feel and shift scheduling will resume.
P (Park)
This position locks the transmission and prevents the rear wheels from
turning.
To put your vehicle in gear:
• Start the engine
• Press the brake pedal
• Move the gearshift lever into the desired gear
To put your vehicle in P (Park):
• Come to a complete stop
• Move the gearshift lever and securely latch it in P (Park)
WARNING: Always set the parking brake fully and make sure
the gearshift is latched in P (Park). Turn the ignition to the off
position and remove the key whenever you leave your vehicle.
R (Reverse)
With the gearshift lever in R (Reverse), the vehicle will move backward.
Always come to a complete stop before shifting into and out of R
(Reverse).Driving
284
2011 F-250/350/450/550 (f23)
Owners Guide, 4th Printing
USA (fus)
Page 286 of 449

3 (Third)
Transmission starts and operates in third gear only.
Used for improved traction on slippery roads. Selecting 3 (Third)
provides engine braking.
2 (Second)
Use 2 (Second) to start-up on slippery roads or to provide additional
engine braking on downgrades.
1 (First)
• Provides maximum engine braking.
• Allows upshifts by moving gearshift lever.
• The transmission will not downshift into 1 (First) at high speeds; it
will downshift to a lower gear and then shift into 1 (First) when the
vehicle reaches slower speeds.
Forced downshifts
• Allowed in D (Overdrive) or D (Drive).
• Press the accelerator to the floor.
• Allows transmission to select an appropriate gear.
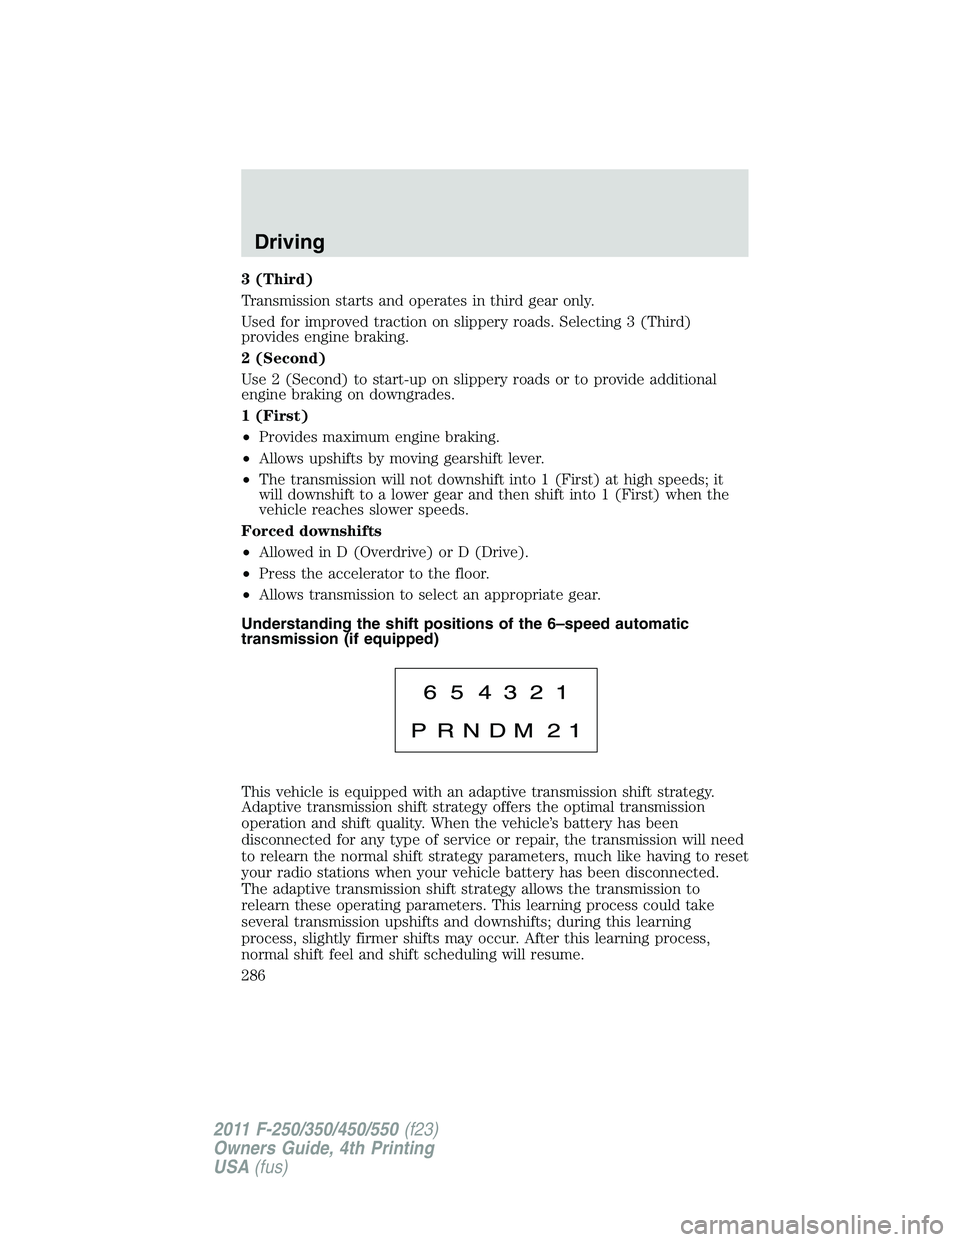
Understanding the shift positions of the 6–speed automatic
transmission (if equipped)
This vehicle is equipped with an adaptive transmission shift strategy.
Adaptive transmission shift strategy offers the optimal transmission
operation and shift quality. When the vehicle’s battery has been
disconnected for any type of service or repair, the transmission will need
to relearn the normal shift strategy parameters, much like having to reset
your radio stations when your vehicle battery has been disconnected.
The adaptive transmission shift strategy allows the transmission to
relearn these operating parameters. This learning process could take
several transmission upshifts and downshifts; during this learning
process, slightly firmer shifts may occur. After this learning process,
normal shift feel and shift scheduling will resume.Driving
286
2011 F-250/350/450/550 (f23)
Owners Guide, 4th Printing
USA (fus)
Page 375 of 449

3. Run the engine until it reaches normal operating temperature.
4. Allow the engine to idle for at least one minute.
5. Turn the A/C on and allow the engine to idle for at least one minute.
6. Release the parking brake. With your foot on the brake pedal and with
the A/C on, put the vehicle in D (Drive) and allow the engine to idle for
at least one minute.
7. Drive the vehicle to complete the relearning process.
• The vehicle may need to be driven 10 miles (16 km) or more to
relearn the idle and fuel trim strategy.
• If you do not allow the engine to relearn its idle trim, the idle
quality of your vehicle may be adversely affected until the idle
trim is eventually relearned.
If the battery has been disconnected or a new battery has been installed,
the clock and radio settings must be reset once the battery is
reconnected.
• Always dispose of automotive
batteries in a responsible manner.
Follow your local authorized
standards for disposal. Call your
local authorized recycling center
to find out more about recycling
automotive batteries.
ENGINE COOLANT
Checking engine coolant
The concentration and level of engine coolant should be checked at the
intervals listed in scheduled maintenance information. The coolant
concentration should be maintained at 50/50 coolant and distilled water.
For best results, coolant concentration should be tested with a
refractometer such as Rotunda tool 300–ROB75240E available from your
dealer. The level of coolant should be maintained at the FULL COLD
level or within the COLD FILL RANGE in the coolant reservoir. If the
level falls below, add coolant per the instructions in the Adding engine
coolant section.
Your vehicle was factory-filled with a 50/50 engine coolant and water
concentration. If the concentration of coolant falls below 40% or above
L E A D
RETURN
RECYCLEMaintenance and Specifications
375
2011 F-250/350/450/550 (f23)
Owners Guide, 4th Printing
USA (fus)
Page 380 of 449

How fail-safe cooling works
If the engine begins to overheat:
• The engine coolant temperature gauge will move to the red (hot)
area.
• The message center will indicate the engine is overheating.
• The service engine soon indicator will illuminate.
If the engine reaches a preset over-temperature condition, the engine
will automatically switch to alternating cylinder operation. Each disabled
cylinder acts as an air pump and cools the engine.
When this occurs the vehicle will still operate. However:
• The engine power will be limited.
• The air conditioning system will be disabled.
Continued operation will increase the engine temperature and the engine
will completely shut down, causing steering and braking effort to
increase.
Once the engine temperature cools, the engine can be re-started. Take
your vehicle to an authorized dealer as soon as possible to minimize
engine damage.
When fail-safe mode is activated
You have limited engine power when in the fail-safe mode, so drive the
vehicle with caution. The vehicle will not be able to maintain high-speed
operation and the engine will run rough. Remember that the engine is
capable of completely shutting down automatically to prevent engine
damage; therefore:
1. Pull off the road as soon as safely possible and turn off the engine.
2. Arrange for the vehicle to be taken to an authorized dealer.
3. If this is not possible, wait a short period for the engine to cool.
4. Check the coolant level and replenish if low.
WARNING: Never remove the coolant reservoir cap while the
engine is running or hot.
5. Re-start the engine and take your vehicle to an authorized dealer.
Driving the vehicle without repairing the engine problem
increases the chance of engine damage. Take your vehicle to an
authorized dealer as soon as possible.Maintenance and Specifications
380
2011 F-250/350/450/550 (f23)
Owners Guide, 4th Printing
USA (fus)
Page 404 of 449

• Cover interior trim to prevent fading.
• Keep all rubber parts free from oil and solvents.
Engine
• The engine oil and filter should be changed prior to storage, as used
engine oil contain contaminates that may cause engine damage.
• Start the engine every 15 days. Run at fast idle until it reaches normal
operating temperature.
• With your foot on the brake, shift through all the gears while the
engine is running.
Fuel system
• Fill the fuel tank with high-quality fuel until the first automatic shutoff
of the fuel pump nozzle.
Note: During extended periods of vehicle storage (30 days or more),
fuel may deteriorate due to oxidation. Add a quality gas stabilizer
product to the vehicle fuel system whenever actual or expected storage
periods exceed 30 days. Follow the instructions on the additive label.
The vehicle should then be operated at idle speed to circulate the
additive throughout the fuel system.
Cooling system
• Protect against freezing temperatures.
• When removing vehicle from storage, check coolant fluid level.
Confirm there are no cooling system leaks, and fluid is at the
recommended level.
Battery
• Check and recharge as necessary. Keep connections clean.
• If storing your vehicle for more than 30 days without recharging the
battery, it may be advisable to disconnect the battery cables to ensure
battery charge is maintained for quick starting.
Note: If battery cables are disconnected, it will be necessary to reset
memory features.
Brakes
• Make sure brakes and parking brake are fully released.
Tires
• Maintain recommended air pressure.Maintenance and Specifications
404
2011 F-250/350/450/550 (f23)
Owners Guide, 4th Printing
USA (fus)