Page 89 of 449

Vertical aim adjustment
The headlamps on your vehicle can only be vertically adjusted. Your
vehicle does not require horizontal aim adjustments.
To adjust the headlamps:
1. Park the vehicle directly in front of a wall or screen on a level surface,
approximately 25 feet (7.6 meters) away.
•(1) 8 feet (2.4 meters)
•(2) Center height of lamp to ground
•(3) 25 feet (7.6 meters)
•(4) Horizontal reference line
2. Measure the height from the
center of your headlamp (indicated
by a 3.0 mm circle on the lens) to
the ground and mark an 8 foot
(2.4 meter) horizontal reference line
on the vertical wall or screen at this
height (a piece of masking tape
works well).
3. Turn on the low beam headlamps
to illuminate the wall or screen and open the hood. Cover one of the
headlamps so no light from that lamp hits the wall.
4. On the wall or screen you will
observe a light pattern with a
distinct horizontal edge towards the
right. If this edge is not at the
horizontal reference line, the beam will need to be adjusted so the edge
is at the same height as the horizontal reference line.
5. Locate the vertical adjuster on
each headlamp, then use a #2
Philips head to turn the adjuster
either counterclockwise (to adjust
down) or clockwise (to adjust up)
aligning the upper edge of the light
pattern up to the horizontal line.
6. Repeat Steps 3–5 for the other
headlamp.
7. Close the hood and turn off the lamps.
Lights
89
2011 F-250/350/450/550(f23)
Owners Guide, 4th Printing
USA(fus)
ProCarManuals.com
Page 90 of 449

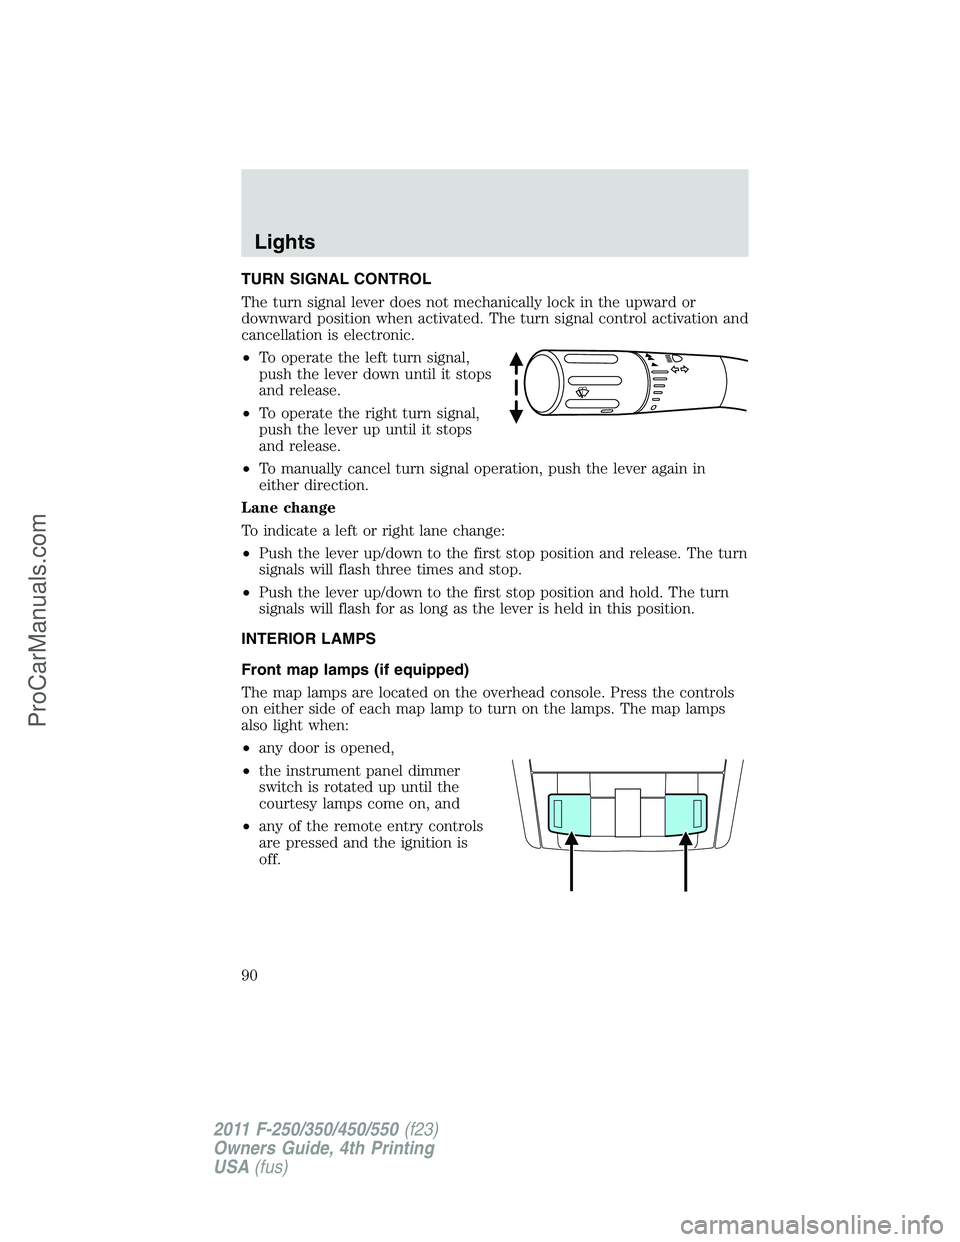
TURN SIGNAL CONTROL
The turn signal lever does not mechanically lock in the upward or
downward position when activated. The turn signal control activation and
cancellation is electronic.
•To operate the left turn signal,
push the lever down until it stops
and release.
•To operate the right turn signal,
push the lever up until it stops
and release.
•To manually cancel turn signal operation, push the lever again in
either direction.
Lane change
To indicate a left or right lane change:
•Push the lever up/down to the first stop position and release. The turn
signals will flash three times and stop.
•Push the lever up/down to the first stop position and hold. The turn
signals will flash for as long as the lever is held in this position.
INTERIOR LAMPS
Front map lamps (if equipped)
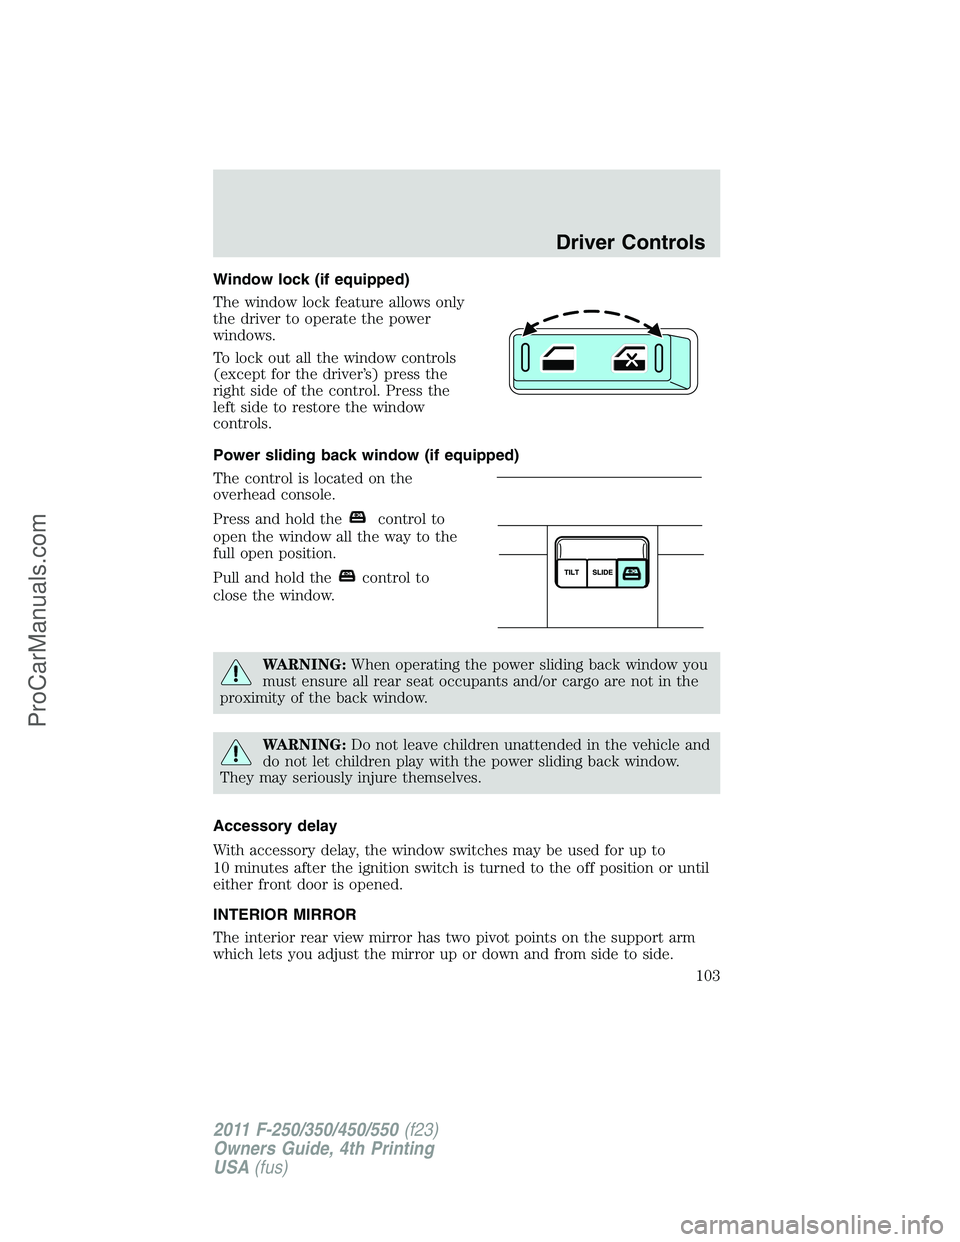
The map lamps are located on the overhead console. Press the controls
on either side of each map lamp to turn on the lamps. The map lamps
also light when:
•any door is opened,
•the instrument panel dimmer
switch is rotated up until the
courtesy lamps come on, and
•any of the remote entry controls
are pressed and the ignition is
off.
Lights
90
2011 F-250/350/450/550(f23)
Owners Guide, 4th Printing
USA(fus)
ProCarManuals.com
Page 94 of 449

10. For the headlamp bulb, remove
the bulb by turning it
counterclockwise and pulling it
straight out.
11. For the park or turn lamp bulb,
remove the bulb by turning it
counterclockwise and pulling it
straight out.
WARNING:Handle a halogen headlamp bulb carefully and keep
out of children’s reach. Grasp the bulb only by its plastic base
and do not touch the glass. The oil from your hand could cause the
bulb to break the next time the headlamps are operated.
Install the new bulb(s) in reverse order.
Replacing brake/tail/turn/back-up lamp bulbs (pick-ups only)
1. Make sure the headlamps are off,
then open the tailgate to expose the
lamp assemblies.
2. Remove the two bolts from the
tail lamp assembly and carefully pull
the lamp assembly from the tailgate
pillar by releasing the two retaining
tabs.
3. Rotate the bulb socket counterclockwise and remove from lamp
assembly.
4. Pull the bulb straight out of the socket.
Lights
94
2011 F-250/350/450/550(f23)
Owners Guide, 4th Printing
USA(fus)
ProCarManuals.com
Page 95 of 449
Install the new bulb(s) in reverse order.
Replacing brake/tail/turn/back-up lamp bulbs (chassis cabs only)
(if equipped)
1. Make sure the headlamps are off.
2. Remove the four screws and the
lamp lens from lamp assembly.
3. Carefully pull the bulb straight
out of the socket and push in the
new bulb.
Replacing cargo lamp and high-mount brakelamp bulbs
1. Make sure the headlamps are off.
2. Remove the screws and lamp
assembly from the vehicle as wiring
permits.
3. Remove the bulb socket by
rotating it counterclockwise.
4. Pull the bulb straight out of the
socket.
Lights
95
2011 F-250/350/450/550(f23)
Owners Guide, 4th Printing
USA(fus)
ProCarManuals.com
Page 96 of 449

Replacing front clearance and identification lamp bulbs
1. Make sure the headlamps are off.
2. Remove the screw and lens from
the lamp assembly.
3. Pull the bulb straight out of the
socket.
Install the bulb(s) in reverse order.
Replacing fog lamp bulbs (if equipped)
1. Make sure the headlamps are off.
2. Remove the bulb socket from the
fog lamp by turning it
counterclockwise.
3. Disconnect the electrical
connector from the fog lamp bulb.
Install the new bulb(s) in reverse order.
Replacing license plate lamp bulbs
The license plate bulbs are located
behind the rear bumper. To change
the license plate lamp bulbs:
1. Reach behind the rear bumper to
locate the bulb.
2. Twist the bulb socket
counterclockwise and carefully pull
to remove it from the lamp
assembly.
3. Pull out the old bulb from the
socket and push in the new bulb.
4. Install the bulb socket in lamp assembly by turning it clockwise.
Lights
96
2011 F-250/350/450/550(f23)
Owners Guide, 4th Printing
USA(fus)
ProCarManuals.com
Page 98 of 449
TILT/TELESCOPE STEERING WHEEL
To adjust the steering wheel:
1. Pull the lever down to unlock the
steering column.
2. While the lever is in the down
position, move the steering wheel
up or down and in or out until you
find the desired position.
3. While holding the steering wheel
in place, pull the lever up to its
original position to lock the steering
column.
WARNING:Never adjust the steering wheel when the vehicle is
moving.
ILLUMINATED VISOR MIRROR (IF EQUIPPED)
Lift the mirror cover to turn on the
visor mirror lamp.
OVERHEAD CONSOLE (IF EQUIPPED)
The appearance of your vehicle’s overhead console will vary according to
your option package.
Driver Controls
98
2011 F-250/350/450/550(f23)
Owners Guide, 4th Printing
USA(fus)
ProCarManuals.com
Page 99 of 449
Storage compartment (if equipped)
Press the release tab on the rear
edge of the bin door to open the
storage compartment. The door will
open to the full open position.
The storage compartment may be
used to secure sunglasses or a
similar object.
CENTER CONSOLE (IF EQUIPPED)
Your vehicle may be equipped with a variety of console features. These
include:
•Locking storage compartment
with hanging file folder supports
•Storage for laptop computer,
binder or book between the
hanging file folder support and
the passenger side of the console
bin
•One 12V power point inside the
storage compartment and one on
the rear of the console
•110V AC power point outlet on the rear of the console
•Rear cupholders
•Removable cupholders
•Hidden storage compartment
(false bottom in storage area
under cupholders) that can also
be used to hold very large cups
Driver Controls
99
2011 F-250/350/450/550(f23)
Owners Guide, 4th Printing
USA(fus)
ProCarManuals.com
Page 103 of 449

Window lock (if equipped)
The window lock feature allows only
the driver to operate the power
windows.
To lock out all the window controls
(except for the driver’s) press the
right side of the control. Press the
left side to restore the window
controls.
Power sliding back window (if equipped)
The control is located on the
overhead console.
Press and hold the
control to
open the window all the way to the
full open position.
Pull and hold the
control to
close the window.
WARNING:When operating the power sliding back window you
must ensure all rear seat occupants and/or cargo are not in the
proximity of the back window.
WARNING:Do not leave children unattended in the vehicle and
do not let children play with the power sliding back window.
They may seriously injure themselves.
Accessory delay
With accessory delay, the window switches may be used for up to
10 minutes after the ignition switch is turned to the off position or until
either front door is opened.
INTERIOR MIRROR
The interior rear view mirror has two pivot points on the support arm
which lets you adjust the mirror up or down and from side to side.
Driver Controls
103
2011 F-250/350/450/550(f23)
Owners Guide, 4th Printing
USA(fus)
ProCarManuals.com