2011 FORD F SERIES MOTORHOME AND COMMERCIAL CHASSIS stop start
[x] Cancel search: stop startPage 11 of 156
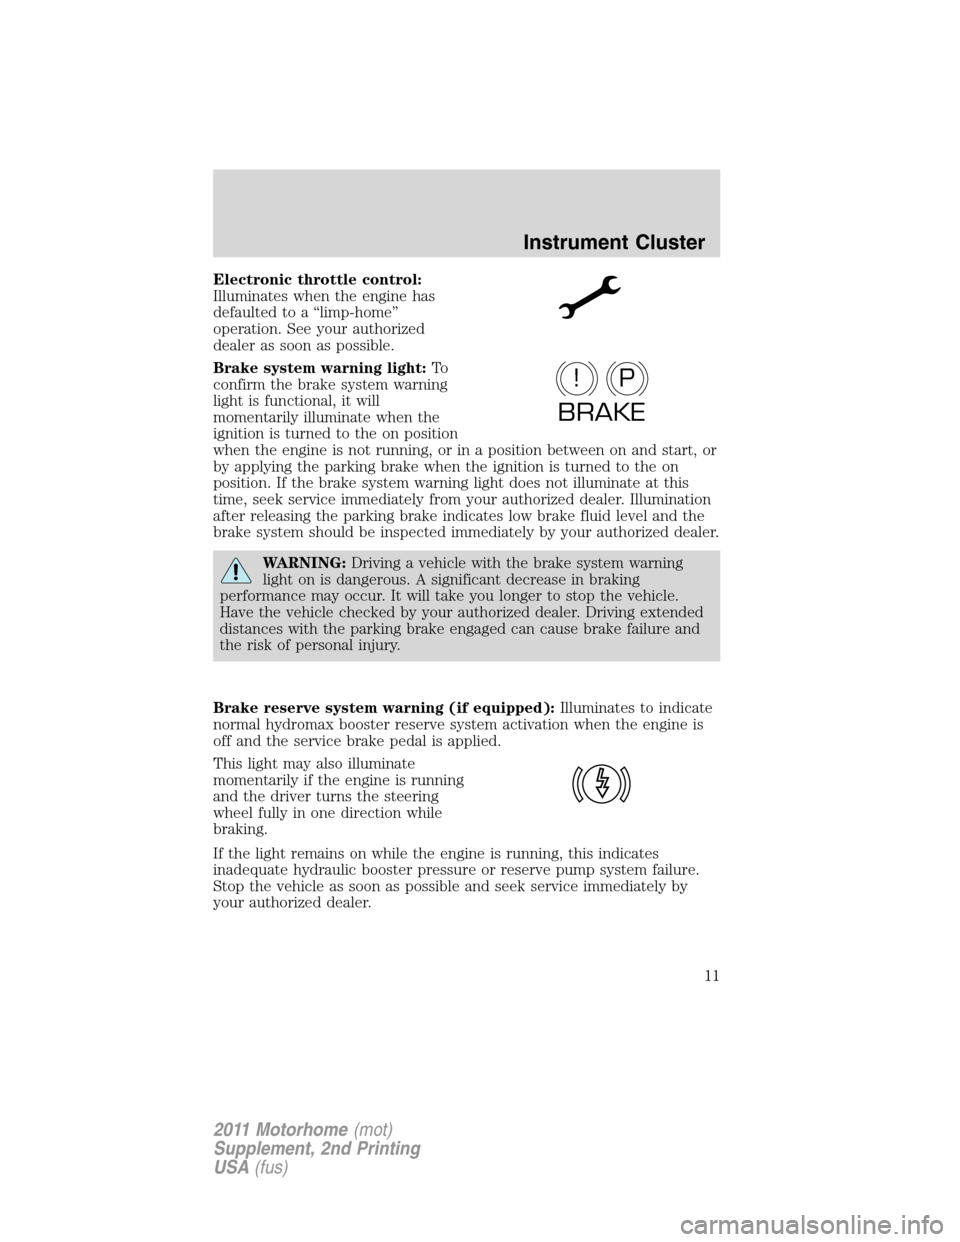
Electronic throttle control:
Illuminates when the engine has
defaulted to a “limp-home”
operation. See your authorized
dealer as soon as possible.
Brake system warning light:To
confirm the brake system warning
light is functional, it will
momentarily illuminate when the
ignition is turned to the on position
when the engine is not running, or in a position between on and start, or
by applying the parking brake when the ignition is turned to the on
position. If the brake system warning light does not illuminate at this
time, seek service immediately from your authorized dealer. Illumination
after releasing the parking brake indicates low brake fluid level and the
brake system should be inspected immediately by your authorized dealer.
WARNING:Driving a vehicle with the brake system warning
light on is dangerous. A significant decrease in braking
performance may occur. It will take you longer to stop the vehicle.
Have the vehicle checked by your authorized dealer. Driving extended
distances with the parking brake engaged can cause brake failure and
the risk of personal injury.
Brake reserve system warning (if equipped):Illuminates to indicate
normal hydromax booster reserve system activation when the engine is
off and the service brake pedal is applied.
This light may also illuminate
momentarily if the engine is running
and the driver turns the steering
wheel fully in one direction while
braking.
If the light remains on while the engine is running, this indicates
inadequate hydraulic booster pressure or reserve pump system failure.
Stop the vehicle as soon as possible and seek service immediately by
your authorized dealer.
P!
BRAKE
Instrument Cluster
11
2011 Motorhome(mot)
Supplement, 2nd Printing
USA(fus)
Page 34 of 156
WARNING:When mounting replacement tires and wheels, you
should not exceed the maximum pressure indicated on the
sidewall of the tire to set the beads without additional precautions
listed below. If the beads do not seat at the maximum pressure
indicated, re-lubricate and try again.
When inflating the tire for mounting pressures up to 20 psi (1.38 bar)
greater than the maximum pressure on the tire sidewall, the following
precautions must be taken to protect the person mounting the tire:
1. Make sure that you have the correct tire and wheel size.
2. Lubricate the tire bead and wheel bead seat area again.
3. Stand at a minimum of 12 ft (3.66 m) away from the tire wheel
assembly.
4. Use both eye and ear protection.
For a mounting pressure more than 20 psi (1.38 bar) greater than the
maximum pressure, an authorized dealer or other tire service
professional should do the mounting.
Always inflate steel carcass tires with a remote air fill with the person
inflating standing at a minimum of 12 ft (3.66 m) away from the tire
wheel assembly.
Important:Remember to replace the wheel valve stems when the road
tires are replaced on your vehicle.
It is recommended that the two front tires or two rear tires generally be
replaced as a pair.
Safety practices
Driving habits have a great deal to do with your tire mileage and safety.
•Observe posted speed limits
•Avoid fast starts, stops and turns
•Avoid potholes and objects on the road
•Do not run over curbs or hit the tire against a curb when parking
WARNING:If your vehicle is stuck in snow, mud, sand, etc.,do
notrapidly spin the tires; spinning the tires can tear the tire and
cause an explosion. A tire can explode in as little as three to five
seconds.
Tires, Wheels and Loading
34
2011 Motorhome(mot)
Supplement, 2nd Printing
USA(fus)
Page 50 of 156
Driving while you tow
When towing a trailer:
•Keep your speed no faster than 70 mph (113 km/h) during the first
500 miles (800 km) of towing a trailer, and don’t make full throttle
starts.
•Turn off the speed control. The speed control may shut off
automatically when you are towing on long, steep grades.
•Use a lower gear to eliminate excessive shifting and assist in
transmission cooling. For additional information, refer toAutomatic
transmission operationin theDrivingchapter.
•Allow more distance for stopping with a trailer attached; anticipate
stops and brake gradually.
Trailer towing tips
•Practice turning, stopping and backing-up before starting on a trip to
get the feel of the vehicle-trailer combination. When turning, make
wider turns so the trailer wheels will clear curbs and other obstacles.
•To aid in engine/transmission cooling and A/C efficiency during hot
weather while stopped in traffic, place the gearshift lever in P (Park).
•After you have traveled 50 miles (80 km), thoroughly check your
hitch, electrical connections and trailer wheel lug nuts.
•If you are driving down a long or steep hill, shift to a lower gear. Do
not apply the brakes continuously, as they may overheat and become
less effective.
•If you will be towing a trailer frequently in hot weather, hilly
conditions, at GCWR, or any combination of these factors, consider
refilling your rear axle with synthetic gear lube if not already so
equipped. Refer to theMaintenance and Specificationschapter for
the lubricant specification. Remember that regardless of the rear axle
lube used, do not tow a trailer for the first 1,000 miles (1,600 km) of a
new vehicle, and that the first 500 miles (800 km) of towing be done
at no faster than 70 mph (113 km/h) with no full throttle starts.
•Vehicles with trailers should not be parked on a grade. If you must
park on a grade, place wheel chocks under the trailer’s wheels.
Tires, Wheels and Loading
50
2011 Motorhome(mot)
Supplement, 2nd Printing
USA(fus)
Page 53 of 156
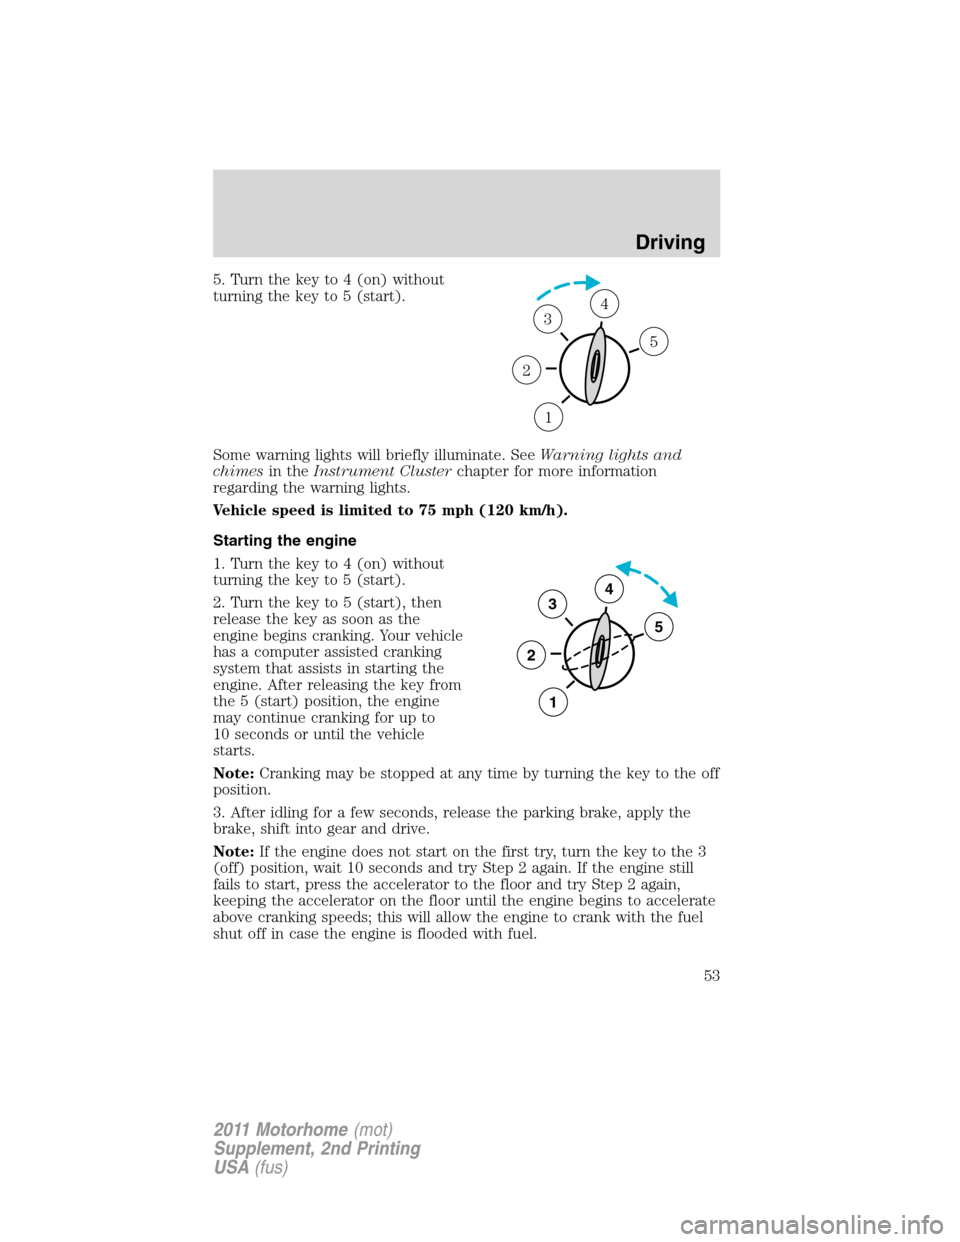
5. Turn the key to 4 (on) without
turning the key to 5 (start).
Some warning lights will briefly illuminate. SeeWarning lights and
chimesin theInstrument Clusterchapter for more information
regarding the warning lights.
Vehicle speed is limited to 75 mph (120 km/h).
Starting the engine
1. Turn the key to 4 (on) without
turning the key to 5 (start).
2. Turn the key to 5 (start), then
release the key as soon as the
engine begins cranking. Your vehicle
has a computer assisted cranking
system that assists in starting the
engine. After releasing the key from
the 5 (start) position, the engine
may continue cranking for up to
10 seconds or until the vehicle
starts.
Note:Cranking may be stopped at any time by turning the key to the off
position.
3. After idling for a few seconds, release the parking brake, apply the
brake, shift into gear and drive.
Note:If the engine does not start on the first try, turn the key to the 3
(off) position, wait 10 seconds and try Step 2 again. If the engine still
fails to start, press the accelerator to the floor and try Step 2 again,
keeping the accelerator on the floor until the engine begins to accelerate
above cranking speeds; this will allow the engine to crank with the fuel
shut off in case the engine is flooded with fuel.
1
2
34
5
3
2
1
5
4
Driving
53
2011 Motorhome(mot)
Supplement, 2nd Printing
USA(fus)
Page 55 of 156
Hydraulic brake booster system (Hydroboost or Hydromax)
The Hydroboost and Hydromax systems receive fluid pressure from the
power steering pump to provide power assist during braking.
The Hydromax booster receives backup pressure from the reserve
system electric pump whenever the fluid in the power steering system is
not flowing. When the engine is OFF, the pump will turn on if the brake
pedal is applied, or if the ignition is turned to the ON position.
The sound of the pump operating may be heard by the driver, but this is
a normal characteristic of the system.
The reserve system provides reduced braking power, so the vehicle
should be operated under these conditions with caution, and only to seek
service repair and remove the vehicle from the roadway.
For Hydromax-equipped vehicles operating under normal
conditions,the noise of the fluid flowing through the booster may be
heard whenever the brake is applied. This condition is normal. Vehicle
service is not required.
If braking performance or pedal response becomes very poor, even when
the pedal is strongly pressed, it may indicate the presence of air in the
hydraulic system or leakage of fluid. Stop the vehicle safely as soon as
possible and seek service immediately.
Anti-lock brake system (ABS)
On vehicles equipped with an anti-lock braking system (ABS), a noise
from the hydraulic pump motor and pulsation in the pedal may be
observed during ABS braking events. Pedal pulsation coupled with noise
while braking under panic conditions or on loose gravel, bumps, wet or
snowy roads is normal and indicates proper functioning of the vehicle’s
anti-lock brake system. The ABS performs a self-check after you start
the engine and begin to drive away. A brief mechanical noise may be
heard during this test. This is normal. If a malfunction is found, the ABS
warning light will come on. If the vehicle has continuous vibration or
shudder in the steering wheel while braking, the vehicle should be
inspected by an authorized dealer.
Driving
55
2011 Motorhome(mot)
Supplement, 2nd Printing
USA(fus)
Page 56 of 156
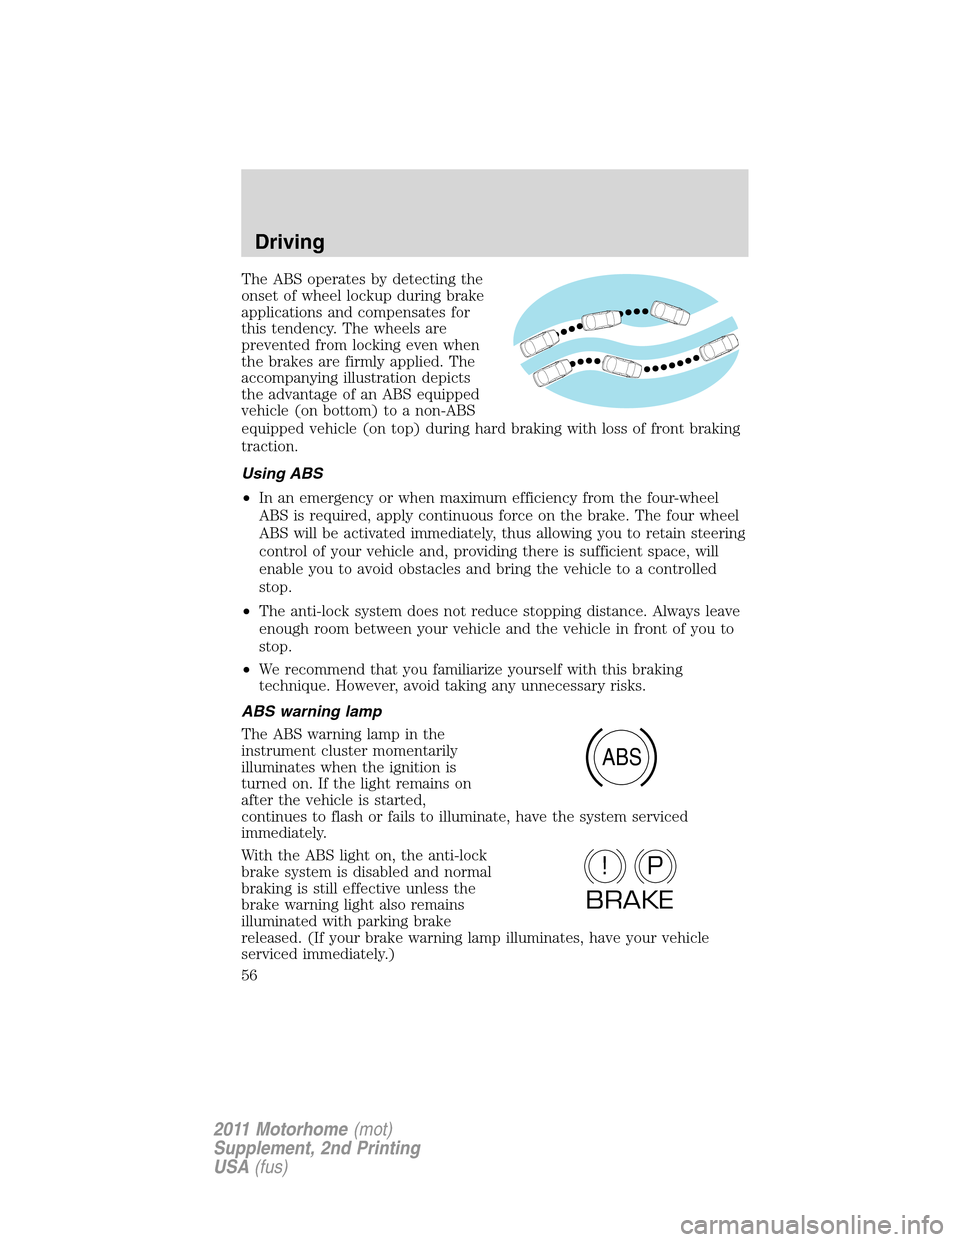
The ABS operates by detecting the
onset of wheel lockup during brake
applications and compensates for
this tendency. The wheels are
prevented from locking even when
the brakes are firmly applied. The
accompanying illustration depicts
the advantage of an ABS equipped
vehicle (on bottom) to a non-ABS
equipped vehicle (on top) during hard braking with loss of front braking
traction.
Using ABS
•In an emergency or when maximum efficiency from the four-wheel
ABS is required, apply continuous force on the brake. The four wheel
ABS will be activated immediately, thus allowing you to retain steering
control of your vehicle and, providing there is sufficient space, will
enable you to avoid obstacles and bring the vehicle to a controlled
stop.
•The anti-lock system does not reduce stopping distance. Always leave
enough room between your vehicle and the vehicle in front of you to
stop.
•We recommend that you familiarize yourself with this braking
technique. However, avoid taking any unnecessary risks.
ABS warning lamp
The ABS warning lamp in the
instrument cluster momentarily
illuminates when the ignition is
turned on. If the light remains on
after the vehicle is started,
continues to flash or fails to illuminate, have the system serviced
immediately.
With the ABS light on, the anti-lock
brake system is disabled and normal
braking is still effective unless the
brake warning light also remains
illuminated with parking brake
released. (If your brake warning lamp illuminates, have your vehicle
serviced immediately.)
ABS
P!
BRAKE
Driving
56
2011 Motorhome(mot)
Supplement, 2nd Printing
USA(fus)
Page 60 of 156
P (Park)
This position locks the transmission and prevents the rear wheels from
turning.
To put your vehicle in gear:
1. Start the engine
2. Press the brake pedal
3. Move the gearshift lever into the desired gear
To put your vehicle in P (Park):
1. Come to a complete stop
2. Move the gearshift lever and securely latch it in P (Park)
WARNING:Always set the parking brake fully and make sure
the gearshift is latched in P (Park). Turn the ignition to the lock
position and remove the key whenever you leave your vehicle.
R (Reverse)
With the gearshift lever in R (Reverse), the vehicle will move backward.
Always come to a complete stop before shifting into and out of R
(Reverse).
N (Neutral)
With the gearshift lever in N (Neutral), the vehicle can be started and is
free to roll. Hold the brake pedal down while in this position.
D (Overdrive) with tow/haul off
D (Overdrive) with tow/haul off is the normal driving position for the
best fuel economy. The overdrive function allows automatic upshifts and
downshifts through gears one through five.
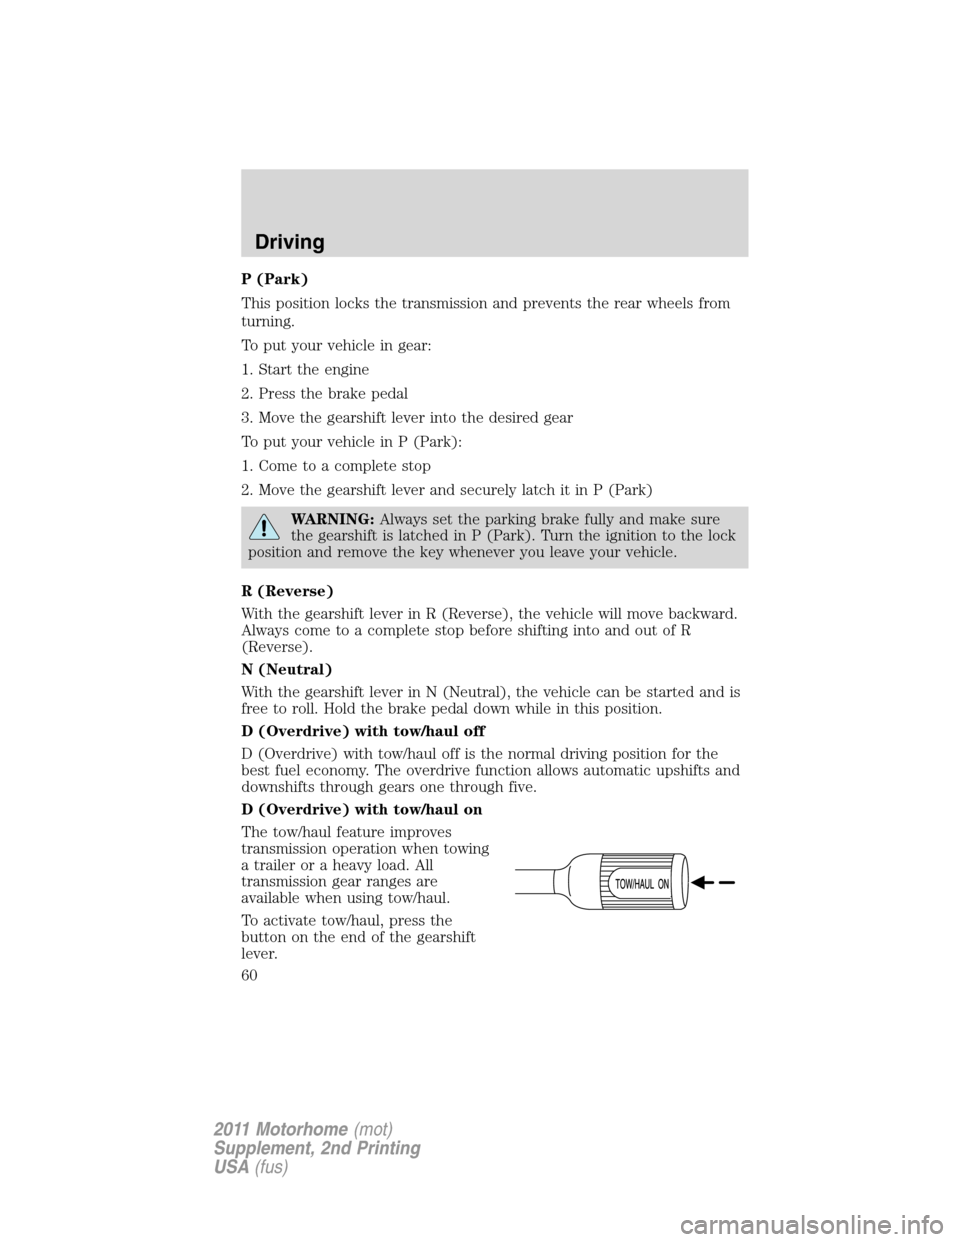
D (Overdrive) with tow/haul on
The tow/haul feature improves
transmission operation when towing
a trailer or a heavy load. All
transmission gear ranges are
available when using tow/haul.
To activate tow/haul, press the
button on the end of the gearshift
lever.
Driving
60
2011 Motorhome(mot)
Supplement, 2nd Printing
USA(fus)
Page 97 of 156
WARNING:Keep batteries out of reach of children. Batteries
contain sulfuric acid. Avoid contact with skin, eyes or clothing.
Shield your eyes when working near the battery to protect against
possible splashing of acid solution. In case of acid contact with skin or
eyes, flush immediately with water for a minimum of 15 minutes and
get prompt medical attention. If acid is swallowed, call a physician
immediately.
WARNING:Battery posts, terminals and related accessories
contain lead and lead compounds.Wash hands after handling.
To account for customer driving habits and conditions, your automatic
transmission electronically controls the shift quality by using an adaptive
learning strategy. The adaptive learning strategy is maintained by power
from the battery. When the battery is disconnected or a new battery is
installed, the transmission must relearn its adaptive strategy. Optimal
shifting will resume within a few hundred kilometers (miles) of
operation.
If the shift quality does not improve within a few hundred miles
(kilometers) of operation, or if the downshifts and other throttle
conditions do not function normally or after a long deceleration
period, see your authorized dealer or a qualified service
technician as soon as possible.
Because your vehicle’s engine is also electronically controlled by a
computer, some control conditions are maintained by power from the
battery. When the battery is disconnected or a new battery is installed,
the engine must relearn its idle and fuel trim strategy for optimum
driveability and performance. To begin this process:
1. With the vehicle at a complete stop, set the parking brake.
2. Put the gearshift in P (Park), turn off all accessories and start the
engine.
3. Run the engine until it reaches normal operating temperature.
4. Allow the engine to idle for at least one minute.
5. Turn the A/C on and allow the engine to idle for at least one minute.
6. With your foot on the brake pedal and with the A/C on, put the
vehicle in D (Drive) and allow the engine to idle for at least one minute.
7. Drive the vehicle to complete the relearning process.
•The vehicle may need to be driven 10 miles (16 km) or more to
relearn the idle and fuel trim strategy.
Maintenance and Specifications
97
2011 Motorhome(mot)
Supplement, 2nd Printing
USA(fus)