2011 FORD F SERIES MOTORHOME AND COMMERCIAL CHASSIS warning light
[x] Cancel search: warning lightPage 20 of 156
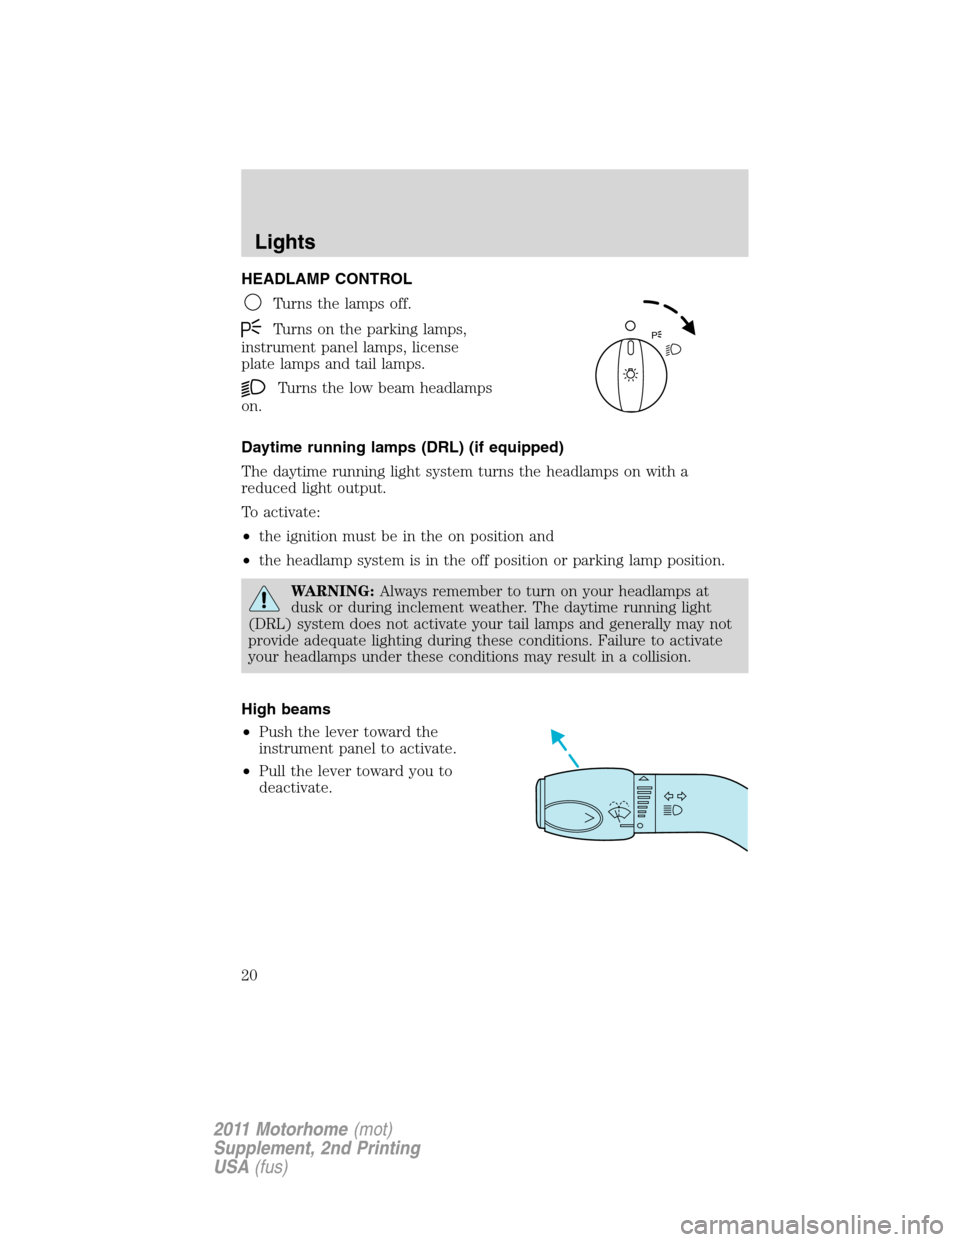
HEADLAMP CONTROL
Turns the lamps off.
Turns on the parking lamps,
instrument panel lamps, license
plate lamps and tail lamps.
Turns the low beam headlamps
on.
Daytime running lamps (DRL) (if equipped)
The daytime running light system turns the headlamps on with a
reduced light output.
To activate:
•the ignition must be in the on position and
•the headlamp system is in the off position or parking lamp position.
WARNING:Always remember to turn on your headlamps at
dusk or during inclement weather. The daytime running light
(DRL) system does not activate your tail lamps and generally may not
provide adequate lighting during these conditions. Failure to activate
your headlamps under these conditions may result in a collision.
High beams
•Push the lever toward the
instrument panel to activate.
•Pull the lever toward you to
deactivate.
P
Lights
20
2011 Motorhome(mot)
Supplement, 2nd Printing
USA(fus)
Page 23 of 156
SPEED CONTROL
With speed control set, you can maintain a set speed without keeping
your foot on the accelerator pedal.
WARNING:Do not use the speed control in heavy traffic or on
roads that are winding, slippery or unpaved.
Using speed control
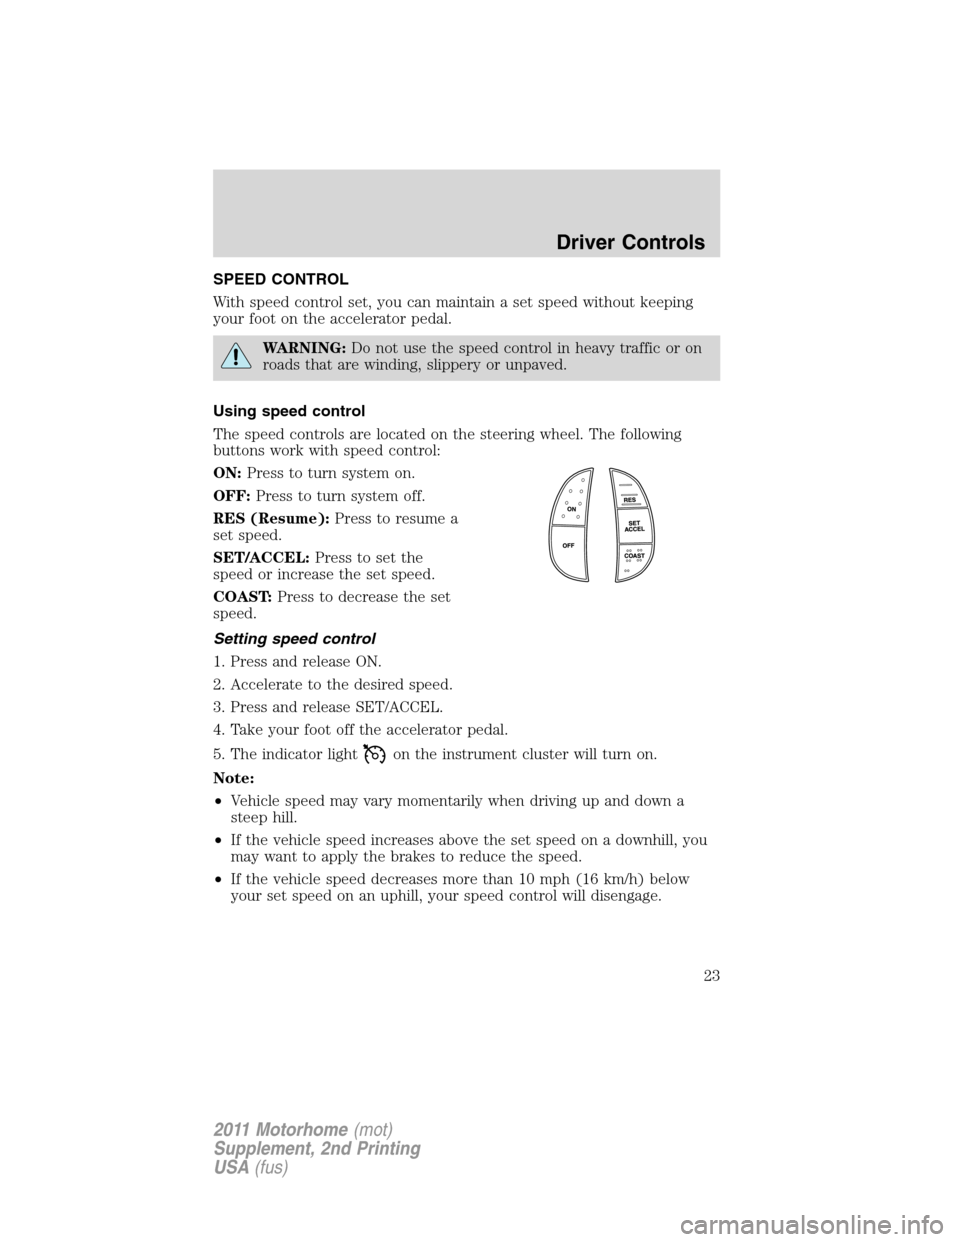
The speed controls are located on the steering wheel. The following
buttons work with speed control:
ON:Press to turn system on.
OFF:Press to turn system off.
RES (Resume):Press to resume a
set speed.
SET/ACCEL:Press to set the
speed or increase the set speed.
COAST:Press to decrease the set
speed.
Setting speed control
1. Press and release ON.
2. Accelerate to the desired speed.
3. Press and release SET/ACCEL.
4. Take your foot off the accelerator pedal.
5. The indicator light
on the instrument cluster will turn on.
Note:
•Vehicle speed may vary momentarily when driving up and down a
steep hill.
•If the vehicle speed increases above the set speed on a downhill, you
may want to apply the brakes to reduce the speed.
•If the vehicle speed decreases more than 10 mph (16 km/h) below
your set speed on an uphill, your speed control will disengage.
Driver Controls
23
2011 Motorhome(mot)
Supplement, 2nd Printing
USA(fus)
Page 25 of 156
INFORMATION ABOUT UNIFORM TIRE QUALITY GRADING
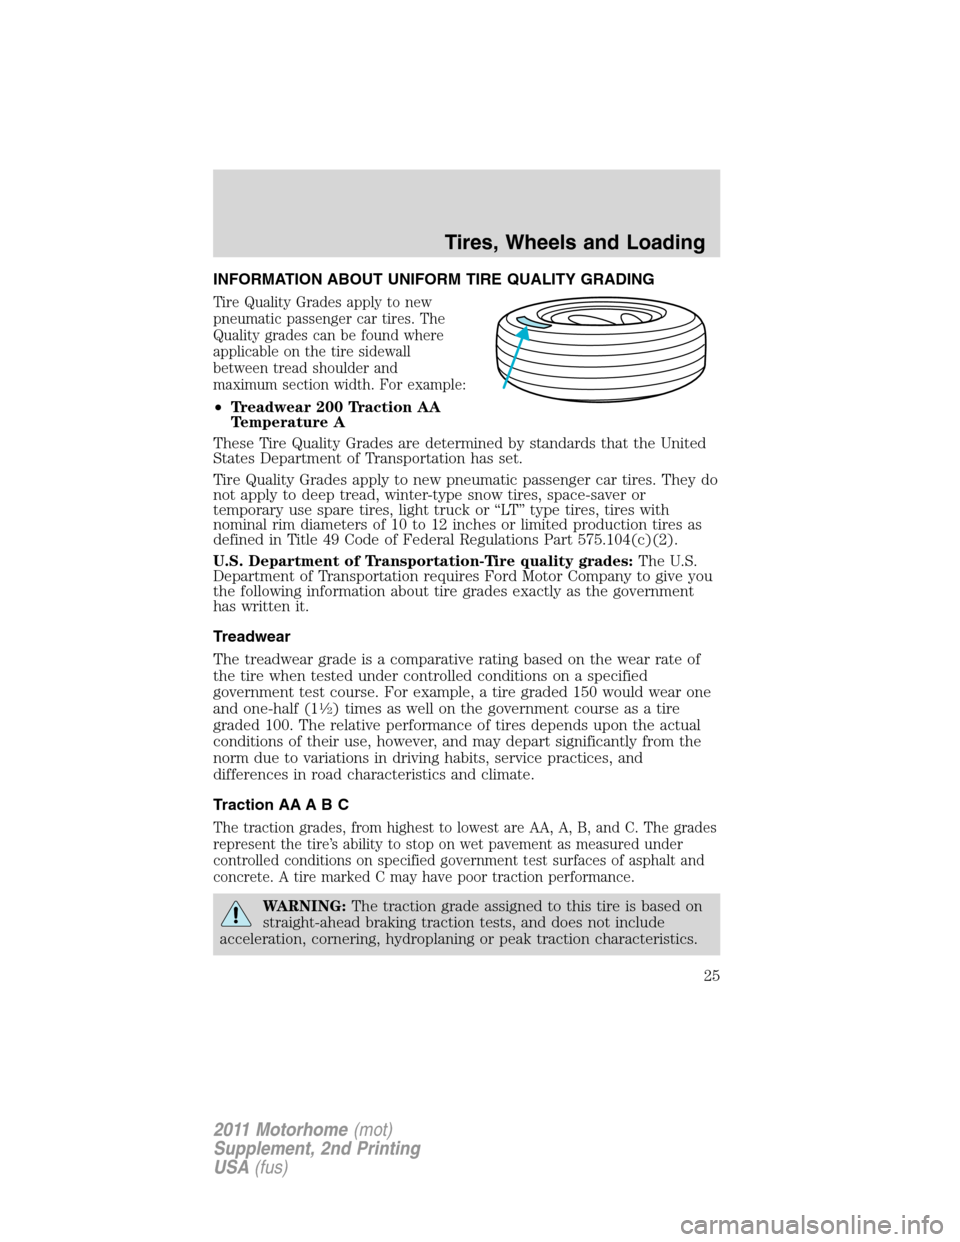
Tire Quality Grades apply to new
pneumatic passenger car tires. The
Quality grades can be found where
applicable on the tire sidewall
between tread shoulder and
maximum section width. For example:
•Treadwear 200 Traction AA
Temperature A
These Tire Quality Grades are determined by standards that the United
States Department of Transportation has set.
Tire Quality Grades apply to new pneumatic passenger car tires. They do
not apply to deep tread, winter-type snow tires, space-saver or
temporary use spare tires, light truck or “LT” type tires, tires with
nominal rim diameters of 10 to 12 inches or limited production tires as
defined in Title 49 Code of Federal Regulations Part 575.104(c)(2).
U.S. Department of Transportation-Tire quality grades:The U.S.
Department of Transportation requires Ford Motor Company to give you
the following information about tire grades exactly as the government
has written it.
Treadwear
The treadwear grade is a comparative rating based on the wear rate of
the tire when tested under controlled conditions on a specified
government test course. For example, a tire graded 150 would wear one
and one-half (1
1�2) times as well on the government course as a tire
graded 100. The relative performance of tires depends upon the actual
conditions of their use, however, and may depart significantly from the
norm due to variations in driving habits, service practices, and
differences in road characteristics and climate.
Traction AA A B C
The traction grades, from highest to lowest are AA, A, B, and C. The grades
represent the tire’s ability to stop on wet pavement as measured under
controlled conditions on specified government test surfaces of asphalt and
concrete. A tire marked C may have poor traction performance.
WARNING:The traction grade assigned to this tire is based on
straight-ahead braking traction tests, and does not include
acceleration, cornering, hydroplaning or peak traction characteristics.
Tires, Wheels and Loading
25
2011 Motorhome(mot)
Supplement, 2nd Printing
USA(fus)
Page 30 of 156
Tire inflation information
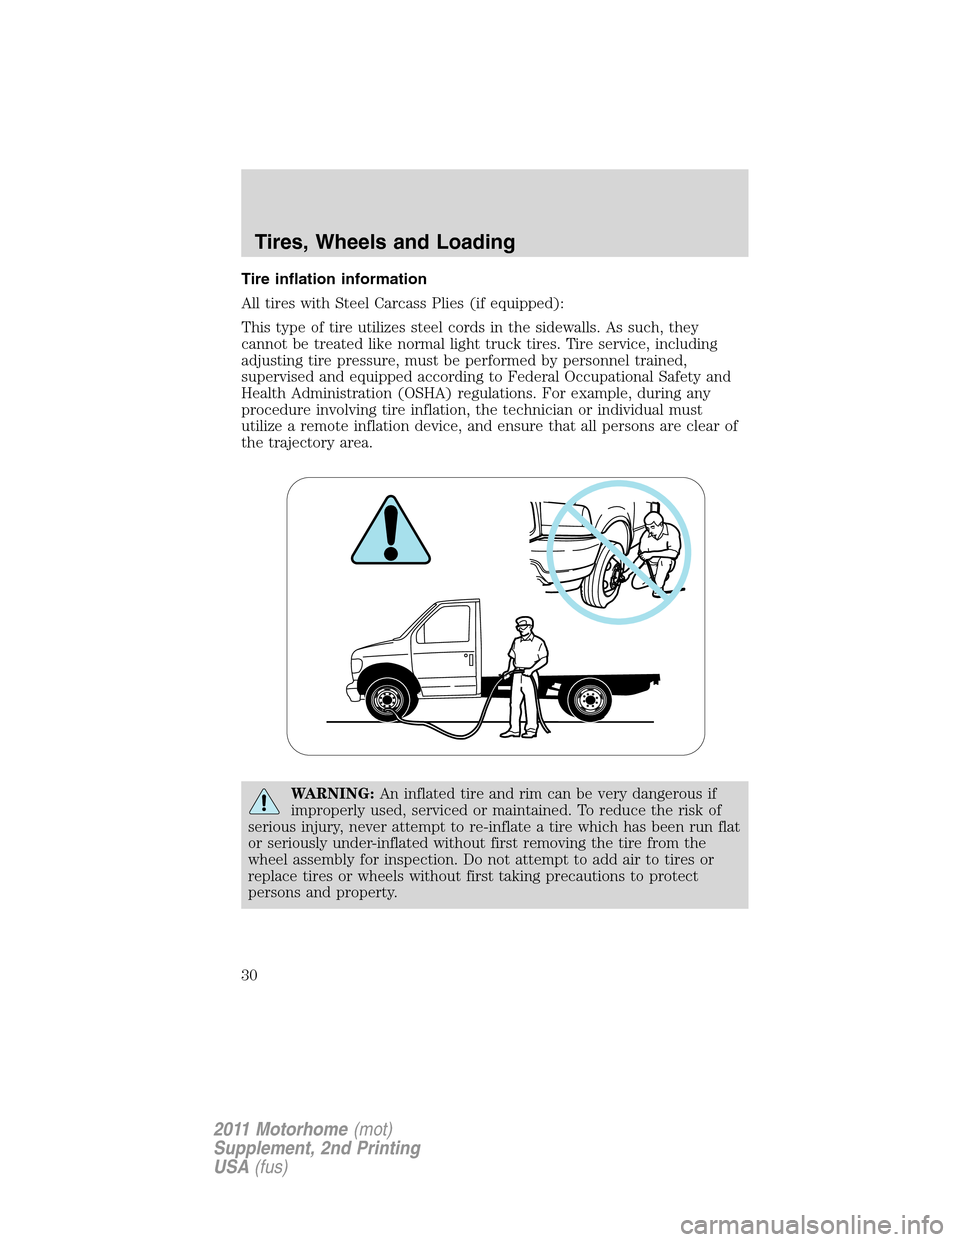
All tires with Steel Carcass Plies (if equipped):
This type of tire utilizes steel cords in the sidewalls. As such, they
cannot be treated like normal light truck tires. Tire service, including
adjusting tire pressure, must be performed by personnel trained,
supervised and equipped according to Federal Occupational Safety and
Health Administration (OSHA) regulations. For example, during any
procedure involving tire inflation, the technician or individual must
utilize a remote inflation device, and ensure that all persons are clear of
the trajectory area.
WARNING:An inflated tire and rim can be very dangerous if
improperly used, serviced or maintained. To reduce the risk of
serious injury, never attempt to re-inflate a tire which has been run flat
or seriously under-inflated without first removing the tire from the
wheel assembly for inspection. Do not attempt to add air to tires or
replace tires or wheels without first taking precautions to protect
persons and property.
Tires, Wheels and Loading
30
2011 Motorhome(mot)
Supplement, 2nd Printing
USA(fus)
Page 41 of 156
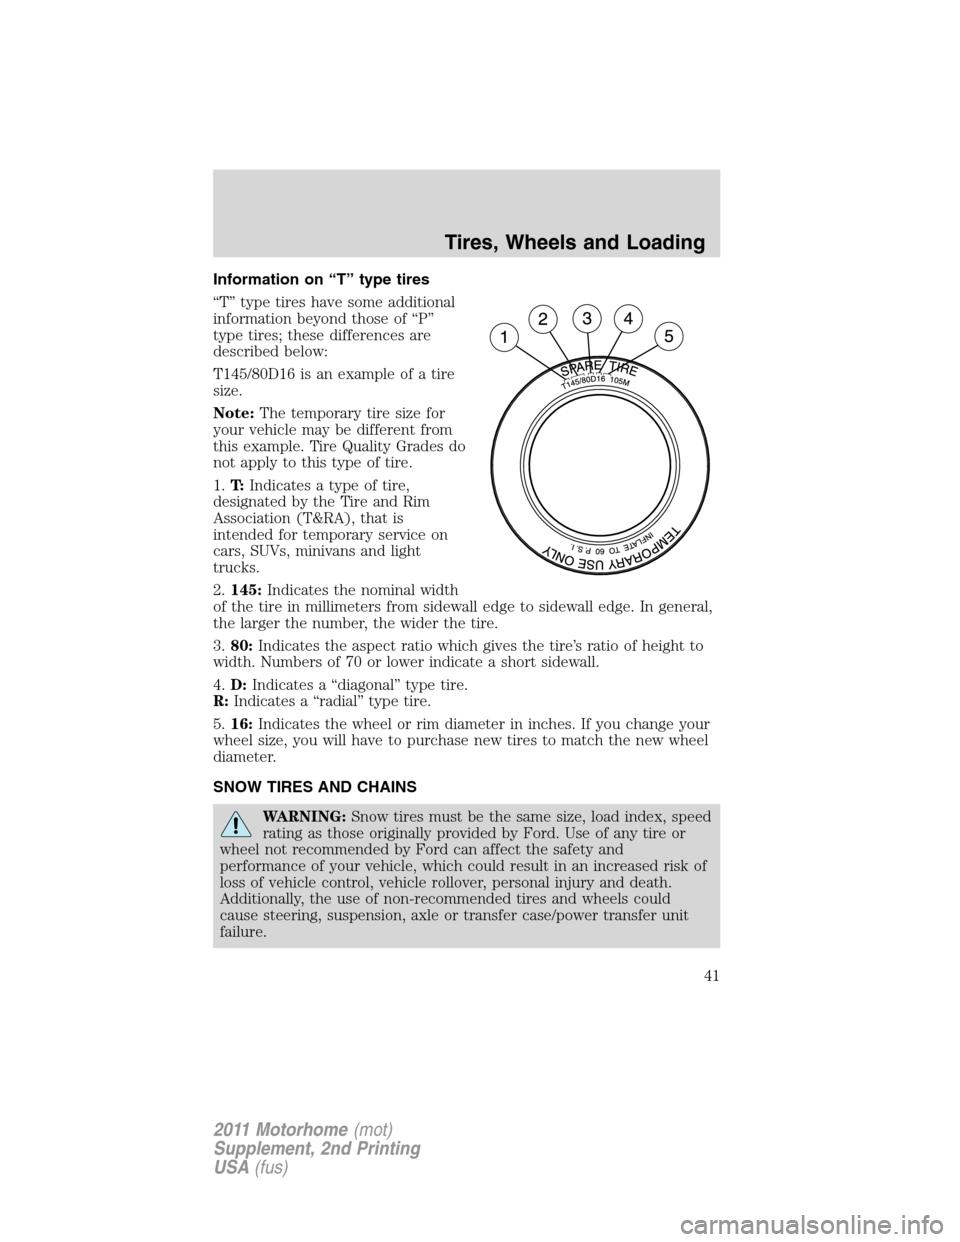
Information on “T” type tires
“T” type tires have some additional
information beyond those of “P”
type tires; these differences are
described below:
T145/80D16 is an example of a tire
size.
Note:The temporary tire size for
your vehicle may be different from
this example. Tire Quality Grades do
not apply to this type of tire.
1.T:Indicates a type of tire,
designated by the Tire and Rim
Association (T&RA), that is
intended for temporary service on
cars, SUVs, minivans and light
trucks.
2.145:Indicates the nominal width
of the tire in millimeters from sidewall edge to sidewall edge. In general,
the larger the number, the wider the tire.
3.80:Indicates the aspect ratio which gives the tire’s ratio of height to
width. Numbers of 70 or lower indicate a short sidewall.
4.D:Indicates a “diagonal” type tire.
R:Indicates a “radial” type tire.
5.16:Indicates the wheel or rim diameter in inches. If you change your
wheel size, you will have to purchase new tires to match the new wheel
diameter.
SNOW TIRES AND CHAINS
WARNING:Snow tires must be the same size, load index, speed
rating as those originally provided by Ford. Use of any tire or
wheel not recommended by Ford can affect the safety and
performance of your vehicle, which could result in an increased risk of
loss of vehicle control, vehicle rollover, personal injury and death.
Additionally, the use of non-recommended tires and wheels could
cause steering, suspension, axle or transfer case/power transfer unit
failure.
Tires, Wheels and Loading
41
2011 Motorhome(mot)
Supplement, 2nd Printing
USA(fus)
Page 49 of 156
WARNING:Do not adjust a weight-distributing hitch to any
position where the rear bumper of the vehicle is higher than it
was before attaching the trailer. Doing so will defeat the function of
the weight-distributing hitch, which may cause unpredictable handling,
and could result in serious personal injury.
Safety chains
Always connect the trailer’s safety chains to the frame or hook retainers
of the vehicle hitch. To connect the trailer’s safety chains, cross the
chains under the trailer tongue and allow slack for turning corners.
If you use a rental trailer, follow the instructions that the rental agency
gives to you.
Do not attach safety chains to the bumper.
Trailer brakes
Electric brakes and manual, automatic or surge-type brakes are safe if
installed properly and adjusted to the manufacturer’s specifications. The
trailer brakes must meet local and Federal regulations.
WARNING:Do not connect a trailer’s hydraulic brake system
directly to your vehicle’s brake system. Your vehicle may not
have enough braking power and your chances of having a collision
greatly increase.
The towing vehicle braking system is rated for operation at the
GVWR, not the GCWR.
Separate functioning brake systems are required for safe control
of towed vehicles and trailers weighing more than 1,500 lb
(680 kg) when loaded.
Trailer lamps
Trailer lamps are required on most towed vehicles. Make sure all running
lights, brake lights, turn signals and hazard lights are working. Contact
your authorized dealer or trailer rental agency for proper instructions
and equipment for hooking-up trailer lamps.
Tires, Wheels and Loading
49
2011 Motorhome(mot)
Supplement, 2nd Printing
USA(fus)
Page 51 of 156
STARTING
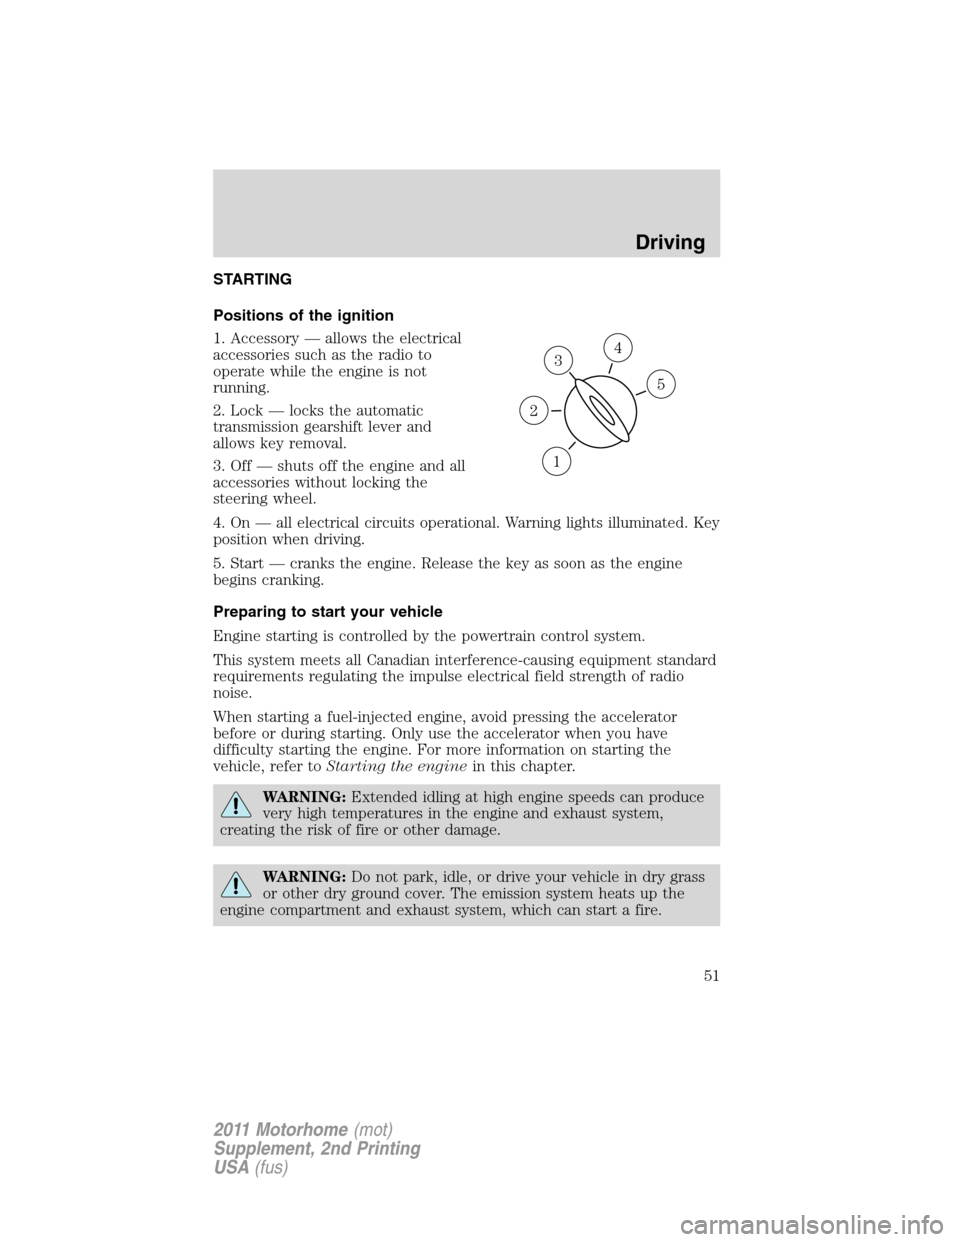
Positions of the ignition
1. Accessory — allows the electrical
accessories such as the radio to
operate while the engine is not
running.
2. Lock — locks the automatic
transmission gearshift lever and
allows key removal.
3. Off — shuts off the engine and all
accessories without locking the
steering wheel.
4. On — all electrical circuits operational. Warning lights illuminated. Key
position when driving.
5. Start — cranks the engine. Release the key as soon as the engine
begins cranking.
Preparing to start your vehicle
Engine starting is controlled by the powertrain control system.
This system meets all Canadian interference-causing equipment standard
requirements regulating the impulse electrical field strength of radio
noise.
When starting a fuel-injected engine, avoid pressing the accelerator
before or during starting. Only use the accelerator when you have
difficulty starting the engine. For more information on starting the
vehicle, refer toStarting the enginein this chapter.
WARNING:Extended idling at high engine speeds can produce
very high temperatures in the engine and exhaust system,
creating the risk of fire or other damage.
WARNING:Do not park, idle, or drive your vehicle in dry grass
or other dry ground cover. The emission system heats up the
engine compartment and exhaust system, which can start a fire.
3
1
2
5
4
Driving
51
2011 Motorhome(mot)
Supplement, 2nd Printing
USA(fus)
Page 53 of 156
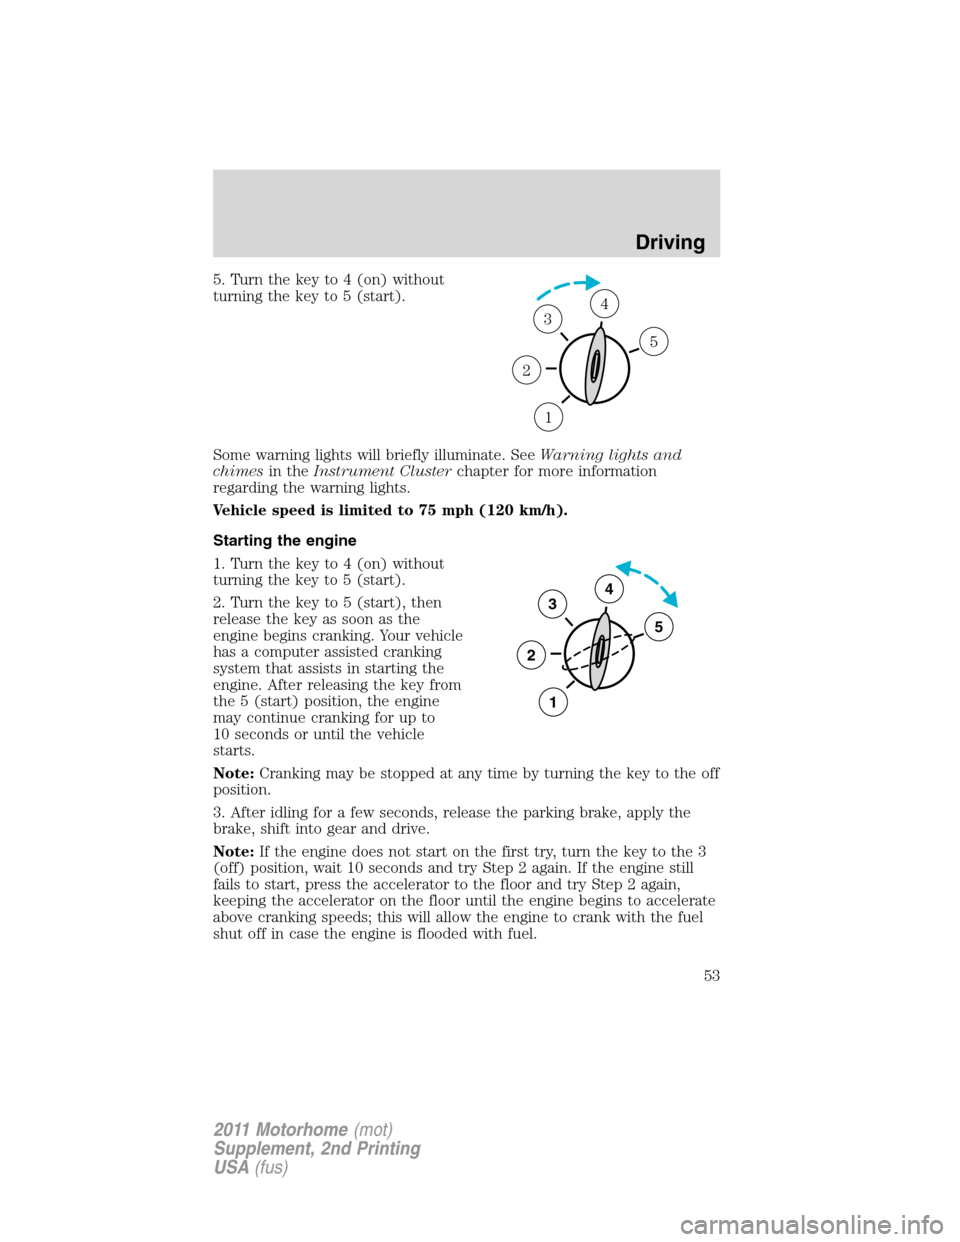
5. Turn the key to 4 (on) without
turning the key to 5 (start).
Some warning lights will briefly illuminate. SeeWarning lights and
chimesin theInstrument Clusterchapter for more information
regarding the warning lights.
Vehicle speed is limited to 75 mph (120 km/h).
Starting the engine
1. Turn the key to 4 (on) without
turning the key to 5 (start).
2. Turn the key to 5 (start), then
release the key as soon as the
engine begins cranking. Your vehicle
has a computer assisted cranking
system that assists in starting the
engine. After releasing the key from
the 5 (start) position, the engine
may continue cranking for up to
10 seconds or until the vehicle
starts.
Note:Cranking may be stopped at any time by turning the key to the off
position.
3. After idling for a few seconds, release the parking brake, apply the
brake, shift into gear and drive.
Note:If the engine does not start on the first try, turn the key to the 3
(off) position, wait 10 seconds and try Step 2 again. If the engine still
fails to start, press the accelerator to the floor and try Step 2 again,
keeping the accelerator on the floor until the engine begins to accelerate
above cranking speeds; this will allow the engine to crank with the fuel
shut off in case the engine is flooded with fuel.
1
2
34
5
3
2
1
5
4
Driving
53
2011 Motorhome(mot)
Supplement, 2nd Printing
USA(fus)