2011 FORD EXPLORER cooling
[x] Cancel search: coolingPage 167 of 449

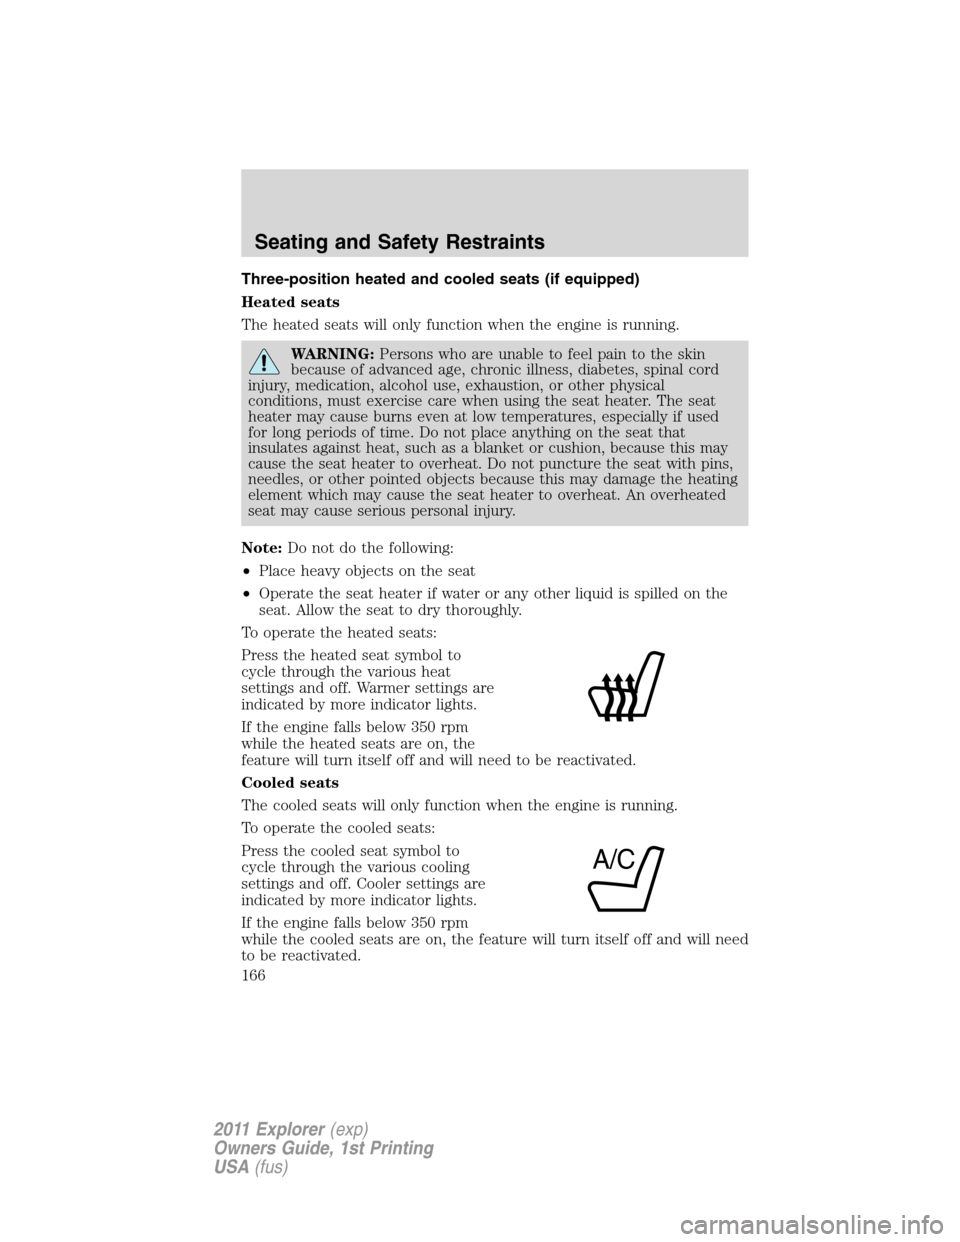
Three-position heated and cooled seats (if equipped)
Heated seats
The heated seats will only function when the engine is running.
WARNING:Persons who are unable to feel pain to the skin
because of advanced age, chronic illness, diabetes, spinal cord
injury, medication, alcohol use, exhaustion, or other physical
conditions, must exercise care when using the seat heater. The seat
heater may cause burns even at low temperatures, especially if used
for long periods of time. Do not place anything on the seat that
insulates against heat, such as a blanket or cushion, because this may
cause the seat heater to overheat. Do not puncture the seat with pins,
needles, or other pointed objects because this may damage the heating
element which may cause the seat heater to overheat. An overheated
seat may cause serious personal injury.
Note:Do not do the following:
•Place heavy objects on the seat
•Operate the seat heater if water or any other liquid is spilled on the
seat. Allow the seat to dry thoroughly.
To operate the heated seats:
Press the heated seat symbol to
cycle through the various heat
settings and off. Warmer settings are
indicated by more indicator lights.
If the engine falls below 350 rpm
while the heated seats are on, the
feature will turn itself off and will need to be reactivated.
Cooled seats
The cooled seats will only function when the engine is running.
To operate the cooled seats:
Press the cooled seat symbol to
cycle through the various cooling
settings and off. Cooler settings are
indicated by more indicator lights.
If the engine falls below 350 rpm
while the cooled seats are on, the feature will turn itself off and will need
to be reactivated.
A/C
Seating and Safety Restraints
166
2011 Explorer(exp)
Owners Guide, 1st Printing
USA(fus)
Page 265 of 449

Trailer brakes
Electric brakes and manual, automatic or surge-type trailer brakes are
safe if installed properly and adjusted to the manufacturer’s
specifications. The trailer brakes must meet local and Federal
regulations.
WARNING:Do not connect a trailer’s hydraulic brake system
directly to your vehicle’s brake system. Your vehicle may not
have enough braking power and your chances of having a collision
greatly increase.
The braking system of the tow vehicle is rated for operation at the
GVWR not GCWR.
Trailer lamps
Trailer lamps are required on most towed vehicles. Make sure all running
lights, brake lights, turn signals and hazard lights are working. Contact
your authorized dealer or trailer rental agency for proper instructions
and equipment for hooking-up trailer lamps.
WARNING:Never connect any trailer lighting to the vehicle’s
tail lamp circuits, because it may damage the electrical system
resulting in fire. Contact your authorized dealer as soon as possible for
assistance in proper trailer tow wiring installation. Additional electrical
equipment may be required.
Driving while you tow
When towing a trailer:
•Do not drive faster than 70 mph (113 km/h) during the first 500 miles
(800 km) of trailer towing and don’t make full-throttle starts.
•Turn off the speed control. The speed control may shut off
automatically when you are towing on long, steep grades.
•Activate the tow/haul feature or the grade assist feature on your
transmission to eliminate excessive transmission shifting and assist in
transmission cooling. For additional information, refer toAutomatic
transmission operationin theDrivingchapter.
•Allow more distance for stopping with a trailer attached; anticipate
stops and brake gradually.
Tires, Wheels and Loading
264
2011 Explorer(exp)
Owners Guide, 1st Printing
USA(fus)
Page 266 of 449

Trailer towing tips
•Practice turning, stopping and backing-up before starting on a trip to
get the feel of the vehicle-trailer combination. When turning, make
wider turns so the trailer wheels will clear curbs and other obstacles.
•To aid in engine/transmission cooling and A/C efficiency during hot
weather while stopped in traffic, place the gearshift lever in P (Park).
•After you have traveled 50 miles (80 km), thoroughly check your
hitch, electrical connections and trailer wheel lug nuts.
•If you are driving down a long or steep hill, shift to a lower gear. Do
not apply the brakes continuously, as they may overheat and become
less effective.
•Vehicles with trailers should not be parked on a grade. If you must
park on a grade, place wheel chocks under the trailer’s wheels.
RECREATIONAL TOWING
Follow these guidelines for your specific powertrain combination to tow
your vehicle for personal travel (such as behind a motor home or a
truck).
Note:Put your climate control system in recirculated air mode to
prevent exhaust fumes from entering the vehicle. Refer to theClimate
Controlschapter for more information.
In case of a roadside emergency with a disabled vehicle, please refer to
Wrecker towingin theRoadside Emergencieschapter.
These guidelines are designed to prevent damage to your vehicle after it
is hooked-up to the RV or tow dolly.
Front-wheel drive (FWD) vehiclescan be towed with all four wheels
on the ground or with the front wheels off the ground by using a tow
dolly. If you are using a tow dolly follow the instructions specified by the
equipment provider. If you are towing with all four wheels on the ground,
refer to the towing instructions found at the end of this section.
Four-wheel drive (4WD) vehiclescan be towed with all four wheels
on the ground or with all four wheels off the ground using a vehicle
transport trailer.Do not tow your 4WD vehicle with the front
wheels off the ground (by using a tow dolly) and the rear wheels
on the ground; this will cause damage to your 4WD system.If you
are using a vehicle transport trailer, follow the instruction specified by
the equipment provider. If you are towing with all four wheels on the
ground, refer to the towing instructions found at the end of this section.
Tires, Wheels and Loading
265
2011 Explorer(exp)
Owners Guide, 1st Printing
USA(fus)
Page 284 of 449

HILL DESCENT CONTROL™ (IF EQUIPPED)
Hill descent control allows the driver to set and maintain vehicle speed
while descending steep grades in various surface conditions.
WARNING:Hill descent control cannot control descent in all
surface conditions and circumstances, such as ice or extremely
steep grades. Hill descent control is a driver assist system and cannot
substitute for good judgment by the driver. Failure to do so may result
in loss of vehicle control, crash or serious injury.
Hill descent control can maintain vehicle speeds on downhill grades
between 3 mph (5 km/h) and 20 mph (32 km/h). Above 20 mph
(32 km/h), the system remains armed, but descent speed cannot be set
or maintained.
WARNING:Hill descent control does not provide hill hold at
zero mph (0 km/h). When stopped, the parking brake must be
applied and/or the vehicle must be placed in P (Park) or it may roll
away.
Hill descent control requires a cooling down interval after a period of
sustained use. The amount of time that the feature can remain active
before cooling varies with conditions. The system will provide a warning
in the message center and a chime will sound when the system is about
to disengage for cooling. At this time, manually apply the brakes as
needed to maintain descent speed.
Enabling hill descent control and setting the descent speed
1. Press and release the hill descent
button located in the center of the
terrain management control. A light
in the control will illuminate and
chime will sound when this feature
is activated.
2. To increase descent speed, press the accelerator pedal until the
desired speed is reached. To decrease descent speed, press the brake
pedal until the desired speed is reached.
Whether accelerating or decelerating, once the desired descent speed is
reached, remove your feet from the pedals and the chosen vehicle speed
will be maintained.
Driving
283
2011 Explorer(exp)
Owners Guide, 1st Printing
USA(fus)
Page 355 of 449

JUMP STARTING
WARNING:The gases around the battery can explode if
exposed to flames, sparks, or lit cigarettes. An explosion could
result in injury or vehicle damage.
WARNING:Batteries contain sulfuric acid which can burn skin,
eyes and clothing, if contacted.
Do not attempt to push-start your automatic transmission
vehicle. Automatic transmissions do not have push-start
capability. Attempting to push-start a vehicle with an automatic
transmission may cause transmission damage.
Preparing your vehicle
When the battery is disconnected or a new battery is installed, the
automatic transmission must relearn its shift strategy. As a result, the
transmission may have firm and/or soft shifts. This operation is
considered normal and will not affect function or durability of the
transmission. Over time, the adaptive learning process will fully update
transmission operation.
1.Use only a 12–volt supply to start your vehicle.
2. Do not disconnect the battery of the disabled vehicle as this could
damage the vehicle’s electrical system.
3. Park the booster vehicle close to the hood of the disabled vehicle
making sure the two vehiclesdo nottouch. Set the parking brake on
both vehicles and stay clear of the engine cooling fan and other moving
parts.
4. Check all battery terminals and remove any excessive corrosion before
you attach the battery cables. Ensure that vent caps are tight and level.
5. Turn the heater fan on in both vehicles to protect from any electrical
surges. Turn all other accessories off.
Roadside Emergencies
354
2011 Explorer(exp)
Owners Guide, 1st Printing
USA(fus)
Page 379 of 449

WINDSHIELD WASHER FLUID
Add fluid to fill the reservoir if the
level is low. In very cold weather, do
not fill the reservoir completely.
Only use a washer fluid that meets Ford specifications. Do not use any
special washer fluid such as windshield water repellent type fluid or bug
wash. They may cause squeaking, chatter noise, streaking and smearing.
Refer to theMaintenance product specifications and capacities
section in this chapter.
State or local regulations on volatile organic compounds may restrict the
use of methanol, a common windshield washer antifreeze additive.
Washer fluids containing non-methanol antifreeze agents should be used
only if they provide cold weather protection without damaging the
vehicle’s paint finish, wiper blades or washer system.
WARNING:If you operate your vehicle in temperatures below
40°F (5°C), use washer fluid with antifreeze protection. Failure
to use washer fluid with antifreeze protection in cold weather could
result in impaired windshield vision and increase the risk of injury or
accident.
Do not put washer fluid in the engine coolant reservoir. Washer
fluid placed in the cooling system may harm engine and cooling
system components.
Checking and adding washer fluid for the liftgate
Washer fluid for the liftgate is supplied by the same reservoir as the
windshield.
Maintenance and Specifications
378
2011 Explorer(exp)
Owners Guide, 1st Printing
USA(fus)
Page 387 of 449

If the engine coolant has not been checked at the recommended interval,
the engine coolant reservoir may become low or empty. If the reservoir is
low or empty, add engine coolant to the reservoir. Refer toAdding
engine coolantin this chapter.
Note:Automotive fluids are not interchangeable; do not use engine
coolant/antifreeze or windshield washer fluid outside of its specified
function and vehicle location.
Adding engine coolant
When adding coolant, make sure it is a 50/50 mixture of engine coolant
and distilled water. Add the mixture to the coolant reservoir,when the
engine is cool,until the appropriate fill level is obtained. If coolant is
filled to the COLD FILL RANGE or FULL COLD level when the engine is
not cool, the system will remain underfilled.
WARNING:Do not add engine coolant when the engine is hot.
Steam and scalding liquids released from a hot cooling system
can burn you badly. Also, you can be burned if you spill coolant on hot
engine parts.
WARNING:Do not put engine coolant in the windshield washer
fluid container. If sprayed on the windshield, engine coolant
could make it difficult to see through the windshield.
•DO NOT MIXdifferent colors or types of coolant in your vehicle.
Make sure the correct coolant is used.DO NOT MIXrecycled coolant
and new (unused) coolant together in the vehicle. Mixing of engine
coolants may harm your engine’s cooling system. The use of an
improper coolant may harm engine and cooling system components
and may void the warranty. Refer toMaintenance product
specifications and capacitiesin this chapter.
•A large amount of water without engine coolant may be added, in case
of emergency, to reach a vehicle service location. In this instance, the
cooling system must be drained and refilled with a 50/50 mixture of
engine coolant and distilled water as soon as possible. Water alone
(without engine coolant) can cause engine damage from corrosion,
overheating or freezing.
•
Do not use alcohol, methanol, brine or any engine coolants mixed
with alcohol or methanol antifreeze (coolant).Alcohol and other
liquids can cause engine damage from overheating or freezing.
Maintenance and Specifications
386
2011 Explorer(exp)
Owners Guide, 1st Printing
USA(fus)
Page 388 of 449

•Do not add extra inhibitors or additives to the coolant.These
can be harmful and compromise the corrosion protection of the engine
coolant.
For vehicles with overflow coolant systems with a non-pressurized cap
on the coolant recovery system, add coolant to the coolant recovery
reservoir when the engine is cool. Add the proper mixture of coolant and
distilled water to the FULL COLD level. For all other vehicles which have
a coolant degas system with a pressurized cap, or if it is necessary to
remove the coolant pressure relief cap on the radiator of a vehicle with
an overflow system, follow these steps to add engine coolant.
WARNING:To reduce the risk of personal injury, make sure the
engine is cool before unscrewing the coolant pressure relief cap.
The cooling system is under pressure; steam and hot liquid can come
out forcefully when the cap is loosened slightly.
Add the proper mixture of coolant and water to the cooling system by
following these steps:
1. Before you begin, turn the engine off and let it cool.
2. When the engine is cool, wrap a thick cloth around the coolant
pressure relief cap on the coolant reservoir (a translucent plastic bottle).
Slowly turn cap counterclockwise (left) until pressure begins to release.
3. Step back while the pressure releases.
4. When you are sure that all the pressure has been released, use the
cloth to turn it counterclockwise and remove the cap.
5. Fill the coolant reservoir slowly with the proper coolant mixture, to
within the COLD FILL RANGE or the FULL COLD level on the reservoir.
If you removed the radiator cap in an overflow system, fill the radiator
until the coolant is visible and radiator is almost full.
6. Replace the cap. Turn until tightly installed. Cap must be tightly
installed to prevent coolant loss.
After any coolant has been added, check the coolant concentration (refer
toChecking engine coolant). If the concentration is not 50/50, drain
some coolant and adjust the concentration. It may take several drains
and additions to obtain a 50/50 coolant concentration.
Whenever coolant has been added, the coolant level in the coolant
reservoir should be checked the next few times you drive the vehicle. If
necessary, add enough 50/50 concentration of engine coolant and
distilled water to bring the liquid level to the proper level.
Maintenance and Specifications
387
2011 Explorer(exp)
Owners Guide, 1st Printing
USA(fus)