Page 57 of 395
Satellite radio electronic serial number (ESN):This 12–digit
Satellite Serial Number is needed to activate, modify or track your
satellite radio account. You will need this number when communicating
with SIRIUS�. While in satellite radio mode, you can view this number on
the radio display by pressing the AUX and preset 1 controls
simultaneously.
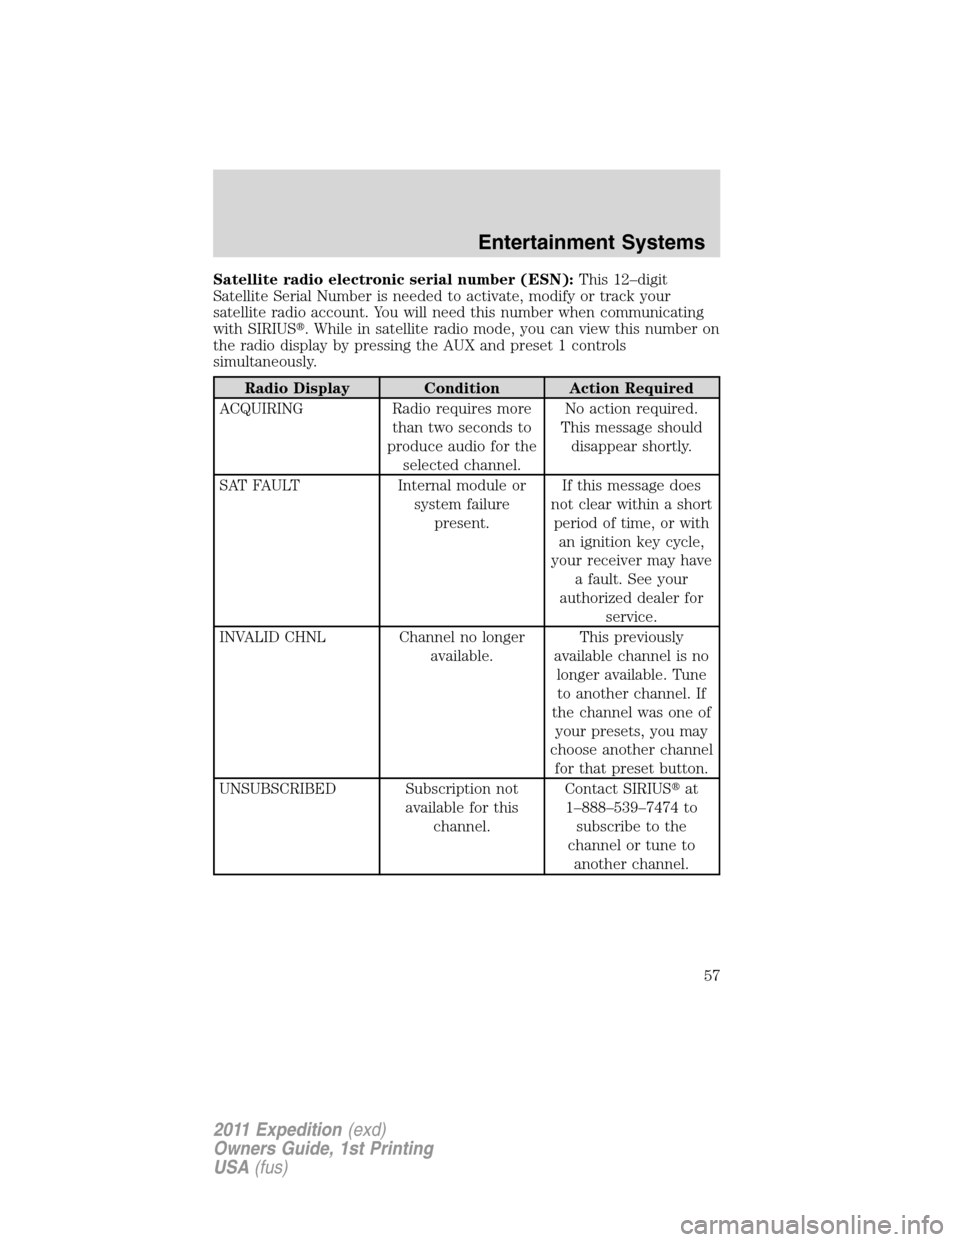
Radio Display Condition Action Required
ACQUIRING Radio requires more
than two seconds to
produce audio for the
selected channel.No action required.
This message should
disappear shortly.
SAT FAULT Internal module or
system failure
present.If this message does
not clear within a short
period of time, or with
an ignition key cycle,
your receiver may have
a fault. See your
authorized dealer for
service.
INVALID CHNL Channel no longer
available.This previously
available channel is no
longer available. Tune
to another channel. If
the channel was one of
your presets, you may
choose another channel
for that preset button.
UNSUBSCRIBED Subscription not
available for this
channel.Contact SIRIUS�at
1–888–539–7474 to
subscribe to the
channel or tune to
another channel.
Entertainment Systems
57
2011 Expedition(exd)
Owners Guide, 1st Printing
USA(fus)
Page 70 of 395
REAR WINDOW DEFROSTERR
The rear defroster control is located
on the climate control panel and
works to clear the rear window of
fog and thin ice.
The engine must be running to operate the rear window defroster.
Press the control to turn the rear window defroster on. An indicator light
on the button will illuminate when active. The rear window defroster
turns off automatically after 15 minutes or when the ignition is turned
off. To manually turn off the rear window defroster at any time, press
the control again.
Do not use razor blades or other sharp objects to clean the inside
of the rear window or to remove decals from the inside of the
rear window. This may cause damage to the heated grid lines and
will not be covered by your warranty.
Climate Controls
70
2011 Expedition(exd)
Owners Guide, 1st Printing
USA(fus)
Page 71 of 395
HEADLAMP CONTROL
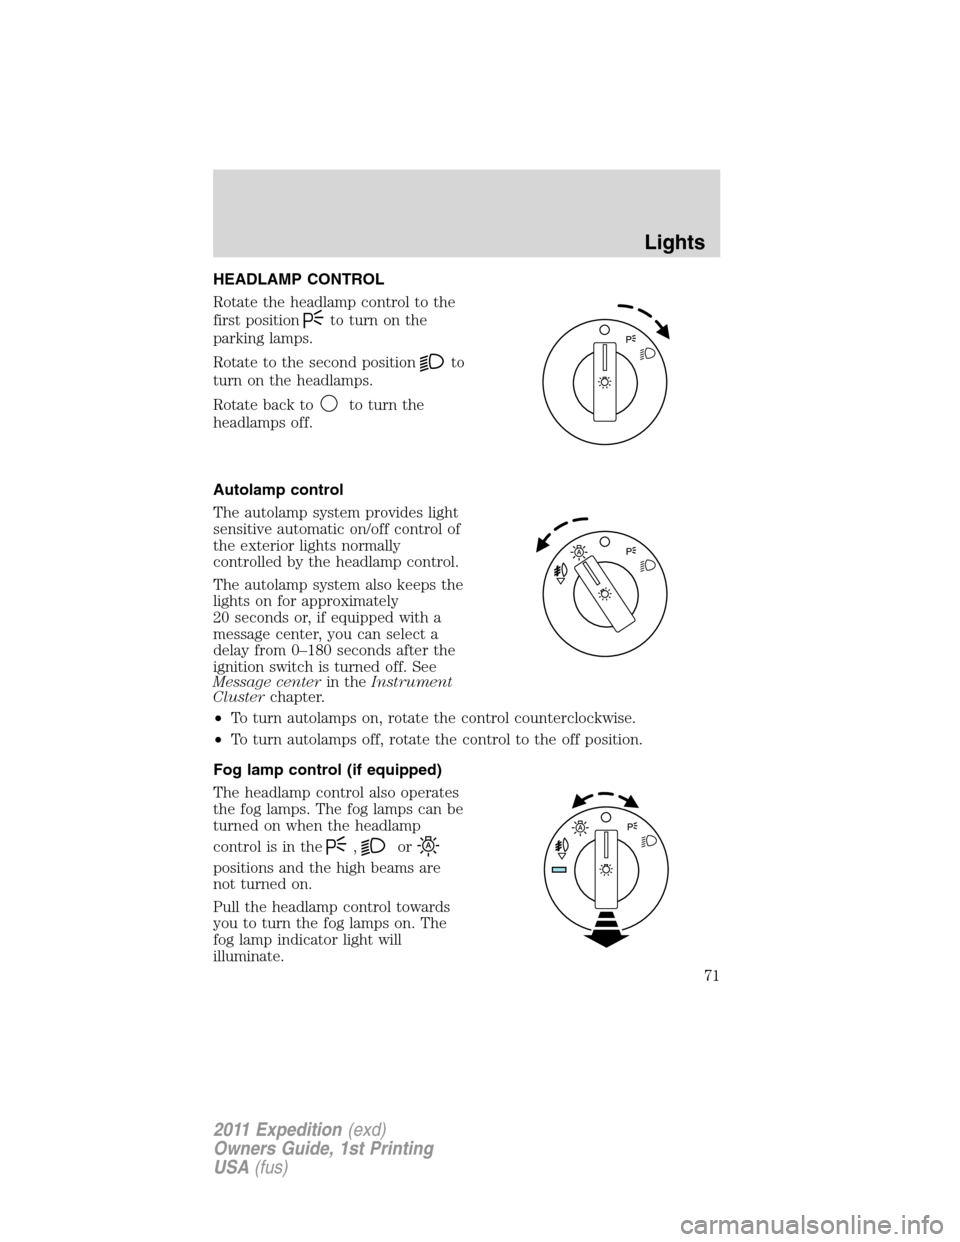
Rotate the headlamp control to the
first position
to turn on the
parking lamps.
Rotate to the second position
to
turn on the headlamps.
Rotate back to
to turn the
headlamps off.
Autolamp control
The autolamp system provides light
sensitive automatic on/off control of
the exterior lights normally
controlled by the headlamp control.
The autolamp system also keeps the
lights on for approximately
20 seconds or, if equipped with a
message center, you can select a
delay from 0–180 seconds after the
ignition switch is turned off. See
Message centerin theInstrument
Clusterchapter.
•To turn autolamps on, rotate the control counterclockwise.
•To turn autolamps off, rotate the control to the off position.
Fog lamp control (if equipped)
The headlamp control also operates
the fog lamps. The fog lamps can be
turned on when the headlamp
control is in the
,or
positions and the high beams are
not turned on.
Pull the headlamp control towards
you to turn the fog lamps on. The
fog lamp indicator light will
illuminate.
Lights
71
2011 Expedition(exd)
Owners Guide, 1st Printing
USA(fus)
Page 72 of 395
High beams
Push the lever toward the
instrument panel to activate. Pull
the lever toward you to deactivate.
Flash-to-pass
Pull toward you slightly to activate
and release to deactivate.
Daytime running lamps (DRL) (if equipped)
Turns the headlamps on at reduced intensity output. To activate:
•the ignition must be in the on position and
•the headlamp control must be in the off, autolamps or parking lamps
position.
WARNING:Always remember to turn on your headlamps at
dusk or during inclement weather. The Daytime Running Lamp
(DRL) system does not activate the tail lamps and generally may not
provide adequate lighting during these conditions. Failure to activate
your headlamps under these conditions may result in a collision.
Lights
72
2011 Expedition(exd)
Owners Guide, 1st Printing
USA(fus)
Page 75 of 395
INTERIOR LAMPS
Front row map lamps (if equipped)
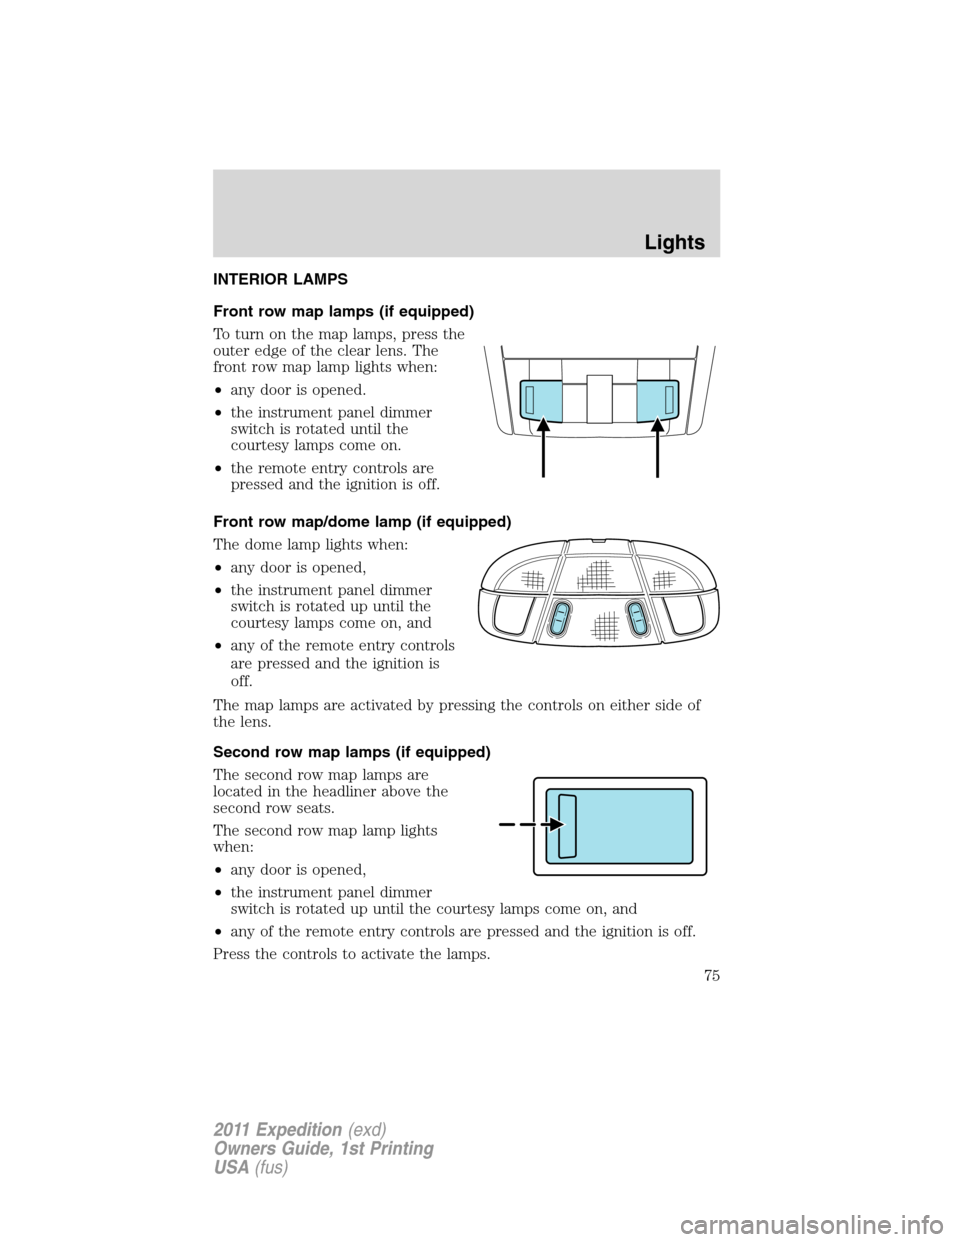
To turn on the map lamps, press the
outer edge of the clear lens. The
front row map lamp lights when:
•any door is opened.
•the instrument panel dimmer
switch is rotated until the
courtesy lamps come on.
•the remote entry controls are
pressed and the ignition is off.
Front row map/dome lamp (if equipped)
The dome lamp lights when:
•any door is opened,
•the instrument panel dimmer
switch is rotated up until the
courtesy lamps come on, and
•any of the remote entry controls
are pressed and the ignition is
off.
The map lamps are activated by pressing the controls on either side of
the lens.
Second row map lamps (if equipped)
The second row map lamps are
located in the headliner above the
second row seats.
The second row map lamp lights
when:
•any door is opened,
•the instrument panel dimmer
switch is rotated up until the courtesy lamps come on, and
•any of the remote entry controls are pressed and the ignition is off.
Press the controls to activate the lamps.
Lights
75
2011 Expedition(exd)
Owners Guide, 1st Printing
USA(fus)
Page 76 of 395
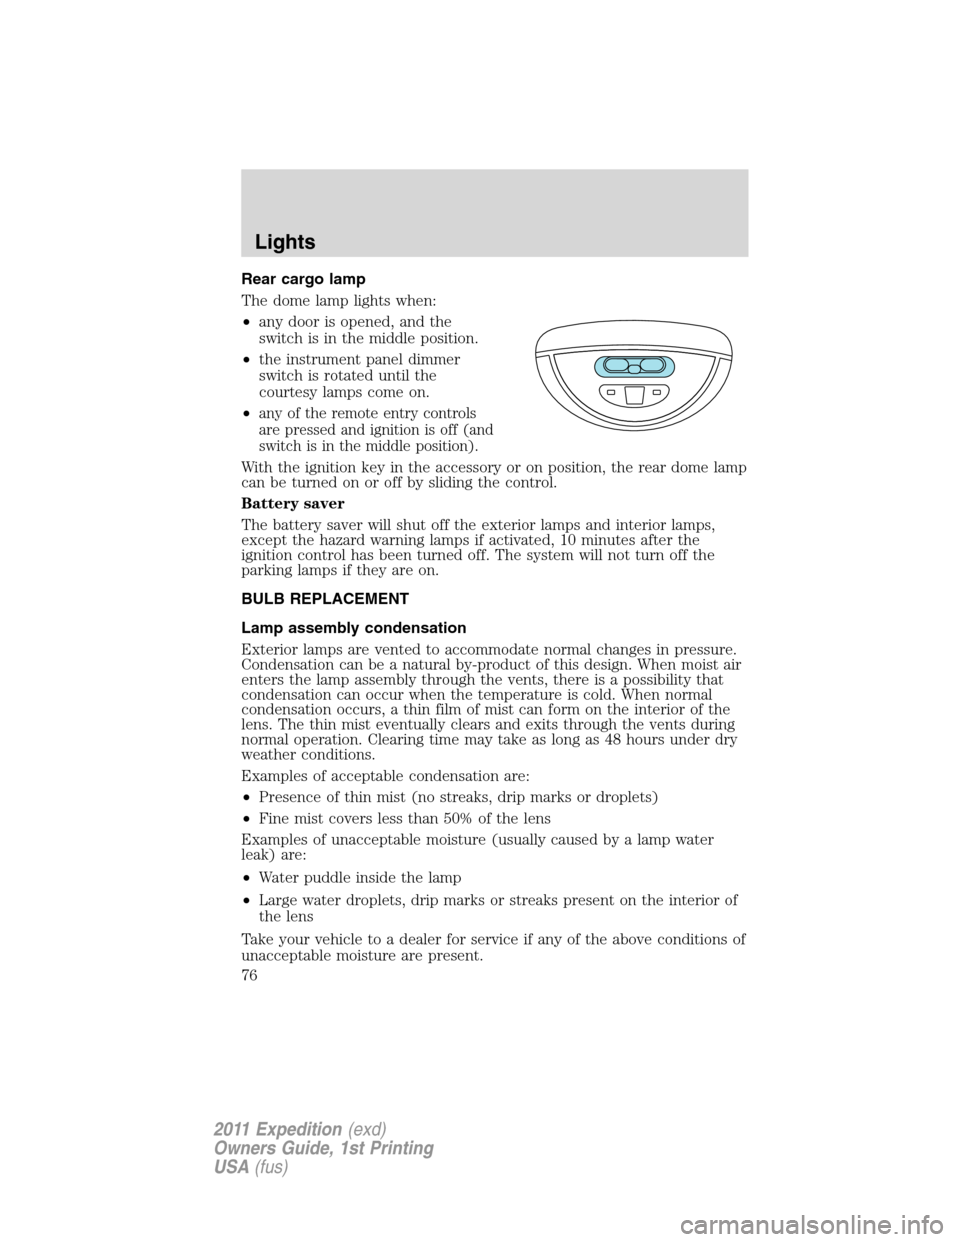
Rear cargo lamp
The dome lamp lights when:
•any door is opened, and the
switch is in the middle position.
•the instrument panel dimmer
switch is rotated until the
courtesy lamps come on.
•
any of the remote entry controls
are pressed and ignition is off (and
switch is in the middle position).
With the ignition key in the accessory or on position, the rear dome lamp
can be turned on or off by sliding the control.
Battery saver
The battery saver will shut off the exterior lamps and interior lamps,
except the hazard warning lamps if activated, 10 minutes after the
ignition control has been turned off. The system will not turn off the
parking lamps if they are on.
BULB REPLACEMENT
Lamp assembly condensation
Exterior lamps are vented to accommodate normal changes in pressure.
Condensation can be a natural by-product of this design. When moist air
enters the lamp assembly through the vents, there is a possibility that
condensation can occur when the temperature is cold. When normal
condensation occurs, a thin film of mist can form on the interior of the
lens. The thin mist eventually clears and exits through the vents during
normal operation. Clearing time may take as long as 48 hours under dry
weather conditions.
Examples of acceptable condensation are:
•Presence of thin mist (no streaks, drip marks or droplets)
•Fine mist covers less than 50% of the lens
Examples of unacceptable moisture (usually caused by a lamp water
leak) are:
•Water puddle inside the lamp
•Large water droplets, drip marks or streaks present on the interior of
the lens
Take your vehicle to a dealer for service if any of the above conditions of
unacceptable moisture are present.
Lights
76
2011 Expedition(exd)
Owners Guide, 1st Printing
USA(fus)
Page 88 of 395
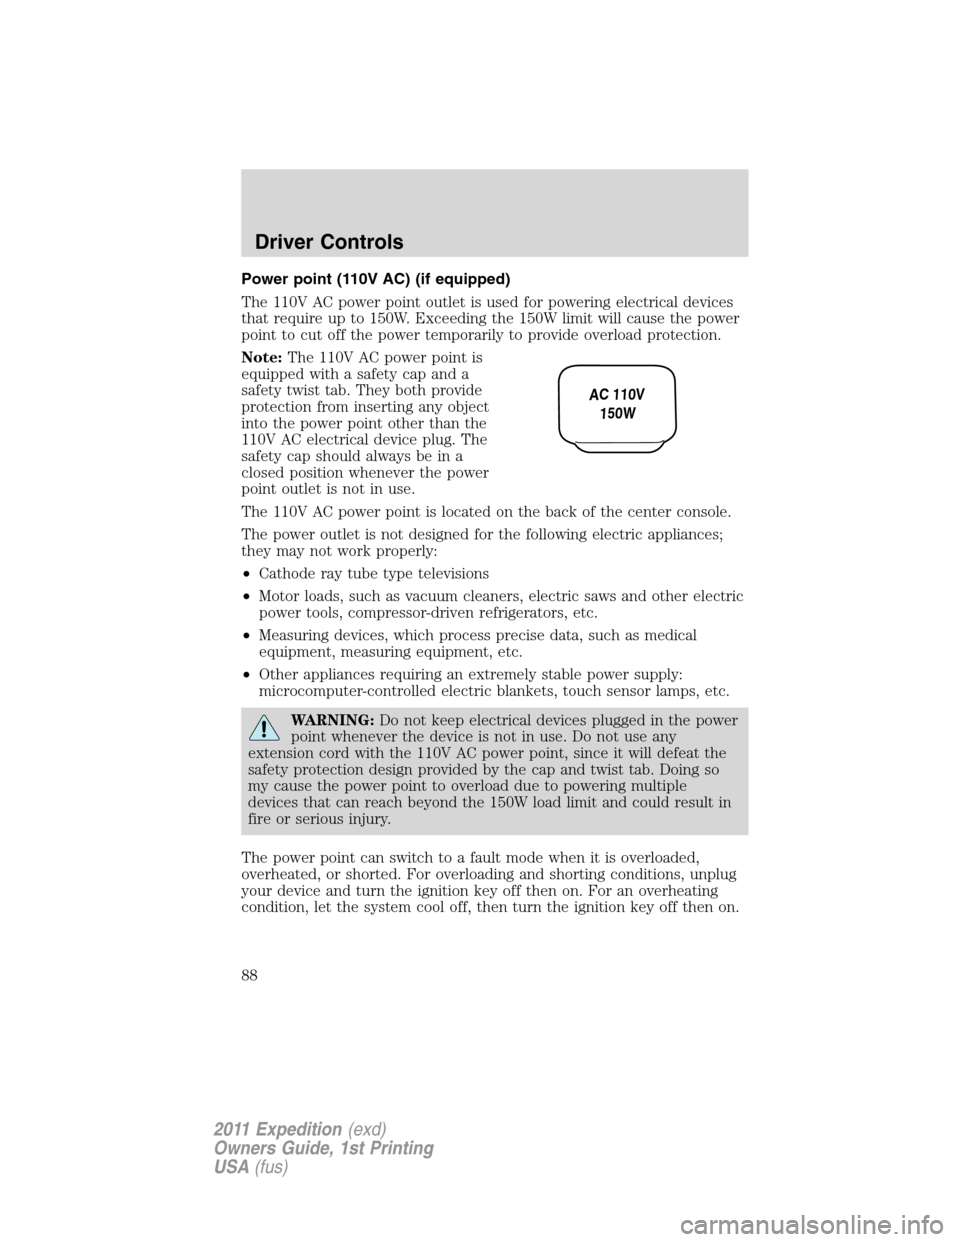
Power point (110V AC) (if equipped)
The 110V AC power point outlet is used for powering electrical devices
that require up to 150W. Exceeding the 150W limit will cause the power
point to cut off the power temporarily to provide overload protection.
Note:The 110V AC power point is
equipped with a safety cap and a
safety twist tab. They both provide
protection from inserting any object
into the power point other than the
110V AC electrical device plug. The
safety cap should always be in a
closed position whenever the power
point outlet is not in use.
The 110V AC power point is located on the back of the center console.
The power outlet is not designed for the following electric appliances;
they may not work properly:
•Cathode ray tube type televisions
•Motor loads, such as vacuum cleaners, electric saws and other electric
power tools, compressor-driven refrigerators, etc.
•Measuring devices, which process precise data, such as medical
equipment, measuring equipment, etc.
•Other appliances requiring an extremely stable power supply:
microcomputer-controlled electric blankets, touch sensor lamps, etc.
WARNING:Do not keep electrical devices plugged in the power
point whenever the device is not in use. Do not use any
extension cord with the 110V AC power point, since it will defeat the
safety protection design provided by the cap and twist tab. Doing so
my cause the power point to overload due to powering multiple
devices that can reach beyond the 150W load limit and could result in
fire or serious injury.
The power point can switch to a fault mode when it is overloaded,
overheated, or shorted. For overloading and shorting conditions, unplug
your device and turn the ignition key off then on. For an overheating
condition, let the system cool off, then turn the ignition key off then on.
AC 110V
150W
Driver Controls
88
2011 Expedition(exd)
Owners Guide, 1st Printing
USA(fus)
Page 89 of 395
The 110V AC power point can provide power whenever the vehicle
ignition is in the on position and the power point green indicator light
located in the top left corner is turned on. Refer to the indicator light
code below for the power point status.
Indicator light codes
Green light is on — Power point is ready to supply power
Green light is off — Power point power supply is off. Ignition is not in
the on position
Green light is blinking — Power point is in fault mode
Cupholder/Ashtray (if equipped)
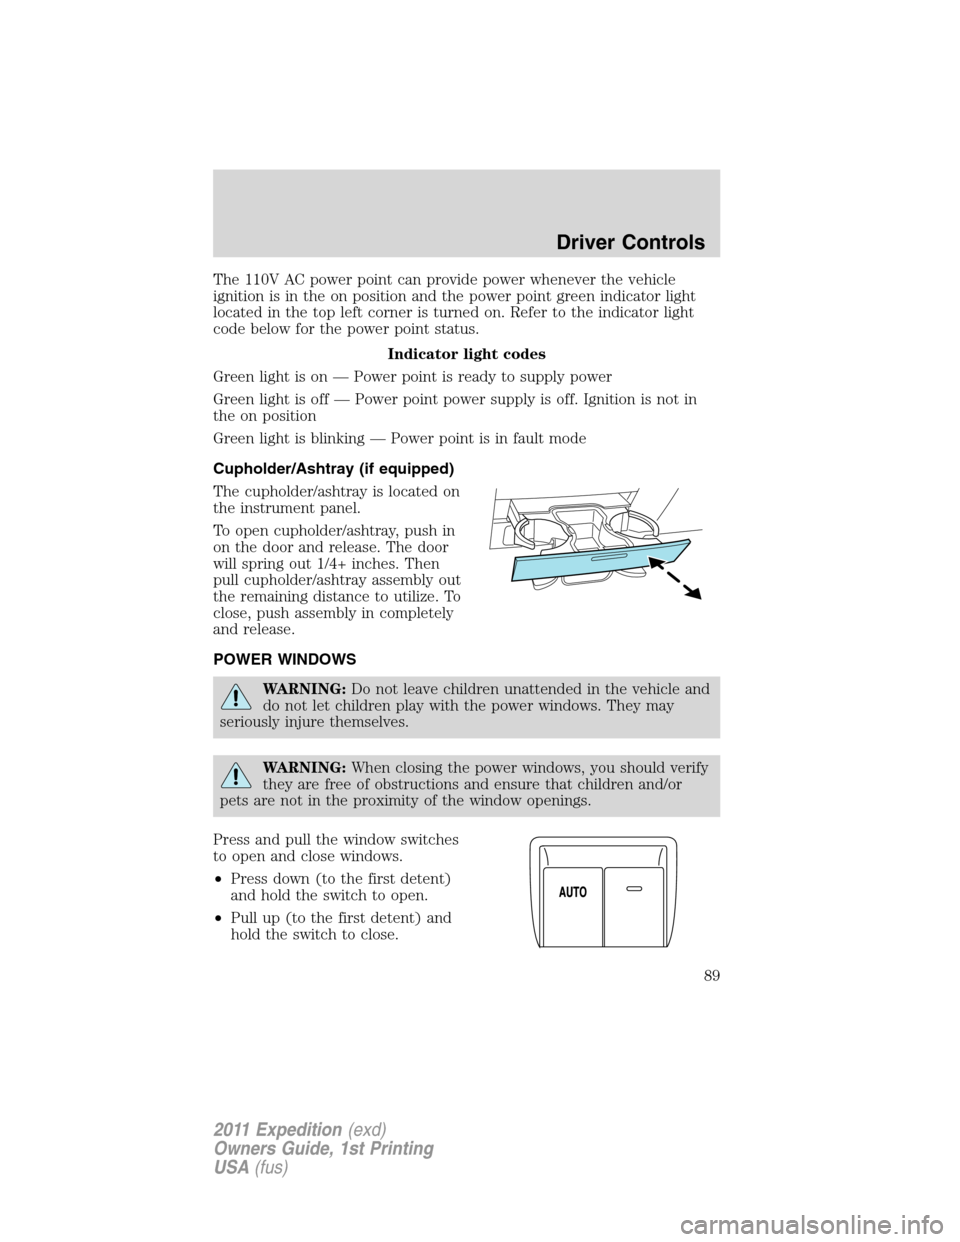
The cupholder/ashtray is located on
the instrument panel.
To open cupholder/ashtray, push in
on the door and release. The door
will spring out 1/4+ inches. Then
pull cupholder/ashtray assembly out
the remaining distance to utilize. To
close, push assembly in completely
and release.
POWER WINDOWS
WARNING:Do not leave children unattended in the vehicle and
do not let children play with the power windows. They may
seriously injure themselves.
WARNING:When closing the power windows, you should verify
they are free of obstructions and ensure that children and/or
pets are not in the proximity of the window openings.
Press and pull the window switches
to open and close windows.
•Press down (to the first detent)
and hold the switch to open.
•Pull up (to the first detent) and
hold the switch to close.
Driver Controls
89
2011 Expedition(exd)
Owners Guide, 1st Printing
USA(fus)