Page 17 of 395
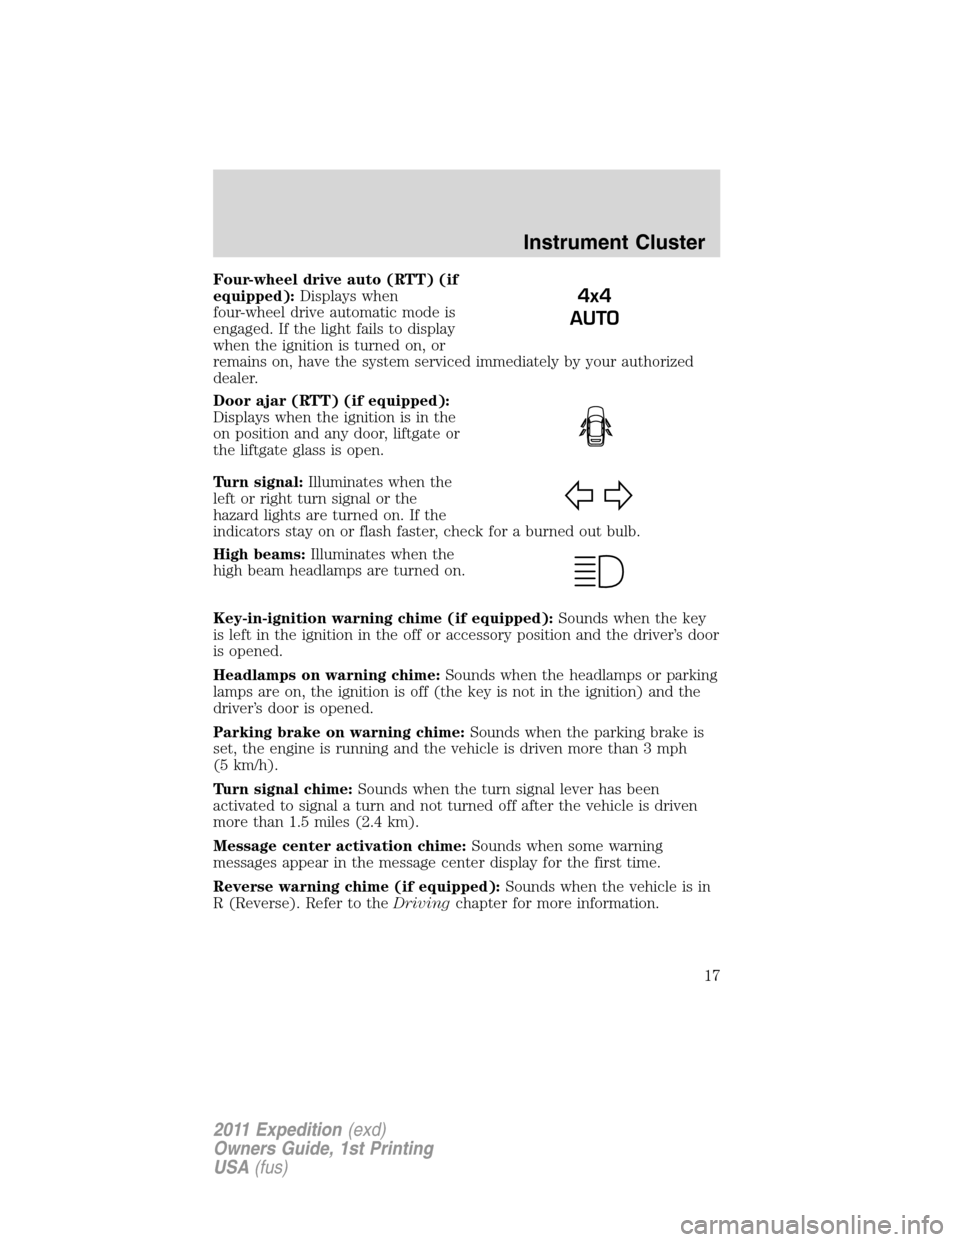
Four-wheel drive auto (RTT) (if
equipped):Displays when
four-wheel drive automatic mode is
engaged. If the light fails to display
when the ignition is turned on, or
remains on, have the system serviced immediately by your authorized
dealer.
Door ajar (RTT) (if equipped):
Displays when the ignition is in the
on position and any door, liftgate or
the liftgate glass is open.
Turn signal:Illuminates when the
left or right turn signal or the
hazard lights are turned on. If the
indicators stay on or flash faster, check for a burned out bulb.
High beams:Illuminates when the
high beam headlamps are turned on.
Key-in-ignition warning chime (if equipped):Sounds when the key
is left in the ignition in the off or accessory position and the driver’s door
is opened.
Headlamps on warning chime:Sounds when the headlamps or parking
lamps are on, the ignition is off (the key is not in the ignition) and the
driver’s door is opened.
Parking brake on warning chime:Sounds when the parking brake is
set, the engine is running and the vehicle is driven more than 3 mph
(5 km/h).
Turn signal chime:Sounds when the turn signal lever has been
activated to signal a turn and not turned off after the vehicle is driven
more than 1.5 miles (2.4 km).
Message center activation chime:Sounds when some warning
messages appear in the message center display for the first time.
Reverse warning chime (if equipped):Sounds when the vehicle is in
R (Reverse). Refer to theDrivingchapter for more information.
4x4
AUTO
Instrument Cluster
17
2011 Expedition(exd)
Owners Guide, 1st Printing
USA(fus)
Page 72 of 395
High beams
Push the lever toward the
instrument panel to activate. Pull
the lever toward you to deactivate.
Flash-to-pass
Pull toward you slightly to activate
and release to deactivate.
Daytime running lamps (DRL) (if equipped)
Turns the headlamps on at reduced intensity output. To activate:
•the ignition must be in the on position and
•the headlamp control must be in the off, autolamps or parking lamps
position.
WARNING:Always remember to turn on your headlamps at
dusk or during inclement weather. The Daytime Running Lamp
(DRL) system does not activate the tail lamps and generally may not
provide adequate lighting during these conditions. Failure to activate
your headlamps under these conditions may result in a collision.
Lights
72
2011 Expedition(exd)
Owners Guide, 1st Printing
USA(fus)
Page 76 of 395
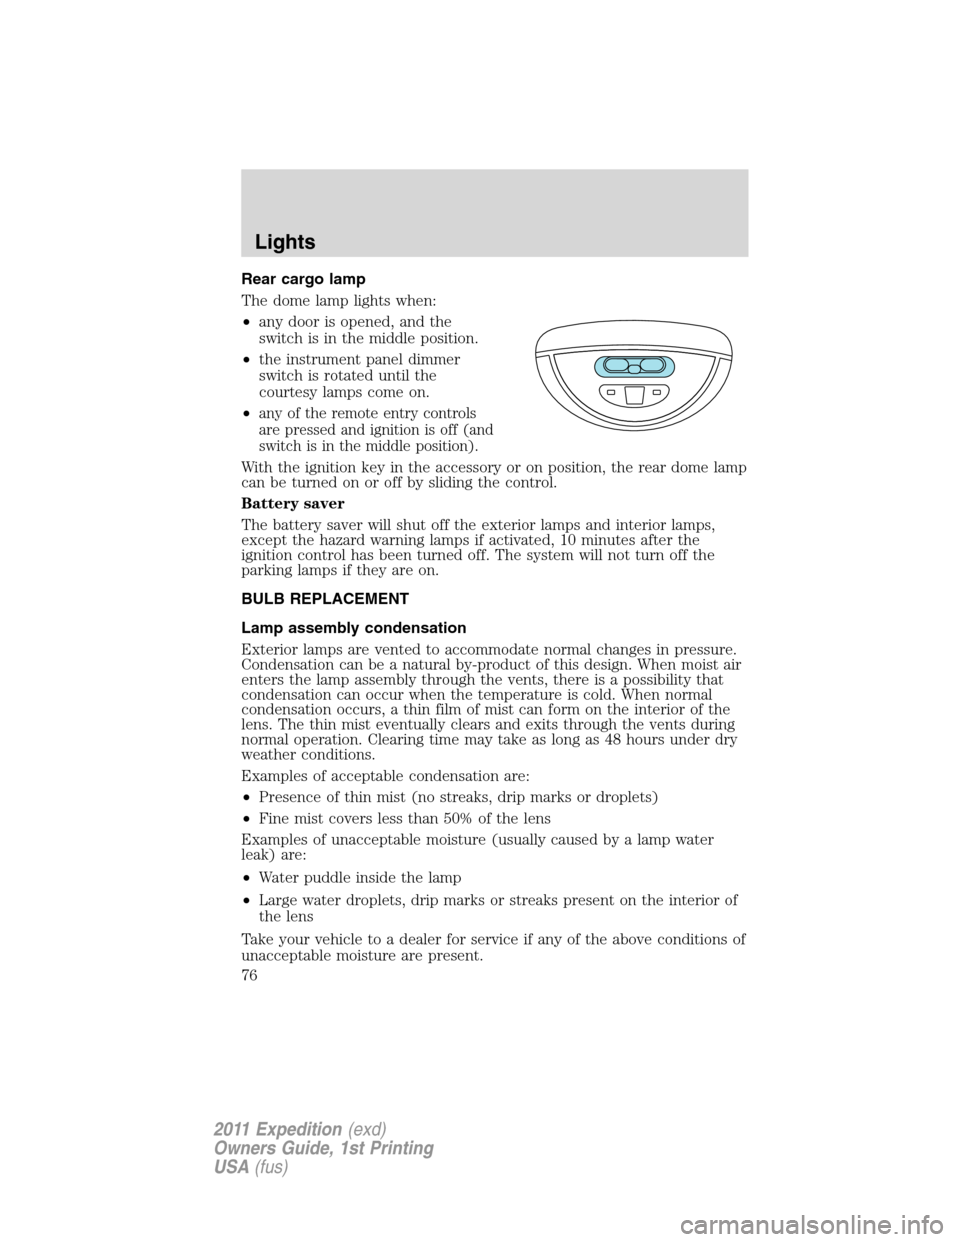
Rear cargo lamp
The dome lamp lights when:
•any door is opened, and the
switch is in the middle position.
•the instrument panel dimmer
switch is rotated until the
courtesy lamps come on.
•
any of the remote entry controls
are pressed and ignition is off (and
switch is in the middle position).
With the ignition key in the accessory or on position, the rear dome lamp
can be turned on or off by sliding the control.
Battery saver
The battery saver will shut off the exterior lamps and interior lamps,
except the hazard warning lamps if activated, 10 minutes after the
ignition control has been turned off. The system will not turn off the
parking lamps if they are on.
BULB REPLACEMENT
Lamp assembly condensation
Exterior lamps are vented to accommodate normal changes in pressure.
Condensation can be a natural by-product of this design. When moist air
enters the lamp assembly through the vents, there is a possibility that
condensation can occur when the temperature is cold. When normal
condensation occurs, a thin film of mist can form on the interior of the
lens. The thin mist eventually clears and exits through the vents during
normal operation. Clearing time may take as long as 48 hours under dry
weather conditions.
Examples of acceptable condensation are:
•Presence of thin mist (no streaks, drip marks or droplets)
•Fine mist covers less than 50% of the lens
Examples of unacceptable moisture (usually caused by a lamp water
leak) are:
•Water puddle inside the lamp
•Large water droplets, drip marks or streaks present on the interior of
the lens
Take your vehicle to a dealer for service if any of the above conditions of
unacceptable moisture are present.
Lights
76
2011 Expedition(exd)
Owners Guide, 1st Printing
USA(fus)
Page 78 of 395
Replacing interior bulbs
Check the operation of all bulbs frequently.
Replacing exterior bulbs
Check the operation of all the bulbs frequently.
Replacing headlamp bulbs
1. Make sure that the headlamp control is in the off position.
2. Open the hood.
3. At the back of the headlamp,
remove the two headlamp assembly
retainer bolts.
4. Slide headlamp assembly forward
and off the retaining tab to expose
the back of the bulb and electrical
connector.
5. Disconnect the electrical
connector.
6. Remove the bulb by turning it
counterclockwise and then pulling it
straight out.
WARNING:Handle a halogen headlamp bulb carefully and keep
out of children’s reach. Grasp the bulb only by its plastic base
and do not touch the glass. The oil from your hand could cause the
bulb to break the next time the headlamps are operated.
Lights
78
2011 Expedition(exd)
Owners Guide, 1st Printing
USA(fus)
Page 84 of 395
TILT STEERING WHEEL
1. Pull and hold the steering wheel
release control toward you.
2. Move the steering up or down
until you find the desired location.
3. Release the steering wheel
release control. This will lock the
steering wheel in position.
WARNING:Never adjust the steering column when the vehicle
is moving.
ILLUMINATED VISOR MIRROR (IF EQUIPPED)
Lift the mirror cover to turn on the
visor mirror lamp.
Slide-on-rod feature (if
equipped)
Rotate the visor towards the side
window and extend it rearward for
additional sunlight coverage.
Note:To stow the visor back into
the headliner, visor must be
retracted before moving it back
towards the windshield.
Driver Controls
84
2011 Expedition(exd)
Owners Guide, 1st Printing
USA(fus)
Page 89 of 395
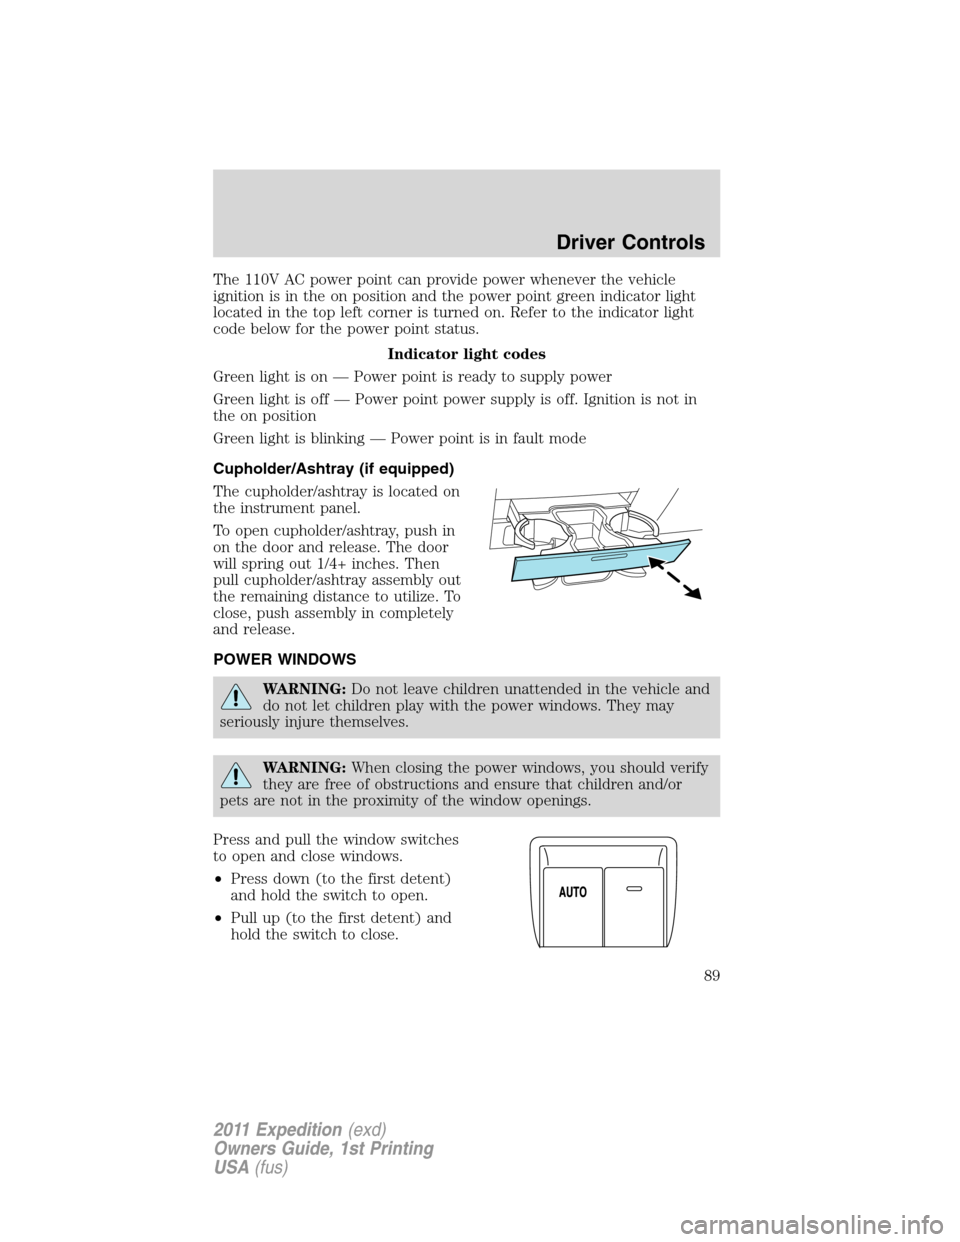
The 110V AC power point can provide power whenever the vehicle
ignition is in the on position and the power point green indicator light
located in the top left corner is turned on. Refer to the indicator light
code below for the power point status.
Indicator light codes
Green light is on — Power point is ready to supply power
Green light is off — Power point power supply is off. Ignition is not in
the on position
Green light is blinking — Power point is in fault mode
Cupholder/Ashtray (if equipped)
The cupholder/ashtray is located on
the instrument panel.
To open cupholder/ashtray, push in
on the door and release. The door
will spring out 1/4+ inches. Then
pull cupholder/ashtray assembly out
the remaining distance to utilize. To
close, push assembly in completely
and release.
POWER WINDOWS
WARNING:Do not leave children unattended in the vehicle and
do not let children play with the power windows. They may
seriously injure themselves.
WARNING:When closing the power windows, you should verify
they are free of obstructions and ensure that children and/or
pets are not in the proximity of the window openings.
Press and pull the window switches
to open and close windows.
•Press down (to the first detent)
and hold the switch to open.
•Pull up (to the first detent) and
hold the switch to close.
Driver Controls
89
2011 Expedition(exd)
Owners Guide, 1st Printing
USA(fus)
Page 91 of 395
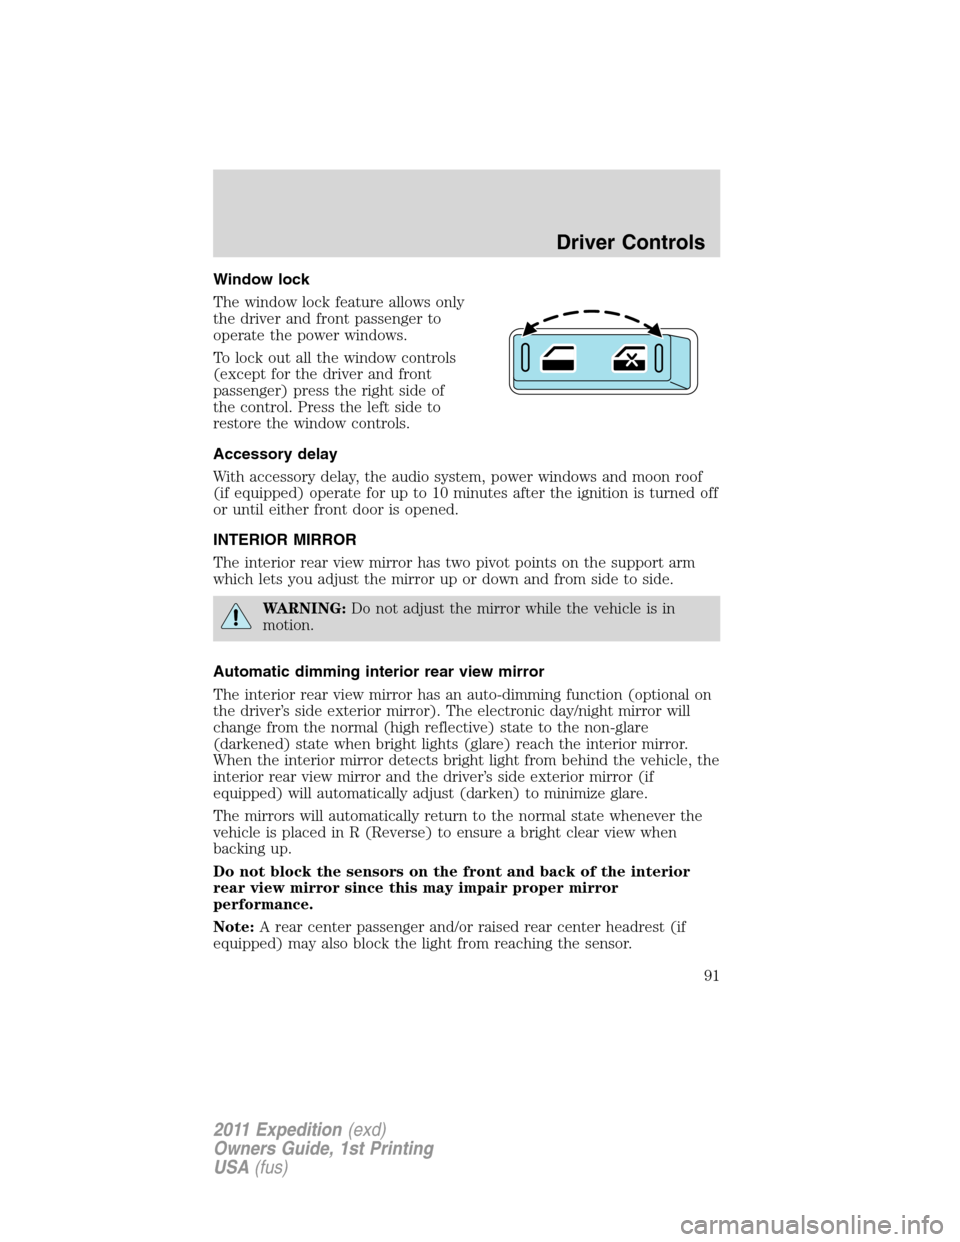
Window lock
The window lock feature allows only
the driver and front passenger to
operate the power windows.
To lock out all the window controls
(except for the driver and front
passenger) press the right side of
the control. Press the left side to
restore the window controls.
Accessory delay
With accessory delay, the audio system, power windows and moon roof
(if equipped) operate for up to 10 minutes after the ignition is turned off
or until either front door is opened.
INTERIOR MIRROR
The interior rear view mirror has two pivot points on the support arm
which lets you adjust the mirror up or down and from side to side.
WARNING:Do not adjust the mirror while the vehicle is in
motion.
Automatic dimming interior rear view mirror
The interior rear view mirror has an auto-dimming function (optional on
the driver’s side exterior mirror). The electronic day/night mirror will
change from the normal (high reflective) state to the non-glare
(darkened) state when bright lights (glare) reach the interior mirror.
When the interior mirror detects bright light from behind the vehicle, the
interior rear view mirror and the driver’s side exterior mirror (if
equipped) will automatically adjust (darken) to minimize glare.
The mirrors will automatically return to the normal state whenever the
vehicle is placed in R (Reverse) to ensure a bright clear view when
backing up.
Do not block the sensors on the front and back of the interior
rear view mirror since this may impair proper mirror
performance.
Note:A rear center passenger and/or raised rear center headrest (if
equipped) may also block the light from reaching the sensor.
Driver Controls
91
2011 Expedition(exd)
Owners Guide, 1st Printing
USA(fus)
Page 101 of 395
UNIVERSAL GARAGE DOOR OPENER (IF EQUIPPED)
Your vehicle may be equipped with a universal garage door opener which
can be used to replace the common hand-held transmitter.
Car2U�Home Automation System (if equipped)
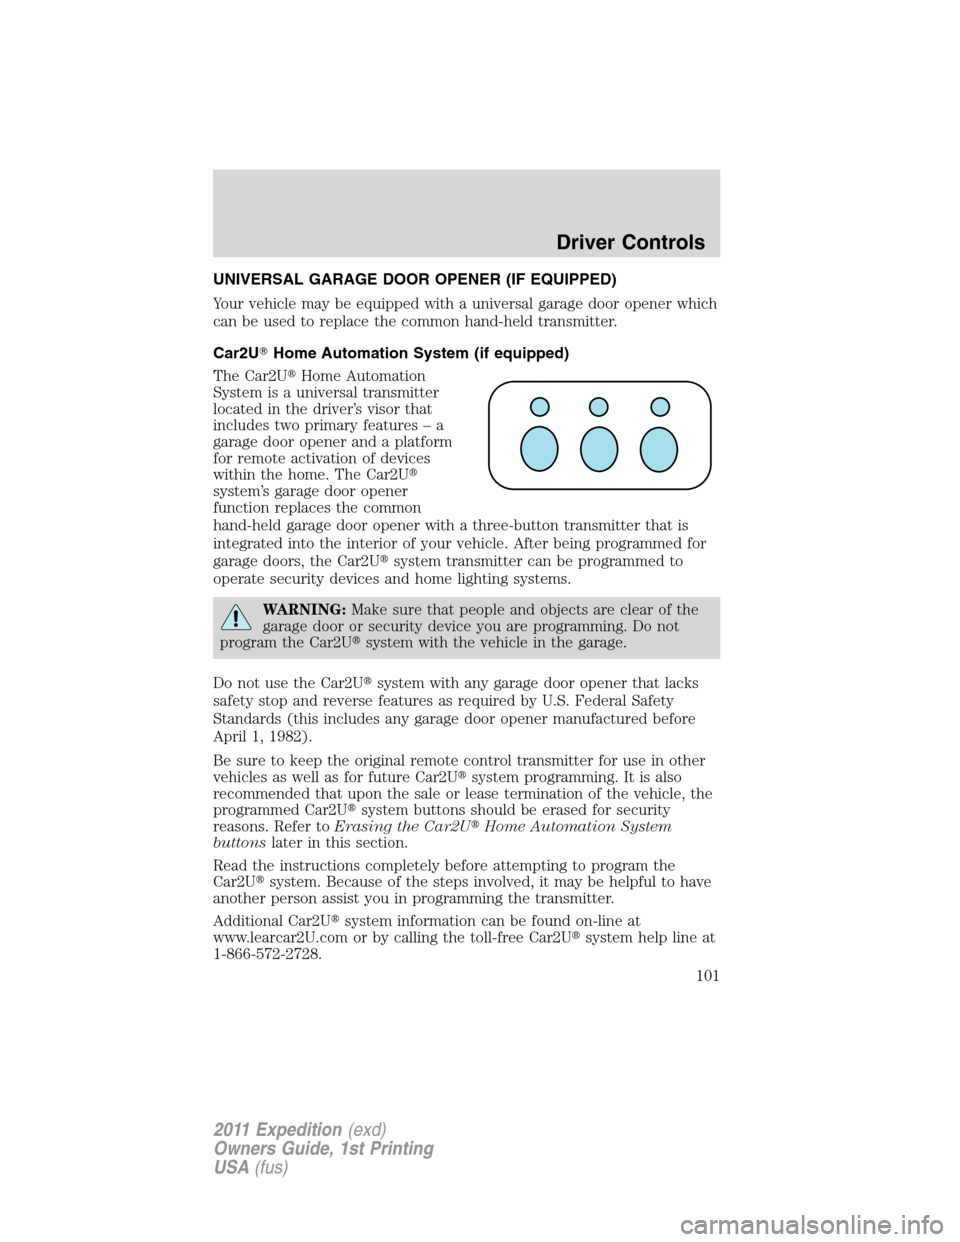
The Car2U�Home Automation
System is a universal transmitter
located in the driver’s visor that
includes two primary features – a
garage door opener and a platform
for remote activation of devices
within the home. The Car2U�
system’s garage door opener
function replaces the common
hand-held garage door opener with a three-button transmitter that is
integrated into the interior of your vehicle. After being programmed for
garage doors, the Car2U�system transmitter can be programmed to
operate security devices and home lighting systems.
WARNING:Make sure that people and objects are clear of the
garage door or security device you are programming. Do not
program the Car2U�system with the vehicle in the garage.
Do not use the Car2U�system with any garage door opener that lacks
safety stop and reverse features as required by U.S. Federal Safety
Standards (this includes any garage door opener manufactured before
April 1, 1982).
Be sure to keep the original remote control transmitter for use in other
vehicles as well as for future Car2U�system programming. It is also
recommended that upon the sale or lease termination of the vehicle, the
programmed Car2U�system buttons should be erased for security
reasons. Refer toErasing the Car2U�Home Automation System
buttonslater in this section.
Read the instructions completely before attempting to program the
Car2U�system. Because of the steps involved, it may be helpful to have
another person assist you in programming the transmitter.
Additional Car2U�system information can be found on-line at
www.learcar2U.com or by calling the toll-free Car2U�system help line at
1-866-572-2728.
Driver Controls
101
2011 Expedition(exd)
Owners Guide, 1st Printing
USA(fus)