2011 FORD E150 transmission
[x] Cancel search: transmissionPage 207 of 339

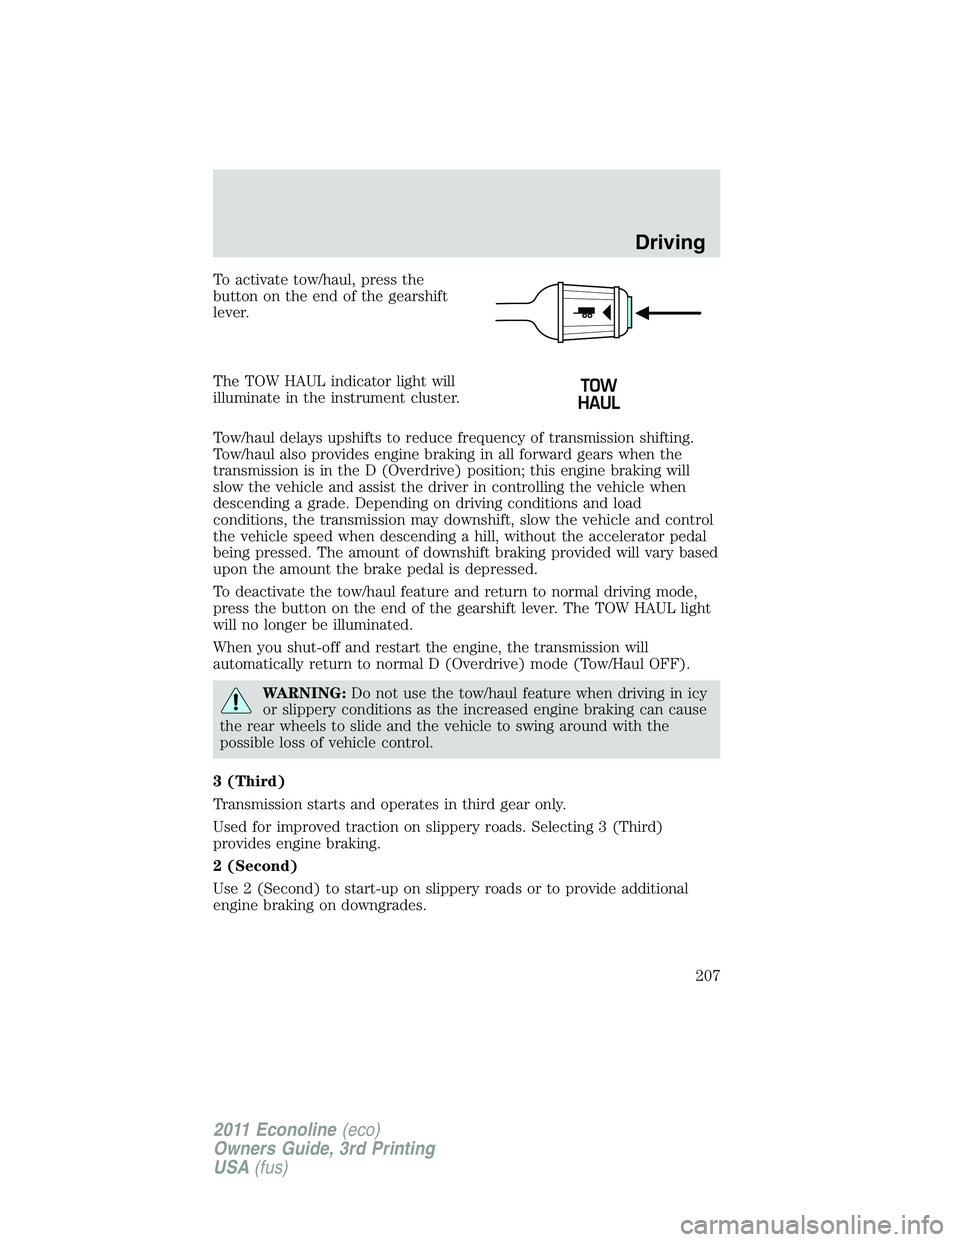
To activate tow/haul, press the
button on the end of the gearshift
lever.
The TOW HAUL indicator light will
illuminate in the instrument cluster.
Tow/haul delays upshifts to reduce frequency of transmission shifting.
Tow/haul also provides engine braking in all forward gears when the
transmission is in the D (Overdrive) position; this engine braking will
slow the vehicle and assist the driver in controlling the vehicle when
descending a grade. Depending on driving conditions and load
conditions, the transmission may downshift, slow the vehicle and control
the vehicle speed when descending a hill, without the accelerator pedal
being pressed. The amount of downshift braking provided will vary based
upon the amount the brake pedal is depressed.
To deactivate the tow/haul feature and return to normal driving mode,
press the button on the end of the gearshift lever. The TOW HAUL light
will no longer be illuminated.
When you shut-off and restart the engine, the transmission will
automatically return to normal D (Overdrive) mode (Tow/Haul OFF).
WARNING:Do not use the tow/haul feature when driving in icy
or slippery conditions as the increased engine braking can cause
the rear wheels to slide and the vehicle to swing around with the
possible loss of vehicle control.
3 (Third)
Transmission starts and operates in third gear only.
Used for improved traction on slippery roads. Selecting 3 (Third)
provides engine braking.
2 (Second)
Use 2 (Second) to start-up on slippery roads or to provide additional
engine braking on downgrades.
Driving
207
2011 Econoline(eco)
Owners Guide, 3rd Printing
USA(fus)
Page 208 of 339

1 (First)
•Provides maximum engine braking.
•Allows upshifts by moving gearshift lever.
•The transmission will not downshift into 1 (First) at high speeds; it
will downshift to a lower gear and then shift into 1 (First) when the
vehicle reaches slower speeds.
Forced downshifts
•Allowed in
(Overdrive) or Drive.
•Press the accelerator to the floor.
•Allows transmission to select an appropriate gear.
If your vehicle goes off the edge of the pavement
•If your vehicle goes off the edge of the pavement, slow down, but
avoid severe brake application, ease the vehicle back onto the
pavement only after reducing your speed. Do not turn the steering
wheel too sharply while returning to the road surface.
•It may be safer to stay on the apron or shoulder of the road and slow
down gradually before returning to the pavement. You may lose
control if you do not slow down or if you turn the steering wheel too
sharply or abruptly.
•It often may be less risky to strike small objects, such as highway
reflectors, with minor damage to your vehicle rather than attempt a
sudden return to the pavement which could cause the vehicle to slide
sideways out of control or roll over. Remember, your safety and the
safety of others should be your primary concern.
WARNING:Vehicles with a higher center of gravity such as
utility and four-wheel drive vehicles handle differently than
vehicles with a lower center of gravity. Utility and four-wheel drive
vehicles arenotdesigned for cornering at speeds as high as passenger
cars any more than low-slung sports cars are designed to perform
satisfactorily under off-road conditions. Avoid sharp turns, excessive
speed and abrupt maneuvers in these vehicles. Failure to drive
cautiously could result in an increased risk of loss of vehicle control,
vehicle rollover, personal injury and death.
Driving
208
2011 Econoline(eco)
Owners Guide, 3rd Printing
USA(fus)
Page 211 of 339

REARVIEW CAMERA SYSTEM (IF EQUIPPED)
The rearview camera system located
on the back door provides a video
image, which appears in the
rearview mirror or navigation screen
(if equipped), of the area behind the
vehicle. It adds assistance to the
driver while reversing or reverse
parking the vehicle.
To use the camera system, place the transmission in R (Reverse); an
image will display on the left portion of the rearview mirror or on the
navigation screen (if equipped). The area displayed on the screen may
vary according to the vehicle orientation and/or road condition.
•(1) Rear bumper
•(2) Red zone
•(3) Yellow zone
•(4) Green zone
•(5) Centerline of vehicle
Always use caution while backing.
Objects in the red zone are closest
to your vehicle and objects in the
green zone are further away. Objects
are getting closer to your vehicle as they move from the green zone to
the yellow or red zones.
Use the side mirrors and rearview mirror to get better coverage on both
sides and rear of the vehicle.
Image delay if displayed through the rearview mirror:
When shifting out of R (Reverse) and into any other gear, the image in
the rearview mirror will remain on for a few seconds before it shuts off
to assist in parking or trailer hookup.
Image delay if displayed through the navigation screen:
After shifting out of R (Reverse) and into any gear other than P (Park),
the image in the navigation screen will remain until the vehicle speed
reaches five mph (8 km/h), only if the rear camera delay feature is on, or
until any navigation radio button is pressed.
Driving
211
2011 Econoline(eco)
Owners Guide, 3rd Printing
USA(fus)
Page 214 of 339

VEHICLE USED AS A STATIONARY POWER SOURCE
Auxiliary equipment called power take-off or PTO, is often added to the
engine or transmission to operate utility equipment. Examples include a
wheel-lift for tow trucks, cranes, tools for construction or tire service and
pumping fluids. PTO applications draw auxiliary horsepower from the
powertrain, often while the vehicle is stationary. In this condition, there
is limited cooling air flow through the radiator and around the vehicle
that normally occurs when a vehicle is moving. The aftermarket PTO
system installer, having the most knowledge of the final application, is
responsible for determining whether additional chassis heat protection or
powertrain cooling is required, and alerting the user to the safe and
proper operation.
Your vehicle is qualified for use as a stationary power source, within
limits detailed in theFord Truck Body Builders Layout Book,found at
www.fleet.ford.com/truckbbas, and through the Ford Truck Body Builders
Advisory Service.
Gas engine vehicles are qualified for up to 10 minutes of continuous
operation as a stationary power source, due to the potential for the
normal venting of fuel vapors. Further consult your aftermarket PTO
installer, since the duration of operation limit for the aftermarket PTO
may be less than the vehicle is capable of.
DRIVING THROUGH WATER
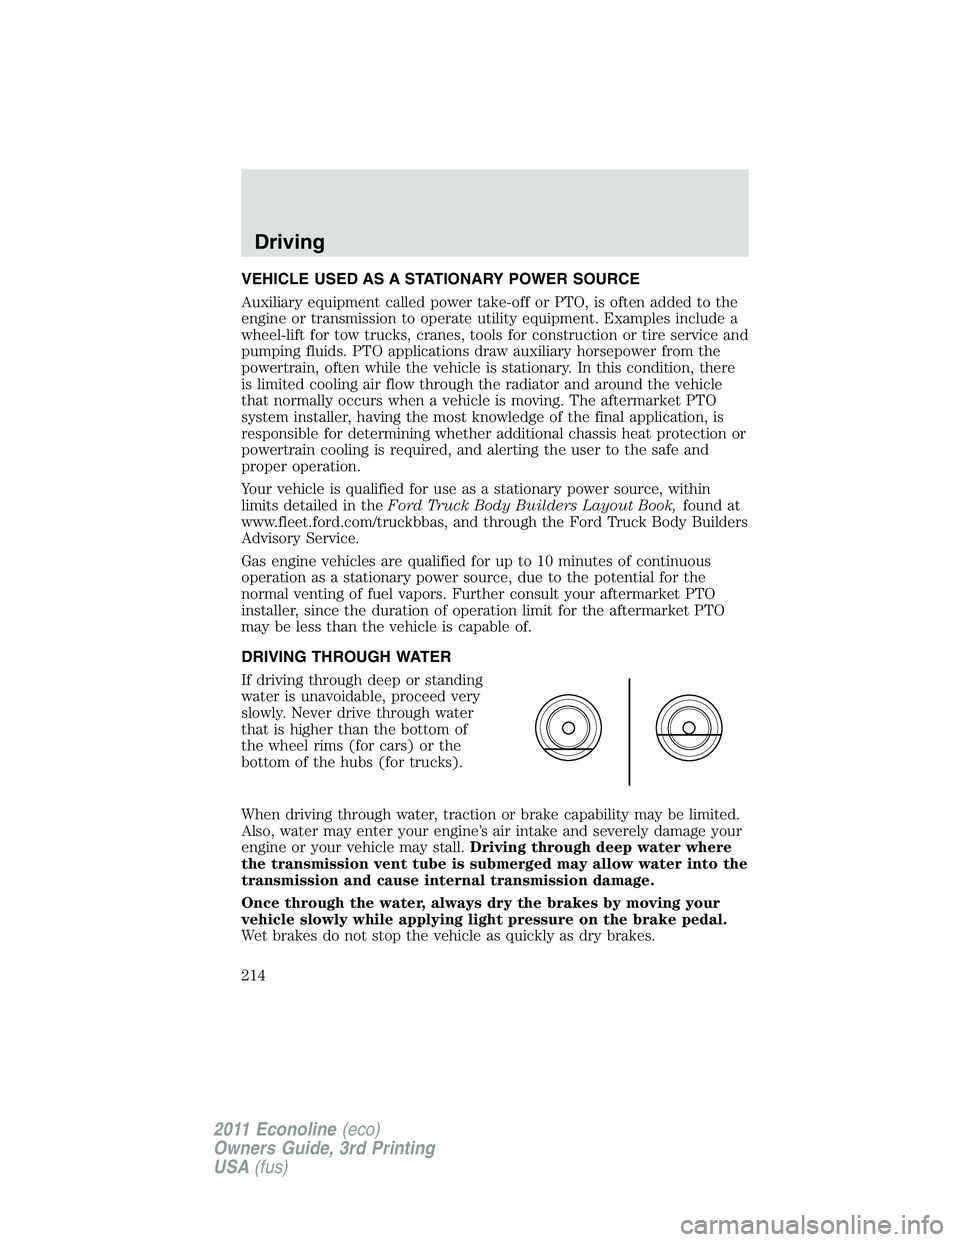
If driving through deep or standing
water is unavoidable, proceed very
slowly. Never drive through water
that is higher than the bottom of
the wheel rims (for cars) or the
bottom of the hubs (for trucks).
When driving through water, traction or brake capability may be limited.
Also, water may enter your engine’s air intake and severely damage your
engine or your vehicle may stall.Driving through deep water where
the transmission vent tube is submerged may allow water into the
transmission and cause internal transmission damage.
Once through the water, always dry the brakes by moving your
vehicle slowly while applying light pressure on the brake pedal.
Wet brakes do not stop the vehicle as quickly as dry brakes.
Driving
214
2011 Econoline(eco)
Owners Guide, 3rd Printing
USA(fus)
Page 226 of 339

Fuse/Relay
LocationFuse Amp
RatingProtected Circuits
72 20A** Cigar lighter
73 — Not used
74 30A** Power seat
75 20A* Vehicle power (VPWR) 1, PCM
power
76 20A* VPWR 2, PCM – emission related
powertrain components
77 10A* VPWR 3, PCM – general
powertrain components
78 15A* VPWR 4, Fuel pump relay coil
79 10A* VPWR 5, Transmission
80 10A* Cluster run/start (stripped
chassis)
81 — Not used
82 — Not used
83 — Fuel pump (diode)
84 — Not used
85 HC Micro relay Upfitter #1
* Mini fuses ** A1S fuses
CHANGING THE TIRES
If you get a flat tire while driving, do not apply the brake heavily.
Instead, gradually decrease your speed. Hold the steering wheel firmly
and slowly move to a safe place on the side of the road.
Note:If your vehicle is equipped with the tire pressure monitoring
system (TPMS), the indicator light will illuminate when the spare tire is
in use. To restore the full functionality of the monitoring system, all road
wheels equipped with tire pressure monitoring sensors must be mounted
on the vehicle.
If your vehicle is equipped with TPMS, have a flat serviced by an
authorized dealer in order to prevent damage to the TPMS sensors, refer
toTire pressure monitoring system (TPMS)in theTires, Wheels and
Loadingchapter. Replace the spare tire with a road tire as soon as
possible. During repairing or replacing of the flat tire, have the
authorized dealer inspect the TPMS sensor for damage.
Roadside Emergencies
226
2011 Econoline(eco)
Owners Guide, 3rd Printing
USA(fus)
Page 230 of 339

3. Remove the jack handle from the
right side compartment and insert
the tip of the jack handle through
the access hole and into the tube.
4. Turn the jack handle
counterclockwise until the cable is
slack and the tire can be slid from
under the vehicle.
5. Remove the retainer from the
spare tire.
To stow the cable retainer with the spare removed, turn the jack handle
clockwise until all slack is removed.
Tire change procedure
WARNING:To help prevent the vehicle from moving when you
change a tire, be sure the parking brake is set, then block (in
both directions) the wheel that is diagonally opposite (other side and
end of the vehicle) to the tire being changed.
WARNING:If the vehicle slips off the jack, you or someone else
could be seriously injured.
WARNING:Do not attempt to change a tire on the side of the
vehicle close to moving traffic. Pull far enough off the road to
avoid the danger of being hit when operating the jack or changing the
wheel.
Note:Passengers should not remain in the vehicle when the vehicle is
being jacked.
1. Block the wheel that is diagonally opposite the tire you are changing.
On E-450 vehicles, the parking brake is on the transmission. Therefore,
the vehicle will not be prevented from moving when a rear wheel is
lifted, even if the parking brake is applied. Be sure to block both
directions of the wheel that is diagonally opposite to the wheel that is
being lifted.
Roadside Emergencies
230
2011 Econoline(eco)
Owners Guide, 3rd Printing
USA(fus)
Page 231 of 339

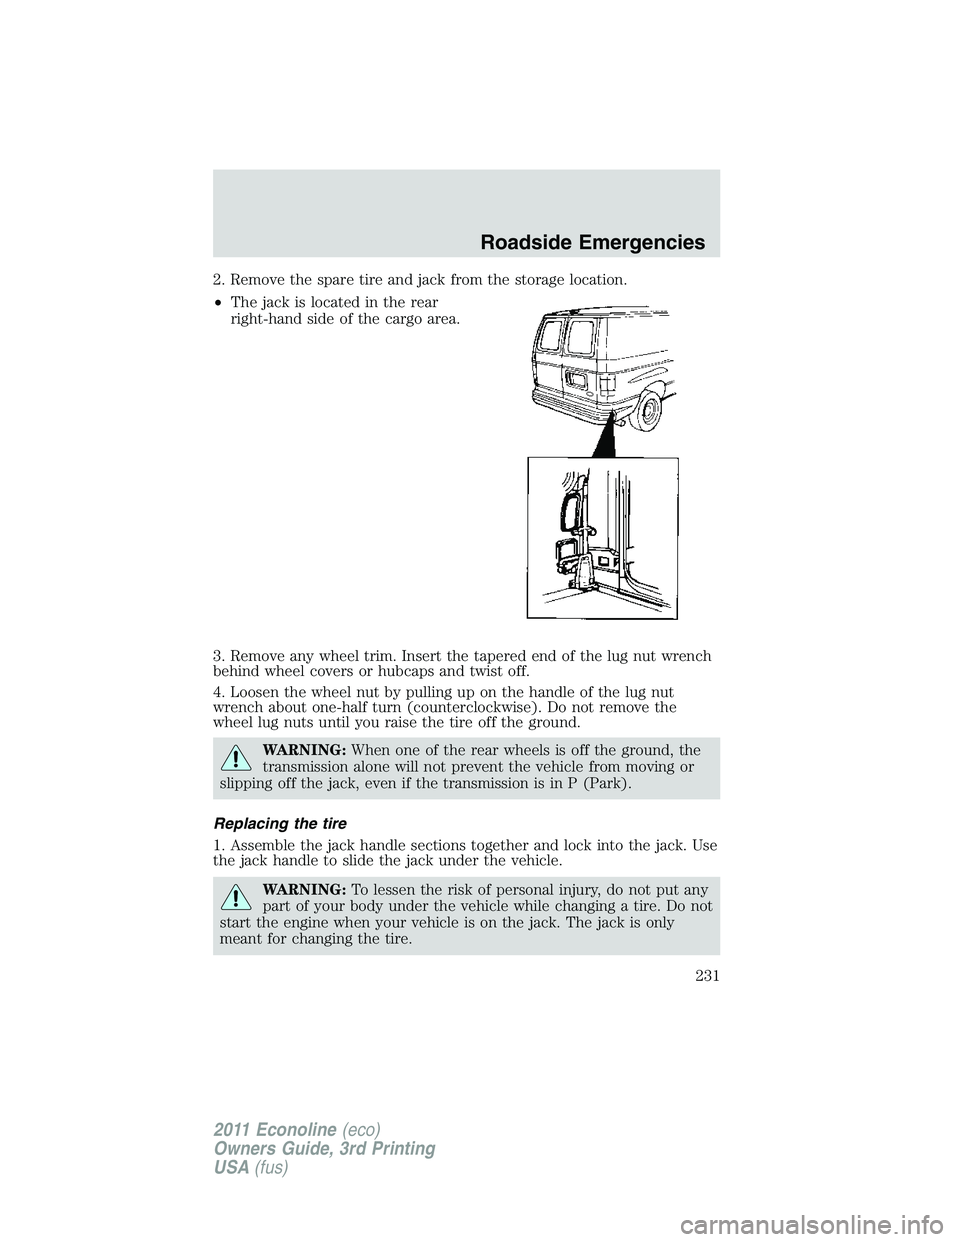
2. Remove the spare tire and jack from the storage location.
•The jack is located in the rear
right-hand side of the cargo area.
3. Remove any wheel trim. Insert the tapered end of the lug nut wrench
behind wheel covers or hubcaps and twist off.
4. Loosen the wheel nut by pulling up on the handle of the lug nut
wrench about one-half turn (counterclockwise). Do not remove the
wheel lug nuts until you raise the tire off the ground.
WARNING:When one of the rear wheels is off the ground, the
transmission alone will not prevent the vehicle from moving or
slipping off the jack, even if the transmission is in P (Park).
Replacing the tire
1. Assemble the jack handle sections together and lock into the jack. Use
the jack handle to slide the jack under the vehicle.
WARNING:To lessen the risk of personal injury, do not put any
part of your body under the vehicle while changing a tire. Do not
start the engine when your vehicle is on the jack. The jack is only
meant for changing the tire.
Roadside Emergencies
231
2011 Econoline(eco)
Owners Guide, 3rd Printing
USA(fus)
Page 236 of 339

WARNING:When a wheel is installed, always remove any
corrosion, dirt or foreign materials present on the mounting
surfaces of the wheel or the surface of the wheel hub, brake drum or
brake disc that contacts the wheel. Ensure that any fasteners that
attach the rotor to the hub are secured so they do not interfere with
the mounting surfaces of the wheel. Installing wheels without correct
metal-to-metal contact at the wheel mounting surfaces can cause the
wheel nuts to loosen and the wheel to come off while the vehicle is in
motion, resulting in loss of control.
Note:Inspect the wheel pilot hole
prior to installation. If there is
visible corrosion in wheel pilot hole,
remove loose particles by wiping
with clean rag and apply grease.
Apply grease only to the wheel pilot
hole surface by smearing a “dime”
(1 square cm) sized glob of grease
around the wheel pilot surface (1)
with end of finger. DO NOT apply
grease to lugnut/stud holes or
wheel-to-brake surfaces.
JUMP STARTING
WARNING:The gases around the battery can explode if
exposed to flames, sparks, or lit cigarettes. An explosion could
result in injury or vehicle damage.
WARNING:Batteries contain sulfuric acid which can burn skin,
eyes and clothing, if contacted.
Do not attempt to push-start your automatic transmission
vehicle. Automatic transmissions do not have push-start
capability. Attempting to push-start a vehicle with an automatic
transmission may cause transmission damage.
Roadside Emergencies
236
2011 Econoline(eco)
Owners Guide, 3rd Printing
USA(fus)