Page 235 of 339
4. Check that the tire lies flat against the frame and is properly
tightened. Try to push or pull, then turn the tire to be sure it will not
move. Loosen and retighten, if necessary. Failure to properly stow the
spare tire may result in failure of the winch cable and loss of the tire.
5. Repeat this tightness check procedure when servicing the spare tire
pressure (every six months, as per yourscheduled maintenance
information),or at any time that the spare tire is disturbed through
service of other components.
6. If removed, install the spare tire lock (if equipped) into the bumper
drive tube with the spare tire lock key (if equipped) and jack handle.
WHEEL LUG NUT TORQUE SPECIFICATIONS
On vehicles equipped with single rear wheels, retighten the lug nuts to
the specified torque at 100 miles (160 km) after any wheel disturbance
(tire rotation, changing a flat tire, wheel removal, etc.).
On vehicles equipped with dual rear wheels, retighten the wheel lug nuts
to the specified torque at 100 miles (160 km), and again at 500 miles
(800 km) of new vehicle operation and after any wheel disturbance (tire
rotation, changing a flat tire, wheel removal, etc.).
Bolt size and wheel
lug nut typeWheel lug nut torque*
ft-lb N•m
9/16 x 18 conical lug
nut150 200
9/16 x 18 two-piece
lug nut140 190
* Torque specifications are for nut and bolt threads free of dirt and
rust. Use only Ford recommended replacement fasteners.
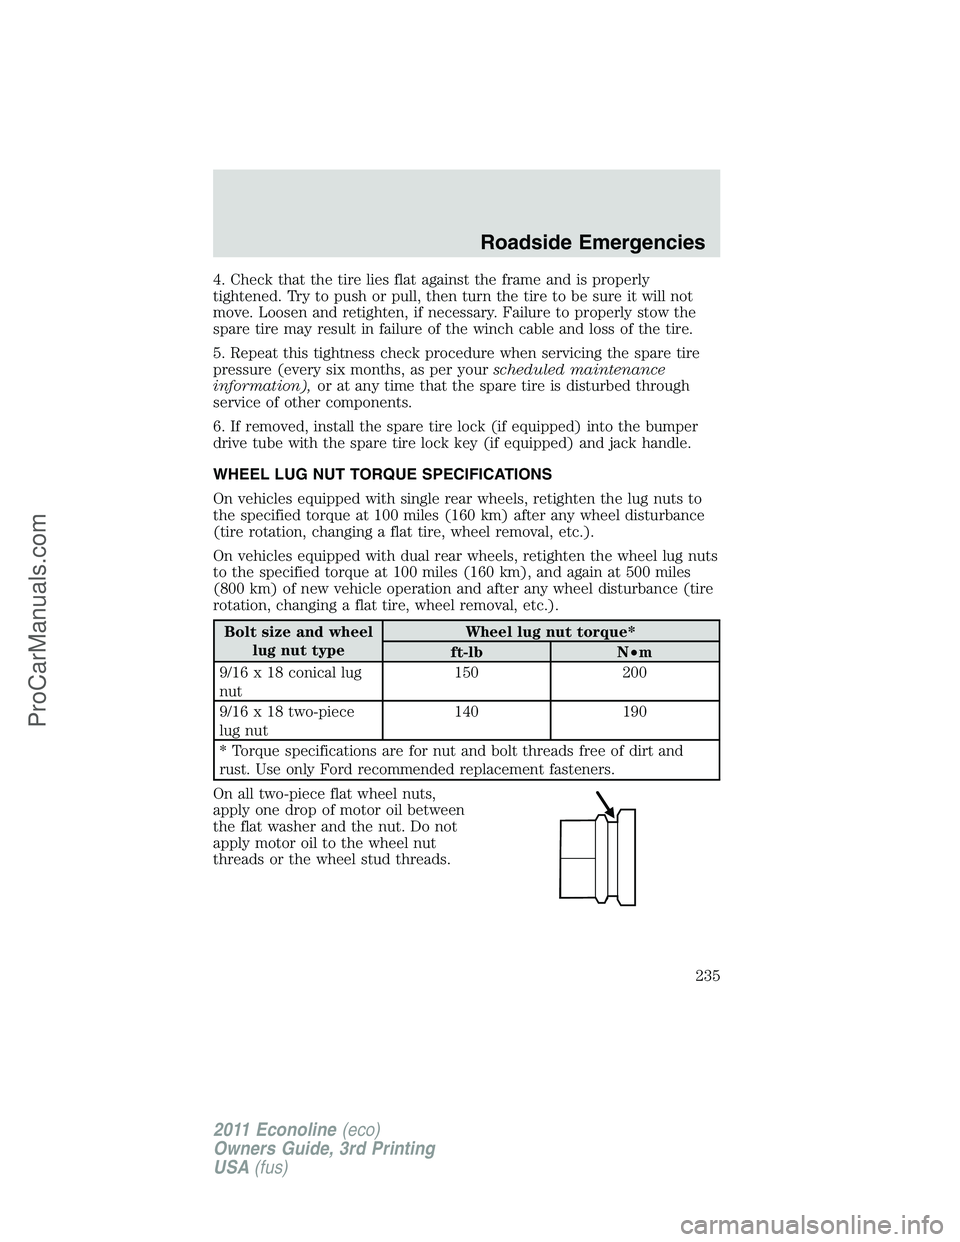
On all two-piece flat wheel nuts,
apply one drop of motor oil between
the flat washer and the nut. Do not
apply motor oil to the wheel nut
threads or the wheel stud threads.
Roadside Emergencies
235
2011 Econoline(eco)
Owners Guide, 3rd Printing
USA(fus)
ProCarManuals.com
Page 242 of 339
GETTING THE SERVICES YOU NEED
Warranty repairs to your vehicle must be performed by an authorized
dealer. While any authorized dealer handling your vehicle line will
provide warranty service, we recommend you return to your selling
authorized dealer who wants to ensure your continued satisfaction.
Please note that certain warranty repairs require special training and/or
equipment, so not all authorized dealers are authorized to perform all
warranty repairs. This means that, depending on the warranty repair
needed, you may have to take your vehicle to another authorized dealer.
A reasonable time must be allowed to perform a repair after taking your
vehicle to the authorized dealer. Repairs will be made using Ford or
Motorcraft�parts, or remanufactured or other parts that are authorized
by Ford.
Away from home
If you are away from home when your vehicle needs service, contact the
Ford Customer Relationship Center or use the online resources listed
below to find the nearest authorized dealer.
In the United States:
Mailing Address
Ford Motor Company
Customer Relationship Center
P.O. Box 6248
Dearborn, MI 48121
Telephone
1-800-392-3673 (FORD)
(TDD for the hearing impaired: 1-800-232-5952
Online
Additional information and resources are available online at
www.genuineservice.com.
•U.S. dealer locator by Dealer Name, City/State, or Zip Code
•Owner Guides
•Maintenance Schedules
•Recalls
•Ford Extended Service Plans
•Ford Genuine Accessories
•Service specials and promotions.
Customer Assistance
242
2011 Econoline(eco)
Owners Guide, 3rd Printing
USA(fus)
ProCarManuals.com
Page 256 of 339
WARNING:Do not use cleaning solvents, bleach or dye on the
vehicle’s seatbelts, as these actions may weaken the belt
webbing.
LEATHER SEATS
(IF EQUIPPED, EXCEPT FOR THE KING RANCH�EDITION)
For King Ranch�leather seats, refer to a separate section in this
chapter.
•Clean spills and stains as quickly as possible.
•For routine cleaning, wipe the surface with a soft, damp cloth. For
more thorough cleaning, wipe the surface with a mild soap and water
solution. In Canada, use Motorcraft�Vinyl Cleaner (CXC-93). Dry the
area with a soft cloth.
•If the leather cannot be completely cleaned using a mild soap and
water solution, the leather may be cleaned using a commercially
available leather cleaning product designed for automotive interiors.
•To check for compatibility, first test any cleaner or stain remover on
an inconspicuous part of the leather.
•Do not use household cleaning products, alcohol solutions, solvents or
cleaners intended for rubber, vinyl and plastics, or oil/petroleum-based
leather conditioners. These products may cause premature wearing or
damage to the leather.
LEATHER SEATS FOR THE KING RANCH�EDITION ONLY
(IF EQUIPPED)
Your vehicle is equipped with seating covered in premium, top-grain
leather which is extremely durable, but still requires special care and
maintenance in order to ensure longevity and comfort.
Regular cleaning and conditioning will maintain the appearance of the
leather.
Cleaning
For dirt, use a vacuum cleaner then use a clean, damp cloth or soft
brush.
For routine cleaning, wipe the surface with a soft, damp cloth. For more
thorough cleaning, wipe the surface with a mild soap and water solution.
•Clean spills as quickly as possible.
•Test any cleaner or stain remover on an inconspicuous part of the
leather as cleaners may darken the leather.
Cleaning
256
2011 Econoline(eco)
Owners Guide, 3rd Printing
USA(fus)
ProCarManuals.com
Page 259 of 339

SERVICE RECOMMENDATIONS
To help you service your vehicle, we providescheduled maintenance
informationwhich makes tracking routine service easy.
If your vehicle requires professional service, your authorized dealer can
provide the necessary parts and service. Check yourWarranty Guideto
find out which parts and services are covered.
Use only recommended fuels, lubricants, fluids and service parts
conforming to specifications. Motorcraft�parts are designed and built to
provide the best performance in your vehicle.
PRECAUTIONS WHEN SERVICING YOUR VEHICLE
•Do not work on a hot engine.
•Make sure that nothing gets caught in moving parts.
•Do not work on a vehicle with the engine running in an enclosed
space, unless you are sure you have enough ventilation.
•Keep all open flames and other burning material (such as cigarettes)
away from the battery and all fuel related parts.
Working with the engine off
1. Set the parking brake and ensure the gearshift is securely latched in P
(Park).
2. Turn off the engine and remove the key.
3. Block the wheels to prevent the vehicle from moving unexpectedly.
Working with the engine on
1. Set the parking brake and shift to P (Park).
2. Block the wheels.
WARNING:To reduce the risk of vehicle damage and/or
personal burn injuries, do not start your engine with the air
cleaner removed and do not remove it while the engine is running.
Maintenance and Specifications
259
2011 Econoline(eco)
Owners Guide, 3rd Printing
USA(fus)
ProCarManuals.com
Page 260 of 339
OPENING THE HOOD
1. Inside the vehicle, pull the hood
release handle located under the
bottom left corner of the instrument
panel.
2. Go to the front of the vehicle and push the auxiliary latch, located in
the center top of the grille, to the left to release the hood.
3. Lift the hood and secure it with the prop rod.
HOOD
Maintenance and Specifications
260
2011 Econoline(eco)
Owners Guide, 3rd Printing
USA(fus)
ProCarManuals.com
Page 261 of 339
IDENTIFYING COMPONENTS IN THE ENGINE COMPARTMENT
1. Battery
2. Windshield washer fluid reservoir
3. Engine oil filler cap
4. Automatic transmission fluid dipstick
5. Air filter assembly
6. Engine oil dipstick
7. Power steering fluid reservoir
8. Brake fluid reservoir
9. Engine coolant reservoir
10. Power distribution box
13
4
567
89210
Maintenance and Specifications
261
2011 Econoline(eco)
Owners Guide, 3rd Printing
USA(fus)
ProCarManuals.com
Page 262 of 339
WINDSHIELD WASHER FLUID
Add fluid to fill the reservoir if the
level is low. In very cold weather, do
not fill the reservoir completely.
Only use a washer fluid that meets
Ford specifications. Do not use any
special washer fluid such as
windshield water repellent type fluid
or bug wash. They may cause
squeaking, chatter noise, streaking and smearing. Refer toMaintenance
product specifications and capacitiesin this chapter.
State or local regulations on volatile organic compounds may restrict the
use of methanol, a common windshield washer antifreeze additive.
Washer fluids containing non-methanol antifreeze agents should be used
only if they provide cold weather protection without damaging the
vehicle’s paint finish, wiper blades or washer system.
WARNING:If you operate your vehicle in temperatures below
40°F (5°C), use washer fluid with antifreeze protection. Failure
to use washer fluid with antifreeze protection in cold weather could
result in impaired windshield vision and increase the risk of injury or
accident.
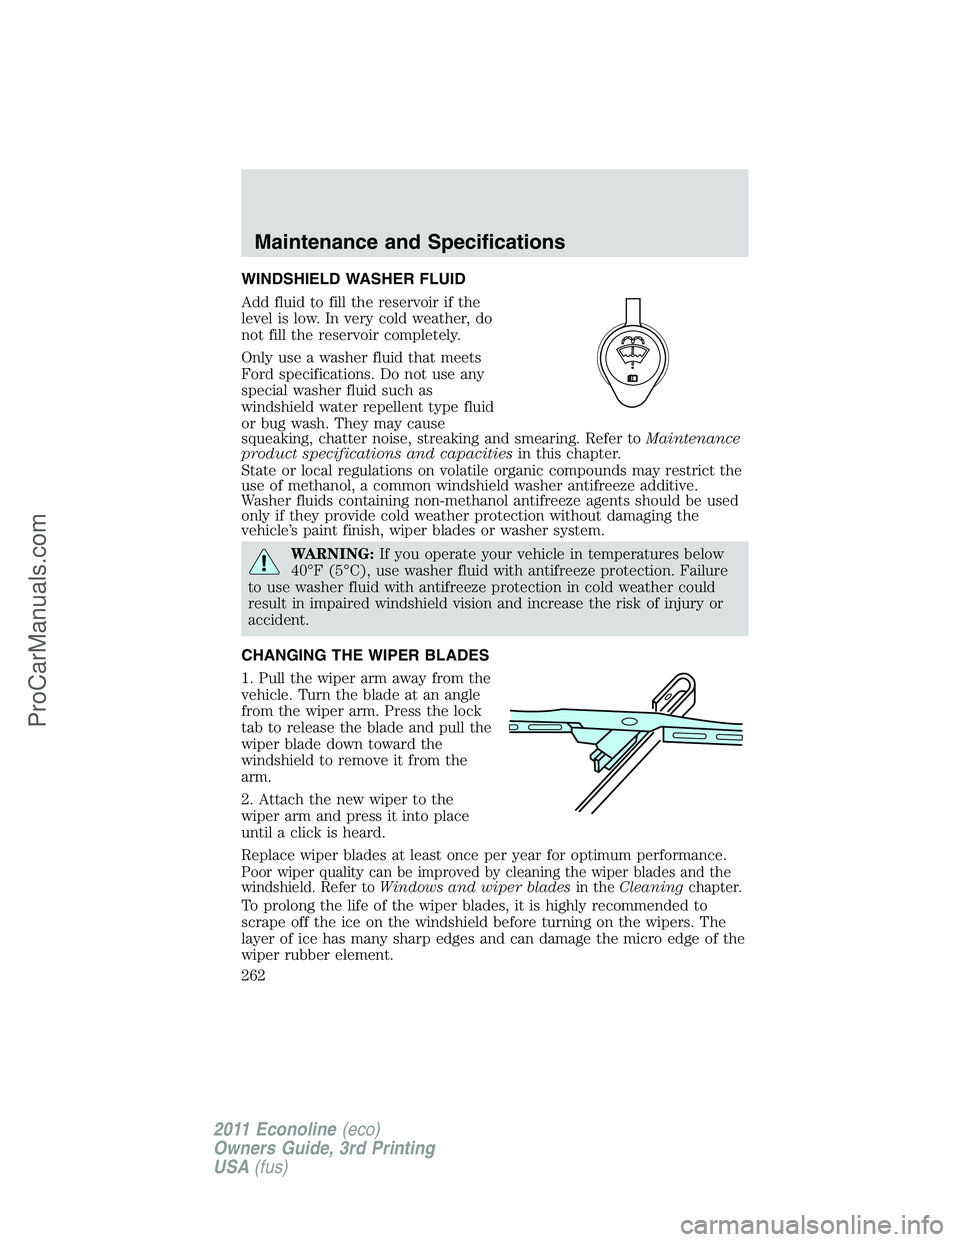
CHANGING THE WIPER BLADES
1. Pull the wiper arm away from the
vehicle. Turn the blade at an angle
from the wiper arm. Press the lock
tab to release the blade and pull the
wiper blade down toward the
windshield to remove it from the
arm.
2. Attach the new wiper to the
wiper arm and press it into place
until a click is heard.
Replace wiper blades at least once per year for optimum performance.
Poor wiper quality can be improved by cleaning the wiper blades and the
windshield. Refer toWindows and wiper bladesin theCleaningchapter.
To prolong the life of the wiper blades, it is highly recommended to
scrape off the ice on the windshield before turning on the wipers. The
layer of ice has many sharp edges and can damage the micro edge of the
wiper rubber element.
Maintenance and Specifications
262
2011 Econoline(eco)
Owners Guide, 3rd Printing
USA(fus)
ProCarManuals.com
Page 263 of 339
ENGINE OIL
Checking the engine oil
Refer to thescheduled maintenance informationfor the appropriate
intervals for checking the engine oil.
1. Make sure the vehicle is on level ground.
2. Turn the engine off and wait 15 minutes for the oil to drain into the
oil pan.
3. Set the parking brake and ensure the gearshift is securely latched in P
(Park).
4. Open the hood. Protect yourself from engine heat.
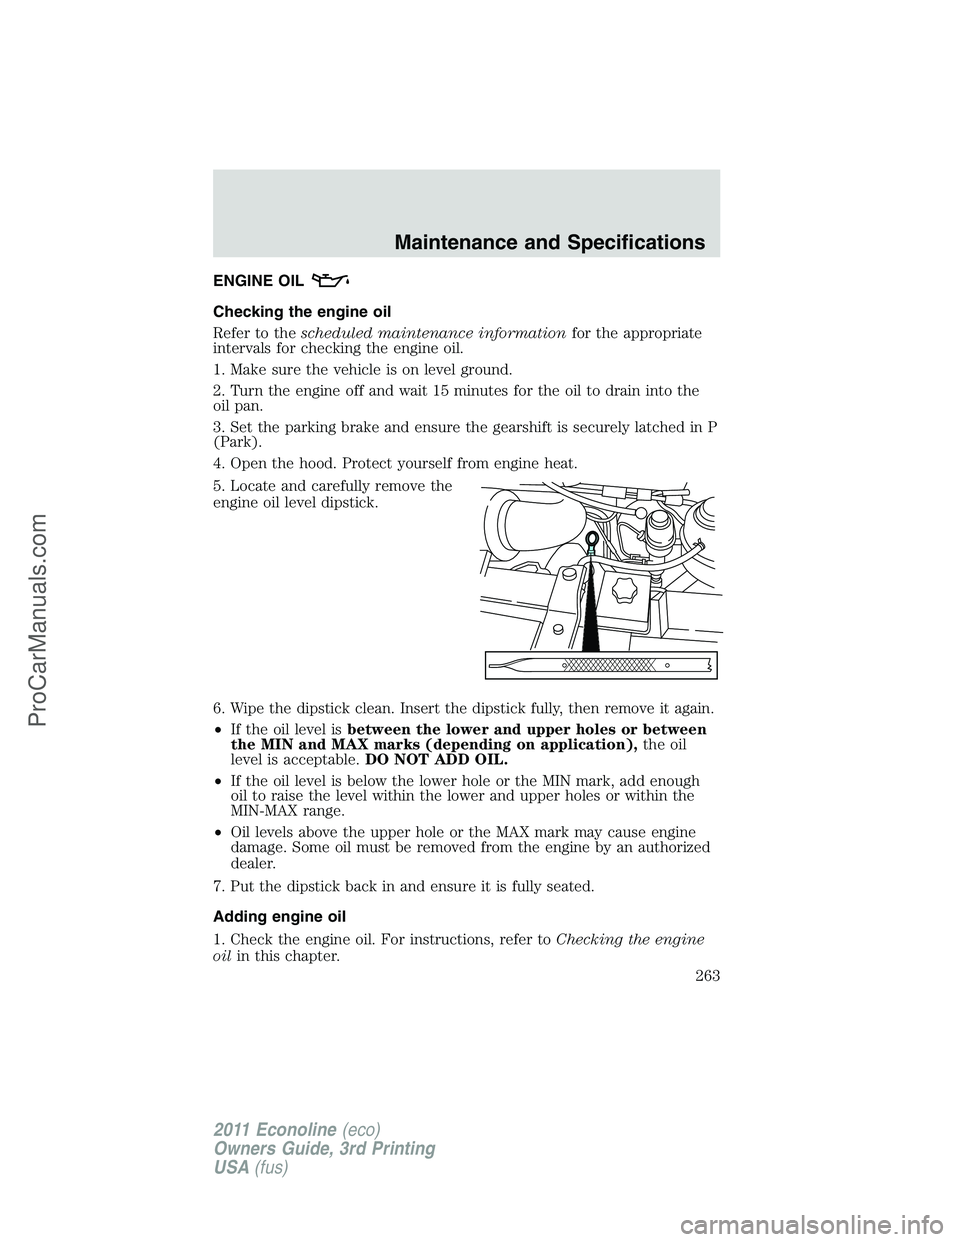
5. Locate and carefully remove the
engine oil level dipstick.
6. Wipe the dipstick clean. Insert the dipstick fully, then remove it again.
•If the oil level isbetween the lower and upper holes or between
the MIN and MAX marks (depending on application),the oil
level is acceptable.DO NOT ADD OIL.
•If the oil level is below the lower hole or the MIN mark, add enough
oil to raise the level within the lower and upper holes or within the
MIN-MAX range.
•Oil levels above the upper hole or the MAX mark may cause engine
damage. Some oil must be removed from the engine by an authorized
dealer.
7. Put the dipstick back in and ensure it is fully seated.
Adding engine oil
1. Check the engine oil. For instructions, refer toChecking the engine
oilin this chapter.
Maintenance and Specifications
263
2011 Econoline(eco)
Owners Guide, 3rd Printing
USA(fus)
ProCarManuals.com