2011 FORD C MAX speaker
[x] Cancel search: speakerPage 232 of 296

Downloaded from www.Manualslib.com manuals search engine AUTOMATIC VOLUME
CONTROL
When available, automatic volume control
(AVC) adjusts the volume level to
compensate for engine noise and road
speed noise.
1. Press the MENU button and select
AUDIO.
2. Select AVC LEVEL or ADAPTIVE VOL.
3. Use the left or right arrow button to adjust the setting.
4. Press the OK button to confirm your selection.
5. Press the MENU button to return.
DIGITAL SIGNAL PROCESSING
(DSP)
DSP occupancy
This feature takes into account the
differences in distance from the various
speakers in the vehicle to each seat. Select
the sitting position for which the audio is
to be correctly enhanced.
DSP equaliser
Select the music category that most suits
your listening preference. The audio output
will change to enhance the particular style
of music chosen.
Changing the DSP settings
1. Press the MENU button.
2. Select AUDIO or AUDIO SETTINGS.
3. Scroll to the required DSP function.
4. Use the up and down arrow buttons to
select the required setting.
5. Press the OK button to confirm your selection.
6. Press the MENU button to return. NEWS BROADCASTS
Some audio units interrupt normal
reception to broadcast news bulletins from
stations on the FM waveband or radio data
system (RDS) and enhanced other
network (EON) linked stations, in the same
way as traffic information is provided.
During news broadcasts, the display will
indicate there is an incoming
announcement. News interrupts are
broadcast at the same preset volume level
as traffic announcements.
1. Press the MENU button.
2. Select AUDIO or AUDIO SETTINGS.
3.
Scroll to NEWS and turn on or off with
the OK button.
4. Press the MENU button to return.
ALTERNATIVE FREQUENCIES
Many programmes that broadcast on the
FM waveband have a programme
identification (PI) code, which can be
recognised by audio units.
If your radio has alternative frequencies
(AF) tuning switched on and you move
from one transmission area to another, this
facility will search for and switch to a
stronger station signal, if one can be found.
Under certain conditions, however, AF
tuning may temporarily disrupt normal
reception.
When selected, the unit continually
evaluates signal strength and, if a better
signal becomes available, the unit will
switch to that alternative. It mutes while
it checks a list of alternative frequencies
and, if necessary, it will search once across
the selected waveband for a genuine
alternative frequency.
230
Audio unit menus
Page 237 of 296

Downloaded from www.Manualslib.com manuals search engine Note:
For optimum performance when
using any auxiliary device set the volume on
the device high. This will reduce audio
interference when charging the device via
the vehicle power supply socket.
When fitted the Auxiliary input (AUX IN)
socket permits an auxiliary device, such as
an MP3 player, to be linked into the vehicle
audio system. Output can be played
through the vehicle speakers.
To connect an auxiliary device, plug it into
the AUX IN socket using a 3.5 mm
conventional audio jack connector.
Select the auxiliary input via the AUX
button and playback will be heard through
the vehicle speakers. LINE IN or LINE IN
ACTIVE will appear in the vehicle audio
unit display. Volume, treble and bass can
be adjusted on the vehicle audio unit as
normal.
The vehicle audio unit buttons can also be
used to restore playback from the vehicle
audio unit, while the auxiliary device
remains connected.
235
Auxiliary input (AUX IN) socket
Page 267 of 296

Downloaded from www.Manualslib.com manuals search engine 2.
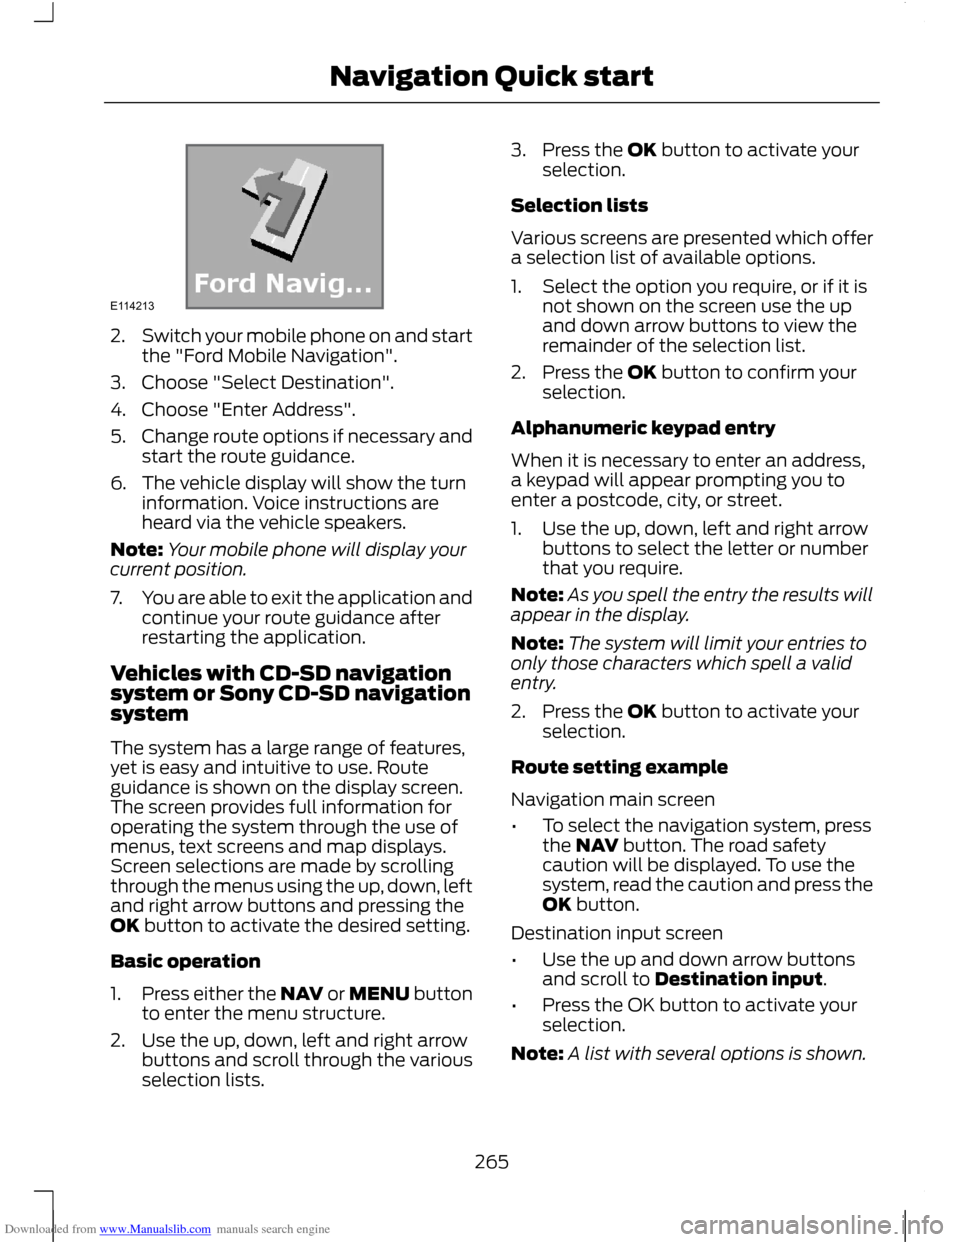
Switch your mobile phone on and start
the "Ford Mobile Navigation".
3. Choose "Select Destination".
4. Choose "Enter Address".
5. Change route options if necessary and
start the route guidance.
6. The vehicle display will show the turn information. Voice instructions are
heard via the vehicle speakers.
Note: Your mobile phone will display your
current position.
7. You are able to exit the application and
continue your route guidance after
restarting the application.
Vehicles with CD-SD navigation
system or Sony CD-SD navigation
system
The system has a large range of features,
yet is easy and intuitive to use. Route
guidance is shown on the display screen.
The screen provides full information for
operating the system through the use of
menus, text screens and map displays.
Screen selections are made by scrolling
through the menus using the up, down, left
and right arrow buttons and pressing the
OK button to activate the desired setting.
Basic operation
1. Press either the NAV or MENU button
to enter the menu structure.
2. Use the up, down, left and right arrow buttons and scroll through the various
selection lists. 3. Press the OK button to activate your
selection.
Selection lists
Various screens are presented which offer
a selection list of available options.
1. Select the option you require, or if it is not shown on the screen use the up
and down arrow buttons to view the
remainder of the selection list.
2. Press the OK button to confirm your selection.
Alphanumeric keypad entry
When it is necessary to enter an address,
a keypad will appear prompting you to
enter a postcode, city, or street.
1. Use the up, down, left and right arrow buttons to select the letter or number
that you require.
Note: As you spell the entry the results will
appear in the display.
Note: The system will limit your entries to
only those characters which spell a valid
entry.
2. Press the OK button to activate your selection.
Route setting example
Navigation main screen
• To select the navigation system, press
the NAV button. The road safety
caution will be displayed. To use the
system, read the caution and press the
OK button.
Destination input screen
• Use the up and down arrow buttons
and scroll to Destination input.
• Press the OK button to activate your
selection.
Note: A list with several options is shown.
265
Navigation Quick startE114213
Page 275 of 296

Downloaded from www.Manualslib.com manuals search engine Special functions
This feature allows you to select GPS and
system information or a demonstration of
the system functionality.
Map display
This feature allows you to change the way
the map screen is displayed (for example
clean 2D and clean 3D view) and to
customise display information for your
journey (for example time to arrival and
lane guidance).
Assistance options
This feature allows you to customise
display information for your journey (for
example signs, lanes and speed limits).
Personal data
This feature allows you to edit and delete
personal data (for example your home
address).
Reset all settings
This feature allows you to reset the
navigation settings.
Menu structure - Information and
entertainment display - All
vehicles
Audio settings
Adaptive volume
This feature allows you to adjust the
volume level to compensate for engine and
road speed noise. You can turn this on and
off.
Sound
This feature allows you to adjust the sound
settings (for example bass and treble.
Nav audio mixing
This feature allows you to adjust the
volume mix between the navigation voice
output and audio source.
DSP settings
This feature allows you to customise
speaker output relevant to seat positions.
DSP equaliser
This feature allows you to select the music
category that most suits your listening
preference. The audio output will change
to enhance the particular style of music
chosen.
News
This feature allows you to receive news
bulletins from stations on the FM
waveband or radio data system (RDS) and
enhanced other network (EON) linked
stations, in the same way as traffic
information is provided. You can turn this
on and off.
Alternative frequencies
This feature will search for and switch to
the strongest station signal when moving
from one transmission area to another.
RDS regional
This feature controls the behaviour of AF
switching between regionally related
networks of a parent broadcaster.
DAB service link
This feature allows you to select stations
that are broadcast on the DAB channels.
Bluetooth
This feature allows you to switch
Bluetooth on or off.
273
System settings
Page 283 of 296

Downloaded from www.Manualslib.com manuals search engine Certificate for United Arab
Emirates
ELECTROMAGNETIC
COMPATIBILITY
WARNINGS
Your vehicle has been tested and
certified to legislations relating to
electromagnetic compatibility
(72/245/EEC, UN ECE Regulation 10 or
other applicable local requirements). It is
your responsibility to ensure that any
equipment you have fitted complies with
applicable local legislations. Have any
equipment fitted by properly trained
technicians. WARNINGS
The RF (radio frequency) transmitter
equipment (e.g. cellular telephones,
amateur radio transmitters etc.) may
only be fitted to your vehicle if they comply
with the parameters shown in the table
below. There are no special provisions or
conditions for installations or use. Do not mount any transceiver,
microphones, speakers, or any other
item in the deployment path of the
airbag system. Do not fasten antenna cables to
original vehicle wiring, fuel pipes and
brake pipes.
Keep antenna and power cables at
least 10 centimetres (4 inches) from
any electronic modules and airbags.
281
AppendicesE125209 E859981234