2011 DODGE JOURNEY rear entertainment
[x] Cancel search: rear entertainmentPage 3 of 108

INTRODUCTION/WELCOMEWelcome From Chrysler Group LLC....2
CONTROLS AT A GLANCEDriver Cockpit...............4
Instrument Cluster .............6
GETTING STARTEDKeyFob...................8
Remote Start................8
Keyless Enter-N-Go .............9
Theft Alarm ................11
Seat Belt .................12
Supplemental Restraint System (SRS) —
Air Bags ..................13
Child Restraints .............14
Front Seats ................17
Rear Seats ................19
Heated Seats ...............21
Tilt / Telescoping Steering Column ....23
OPERATING YOUR VEHICLETurn Signal/Wiper/Washer/High Beam
Lever...................24
Headlight Switch .............25
Speed Control ..............26
Climate Control ..............27
Parkview
®Rear Back-Up Camera ....30
Power Sunroof ..............30
Wind Buffeting ..............31
ELECTRONICSYour Vehicle's Sound System ......32
Identifying Your Radio ..........34
Uconnect Touch™ 4.3 & 4.3S At A
Glance ..................35
Uconnect Touch™ 8.4 & 8.4N At A
Glance ..................36
Radio ...................38
Sirius Satellite Radio ...........39
Player ...................42
Garmin
®Navigation (8.4N Only) ....43
Sirius Travel Link (8.4N Only) ......47
Playing iPod/USB/MP3 Devices .....48
Uconnect™ Phone (Bluetooth
®Hands
Free Calling) ...............49
Uconnect™ Voice Command
(8.4 & 8.4N Only) ............54
Video Entertainment System (VES)™ . . 55 Electronic Vehicle Information Center
(EVIC)
...................57
Programmable Features .........58
Universal Garage Door Opener
(HomeLink
®) ...............59
Power Inverter ..............61
Power Outlet ...............61
UTILITY
Trailer Towing Weights (Maximum
Trailer Weight Ratings) ..........63
Recreational Towing (Behind
Motorhome, Etc.) .............64
WHAT TO DO IN EMERGENCIES
24-Hour Towing Assistance .......65
Instrument Cluster Warning Lights . . . 65
If Your Engine Overheats .........69
Jacking And Tire Changing ........70
Jump-Starting ..............74
Shift Lever Override ...........76
Towing A Disabled Vehicle ........77
Freeing A Stuck Vehicle .........78
Event Data Recorder (EDR) .......79
MAINTAINING YOUR VEHICLEOpening The Hood............80
Engine Compartment ...........81
Fluids And Capacities ..........83
Maintenance Chart ............85
Fuses ...................87
Tire Pressures ...............90
Wheel And Wheel Trim Care .......91
Exterior Bulbs ..............91
CONSUMER ASSISTANCEChrysler Group LLC Customer Center . . 92
Chrysler Canada Inc. Customer
Center...................92
Assistance For The Hearing Impaired . . 92
Publications Ordering ..........92
Reporting Safety Defects In The
50 United States And
Washington, D.C. .............93
MOPAR ACCESSORIESAuthentic Accessories By MOPAR®...94
INDEX..................95
TABLE OF CONTENTS
Page 57 of 108

• Use the radio ON/OFF VOLUME rotary knob to adjust the volume to a comfortablelevel while the Voice Command system is speaking. The volume setting for Voice
Command is different than the audio system.
• Refer to the Understand The Features Of Your Vehicle section of your vehicle's Owner's Manual on the DVD for further details.
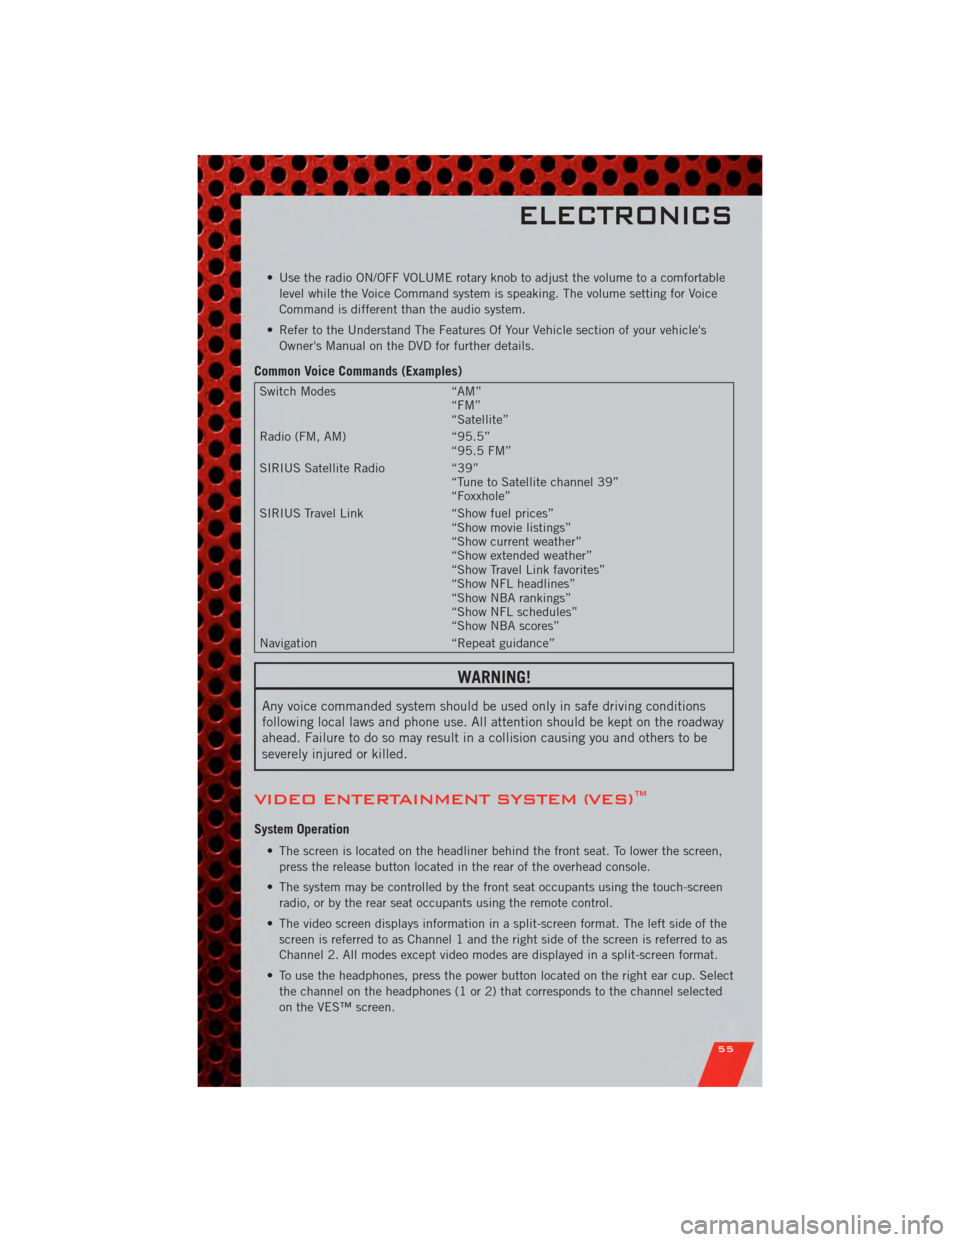
Common Voice Commands (Examples)
Switch Modes “AM”
“FM”
“Satellite”
Radio (FM, AM) “95.5”
“95.5 FM”
SIRIUS Satellite Radio “39”
“Tune to Satellite channel 39”
“Foxxhole”
SIRIUS Travel Link “Show fuel prices”
“Show movie listings”
“Show current weather”
“Show extended weather”
“Show Travel Link favorites”
“Show NFL headlines”
“Show NBA rankings”
“Show NFL schedules”
“Show NBA scores”
Navigation “Repeat guidance”
WARNING!
Any voice commanded system should be used only in safe driving conditions
following local laws and phone use. All attention should be kept on the roadway
ahead. Failure to do so may result in a collision causing you and others to be
severely injured or killed.
VIDEO ENTERTAINMENT SYSTEM (VES)™
System Operation
• The screen is located on the headliner behind the front seat. To lower the screen,
press the release button located in the rear of the overhead console.
• The system may be controlled by the front seat occupants using the touch-screen radio, or by the rear seat occupants using the remote control.
• The video screen displays information in a split-screen format. The left side of the screen is referred to as Channel 1 and the right side of the screen is referred to as
Channel 2. All modes except video modes are displayed in a split-screen format.
• To use the headphones, press the power button located on the right ear cup. Select the channel on the headphones (1 or 2) that corresponds to the channel selected
on the VES™ screen.
ELECTRONICS
55
Page 58 of 108

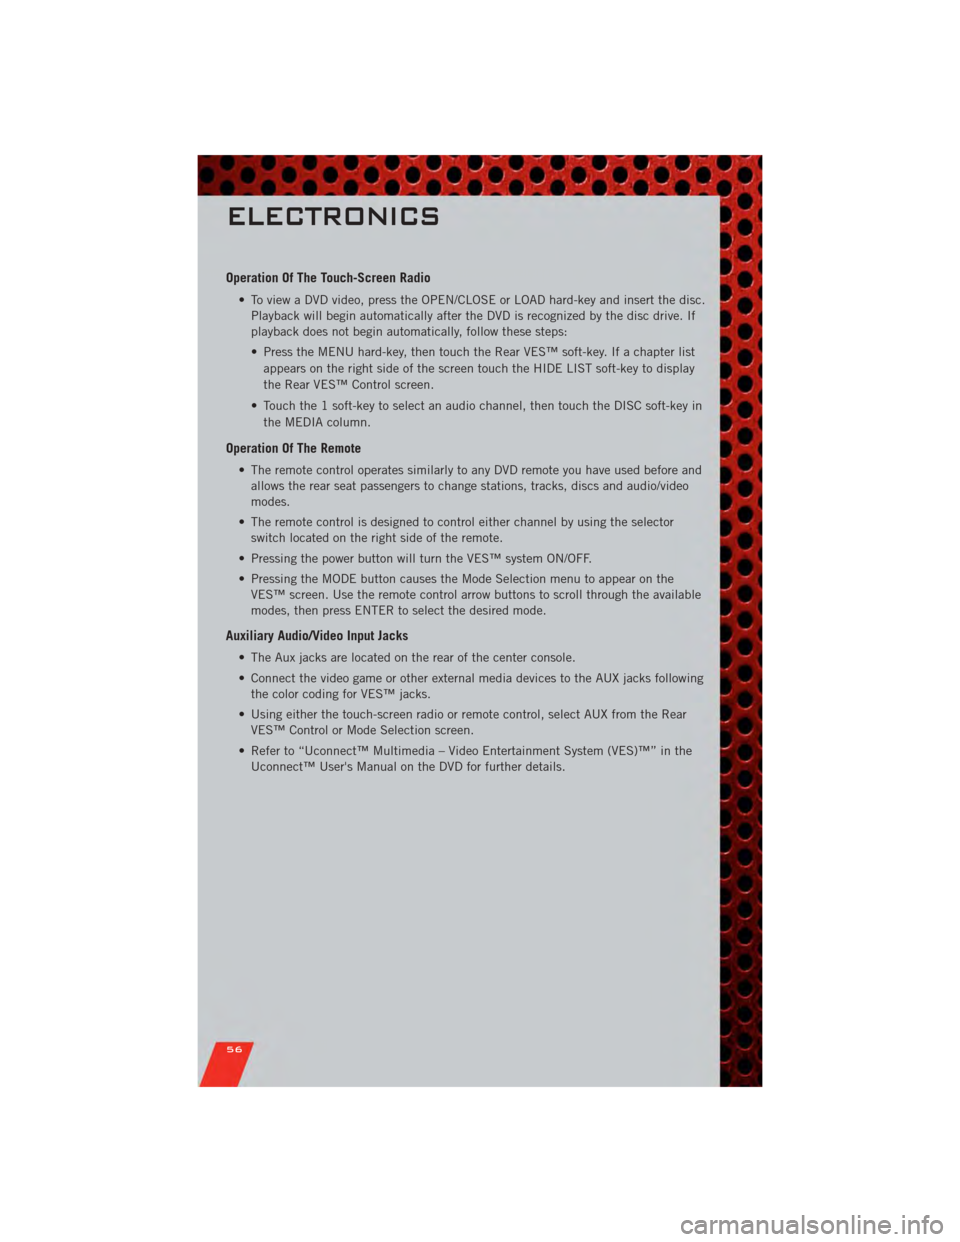
Operation Of The Touch-Screen Radio
• To view a DVD video, press the OPEN/CLOSE or LOAD hard-key and insert the disc.Playback will begin automatically after the DVD is recognized by the disc drive. If
playback does not begin automatically, follow these steps:
• Press the MENU hard-key, then touch the Rear VES™ soft-key. If a chapter list
appears on the right side of the screen touch the HIDE LIST soft-key to display
the Rear VES™ Control screen.
• Touch the 1 soft-key to select an audio channel, then touch the DISC soft-key in the MEDIA column.
Operation Of The Remote
• The remote control operates similarly to any DVD remote you have used before andallows the rear seat passengers to change stations, tracks, discs and audio/video
modes.
• The remote control is designed to control either channel by using the selector switch located on the right side of the remote.
• Pressing the power button will turn the VES™ system ON/OFF.
• Pressing the MODE button causes the Mode Selection menu to appear on the VES™ screen. Use the remote control arrow buttons to scroll through the available
modes, then press ENTER to select the desired mode.
Auxiliary Audio/Video Input Jacks
• The Aux jacks are located on the rear of the center console.
• Connect the video game or other external media devices to the AUX jacks followingthe color coding for VES™ jacks.
• Using either the touch-screen radio or remote control, select AUX from the Rear VES™ Control or Mode Selection screen.
• Refer to “Uconnect™ Multimedia – Video Entertainment System (VES)™” in the Uconnect™ User's Manual on the DVD for further details.
ELECTRONICS
56
Page 91 of 108

Cavity Cartridge Fuse Mini-FuseDescription
M10 15 Amp Blue Vanity Lamps/Hands-Free Module
(HFM) - if equipped, Remote
Display - if equipped, Satellite
Digital Audio Receiver (SDARS) - if
equipped, Universal Garage Door
Opener (UGDO) - if equipped,
Vanity Light, Video Entertainment
System (VES)™ - if equipped
M11 10 Amp Red Automatic Temperature Control
(ATC) - if equipped, Underhood
Light
M12 30 Amp Green Radio, Amplifier (AMP)
M13 20 Amp Yellow Cabin Compartment Node (CCN),
Multifunction Switch/Siren Module,
ITM
M14 20 Amp Yellow (If Equipped) Trailer Tow (BUX)
M15 20 Amp Yellow Auto Dim Rearview Mirror - if
equipped, Infrared Sensor (IR) - if
equipped, Multifunction Switch,
Tire Pressure Monitor System
(TPMS) - if equipped, Transfer Case
Module - if equipped,
M16 10 Amp Red Occupant Restraint Controller
(ORC)/Occupant Classification
Module (OCM)
M17 15 Amp Blue Left Park/Side Marker/Running/Tail
Lights, License Lights
M18 15 Amp Blue Right Park/Side Marker/Running/
Tail Lights
M19 25 Amp Natural Auto Shut Down (ASD) #1 and #2
M20 15 Amp Blue Electronic Vehicle Information
Center (EVIC) - if equipped, Interior
Lighting, Steering Wheel Switches -
if equipped, Switch Bank
M21 20 Amp Yellow Auto Shut Down (ASD) #3
M22 10 Amp Red Right Horn
M23 10 Amp Red Left Horn
M24 25 Amp Natural Rear Wiper
M25 20 Amp Yellow Fuel Pump/Diesel Lift Pump
M26 10 Amp Red Power MIRRORS Switch/Drivers
Window Switch
M27 10 Amp Red Steering Column Lock, Wireless
Ignition Node (WIN)/PEM
M28 10 Amp Red NGC (Powertrain Control
Module)/Transmission Feed (Batt)
MAINTAINING YOUR VEHICLE
89
Page 96 of 108

AUTHENTIC ACCESSORIES BY MOPAR®
• The following highlights just some of the many Authentic Dodge Accessories byMopar featuring a fit, finish, and functionality specifically for your Dodge Journey.
• In choosing Authentic Accessories you gain far more than expressive style, premium protection, or extreme entertainment, you also benefit from enhancing
your vehicle with accessories that have been thoroughly tested and factory-
approved.
• For the full line of Authentic Dodge Accessories by Mopar, visit your local Dodge dealership or online at mopar.com.
CHROME:
• Bodyside Moldings • Fuel Filler Door • Exhaust Tip
EXTERIOR:
• Fog Lights • Sunroof Air Deflector • Front Air Deflector
• Hitch Receiver • Molded Splash Guards
INTERIOR:
• Premium Carpet Floor Mats • Slush Mats
• Door Sill Guards
ELECTRONICS:
• Portable Navigation Systems • Uconnect™ hands-free
Communication with
iPod
®Integration • Sirius Satellite Radio
• iPod®Adapter • Remote Start • DVD Rear Seat Video™
CARRIERS:
• Hitch-mount Bike Carrier • Roof Mount Bike Carrier • Roof Box Cargo Carrier
• Roof Mount Ski and Snowboard Carrier • Roof Mount Water Sports
Carrier • Roof Mount Canoe Carrier
iPod
®is a registered trademark of Apple, Inc.
MOPAR ACCESSORIES
94
Page 99 of 108

Jacking................ 72
Pressure Warning Light ....... 65
Towing .................. 63 24-Hour Towing Assistance ..... 65
Disabled Vehicle ........... 77
Recreational ............. 64
Towing Vehicle Behind a
Motorhome ............... 64
Trailer Towing Trailer and Tongue Weight ..... 63
Trailer Weight .............. 63
Transmission Fluid ................. 83
TurnSignals ............... 24
Uconnect™Phone ........... 49
Uconnect™VoiceCommand ..... 54 Universal Garage Door Opener
(HomeLink®) .............. 59
USBPort ................ 48
Video Entertainment System™
(Rear Seat Video System) ....... 55
Voice Command ............ 54
Washer Rear .................. 24
Washers, Windshield .......... 24
WheelandWheelTrimCare ...... 91
Wind Buffeting ............. 31
Windows, Express Down ......... 8
Windshield Washers .......... 24
Windshield Wipers ........... 24
Wiper,Rear ............... 24
INDEX
97