2011 DODGE GRAND CARAVAN AUX
[x] Cancel search: AUXPage 37 of 100

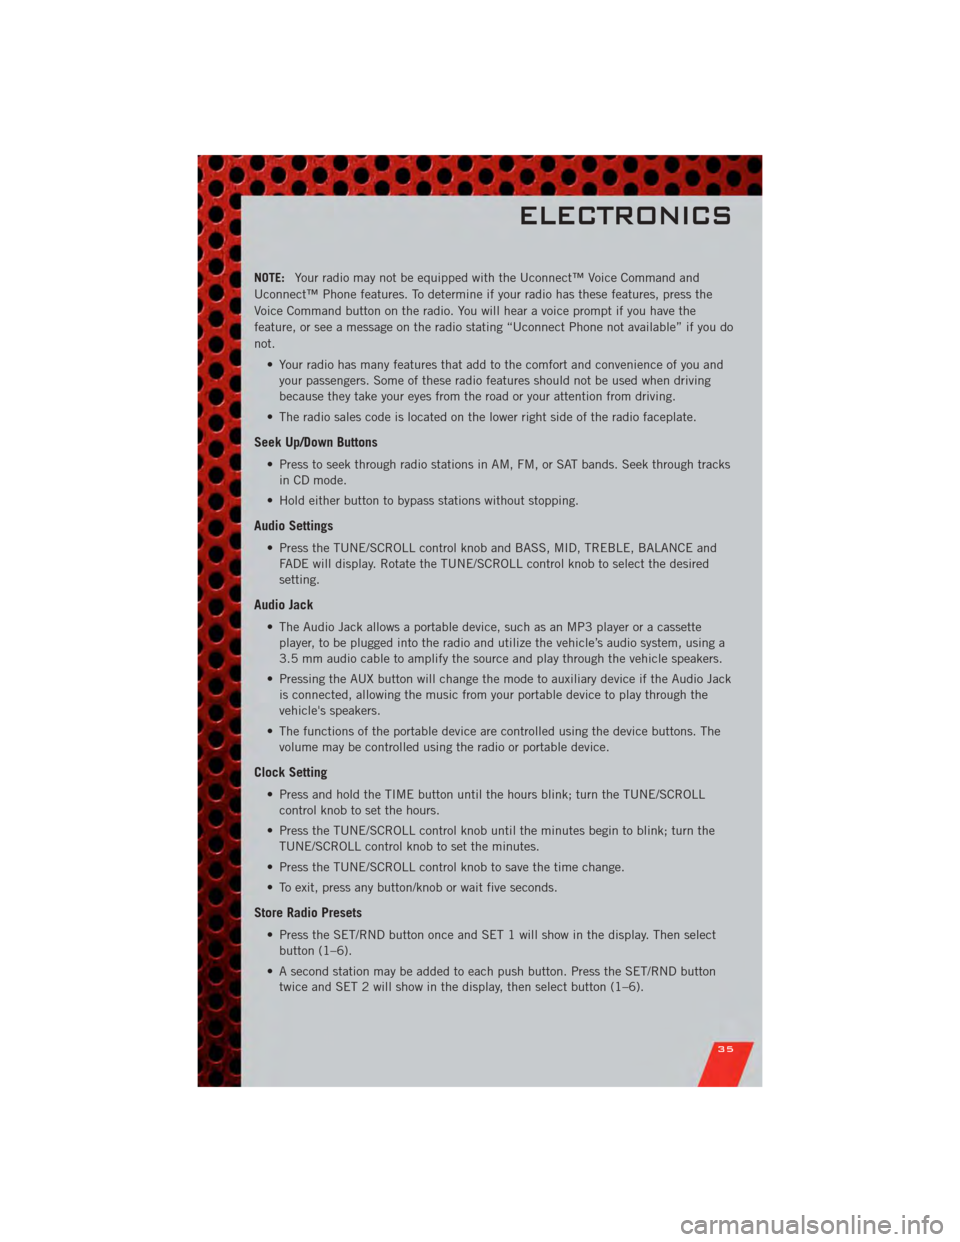
NOTE:Your radio may not be equipped with the Uconnect™ Voice Command and
Uconnect™ Phone features. To determine if your radio has these features, press the
Voice Command button on the radio. You will hear a voice prompt if you have the
feature, or see a message on the radio stating “Uconnect Phone not available” if you do
not.
• Your radio has many features that add to the comfort and convenience of you andyour passengers. Some of these radio features should not be used when driving
because they take your eyes from the road or your attention from driving.
• The radio sales code is located on the lower right side of the radio faceplate.
Seek Up/Down Buttons
• Press to seek through radio stations in AM, FM, or SAT bands. Seek through tracks in CD mode.
• Hold either button to bypass stations without stopping.
Audio Settings
• Press the TUNE/SCROLL control knob and BASS, MID, TREBLE, BALANCE and FADE will display. Rotate the TUNE/SCROLL control knob to select the desired
setting.
Audio Jack
• The Audio Jack allows a portable device, such as an MP3 player or a cassetteplayer, to be plugged into the radio and utilize the vehicle’s audio system, using a
3.5 mm audio cable to amplify the source and play through the vehicle speakers.
• Pressing the AUX button will change the mode to auxiliary device if the Audio Jack is connected, allowing the music from your portable device to play through the
vehicle's speakers.
• The functions of the portable device are controlled using the device buttons. The volume may be controlled using the radio or portable device.
Clock Setting
• Press and hold the TIME button until the hours blink; turn the TUNE/SCROLLcontrol knob to set the hours.
• Press the TUNE/SCROLL control knob until the minutes begin to blink; turn the TUNE/SCROLL control knob to set the minutes.
• Press the TUNE/SCROLL control knob to save the time change.
• To exit, press any button/knob or wait five seconds.
Store Radio Presets
• Press the SET/RND button once and SET 1 will show in the display. Then select button (1–6).
• A second station may be added to each push button. Press the SET/RND button twice and SET 2 will show in the display, then select button (1–6).
ELECTRONICS
35
Page 39 of 100

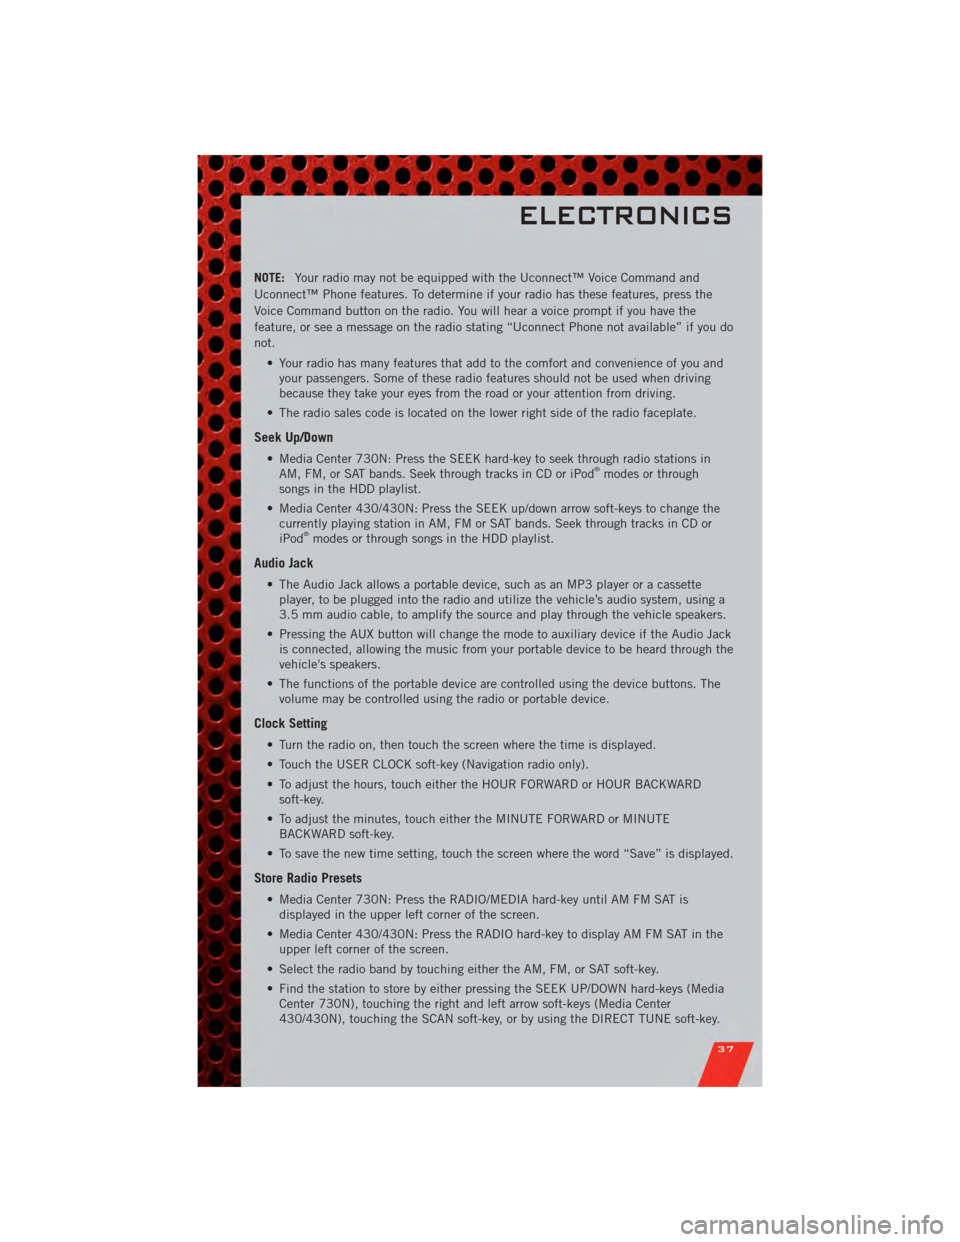
NOTE:Your radio may not be equipped with the Uconnect™ Voice Command and
Uconnect™ Phone features. To determine if your radio has these features, press the
Voice Command button on the radio. You will hear a voice prompt if you have the
feature, or see a message on the radio stating “Uconnect Phone not available” if you do
not.
• Your radio has many features that add to the comfort and convenience of you andyour passengers. Some of these radio features should not be used when driving
because they take your eyes from the road or your attention from driving.
• The radio sales code is located on the lower right side of the radio faceplate.
Seek Up/Down
• Media Center 730N: Press the SEEK hard-key to seek through radio stations in AM, FM, or SAT bands. Seek through tracks in CD or iPod®modes or through
songs in the HDD playlist.
• Media Center 430/430N: Press the SEEK up/down arrow soft-keys to change the currently playing station in AM, FM or SAT bands. Seek through tracks in CD or
iPod
®modes or through songs in the HDD playlist.
Audio Jack
• The Audio Jack allows a portable device, such as an MP3 player or a cassetteplayer, to be plugged into the radio and utilize the vehicle’s audio system, using a
3.5 mm audio cable, to amplify the source and play through the vehicle speakers.
• Pressing the AUX button will change the mode to auxiliary device if the Audio Jack is connected, allowing the music from your portable device to be heard through the
vehicle's speakers.
• The functions of the portable device are controlled using the device buttons. The volume may be controlled using the radio or portable device.
Clock Setting
• Turn the radio on, then touch the screen where the time is displayed.
• Touch the USER CLOCK soft-key (Navigation radio only).
• To adjust the hours, touch either the HOUR FORWARD or HOUR BACKWARDsoft-key.
• To adjust the minutes, touch either the MINUTE FORWARD or MINUTE BACKWARD soft-key.
• To save the new time setting, touch the screen where the word “Save” is displayed.
Store Radio Presets
• Media Center 730N: Press the RADIO/MEDIA hard-key until AM FM SAT is displayed in the upper left corner of the screen.
• Media Center 430/430N: Press the RADIO hard-key to display AM FM SAT in the upper left corner of the screen.
• Select the radio band by touching either the AM, FM, or SAT soft-key.
• Find the station to store by either pressing the SEEK UP/DOWN hard-keys (Media Center 730N), touching the right and left arrow soft-keys (Media Center
430/430N), touching the SCAN soft-key, or by using the DIRECT TUNE soft-key.
ELECTRONICS
37
Page 48 of 100

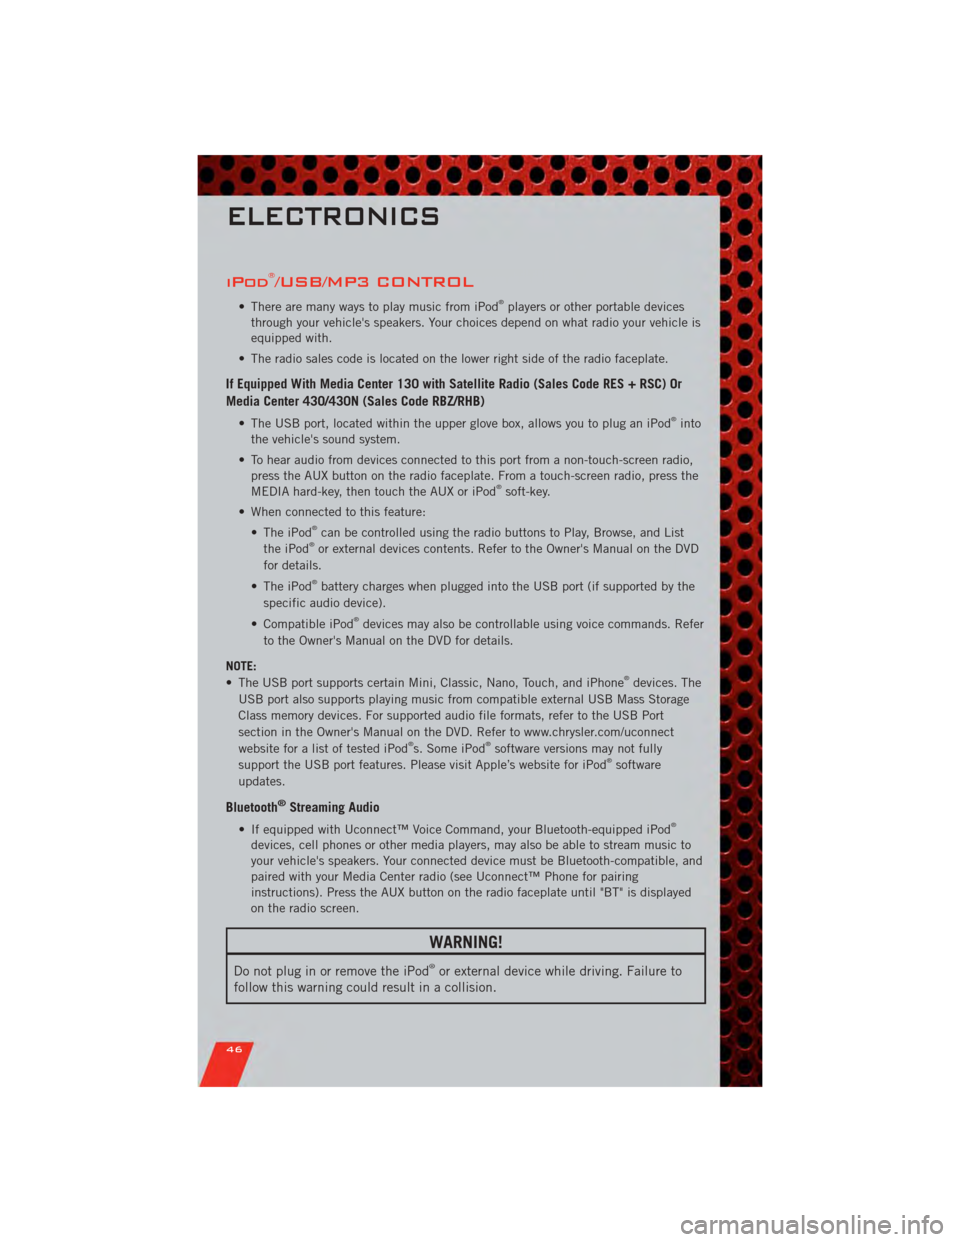
iPod®/USB/MP3 CONTROL
• There are many ways to play music from iPod®players or other portable devices
through your vehicle's speakers. Your choices depend on what radio your vehicle is
equipped with.
• The radio sales code is located on the lower right side of the radio faceplate.
If Equipped With Media Center 130 with Satellite Radio (Sales Code RES + RSC) Or
Media Center 430/430N (Sales Code RBZ/RHB)
• The USB port, located within the upper glove box, allows you to plug an iPod®into
the vehicle's sound system.
• To hear audio from devices connected to this port from a non-touch-screen radio, press the AUX button on the radio faceplate. From a touch-screen radio, press the
MEDIA hard-key, then touch the AUX or iPod
®soft-key.
• When connected to this feature: • The iPod
®can be controlled using the radio buttons to Play, Browse, and List
the iPod®or external devices contents. Refer to the Owner's Manual on the DVD
for details.
• The iPod
®battery charges when plugged into the USB port (if supported by the
specific audio device).
• Compatible iPod
®devices may also be controllable using voice commands. Refer
to the Owner's Manual on the DVD for details.
NOTE:
• The USB port supports certain Mini, Classic, Nano, Touch, and iPhone
®devices. The
USB port also supports playing music from compatible external USB Mass Storage
Class memory devices. For supported audio file formats, refer to the USB Port
section in the Owner's Manual on the DVD. Refer to www.chrysler.com/uconnect
website for a list of tested iPod
®s. Some iPod®software versions may not fully
support the USB port features. Please visit Apple’s website for iPod®software
updates.
Bluetooth®Streaming Audio
• If equipped with Uconnect™ Voice Command, your Bluetooth-equipped iPod®
devices, cell phones or other media players, may also be able to stream music to
your vehicle's speakers. Your connected device must be Bluetooth-compatible, and
paired with your Media Center radio (see Uconnect™ Phone for pairing
instructions). Press the AUX button on the radio faceplate until "BT" is displayed
on the radio screen.
WARNING!
Do not plug in or remove the iPod®or external device while driving. Failure to
follow this warning could result in a collision.
ELECTRONICS
46
Page 49 of 100

VIDEO ENTERTAINMENT SYSTEM (VES)™
System Operation
• The screen is located in the overhead compartment console. To lower the screen,press the release button located in the center of the console rear of the screen.
• The system may be controlled by the front seat occupants using either the radio or DVD player controls, or by the rear seat occupants using the remote control.
• The video screen displays information in a split screen format. The left side of the screen is referred to as Channel 1 and the right side of the screen is referred to as
Channel 2. All modes except video modes are displayed in a split screen format.
• To use the headphones, press the power button located on the right ear cup. Select the channel on the headphones (1 or 2) which corresponds to the channel selected
on the desired video screen.
• To receive VES™ audio through the vehicle's sound system, press the VES™ soft-key on the radio's touch-screen.
Operation Of The Touch-Screen Radio/DVD Player
• To view a DVD press the OPEN/CLOSE or LOAD hard-key on the touch-screen radioand insert the disc or insert the disc into the optional DVD player. Playback will
begin automatically after the DVD is recognized by the disc drive. If playback does
not begin automatically when the disc is inserted into the DVD player press the
PLAY button. If playback does not begin automatically after the disc is inserted
into the touch-screen radio follow these steps:
• Press the MENU hard-key, then touch the Rear VES™ soft-key. If a chapter list
appears on the right side of the screen, touch the HIDE LIST soft-key to display
the Rear VES™ control screen.
• Touch the 1 soft key to select an audio channel, then touch the DISC soft-key in the MEDIA column.
Operation Of The Remote Control
• The remote control operates similarly to any DVD remote you may have used beforeand allows the rear seat passengers to change stations, tracks, discs and
audio/video modes.
• The remote control is designed to control either channel by using the selector switch located on the right side of the remote.
• Connect the video game or other external media devises to the AUX jacks following the color coding for the VES™ jacks.
• Pressing the power button will turn the VES™ system ON/OFF.
• Pressing the mode button causes the MODE SELECTION menu to appear on the VES™ screen. Use the remote control arrow buttons to scroll through the available
modes, and then press ENTER to select the desired mode.
Auxiliary Audio/Video Input Jacks
• The AUX jacks are located on the drivers side rear trim panel behind the slidingdoor.
ELECTRONICS
47
Page 50 of 100

• Connect the video game or other external media devises to the AUX jacks followingthe color coding for the VES™ jacks.
• Using either the touch-screen radio or remote control, select AUX from the REAR VES™ CONTROL or the MODE SELECTION screen.
• Refer to the Uconnect™ Multimedia – Video Entertainment System (VES)™ section in the Uconnect™ User's Manual on the DVD for further details.
ELECTRONIC VEHICLE INFORMATION CENTER
(EVIC)
• The EVIC features a driver interactivedisplay that is located in the
instrument cluster. Pressing the
controls on the left side of the steering
wheel allows the driver to select
vehicle information and Personal
Settings. For additional information,
refer to Programmable Features in this
guide.
• Press and release the UP
button
to scroll upward through the main
menus (Fuel Economy, Vehicle Info,
Tire PSI, Cruise, Messages, Units, System Setup) and sub menus.
• Press and release the DOWN
button to scroll downward through the main
menus and sub menus.
• Press and release the SELECT
button for access to main menus, sub menus
or to select a personal setting in the setup menu.
• Press the BACK button to scroll back to a previous menu or sub menu.
Compass Calibration
• This compass is self-calibrating, which eliminates the need to set the compass manually. When the vehicle is new, the compass may appear erratic and the EVIC
will display “CAL” until the compass is calibrated.
• You may also calibrate the compass by completing one or more 360 degree turns (in an area free from large metal or metallic objects) until the “CAL” message
displayed in the EVIC turns off. The compass will now function normally.
ELECTRONICS
48
Page 95 of 100

AdjustablePedals ........... 17
Airbag .................. 11
Alarm,Panic ............... 8
Arming Theft System (Security
Alarm) .................. 10
Audio Jack............... 37
Audio Settings ............. 35
Automatic Headlights ......... 20
Automatic Temperature Control
(ATC) ................... 25
Automatic Transmission FluidType .............. 81
Auxiliary Audio/Video Input Jacks . . 47
AxleFluid ................ 81
Belts, Seat ............... 10
Brake Fluid ............... 81
BulbReplacement ........... 89
Calibration,Compass ......... 48
Cargo Compartment Luggage Carrier ........... 55
ChangeOilIndicator .......... 61
ChangingAFlatTire .......... 63
Child Restraint ............. 12
Child Restraint Tether Anchors .... 12
Clock Setting ............ 35,37
Compass Calibration .......... 48
Cooling System Coolant Capacity ........... 81
Cruise Control (Speed Control) .... 21
CruiseLight ............... 21
Customer Assistance .......... 90
Defects, Reporting ........... 91
Dimmer Control ............. 20
Dimmer Switch, Headlight ...... 20
Disarming, Theft System ....... 10
Driver Cockpit .............. 4
Economy(Fuel)Mode ......... 23
Electronic Speed Control (Cruise
Control) ................. 21
Electronic Vehicle Information
Center (EVIC) ............ 48,49
Electronics Your Vehicle's Sound System .... 32Emergency Key
.............. 8
Emergency, In Case of Freeing Vehicle When Stuck .... 76
Jacking .............. 63,66
Overheating ............. 62
Engine Compartment ............. 80
Oil Selection ............. 81
Overheating ............. 62
Event Data Recorder .......... 77
Express Down Windows ......... 8
Exterior Lights ............. 89
Flash-To-Pass .............. 19
Fluid Capacities ............ 81
Fluids .................. 81
FogLights ................ 20
Fold in Floor (Stow `n Go) Seating . . 28
Freeing A Stuck Vehicle ........ 76
Front Heated Seats ........... 16
Fuel EconomyMode ............ 23
Specifications ............ 81
Garage Door Opener (HomeLink
®)..51
Hard Disk Drive ............. 38
Headlights Automatic .............. 20
Dimmer Switch ........... 20
HighBeam .............. 19
Heated Seats .............. 16
High Beam/Low Beam Select (Dimmer)
Switch .................. 19
HomeLink
®(Garage Door Opener)
Transmitter ............... 51
Hood Release .............. 78
Instrument Cluster ............ 6
Indicators ............... 7
Instrument Cluster Warning
Lights ................. 6,58
Intermittent Wipers (Delay Wipers) . . 18
Introduction ............... 2
Inverter Outlet (115V) ......... 53
Inverter, Power ............. 53
INDEX
93
Page 96 of 100

iPod®/USB/MP3 Control........ 46
Bluetooth Streaming Audio ..... 46
Jack Location .............. 63
Jack Operation ............. 63
Jump Starting .............. 72
KeyFob .................. 8
Key Fob Programmable Features . . . 49
Lane Change Assist .......... 18
LATCH (Lower Anchors and Tether for
CHildren) ................ 12
Liftgate, Power .............. 8
Lights TurnSignal .............. 18
Warning (Instrument Cluster
Description) .............. 6
Luggage Rack (Roof Rack) ...... 55
Maintenance Record .......... 83
MaintenanceSchedule ........ 82
Media Center Radio ........ 34,36
MemorySeat .............. 15
MOPAR
®Accessories ......... 92
Navigation .............. 39,40
Non-Touch-Screen Radio ....... 34
Oil Change Indicator .......... 61
Oil, Engine Capacity ............... 81
Outlet Power ................. 54
Overheating, Engine .......... 62
Panic Alarm ............... 8
Pedals, Adjustable ........... 17
Phone (Pairing) ............. 43
Phone (Uconnect) ........... 43
Placard, Tire and Loading
Information ............... 88
Power Glass Sunroof ............ 30
Inverter ................ 53
LiftGate ................ 8
Outlet (Auxiliary Electrical Outlet) . 54 Seats
................. 14
SlidingDoor .............. 8
Steering ................ 81
Preparation for Jacking ........ 66
Programmable Electronic Features . . 49
Radio Non-Touch-Screen .......... 34
Touch-Screen ............ 36
Radio Operation .......... 34,36
Rain Sensitive Wiper System ..... 18
Rear Heated Seats ........... 16
Recreational Towing .......... 57
Remote Starting System ........ 9
Replacement Bulbs .......... 89
Reporting Safety Defects ....... 91
Restraints, Child ............ 12
Rocking Vehicle When Stuck ..... 76
Roof Rack (Luggage Rack) ...... 55
Seat Belts ................ 10
Seats ................... 14
Adjustment .............. 14
Fold in Floor (Stow `n Go) ..... 28
Heated ................ 16
Lumbar Support ........... 14
Memory ................ 15
Power ................. 14
Stow `n Go (Fold in Floor) ..... 28
Seek Button ............. 35,37
Setting the Clock .......... 35,37
Shift Lever Override .......... 74
Signals, Turn .............. 18
SIRIUS Travel Link ........... 41
SmartBeams .............. 20
SpareTire ................ 63
Spark Plugs ............... 81
Speed Control Accel/Decel .............. 21
Cancel ................ 21
Resume ................ 21
Speed Control (Cruise Control) .... 21
Starting Remote ................. 9
Steering Tilt Column .............. 17
Steering Wheel Audio Controls ....4
2
Store Radio Presets ........ 35,37
INDEX
94