Page 190 of 562

If “SERVICE PARK ASSIST SYSTEM” appears in the
EVIC, see your authorized dealer.
Cleaning The ParkSense�System
Clean the ParkSense� sensors with water, car wash soap
and a soft cloth. Do not use rough or hard cloths. Do not
scratch or poke the sensors. Otherwise, you could dam-
age the sensors.
ParkSense� System Usage Precautions
NOTE:
•Ensure that the rear bumper is free of snow, ice, mud,
dirt and debris to keep the ParkSense� system operat-
ing properly.
•Jackhammers, large trucks, and other vibrations could
affect the performance of ParkSense�.
•When you turn ParkSense� off, the instrument cluster
will display “PARK ASSIST SYSTEM OFF.” Further-
more, once you turn ParkSense� off, it remains off
until you turn it on again, even if you cycle the ignition
key.
•When you move the shift lever to the REVERSE
position and ParkSense� is turned off, the EVIC will
display “PARK ASSIST SYSTEM OFF” message for as
long as the vehicle is in REVERSE.
•ParkSense�, when on, will MUTE the radio when it is
sounding a tone.
•Clean the ParkSense� sensors regularly, taking care
not to scratch or damage them. The sensors must not
be covered with ice, snow, slush, mud, dirt or debris.
Failure to do so can result in the system not working
properly. The ParkSense� system might not detect an
188 UNDERSTANDING THE FEATURES OF YOUR VEHICLE
Page 201 of 562

Programming HomeLink�
Before You Begin
If you have not trained any of the HomeLink� buttons,
erase all channels before you begin training.
To do this, press and hold the two outside buttons for up
to 20 seconds until the red indicator flashes.
It is recommended that a new battery be placed in the
handheld transmitter of the device that is being copied to
HomeLink� for more efficient training and accurate
transmission of the radio-frequency signal.
Your vehicle should be parked outside of the garage
when programming.
1. Turn the ignition switch to the ON/RUN position.
2. Hold the battery side of the handheld transmitter
away from the HomeLink� button you wish to program. Place the handheld transmitter 1 to 3 in (3 to 8 cm) away
from the HomeLink�
button you wish to program while
keeping the indicator light in view.
3. Simultaneously press and hold both the chosen
HomeLink� button and the handheld transmitter button
until the HomeLink� indicator changes from a slow to a
rapidly blinking light, then release both the HomeLink�
and handheld transmitter buttons.
Watch for the HomeLink� indicator to change flash rates.
When it changes, it is programmed. It may take up to
30 seconds or longer in rare cases. The garage door may
open and close while you train.
NOTE:
•Some gate operators and garage door openers may
require you to replace Step 3 with procedures noted in
the “Gate Operator/Canadian Programming” section.
3
UNDERSTANDING THE FEATURES OF YOUR VEHICLE 199
Page 204 of 562

If you unplugged the device for training, plug it back in
at this time.
Then proceed with Step 4 under “Programming
HomeLink�,” earlier in this section.
Using HomeLink�
To operate, press and release the programmed
HomeLink�button. Activation will now occur for the
trained device (i.e., garage door opener, gate operator,
security system, entry door lock, home/office lighting,
etc.,). The handheld transmitter of the device may also be
used at any time.
Reprogramming A Single HomeLink �Button
To reprogram a channel that has been previously trained,
follow these steps:
1. Turn the ignition switch to the ON/RUN position. 2. Press and hold the desired HomeLink�
button until
the indicator light begins to flash after 20 seconds. Do not
release the button.
3. Without releasing the button, proceed with Program-
ming HomeLink� Step 2 and follow all remaining steps.
Security
It is advised to erase all channels before you sell or turn
in your vehicle.
To do this, press and hold the two outside buttons for
20 seconds until the red indicator flashes. Note that all
channels will be erased. Individual channels cannot be
erased.
The HomeLink�Universal Transceiver is disabled when
the Vehicle Security Alarm is active.
202 UNDERSTANDING THE FEATURES OF YOUR VEHICLE
Page 206 of 562
POWER SUNROOF — IF EQUIPPED
The power sunroof switch is located between the sun
visors on the overhead console.WARNING!
•Never leave children in a vehicle with the key in
the ignition switch. Occupants, particularly unat-
tended children, can become entrapped by the
power sunroof while operating the power sunroof
switch. Such entrapment may result in serious
injury or death.
•In a collision, there is greater risk of being thrown
from a vehicle with an open sunroof. You could
also be seriously injured or killed. Always fasten
your seat belt properly and make sure all passen-
gers are properly secured.
•Do not allow small children to operate the sun-
roof. Never allow your fingers, other body parts, or
any object, to project through the sunroof opening.
Injury may result.
Power Sunroof Switch
204 UNDERSTANDING THE FEATURES OF YOUR VEHICLE
Page 209 of 562

Ignition Off Operation
For vehicles not equipped with the Electronic Vehicle
Information Center (EVIC), the power sunroof switch
will remain active for 45 seconds after the ignition switch
is turned to the LOCK position. Opening either front
door will cancel this feature.
NOTE:For vehicles equipped with the EVIC, the power
sunroof switch will remain active for up to approxi-
mately ten minutes after the ignition switch is turned to
the LOCK position. Opening either front door will cancel
this feature.
Sunroof Fully Closed
Press the switch forward and release to ensure that the
sunroof is fully closed.
ELECTRICAL POWER OUTLETS — IF EQUIPPED
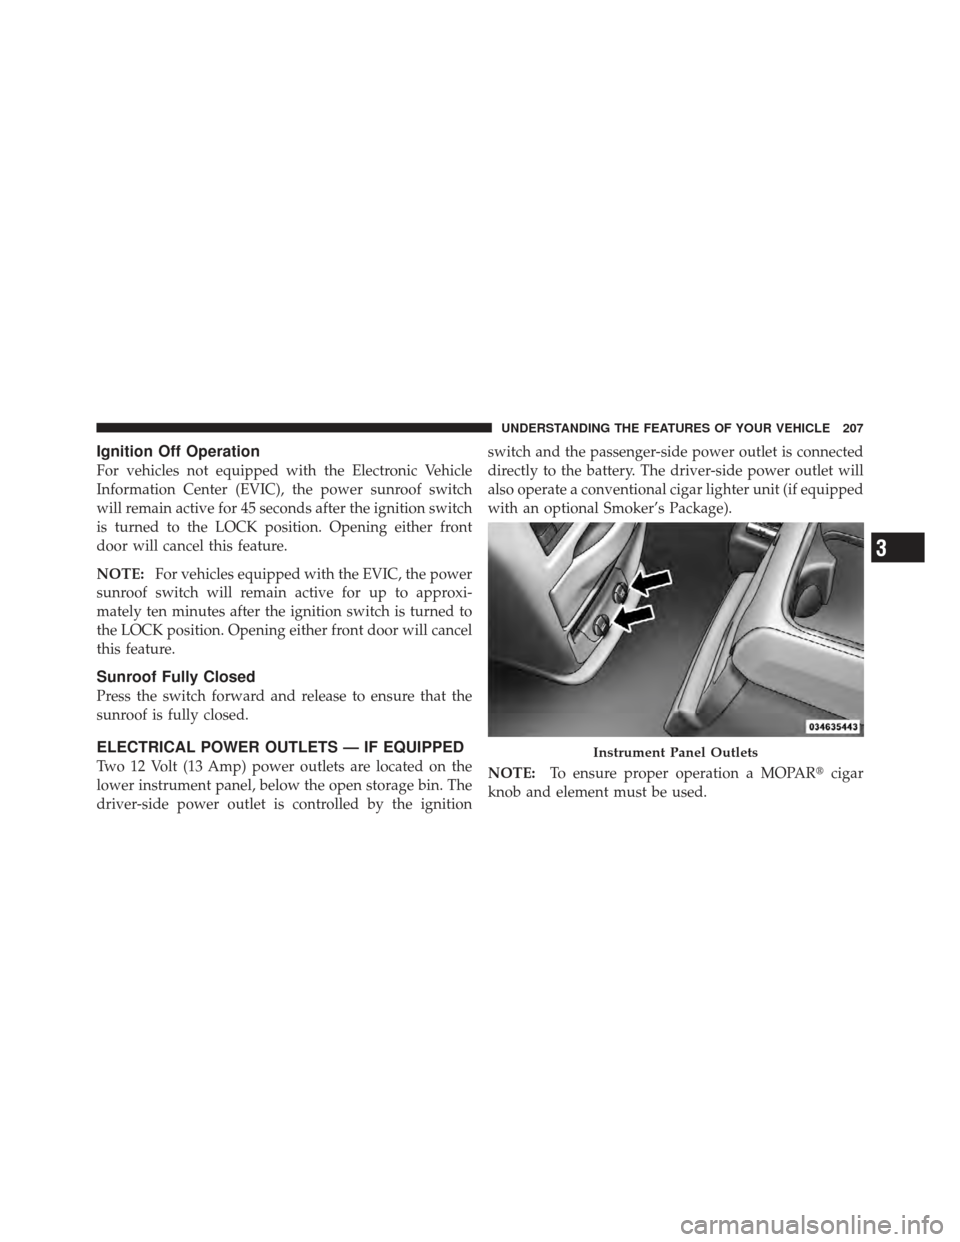
Two 12 Volt (13 Amp) power outlets are located on the
lower instrument panel, below the open storage bin. The
driver-side power outlet is controlled by the ignition switch and the passenger-side power outlet is connected
directly to the battery. The driver-side power outlet will
also operate a conventional cigar lighter unit (if equipped
with an optional Smoker’s Package).
NOTE:
To ensure proper operation a MOPAR� cigar
knob and element must be used.Instrument Panel Outlets
3
UNDERSTANDING THE FEATURES OF YOUR VEHICLE 207
Page 211 of 562
On vehicles equipped with the Super Console the power
outlets are located under the retractable cover. To access
the power outlets push down on the cover and slide it
toward the instrument panel.The outlet in the rear quarter panel near the liftgate and
the upper outlet in the instrument panel are both con-
trolled by the ignition switch. Each of these outlets can
support 160 Watts (13 Amps). Do not exceed 160 Watts
(13 Amps) for each of these outlets.
Super Console Outlets
3
UNDERSTANDING THE FEATURES OF YOUR VEHICLE 209
Page 248 of 562
INSTRUMENT PANEL FEATURES
1 — Air Vents5 — Upper Glove Compartment 9 — Storage Bin 13 — Hood Release
2 — Instrument Cluster 6 — Lower Glove Compartment 10 — Cup Holders 14 — Dimmer Switch
3 — Shift Lever 7 — Climate Controls 11 — Switch Bank15 — Headlight Switch
4 — Radio 8 — DVD – If Equipped 12 — Ignition Switch
246 UNDERSTANDING YOUR INSTRUMENT PANEL
Page 253 of 562

LoW tirE
When the appropriate condition exists, the odometer dis-
play will toggle between LoW and tirE for three cycles.
gASCAP
If the vehicle diagnostic system determines that the fuel
filler cap is loose, improperly installed, or damaged, a
“gASCAP” message will display in the odometer display
area. Tighten the fuel filler cap properly and press the
TRIP ODOMETER button to turn off the message. If the
problem continues, the message will appear the next time
the vehicle is started.
noFUSE
If the vehicle diagnostic system determines that the
Ignition Off Draw (IOD) fuse is improperly installed, or
damaged, a “noFUSE” message will display in the odom-
eter display area. For further information on fuses and
fuse locations refer to “Fuses” in “Maintaining Your
Vehicle”.CHAngE OIL
Your vehicle is equipped with an engine oil change
indicator system. The
CHAngE OILmessage will flash in
the instrument cluster odometer for approximately
12 seconds, after a single chime has sounded, to indicate
the next scheduled oil change interval. The engine oil
change indicator system is duty cycle-based, which
means the engine oil change interval may fluctuate
dependent upon your personal driving style.
Unless reset, this message will continue to display each
time you turn the ignition switch to the ON/RUN
position. To turn off the message temporarily, press and
release the Trip / Odometer Display reset button on the
instrument cluster. To reset the oil change indicator
system (after performing the scheduled maintenance),
perform the following steps.
1. Turn the ignition switch to the ON/RUN position (do
not start the engine).
4
UNDERSTANDING YOUR INSTRUMENT PANEL 251