Page 135 of 452
Lift the hood, and the gas filled props will hold it open.
CAUTION!
To prevent possible damage, do not slam the hood to
close it. Use a firm downward push at the center front
edge of the hood to ensure that both latches engage.
Never drive your vehicle unless the hood is fully
closed, with both latches engaged.
WARNING!
Be sure the hood is fully latched before driving your
vehicle. If the hood is not fully latched, it could open
when the vehicle is in motion and block your vision.
Failure to follow this warning could result in serious
injury or death.
Secondary Latch Location
3
UNDERSTANDING THE FEATURES OF YOUR VEHICLE 133
Page 144 of 452
WARNING!
Sudden loss of visibility through the windshield
could lead to a collision. You might not see other
vehicles or other obstacles. To avoid sudden icing of
the windshield during freezing weather, warm the
windshield with the defroster before and during
windshield washer use.
TILT STEERING COLUMN
This feature allows you to tilt the steering column
upward or downward. The tilt lever is located on the
steering column, below the turn signal lever.
Pull the lever toward the steering wheel to unlock the
steering column. With one hand firmly on the steering
wheel, move the steering column up or down, as desired.
Push the lever away from the steering wheel to lock the
column firmly in place.
Tilt Steering Column Lever
142 UNDERSTANDING THE FEATURES OF YOUR VEHICLE
Page 145 of 452
WARNING!
Do not adjust the steering column while driving.
Adjusting the steering column while driving or driv-
ing with the steering column unlocked, could cause
the driver to lose control of the vehicle. Be sure the
steering column is locked before driving your ve-
hicle. Failure to follow this warning may result in
serious injury or death.
ELECTRONIC SPEED CONTROL — IF EQUIPPED
The control buttons for the Electronic Speed Control are
located on the steering wheel. When engaged, the Elec-
tronic Speed Control takes over the accelerator operation
at speeds greater than 25 mph (40 km/h).Electronic Speed Control Buttons
1 — Resume4 — Set
2 — Cancel 5 — On/Off
3 — Decel
3
UNDERSTANDING THE FEATURES OF YOUR VEHICLE 143
Page 146 of 452

NOTE:In order to ensure proper operation, the Elec-
tronic Speed Control System has been designed to shut
down if multiple Speed Control functions are operated at
the same time. If this occurs, the Electronic Speed Control
System can be reactivated by pushing the Electronic
Speed Control ON/OFF button and resetting the desired
vehicle set speed.
To Activate
Push the ON/OFF button to the ON position. In the
instrument cluster, the word “CRUISE” illuminates to
indicate that the system is on.
To Set A Desired Speed
Turn the Electronic Speed Control ON. When the vehicle
has reached the desired speed, press and release the SET
button. Release the accelerator and the vehicle will
operate at the selected speed.
To Deactivate
A soft tap on the brake pedal, normal braking, or pressing
the CANCEL button will deactivate the speed control
without erasing the memory. Pushing the ON/OFF but-
ton to the OFF position or turning off the ignition erases
the memory.
WARNING!
Leaving the Electronic Speed Control ON when not
in use is dangerous. You could accidentally set the
Electronic Speed Control to cause it to go faster than
you want. You could lose control and have an acci-
dent. Always leave the system OFF when you are not
using it.
To Resume Speed
To resume a previously set speed, push and release the
RESUME button. Resume can be used at any speed above
20 mph (32 km/h).
144 UNDERSTANDING THE FEATURES OF YOUR VEHICLE
Page 148 of 452
WARNING!
Electronic Speed Control can be dangerous where the
system cannot maintain a constant speed. Your ve-
hicle could go too fast for the conditions, and you
could lose control and have an accident. Do not use
Electronic Speed Control in heavy traffic or on roads
that are winding, icy, snow-covered or slippery.
OVERHEAD CONSOLE
The overhead console has the following features:
•Courtesy Lights
•Garage Door Opener — If Equipped
Overhead Console
146 UNDERSTANDING THE FEATURES OF YOUR VEHICLE
Page 153 of 452
The system will display the last known outside tempera-
ture when starting the vehicle and may need to be driven
several minutes before the updated temperature is dis-
played. Engine temperature can also affect the displayed
temperature, therefore temperature readings are not up-
dated when the vehicle is not moving.
Global Reset
If the RESET button is pressed twice within two seconds
while in any of the three resettable displays (AVG ECO,
ODO, ET), the GLOBAL RESET will reset all three
displays.
Compass/Temperature Display
WARNING!
Even if the display still reads a few degrees above 32°
F (0° C), the road surface may be icy, particularly in
woods or on bridges. Drive carefully under such
conditions to prevent an accident and possible per-
sonal injury or property damage.
C/T Button
3
UNDERSTANDING THE FEATURES OF YOUR VEHICLE 151
Page 156 of 452

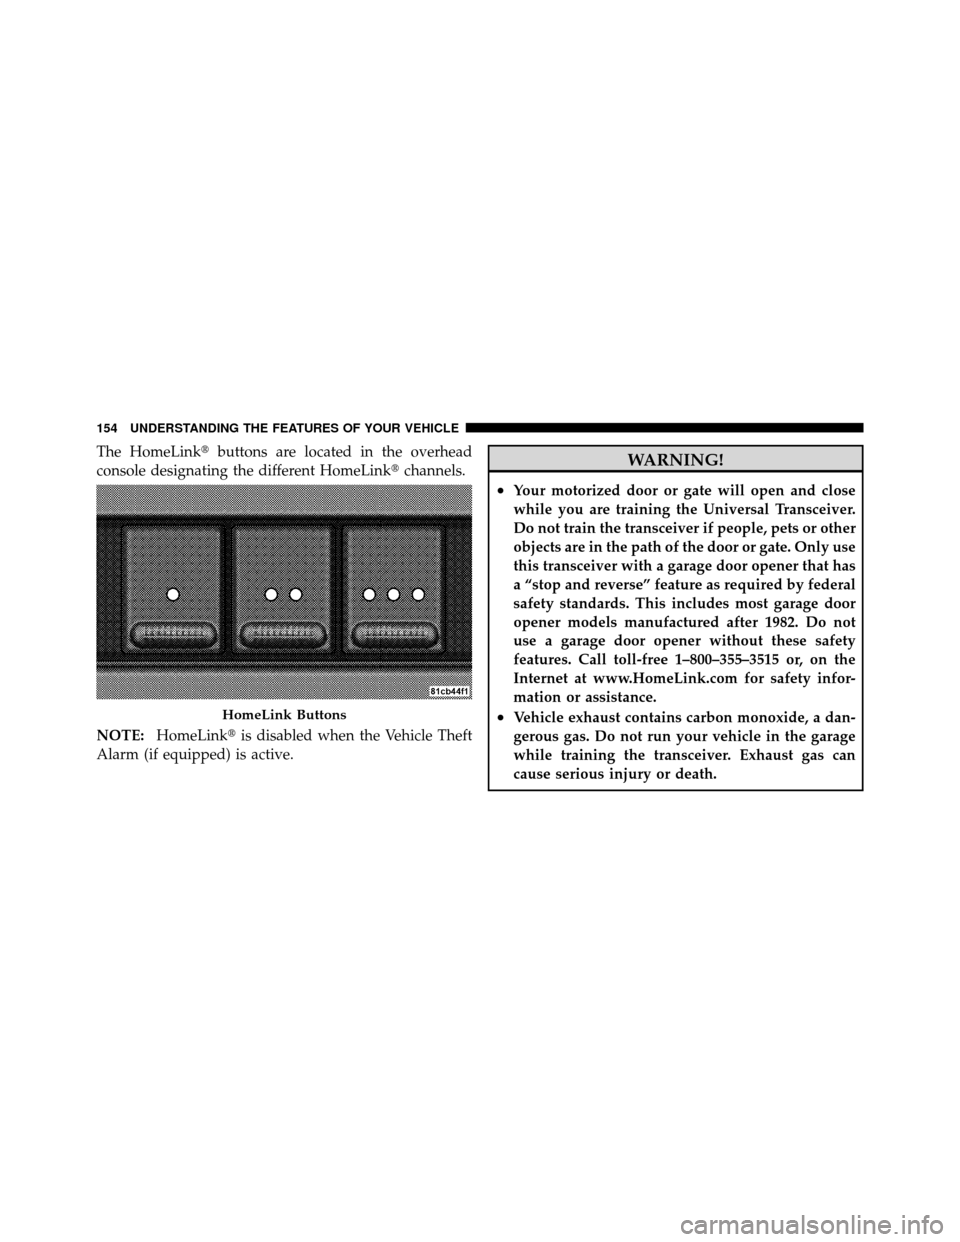
The HomeLink�buttons are located in the overhead
console designating the different HomeLink� channels.
NOTE: HomeLink� is disabled when the Vehicle Theft
Alarm (if equipped) is active.WARNING!
•Your motorized door or gate will open and close
while you are training the Universal Transceiver.
Do not train the transceiver if people, pets or other
objects are in the path of the door or gate. Only use
this transceiver with a garage door opener that has
a “stop and reverse” feature as required by federal
safety standards. This includes most garage door
opener models manufactured after 1982. Do not
use a garage door opener without these safety
features. Call toll-free 1–800–355–3515 or, on the
Internet at www.HomeLink.com for safety infor-
mation or assistance.
•Vehicle exhaust contains carbon monoxide, a dan-
gerous gas. Do not run your vehicle in the garage
while training the transceiver. Exhaust gas can
cause serious injury or death.HomeLink Buttons
154 UNDERSTANDING THE FEATURES OF YOUR VEHICLE
Page 163 of 452
WARNING!
To avoid serious injury or death:
•Only devices designed for use in this type of
outlet should be inserted into any 12 Volt outlet.
•Do not touch with wet hands.
•Close the lid when not in use and while driving
the vehicle.
•If this outlet is mishandled, it may cause an
electric shock and failure.
Power Outlet Fuse Locations
1 — #22 Fuse 20 A Yellow Cigar Lighter Front Console
2 — #28 Fuse 20 A Yellow Power Outlet Center Console
3
UNDERSTANDING THE FEATURES OF YOUR VEHICLE 161