Page 188 of 452

lit with the engine running, your vehicle will usually be
drivable; however, see an authorized dealer for service as
soon as possible. If the light is flashing when the engine
is running, immediate service is required and you may
experience reduced performance, an elevated/rough idle
or engine stall, and your vehicle may require towing. The
light will come on when the ignition is first turned to
ON/RUN and remain on for 15 seconds as a bulb check.
If the light does not come on during starting, have the
system checked by an authorized dealer.
20. Brake Warning LightThis light monitors various brake functions,
including brake fluid level and parking brake
application. If the brake light turns on it may
indicate that the parking brake is applied, that
the brake fluid level is low, or that there is a problem with
the anti-lock brake system reservoir. If the light remains on when the parking brake has been
disengaged, and the fluid level is at the full mark on the
master cylinder reservoir, it indicates a possible brake
hydraulic system malfunction or that a problem with the
Brake Booster has been detected by the Anti-Lock Brake
System (ABS) / Electronic Stability Program (ESP) sys-
tem. In this case, the light will remain on until the
condition has been corrected. If the problem is related to
the brake booster, the ABS pump will run when applying
the brake and a brake pedal pulsation may be felt during
each stop.
The dual brake system provides a reserve braking capac-
ity in the event of a failure to a portion of the hydraulic
system. A leak in either half of the dual brake system is
indicated by the Brake Warning Light which will turn on
when the brake fluid level in the master cylinder has
dropped below a specified level.
The light will remain on until the cause is corrected.
186 UNDERSTANDING YOUR INSTRUMENT PANEL
Page 190 of 452

RUN and remain on, as a bulb check, until the engine is
started. If the vehicle is not ready for emissions testing,
the light will come on when the ignition is first turned to
ON/RUN and remain on for 15 seconds, then blink for
5 seconds, and remain on until the vehicle is started. If
the bulb does not come on during starting, have the
condition investigated promptly.
If this light comes on and remains on while driving, it
suggests a potential engine control problem and the need
for system service.
Although your vehicle will usually be drivable and not
need towing, see an authorized dealer for service as soon
as possible.CAUTION!
Prolonged driving with the MIL on could cause
damage to the engine control system. It also could
affect fuel economy and drivability. If the MIL is
flashing, severe catalytic converter damage and
power loss will soon occur. Immediate service is
required.
WARNING!
A malfunctioning catalytic converter, as referenced
above, can reach higher temperatures than in normal
operating conditions. This can cause a fire if you
drive slowly or park over flammable substances such
as dry plants, wood, cardboard, etc. This could result
in death or serious injury to the driver, occupants or
others.
188 UNDERSTANDING YOUR INSTRUMENT PANEL
Page 192 of 452

alternate tires or wheels on the vehicle that prevent the
TPMS from functioning properly. Always check the
TPMS malfunction telltale after replacing one or more
tires or wheels on your vehicle, to ensure that the
replacement or alternate tires and wheels allow the TPMS
to continue to function properly.
CAUTION!
The TPMS has been optimized for the original
equipment tires and wheels. TPMS pressures and
warning have been established for the tire size
equipped on your vehicle. Undesirable system opera-
tion or sensor damage may result when using re-
placement equipment that is not of the same size,
type, and/or style. Aftermarket wheels can cause
sensor damage. Do not use tire sealant from a can or
balance beads if your vehicle is equipped with a
TPMS, as damage to the sensors may result.23. Airbag Warning Light
This light will turn on for four to eight seconds
as a bulb check when the ignition switch is first
turned to ON/RUN. If the light is either not on
during starting, stays on, or turns on while
driving, have the system inspected at an authorized
dealer as soon as possible. Refer to “Occupant Restraints”
in “Things To Know Before Starting Your Vehicle” for
further information.
24. 4WD Indicator This light indicates the vehicle is in four-wheel
drive and 4LOCK. 4WD allows all four wheels
to receive torque from the engine simultane-
ously.
190 UNDERSTANDING YOUR INSTRUMENT PANEL
Page 356 of 452

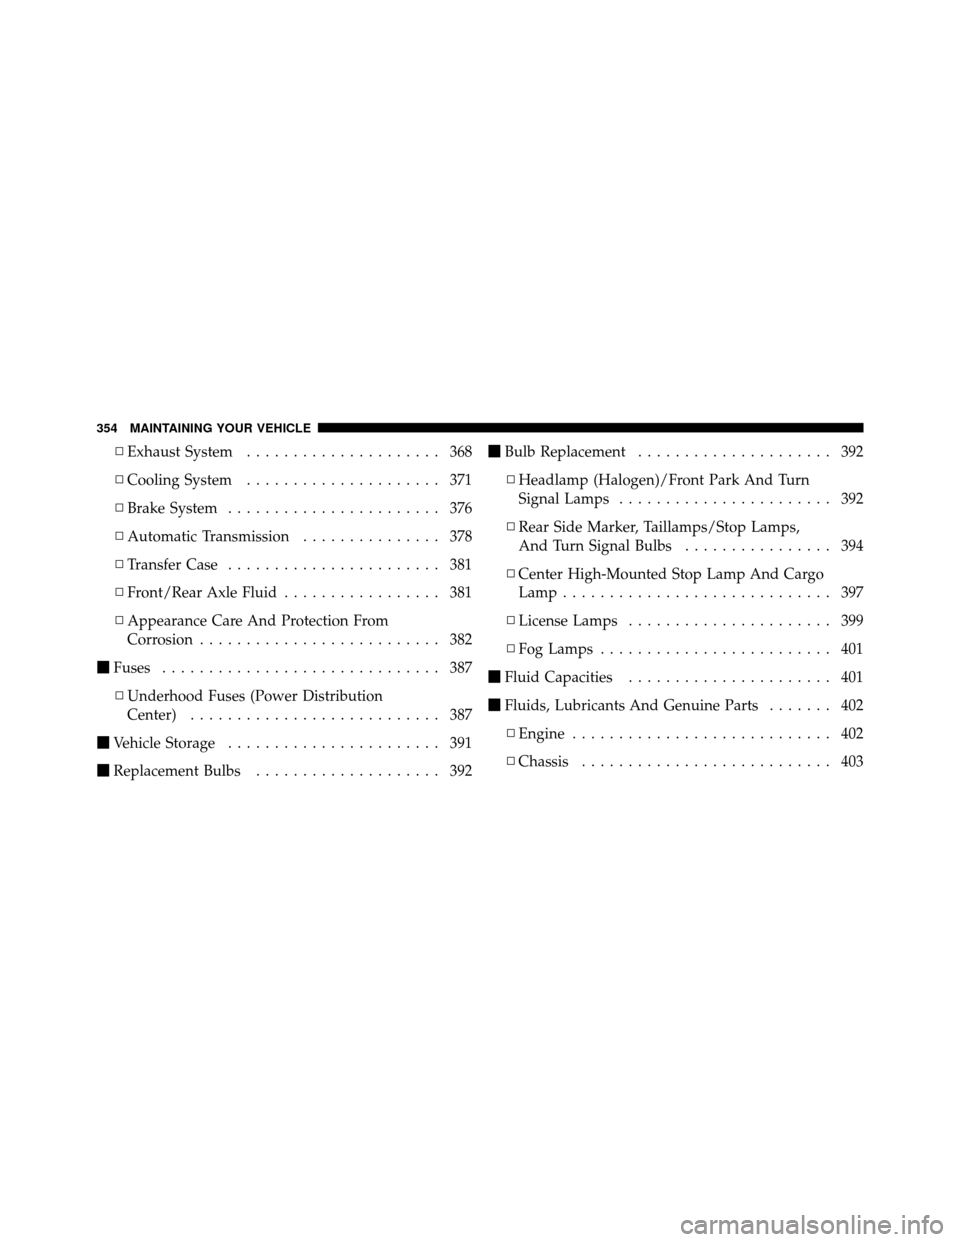
▫Exhaust System ..................... 368
▫ Cooling System ..................... 371
▫ Brake System ....................... 376
▫ Automatic Transmission ............... 378
▫ Transfer Case ....................... 381
▫ Front/Rear Axle Fluid ................. 381
▫ Appearance Care And Protection From
Corrosion .......................... 382
� Fuses .............................. 387
▫ Underhood Fuses (Power Distribution
Center) ........................... 387
� Vehicle Storage ....................... 391
� Replacement Bulbs .................... 392 �
Bulb Replacement ..................... 392
▫ Headlamp (Halogen)/Front Park And Turn
Signal Lamps ....................... 392
▫ Rear Side Marker, Taillamps/Stop Lamps,
And Turn Signal Bulbs ................ 394
▫ Center High-Mounted Stop Lamp And Cargo
Lamp ............................. 397
▫ License Lamps ...................... 399
▫ Fog Lamps ......................... 401
� Fluid Capacities ...................... 401
� Fluids, Lubricants And Genuine Parts ....... 402
▫ Engine ............................ 402
▫ Chassis ........................... 403
354 MAINTAINING YOUR VEHICLE
Page 360 of 452

the message will appear the next time the vehicle is
started. This might indicate a damaged cap. If the prob-
lem is detected twice in a row, the system will turn on the
MIL. Resolving the problem will turn the MIL off.
EMISSIONS INSPECTION AND MAINTENANCE
PROGRAMS
In some localities, it may be a legal requirement to pass
an inspection of your vehicle’s emissions control system.
Failure to pass could prevent vehicle registration.For states that require an Inspection and Mainte-
nance (I/M), this check verifies the “Malfunction
Indicator Light (MIL)” is functioning and is not
on when the engine is running, and that the OBD II
system is ready for testing. Normally, the OBD II system will be ready. The OBD II
system may
notbe ready if your vehicle was recently
serviced, recently had a dead battery or a battery replace-
ment. If the OBD II system should be determined not
ready for the I/M test, your vehicle may fail the test.
Your vehicle has a simple ignition key-actuated test,
which you can use prior to going to the test station. To
check if your vehicle’s OBD II system is ready, you must
do the following:
1. Turn the ignition switch to the ON position, but do not
crank or start the engine.
2. If you crank or start the engine, you will have to start
this test over.
3. As soon as you turn the ignition switch to the ON
position, you will see the MIL symbol come on as part of
a normal bulb check.
358 MAINTAINING YOUR VEHICLE
Page 394 of 452

•Anytime you store your vehicle, or keep it out of
service (i.e. vacation) for two weeks or more, run the
air conditioning system at idle for about five minutes
in the fresh air and high blower setting. This will
ensure adequate system lubrication to minimize the
possibility of compressor damage when the system is
started again.
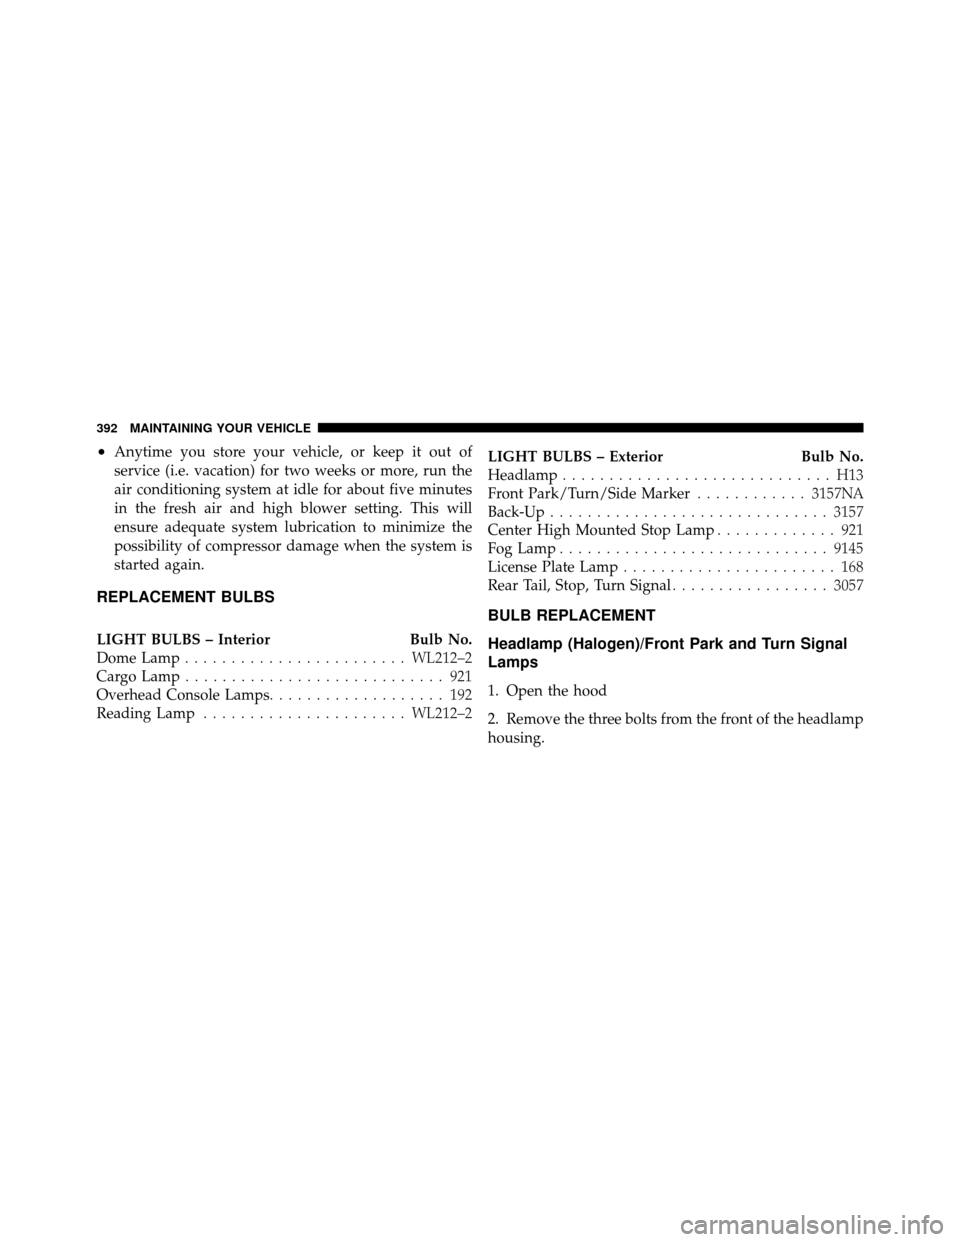
REPLACEMENT BULBS
LIGHT BULBS – InteriorBulb No.
Dome Lamp ........................ WL212–2
Cargo Lamp ............................ 921
Overhead Console Lamps ................... 192
Reading Lamp ...................... WL212–2LIGHT BULBS – Exterior
Bulb No.
Headlamp ............................. H13
Front Park/Turn/Side Marker ............3157NA
Back-Up .............................. 3157
Center High Mounted Stop Lamp ............. 921
Fog Lamp ............................. 9145
License Plate Lamp ....................... 168
Rear Tail, Stop, Turn Signal .................3057
BULB REPLACEMENT
Headlamp (Halogen)/Front Park and Turn Signal
Lamps
1. Open the hood
2. Remove the three bolts from the front of the headlamp
housing.
392 MAINTAINING YOUR VEHICLE
Page 395 of 452
3. Grasp the headlamp and pull firmly to disengage the
headlamp housing from the fender panel.
4. While firmly holding the headlamp housing in your
hands, unlock and disconnect headlamp bulb connector.5. Twist 1/4-turn and remove headlamp bulb from hous-
ing and replace.
NOTE:
The headlamp bulb is a halogen bulb. Take care
not to touch the bulb with your fingers. Body oils from
your fingers could cause excessive heat buildup which
reduces bulb life.
7
MAINTAINING YOUR VEHICLE 393
Page 396 of 452
To remove the park/turn signal bulb, rotate bulb socket
1/4-turn and remove socket from housing. Pull bulb
straight from socket.Rear Side Marker, Taillamps/Stop Lamps, And
Turn Signal Bulbs
1. Remove the two screws that pass through the bed
sheet metal.
394 MAINTAINING YOUR VEHICLE