Page 106 of 452
The Uconnect™ Phone will then send the corresponding
phone number associated with the phonebook entry, as
tones over the phone.
NOTE:
•You may not hear all of the tones due to mobile phone
network configurations. This is normal.
•Some paging and voice mail systems have system time
out settings that are too short and may not allow the
use of this feature.
Barge In — Overriding Prompts
The “Voice Command” button can be used when you
wish to skip part of a prompt and issue your voice
command immediately. For example, if a prompt is
asking “Would you like to pair a phone, clear a...,” you
could press the
button and say, “Pair a Phone” to
select that option without having to listen to the rest of
the voice prompt.
Turning Confirmation Prompts ON/OFF
Turning confirmation prompts off will stop the system
from confirming your choices (e.g., the Uconnect™
Phone will not repeat a phone number before you dial it).
•Press thebutton to begin.
•After the “Ready” prompt and the following beep, say
one of the following:
�“Setup Confirmation Prompts On”
�“Setup Confirmation Prompts Off”
Phone And Network Status Indicators
If available on the radio and/or on a premium display
such as the instrument panel cluster, and supported by
your mobile phone, the Uconnect™ Phone will provide
notification to inform you of your phone and network
status when you are attempting to make a phone call
using Uconnect™ Phone. The status is given for network
signal strength, phone battery strength, etc.
104 UNDERSTANDING THE FEATURES OF YOUR VEHICLE
Page 138 of 452
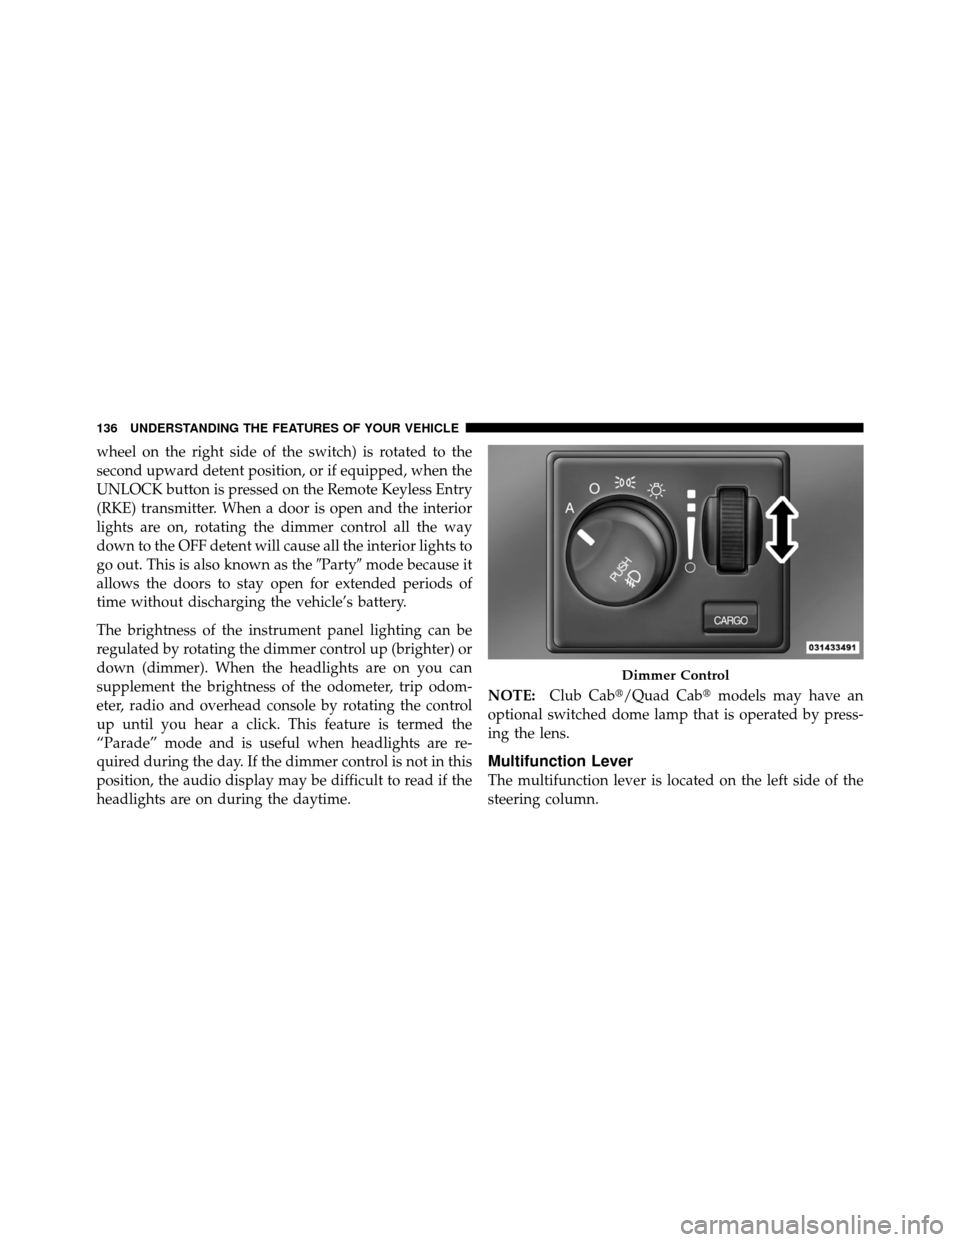
wheel on the right side of the switch) is rotated to the
second upward detent position, or if equipped, when the
UNLOCK button is pressed on the Remote Keyless Entry
(RKE) transmitter. When a door is open and the interior
lights are on, rotating the dimmer control all the way
down to the OFF detent will cause all the interior lights to
go out. This is also known as the�Party�mode because it
allows the doors to stay open for extended periods of
time without discharging the vehicle’s battery.
The brightness of the instrument panel lighting can be
regulated by rotating the dimmer control up (brighter) or
down (dimmer). When the headlights are on you can
supplement the brightness of the odometer, trip odom-
eter, radio and overhead console by rotating the control
up until you hear a click. This feature is termed the
“Parade” mode and is useful when headlights are re-
quired during the day. If the dimmer control is not in this
position, the audio display may be difficult to read if the
headlights are on during the daytime. NOTE:
Club Cab�/Quad Cab� models may have an
optional switched dome lamp that is operated by press-
ing the lens.
Multifunction Lever
The multifunction lever is located on the left side of the
steering column.
Dimmer Control
136 UNDERSTANDING THE FEATURES OF YOUR VEHICLE
Page 140 of 452
High/Low Beam Switch
Pull the multifunction lever fully toward the steering
wheel to switch the headlights from high or low beam.
Battery Saver
To protect the life of your vehicle’s battery, Load Shed-
ding is provided for both the interior and exterior lights.
If the ignition is OFF and any door is left ajar for
15 minutes or the dimmer control is rotated upwards for
15 minutes, the interior lights will automatically turn off.
If the headlights remain on while the ignition is cycled
OFF, the exterior lights will automatically turn off after
eight minutes. If the headlights are turned on and left on
for eight minutes while the ignition is OFF, the exterior
lights will automatically turn off.
NOTE:Battery Saver mode is cancelled if the ignition is
ON.
High/Low Beam
138 UNDERSTANDING THE FEATURES OF YOUR VEHICLE
Page 155 of 452
To set the variance: Turn the ignition ON and set the
display to “Compass/Temperature.” Press and hold the
RESET button approximately five seconds. The last vari-
ance zone number will be displayed. Press the STEPbutton to select the new variance zone and press the
RESET button to resume normal operation.
Outside Temperature
Because the ambient temperature sensor is located under
the hood, engine temperature can influence the displayed
temperature; therefore, temperature readings are slowly
updated when the vehicle speed is below 20 mph
(30 km/h) or during stop-and-go driving.
GARAGE DOOR OPENER — IF EQUIPPED
HomeLink�
replaces up to three remote controls (hand-
held transmitters) that operate devices such as garage
door openers, motorized gates, lighting or home security
systems. The HomeLink� unit operates off of your vehi-
cle’s battery.
Compass Variance Map
3
UNDERSTANDING THE FEATURES OF YOUR VEHICLE 153
Page 157 of 452
Programming HomeLink�
Before You Begin
The Compass Mini-Trip Computer (CMTC) illuminates
the HomeLink�symbol (a house with an arrow inside it)
along with 1, 2 or 3 indicators under it, when a
HomeLink� button is pressed.
Pay attention to the indicator(s), as they will flash at
different rates, or remain solid during training.
If you have not trained any of the HomeLink� buttons,
erase all channels before you begin training.
To do this, press and hold the two outside buttons for
20 seconds. Release the buttons when the indicators start
to flash.
It is recommended that a new battery be placed in the
handheld transmitter of the device being copied to
HomeLink� for more efficient training and accurate
transmission of the radio-frequency signal. Your vehicle should be parked outside of the garage
while training.
1. Turn the ignition switch to the ON/RUN position.
2. Place the handheld transmitter 1 to 3 inches (3 to 8 cm)
from the HomeLink�
buttons while keeping the
HomeLink� display in view.
For optimal training, point the battery end of the hand-
held transmitter away from the HomeLink�.
3. Simultaneously, press and hold both the chosen
HomeLink�button and the handheld transmitter button
until the indicator(s) change from a slow to a rapid flash
rate.
Then release both the HomeLink� and handheld trans-
mitter buttons.
It may take up to 30 seconds or longer in rare cases. The
garage door may open and close while you train.
3
UNDERSTANDING THE FEATURES OF YOUR VEHICLE 155
Page 158 of 452
If the signal is too weak to train, replace the battery in the
handheld transmitter.
NOTE:Some gate operators and garage door openers
may require you to replace Step 3 with procedures noted
in the “Gate Operator/Canadian Programming” section.
4. Press and hold the just-trained HomeLink� button. If
the indicator(s) blink rapidly for two seconds and then
remains constant, continue with the next section: “Pro-
gramming A Rolling Code System”.
NOTE: After training a HomeLink� channel, if the
garage door does not operate with HomeLink� and the
garage door opener was manufactured after 1995, the
garage door opener may have rolling code. If so, proceed
to Step 5 “Programming A Rolling Code System.”
5. Programming A Rolling Code System
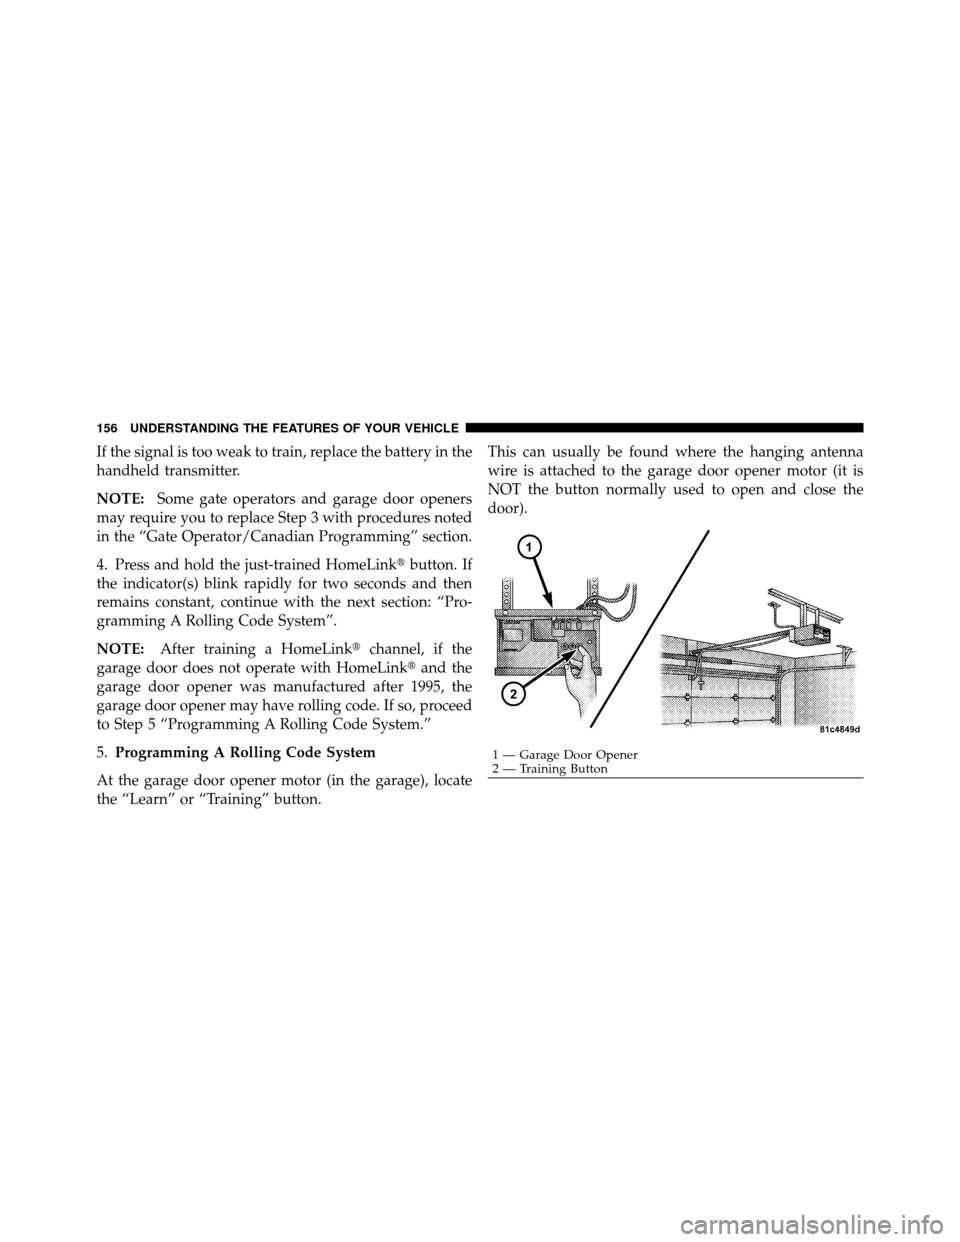
At the garage door opener motor (in the garage), locate
the “Learn” or “Training” button. This can usually be found where the hanging antenna
wire is attached to the garage door opener motor (it is
NOT the button normally used to open and close the
door).
1 — Garage Door Opener
2 — Training Button
156 UNDERSTANDING THE FEATURES OF YOUR VEHICLE
Page 161 of 452
Troubleshooting Tips
If you are having trouble programming HomeLink�, here
are some of the most common solutions:
•Replace the battery in the original transmitter.
•Press the LEARN button on the garage door opener to
complete the training for Rolling Code.
•Did you unplug the device for training and remember
to plug it back in?
If you have any problems, or require assistance, please
call toll-free 1–800–355–3515 or, on the Internet at
www.HomeLink.com, for information or assistance.
General Information
This device complies with FCC rules part 15 and Industry
Canada RSS-210. Operation is subject to the following
two conditions:
1. This device may not cause harmful interference. 2. This device must accept any interference that may be
received including interference that may cause undesired
operation.
NOTE:
The transmitter has been tested and it complies
with FCC and IC rules. Changes or modifications not
expressly approved by the party responsible for compli-
ance could void the user ’s authority to operate the
device.
The term “IC” before the certification/registration num-
ber only signifies that Industry Canada technical specifi-
cations were met.
3
UNDERSTANDING THE FEATURES OF YOUR VEHICLE 159
Page 164 of 452
CAUTION!
•Many accessories that can be plugged in, draw
power from the vehicle’s battery, even when not in
use (i.e., cellular phones, etc.). Eventually, if
plugged in long enough, the vehicle’s battery will
discharge sufficiently to degrade battery life
and/or prevent the engine from starting.
•Accessories that draw higher power (i.e., coolers,
vacuum cleaners, lights, etc.), will discharge the
battery even more quickly. Use these only inter-
mittently and with greater caution.
•After the use of high power draw accessories, or
long periods of the vehicle not being started (with
accessories still plugged in), the vehicle must be
driven a sufficient length of time to allow the
generator to recharge the vehicle’s battery.
CUPHOLDERS
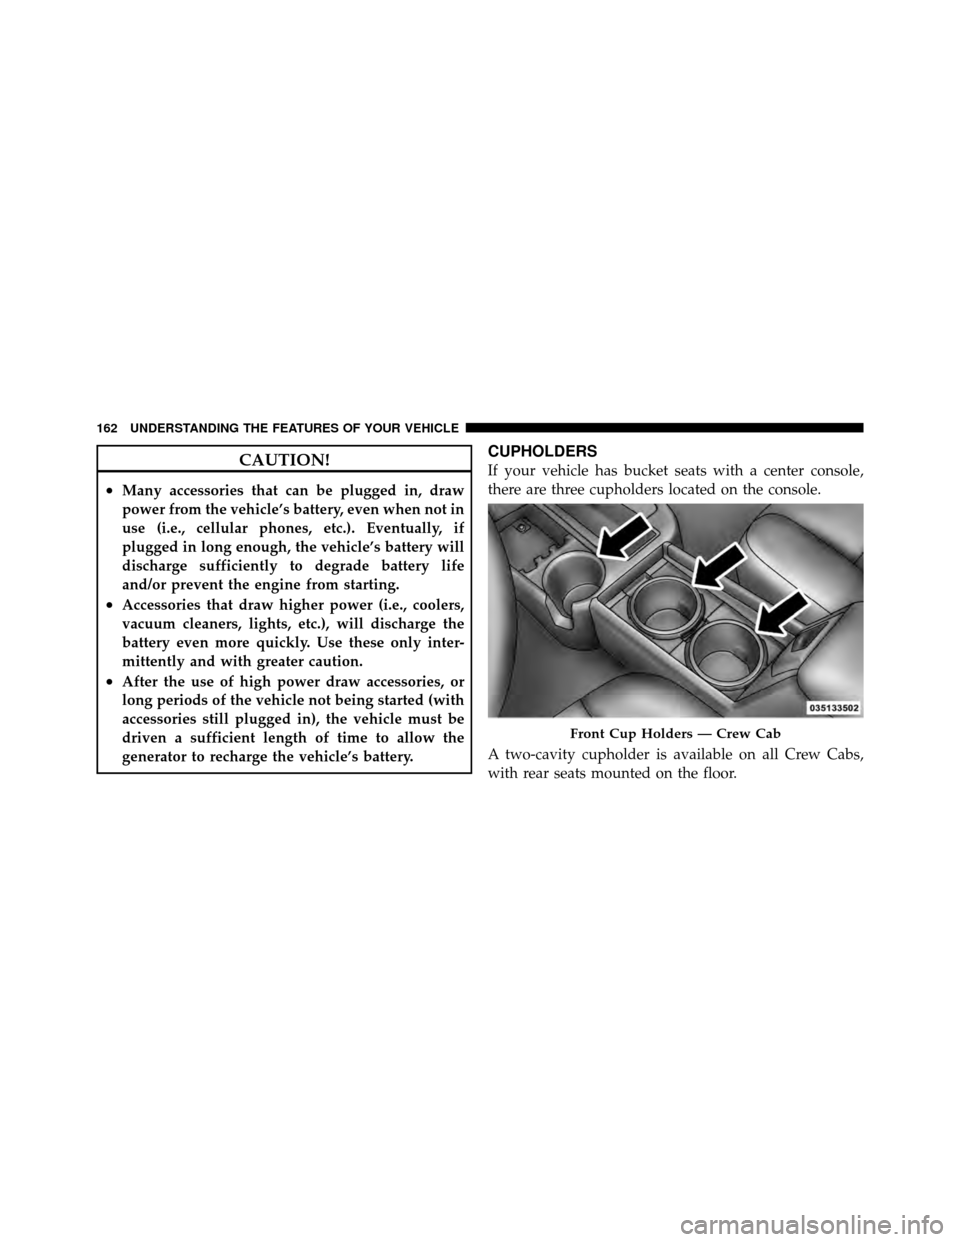
If your vehicle has bucket seats with a center console,
there are three cupholders located on the console.
A two-cavity cupholder is available on all Crew Cabs,
with rear seats mounted on the floor.
Front Cup Holders — Crew Cab
162 UNDERSTANDING THE FEATURES OF YOUR VEHICLE