Page 444 of 566

6. Remove the scissors jack and lug wrench from the
spare wheel as an assembly. Turn the jack screw to the left
to loosen the lug wrench, and remove the wrench from
the jack assembly.
WARNING!
•A loose tire or jack thrown forward in a collision
or hard stop could endanger the occupants of the
vehicle. Always stow the jack parts and the spare
tire in the places provided.
•Have the deflated (flat) tire repaired or replaced
immediately.
Preparations For Jacking
1. Park the vehicle on a firm, level surface as far from the
edge of the roadway as possible. Avoid icy or slippery
areas.
WARNING!
Do not attempt to change a tire on the side of the
vehicle close to moving traffic, pull far enough off
the road to avoid being hit when operating the jack
or changing the wheel.
2. Turn on the Hazard Warning flasher.
3. Set the parking brake.
4. Place the shift lever into PARK.
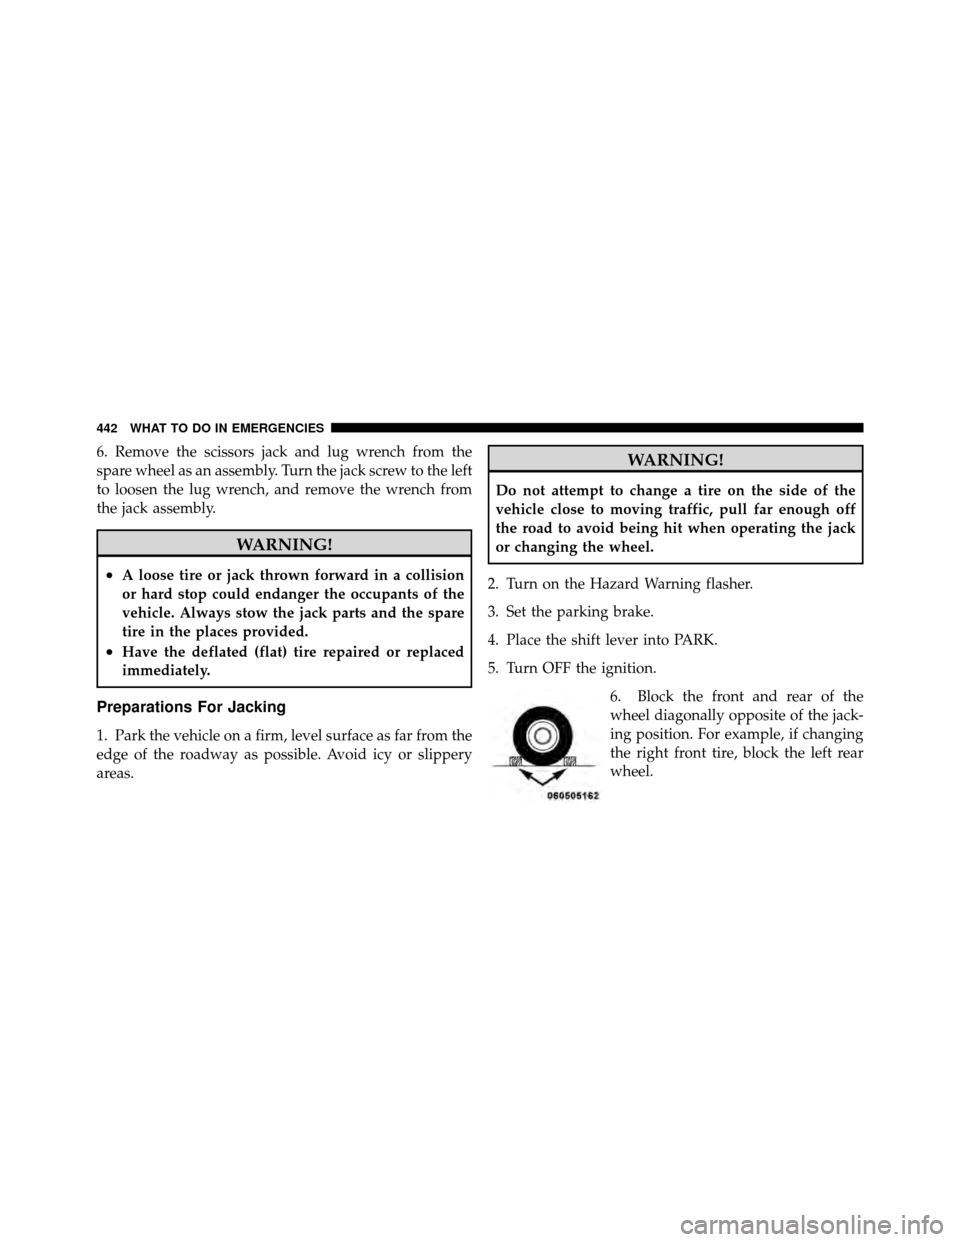
5. Turn OFF the ignition. 6. Block the front and rear of the
wheel diagonally opposite of the jack-
ing position. For example, if changing
the right front tire, block the left rear
wheel.
442 WHAT TO DO IN EMERGENCIES
Page 446 of 566
CAUTION!
Do not attempt to raise the vehicle by jacking on
locations other than those indicated in the Jacking
Instructions for this vehicle.
1. Remove the spare tire, jack, and lug wrench.
2. If equipped with aluminum wheels where the center
cap covers the lug nuts, use the lug wrench to pry the
center cap off carefully before raising the vehicle.
3. Before raising the vehicle, use the lug wrench to
loosen, but not remove, the lug nuts on the wheel with
the flat tire. Turn the lug nuts counterclockwise one turn
while the wheel is still on the ground. 4. Place the jack underneath the lift area that is closest to
the flat tire. Turn the jack screw clockwise to firmly
engage the jack saddle with the lift area of the sill flange.
Front Jacking Location
444 WHAT TO DO IN EMERGENCIES
Page 447 of 566
5. Raise the vehicle just enough to remove the flat tire
and install the spare tire.
WARNING!
Raising the vehicle higher than necessary can make
the vehicle less stable. It could slip off the jack and
hurt someone near it. Raise the vehicle only enough
to remove the tire.
6. Remove the lug nuts and tire.
7. Mount the spare tire.
Rear Jacking Location6
WHAT TO DO IN EMERGENCIES 445
Page 448 of 566
CAUTION!
Be sure to mount the spare tire with the valve stem
facing outward. The vehicle could be damaged if the
spare tire is mounted incorrectly.NOTE:
•For vehicles so equipped, do not attempt to install a
center cap or wheel cover on the compact spare.
•Refer to “Compact Spare Tire” and to “Limited-Use
Spare” under “Tires—General Information” in “Start-
ing and Operating” for additional warnings, cautions,
and information about the spare tire, its use, and
operation.
8. Install the lug nuts with the cone shaped end of the lug
nut toward the wheel. Lightly tighten the lug nuts.
WARNING!
To avoid the risk of forcing the vehicle off the jack,
do not tighten the lug nuts fully until the vehicle is
lowered to the ground.
9. Lower the vehicle to the ground by turning the jack
handle counterclockwise.
Mounting Spare Tire
446 WHAT TO DO IN EMERGENCIES
Page 449 of 566

10. Finish tightening the lug nuts. Push down on the
wrench while at the end of the handle for increased
leverage. Tighten the lug nuts in a star pattern until each
nut has been tightened twice. The correct tightness of
each lug nut is 110 ft/lb. (150 N·m). If in doubt about the
correct tightness, have them checked with a torque
wrench by your authorized dealer or at a service station.
11. Stow the jack, tools and flat tire. Make sure the base
of the jack faces the front of the vehicle before tightening
down the fastener.
WARNING!
•A loose tire or jack thrown forward in a collision
or hard stop could endanger the occupants of the
vehicle. Always stow the jack parts and the spare
tire in the places provided.
•Have the deflated (flat) tire repaired or replaced
immediately.
Road Tire Installation
1. Mount the road tire on the axle.
2. Install the remaining lug nuts with the cone shaped
end of the nut toward the wheel. Lightly tighten the lug
nuts.
WARNING!
To avoid the risk of forcing the vehicle off the jack,
do not tighten the lug nuts fully until the vehicle is
lowered to the ground.
3. Lower the vehicle to the ground by turning the jack
handle counterclockwise.
4. Finish tightening the lug nuts. Push down on the
wrench while at the end of the handle for increased
leverage. Tighten the lug nuts in a star pattern until each
nut has been tightened twice. The correct tightness of
6
WHAT TO DO IN EMERGENCIES 447
Page 502 of 566
Rear Power Distribution Center
There is also a power distribution center located in the
trunk under the spare tire access panel. This center
contains fuses and relays.
Opening The Access Panel
Rear Power Distribution Center
500 MAINTAINING YOUR VEHICLE
Page 504 of 566
Cavity CartridgeFuseMini-
Fuse Description
10 30 Amp Pink — Driver Door
11 30 Amp Pink — Passenger Door
12 — 20 Amp YellowCigar Lighters, Instru-
ment Panel & Power
Outlet Console Rear
15 40 Amp Green — HVAC Blower
16 — — Fuse — Spare
17 — — Fuse — Spare
18 — — Fuse — Spare
19 — — Fuse — Spare
20 — — Fuse — Spare
21 — — Fuse — Spare
22 — — Fuse — SpareCavity Cartridge FuseMini-
Fuse Description
23 — 10 Amp RedFuel Door/Diagnostic
Port
24 — 15 Amp BlueRadio Screen
25 — 10 Amp RedTire Pressure Monitor
26 — — Fuse — Spare
27 — 25 Amp NaturalAmplifier
31 — 25 Amp NaturalPower Seats
32 — 15 Amp BlueHVAC Module/
Cluster
33 — 15 Amp BlueIgnition Switch/
Wireless Module
502 MAINTAINING YOUR VEHICLE
Page 546 of 566

Brake/Transmission Interlock............... 355
Brakes ............................... 486
Break-In Recommendations, New Vehicle ........ 84
Brightness, Interior Lights .................. 197
Bulb Replacement ..................... 505,506
Bulbs, Light .......................... 88,505
Camera, Rear ........................... 243
Capacities, Fluid ........................ 510
Caps, Filler Oil (Engine) ..................... 468,469
Radiator (Coolant Pressure) ............. 483
Car Washes ............................ 491
Carbon Monoxide Warning ...............85,414
Cargo (Vehicle Loading) ................... 421
Cellular Phone .......................... 329
Certification Label ....................... 422
Chains, Tire ............................ 397
Changing A Flat Tire ..................... 439 Chart, Tire Sizing
........................ 380
Check Engine Light
(Malfunction Indicator Light) .............278,463
Checking Your Vehicle For Safety ............. 84
Checks, Safety ........................... 84
Child Restraint .................... 73,75,78,82
Child Restraint Tether Anchors .............77,78
Child Safety Locks ........................ 33
Clean Air Gasoline ....................... 411
Cleaning Wheels ............................ 493
Windshield Wiper Blades ............... 476
Climate Control ......................... 330
Coin Holder ........................... 265
Cold Weather Operation ................... 350
Compact Disc (CD) Maintenance ............. 329
Compact Spare Tire ...................... 392
Computer, Trip/Travel .................... 295
544 INDEX