Page 195 of 566
To activate the front fog lights, turn on the parking
lights or the low beam headlights and press the
headlight switch. To turn off the front fog lights,
either press the headlight switch a second time or turn off
the headlight switch.
An indicator light in the instrument cluster illuminates
when the fog lights are turned on.
NOTE: The fog lights will operate with the low beam
headlights or parking lights on. However, selecting the
high beam headlights will turn off the fog lights.
Multifunction Lever
The multifunction lever controls the operation of the turn
signals, headlight beam selection and passing lights. The
multifunction lever is located on the left side of the
steering column.Turn Signals
Move the multifunction lever up or down and the arrows
on each side of the instrument cluster flash to show
proper operation of the front and rear turn signal lights.
Multifunction Lever
3
UNDERSTANDING THE FEATURES OF YOUR VEHICLE 193
Page 196 of 566

NOTE:
•If either light remains on and does not flash, or there is
a very fast flash rate, check for a defective outside light
bulb. If an indicator fails to light when the lever is
moved, it would suggest that the indicator bulb is
defective.
•A “Turn Signal On” message will appear in the EVIC
(if equipped) and a continuous chime will sound if the
vehicle is driven more than 1 mi (1.6 km) with either
turn signal on.
Lane Change Assist
Tap the lever up or down once, without moving beyond
the detent, and the turn signal (right or left) will flash
three times then automatically turn off.
High/Low Beam Switch
Push the multifunction lever away from you to switch
the headlights to high beam. Pull the multifunction lever
toward you to switch the headlights back to low beam.
Flash-To-Pass
You can signal another vehicle with your headlights by
lightly pulling the multifunction lever toward you. This
will turn on the high beam headlights until the lever is
released.
194 UNDERSTANDING THE FEATURES OF YOUR VEHICLE
Page 199 of 566
Dimmer Controls
The dimmer control is part of the headlight switch and is
located on the left side of the instrument panel.With the parking lights or headlights on, rotating the left
dimmer control upward will increase the brightness of
the instrument panel lights and lighted cupholders (if
equipped).
Rotating the right dimmer control upward will increase
the brightness of the door handle lights and map pockets.
Dome Light Position
Rotate the dimmer control completely upward to the
second detent to turn on the interior lights. The interior
lights will remain on when the dimmer control is in this
position.
Interior Light Defeat (OFF)
Rotate the dimmer control to the extreme bottom OFF
position. The interior lights will remain off when the
doors are open.
Dimmer Switches
3
UNDERSTANDING THE FEATURES OF YOUR VEHICLE 197
Page 200 of 566
Parade Mode (Daytime Brightness Feature)
Rotate the dimmer control upward to the first detent.
This feature brightens all text displays such as the
odometer, EVIC (if equipped), and radio when the park-
ing lights or headlights are on.
WINDSHIELD WIPERS AND WASHERS
The multifunction lever operates the windshield wipers
and washer when the ignition switch is in the ON/RUN
or ACC position. The lever is located on the left side of
the steering column.
Windshield Wiper/Washer Control
198 UNDERSTANDING THE FEATURES OF YOUR VEHICLE
Page 202 of 566

WARNING!
Sudden loss of visibility through the windshield
could lead to a collision. You might not see other
vehicles or other obstacles. To avoid sudden icing of
the windshield during freezing weather, warm the
windshield with the defroster before and during
windshield washer use.
Mist Feature
Rotate the end of the lever downward to the Mist
position to activate a single wipe cycle to clear off road
mist or spray from a passing vehicle. The wipers will
continue to operate until you release the multifunction
lever.
NOTE:The mist feature does not activate the washer
pump; therefore, no washer fluid will be sprayed on the
windshield. The wash function must be used in order to
spray the windshield with washer fluid.
Headlights On With Wipers
(Available With Automatic Headlights Only)
When this feature is active, the headlights will turn on
approximately 10 seconds after the wipers are turned on
if the headlight switch is placed in the AUTO position. In
addition, the headlights will turn off when the wipers are
turned off if they were turned on by this feature.
NOTE: The Headlights On with Wipers feature can be
turned on and off using the Uconnect Touch™ System,
refer to “Uconnect Touch™ Settings” in “Understanding
Your Instrument Panel” for further information.
Rain Sensing Wipers — If Equipped
This feature senses moisture on the windshield and
automatically activates the wipers for the driver. The
feature is especially useful for road splash or overspray
from the windshield washers of the vehicle ahead. Rotate
the end of the multifunction lever to one of four settings
to activate this feature.
200 UNDERSTANDING THE FEATURES OF YOUR VEHICLE
Page 277 of 566
 for each gear
range. Before reaching the red area, ease up on")
INSTRUMENT CLUSTER DESCRIPTIONS
1. Tachometer
The red segments indicate the maximum permissible
engine revolutions per minute (RPM x 1000) for each gear
range. Before reaching the red area, ease up on the
accelerator.
2. AWD (All Wheel Drive) Indicator — If Equipped
The AWD indicator will illuminate when All Wheel Drive
(AWD) is activated.
3. Park/Headlight ON Indicator — If EquippedThis indicator will illuminate when the park
lights or headlights are turned on.
4. Front Fog Light Indicator — If Equipped This indicator will illuminate when the front fog
lights are on. 5. Turn Signal Indicators
The arrow will flash with the exterior turn signal
when the turn signal lever is operated.
If the vehicle electronics sense that the vehicle is driven
more than 1 mile (1.6 km) with either turn signal on, a
continuous chime will sound to alert you to turn the
signals off. If either indicator flashes at a rapid rate, check
for a defective outside light bulb.
6. High Beam Indicator This indicator shows that the high beam head-
lights are on. Push the multifunction lever forward
to switch the headlights to high beam, and pull toward
yourself (normal position) to return to low beam.
4
UNDERSTANDING YOUR INSTRUMENT PANEL 275
Page 301 of 566
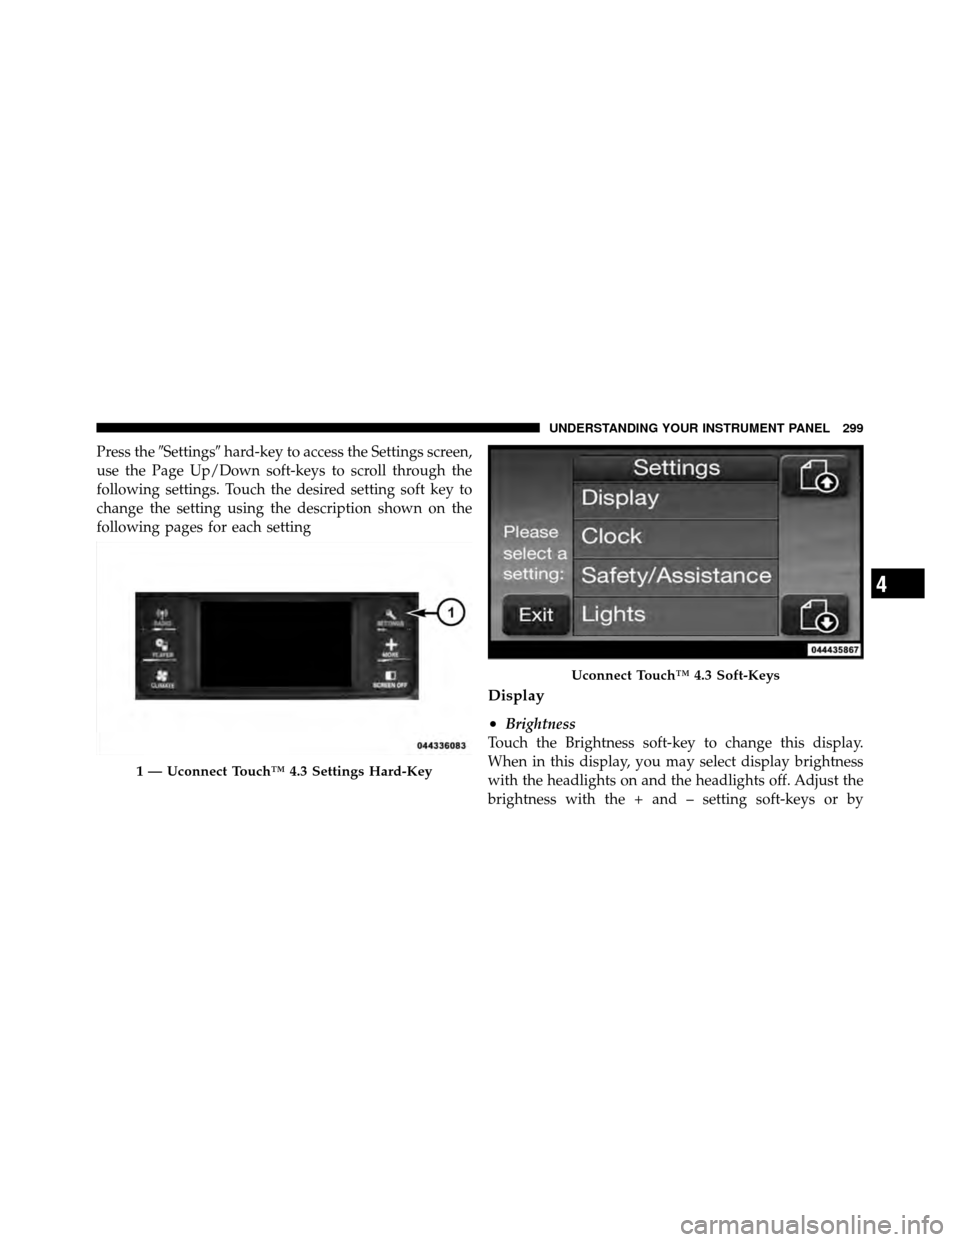
Press the�Settings� hard-key to access the Settings screen,
use the Page Up/Down soft-keys to scroll through the
following settings. Touch the desired setting soft key to
change the setting using the description shown on the
following pages for each setting
Display
•
Brightness
Touch the Brightness soft-key to change this display.
When in this display, you may select display brightness
with the headlights on and the headlights off. Adjust the
brightness with the + and – setting soft-keys or by
1 — Uconnect Touch™ 4.3 Settings Hard-Key
Uconnect Touch™ 4.3 Soft-Keys
4
UNDERSTANDING YOUR INSTRUMENT PANEL 299
Page 306 of 566

Lights
•
Headlight Off Delay
Touch the Headlight Off Delay soft-key to change this
display. When this feature is selected, the driver can
choose to have the headlights remain on for 0, 30, 60, or
90 seconds when exiting the vehicle. To change the
Headlight Off Delay status, touch the 0, 30, 60 or 90
soft-key. Then touch the arrow back soft-key.
•Illuminated Approach
Touch the Illuminated Approach soft-key to change this
display. When this feature is selected, the headlights will
activate and remain on for 0, 30, 60, or 90 seconds when
the doors are unlocked with the Remote Keyless Entry
(RKE) transmitter. To change the Illuminated Approach
status, touch the 0, 30, 60 or 90 soft-key. Then touch the
arrow back soft-key.
•Headlights With Wipers
Touch the Headlights With Wipers soft-key to change this
display. When this feature is selected, and the headlight
switch is in the AUTO position, the headlights will turn
on approximately 10 seconds after the wipers are turned
on. The headlights will also turn off when the wipers are
turned off if they were turned on by this feature. To make
your selection, touch the Headlights With Wipers soft-
key and select ON or OFF. Then touch the arrow back
soft-key.
•Auto High Beams
Touch the Auto High Beams soft-key to change this
display. When this feature is selected, the high beam
headlights will deactivate automatically under certain
conditions. To make your selection, touch the Auto High
Beams soft-key and select ON or OFF. Then touch the
arrow back soft-key. Refer to “Lights/SmartBeam™ — If
Equipped” in “Understanding The Features Of Your
Vehicle” for further information.
304 UNDERSTANDING YOUR INSTRUMENT PANEL


Rotate the dimmer control upward to the first detent.
This feature brightens all text displays such as the
odometer, EVIC (if equipped), and radio when the par")