Page 286 of 490
If both the “Brake Warning Light” and the “ABS Warning
Light” remain on, the ABS and EBD systems are not
functioning. Immediate repair to the ABS system is
required.
ELECTRONIC BRAKE CONTROL SYSTEM
Your vehicle is equipped with an advanced electronic
brake control system commonly referred to as ESP. This
system includes the Anti-Lock Brake System (ABS), the
Traction Control System (TCS), the Brake Assist System
(BAS), and the Electronic Stability Program (ESP). These
systems work together to enhance both vehicle stability
and control in various driving conditions.
An additional electronic brake control feature called Hill
Start Assist (HSA) is standard on manual transmission
models.
Anti-Lock Brake System (ABS)
This system aids the driver in maintaining vehicle control
under adverse braking conditions by controlling hydrau-
lic brake pressure. This prevents wheel lock-up to help
avoid skidding on slippery surfaces during braking.
Refer to “Anti-Lock Brake System” in “Starting and
Operating” for further information.
WARNING!
The ABS cannot prevent the natural laws of physics
from acting on the vehicle, nor can it increase the
traction afforded by prevailing road conditions. The
ABS cannot prevent accidents, including those result-
ing from excessive speed in turns, driving on very
slippery surfaces, or hydroplaning. The capabilities
of an ABS-equipped vehicle must never be exploited
in a reckless or dangerous manner that could jeopar-
dize the user’s safety or the safety of others.
284 STARTING AND OPERATING
Page 288 of 490

WARNING!
The BAS cannot prevent the natural laws of physics
from acting on the vehicle, nor can it increase the
traction afforded by prevailing road conditions. The
BAS cannot prevent accidents, including those re-
sulting from excessive speed in turns, driving on
very slippery surfaces, or hydroplaning. The capa-
bilities of a BAS-equipped vehicle must never be
exploited in a reckless or dangerous manner that
could jeopardize the user’s safety or the safety of
others.
Hill Start Assist (HSA) – Manual Transmission
Only
The HSA system is designed to assist the driver when
starting a vehicle from a stop on a hill. HSA will maintain
the level of brake pressure the driver applied for a short
period of time after the driver takes their foot off of thebrake pedal. If the driver does not apply the throttle
during this short period of time, the system will release
brake pressure and the vehicle will roll down the hill. The
system will release brake pressure in proportion to
amount of throttle applied as the vehicle starts to move in
the intended direction of travel.
HSA Activation Criteria
The following criteria must be met in order for HSA to
activate:
•Vehicle must be stopped.
•Vehicle must be on a 7% grade or greater hill.
•Gear selection matches vehicle uphill direction (i.e.,
vehicle facing uphill is in forward gear; vehicle back-
ing uphill is in REVERSE gear).
286 STARTING AND OPERATING
Page 324 of 490
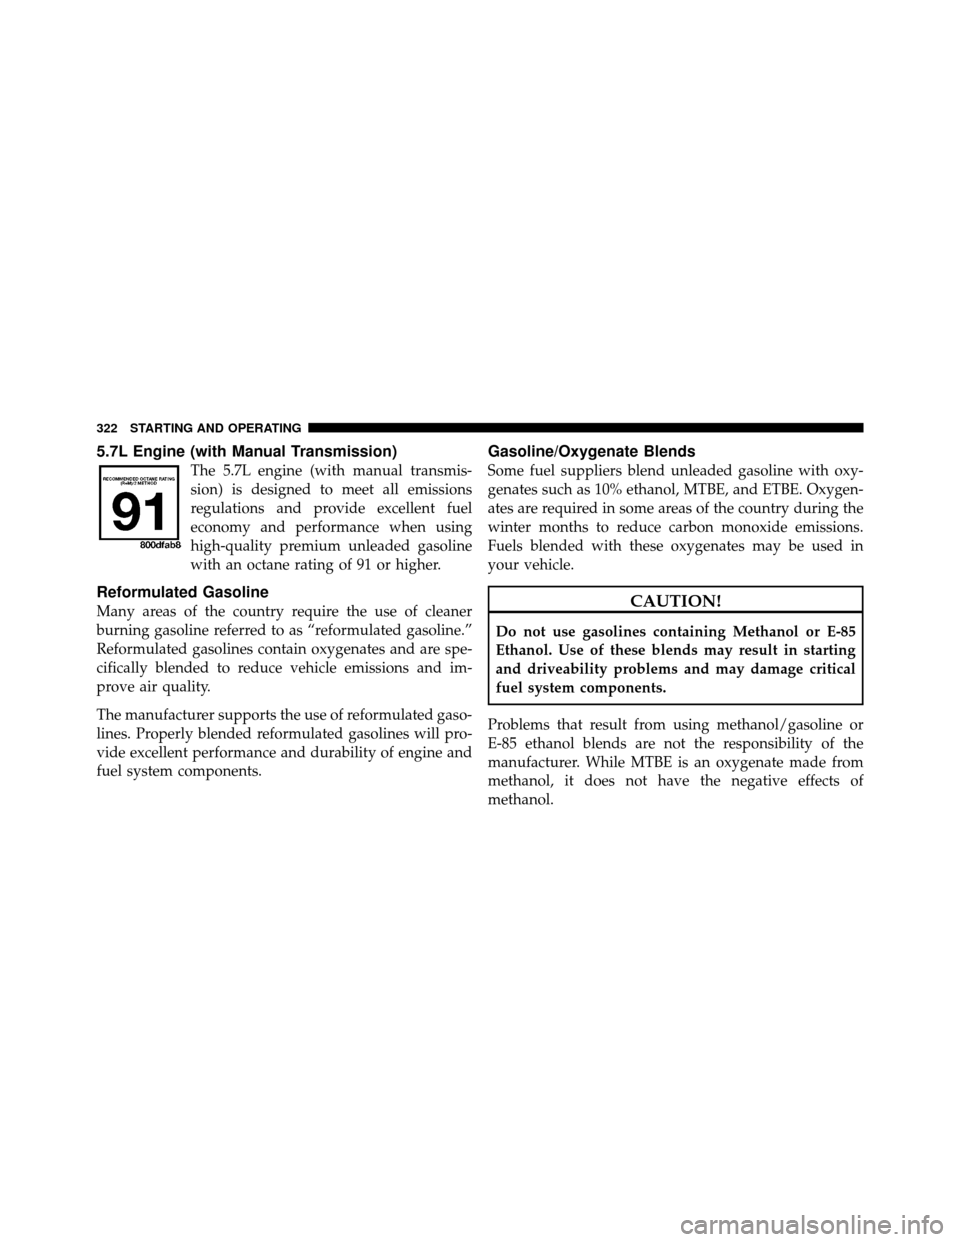
5.7L Engine (with Manual Transmission)
The 5.7L engine (with manual transmis-
sion) is designed to meet all emissions
regulations and provide excellent fuel
economy and performance when using
high-quality premium unleaded gasoline
with an octane rating of 91 or higher.
Reformulated Gasoline
Many areas of the country require the use of cleaner
burning gasoline referred to as “reformulated gasoline.”
Reformulated gasolines contain oxygenates and are spe-
cifically blended to reduce vehicle emissions and im-
prove air quality.
The manufacturer supports the use of reformulated gaso-
lines. Properly blended reformulated gasolines will pro-
vide excellent performance and durability of engine and
fuel system components.
Gasoline/Oxygenate Blends
Some fuel suppliers blend unleaded gasoline with oxy-
genates such as 10% ethanol, MTBE, and ETBE. Oxygen-
ates are required in some areas of the country during the
winter months to reduce carbon monoxide emissions.
Fuels blended with these oxygenates may be used in
your vehicle.
CAUTION!
Do not use gasolines containing Methanol or E-85
Ethanol. Use of these blends may result in starting
and driveability problems and may damage critical
fuel system components.
Problems that result from using methanol/gasoline or
E-85 ethanol blends are not the responsibility of the
manufacturer. While MTBE is an oxygenate made from
methanol, it does not have the negative effects of
methanol.
322 STARTING AND OPERATING
Page 336 of 490
Figure out the weight on the front and rear of the vehicle
separately. It is important that you distribute the load
evenly over the front and rear axles.
Overloading can cause potential safety hazards and
shorten useful service life. Heavier axles or suspension
components do not necessarily increase the vehicle’s
GVWR.
Loading
To load your vehicle properly, first figure out its empty
weight, axle-by-axle and side-by-side. Store heavier items
down low and be sure you distribute their weight as
evenly as possible. Stow all loose items securely before
driving. If weighing the loaded vehicle shows that you
have exceeded either GAWR, but the total load is within
the specified GVWR, you must redistribute the weight.
Improper weight distribution can have an adverse effect
on the way your vehicle steers and handles and the way
the brakes operate.NOTE:
Refer to the “Vehicle Certification Label” affixed
to the rear of the driver’s door for your vehicle’s GVWR
and GAWRs.
TRAILER TOWING
Manual Transmission – If Equipped
Trailer towing with this vehicle is not recommended.
In this section, you will find safety tips and information
on limits to the type of towing you can reasonably do
with your vehicle. Before towing a trailer, carefully
review this information to tow your load as efficiently
and safely as possible.
To maintain warranty coverage, follow the requirements
and recommendations in this manual concerning ve-
hicles used for trailer towing.
334 STARTING AND OPERATING
Page 348 of 490
�Air Conditioning
Turn off temporarily.
RECREATIONAL TOWING
(BEHIND MOTORHOME, ETC.)
Towing This Vehicle Behind Another Vehicle —
Automatic Transmission
Recreational towing (with all four wheels on the ground,
or using a tow dolly) is NOT ALLOWED. The only
acceptable method for towing this vehicle (behind an-
other vehicle) is on a vehicle trailer with all four wheels
OFF the ground
CAUTION!
Towing this vehicle in violation of the above require-
ments can cause severe transmission damage. Dam-
age from improper towing is not covered under the
New Vehicle Limited Warranty.
Towing This Vehicle Behind Another Vehicle —
Manual Transmission
Flat towing of vehicles equipped with a manual trans-
mission is permitted within the following limitations:
Your vehicle may be towed under the following condi-
tions:
•The shift lever must be in NEUTRAL
•There is no limitation on the distance to be traveled
•The towing speed must not exceed 65 mph (104 km/h)
CAUTION!
Exceeding these towing limits may cause severe
transmission damage. Such damage is not covered by
the New Vehicle Limited Warranty.
346 STARTING AND OPERATING
Page 350 of 490
�Freeing A Stuck Vehicle ................. 374
� Shift Lever Override ................... 375
▫ With Keyless Enter-N-Go — If Equipped . . . 376
� Towing A Disabled Vehicle ............... 376
▫ Without The Key FOB ................. 376
▫ Towing This Vehicle Behind Another Vehicle
(Flat Towing With All Four Wheels On The
Ground) — Automatic Transmissions ...... 377▫
Towing This Vehicle Behind Another Vehicle
(Flat Towing With All Four Wheels On The
Ground) — Manual Transmissions ........ 378
▫ Towing This Vehicle Behind Another Vehicle
With A Tow Dolly .................... 379
348 WHAT TO DO IN EMERGENCIES
Page 357 of 490
WARNING! (Continued)
•TIREFIT Sealant solution contains latex. In case of
an allergic reaction or rash, consult a physician
immediately. Keep TIREFIT out of reach of chil-
dren. If swallowed, rinse mouth immediately with
plenty of water and drink plenty of water. Do not
induce vomiting! Consult a physician
immediately.
Sealing A Tire With TIREFIT
(A) Whenever You Stop To Use TIREFIT:
1. Pull over to a safe location and turn on the vehicle’s
Hazard Warning flashers.
2. Verify that the valve stem (on the wheel with the
deflated tire) is in a position that is near to the ground.
This will allow the TIREFIT Hoses (6) and (7) to reach the
valve stem and keep the TIREFIT kit flat on the ground.This will provide the best positioning of the kit when
injecting the sealant into the deflated tire and running the
air pump. Move the vehicle as necessary to place the
valve stem in this position before proceeding.
3. Place the transmission in PARK (auto transmission) or
in Gear (manual transmission) and turn Off the ignition.
4. Set the parking brake.
(B) Setting Up To Use TIREFIT:
1. Turn the Mode Select Knob (5) to the Sealant Mode
position.
2. Uncoil the Sealant Hose (6) and then remove the cap
from the fitting at the end of the hose.
3. Place the TIREFIT kit flat on the ground next to the
deflated tire.
6
WHAT TO DO IN EMERGENCIES 355
Page 358 of 490

4. Remove the cap from the valve stem and then screw
the fitting at the end of the Sealant Hose (6) onto the
valve stem.
5. Uncoil the Power Plug (8) and insert the plug into the
vehicle’s 12 Volt power outlet.
NOTE:Do not remove foreign objects (e.g., screws or
nails) from the tire.
(C) Injecting TIREFIT Sealant Into The Deflated
Tire:
•
Always start the engine before turning ON the TIRE-
FIT kit.
NOTE: Manual transmission vehicles must have the
parking brake engaged and the shift lever in NEUTRAL.
•After pressing the Power Button (4), the sealant (white
fluid) will flow from the Sealant Bottle (1) through the
Sealant Hose (6) and into the tire. NOTE:
Sealant may leak out through the puncture in
the tire.
If the sealant (white fluid) does not flow within 0 –
10 seconds through the Sealant Hose (6):
1. Press the Power Button (4) to turn Off the TIREFIT kit.
Disconnect the Sealant Hose (6) from the valve stem.
Make sure the valve stem is free of debris. Reconnect the
Sealant Hose (6) to the valve stem. Check that the Mode
Select Knob (5) is in the Sealant Mode position and not
Air Mode. Press the Power Button (4) to turn On the
TIREFIT kit.
2. Connect the Power Plug (8) to a different 12 Volt
power outlet in your vehicle or another vehicle, if avail-
able. Make sure the engine is running before turning ON
the TIREFIT kit.
3. The Sealant Bottle (1) may be empty due to previous
use. Call for assistance.
356 WHAT TO DO IN EMERGENCIES