2011 CHRYSLER TOWN AND COUNTRY pairing phone
[x] Cancel search: pairing phonePage 47 of 100

Phone Pairing
NOTE:Pairing is a one-time initial setup before using the phone. You will also need to follow
the Bluetooth® instructions in your cell phone user guide to complete the phone pairing setup.
• Press the Phone button
to begin.
• Wait for the “ready” prompt and BEEP.
• (After the BEEP), say “Uconnect setup”.
• (After the BEEP), say “phone pairing”.
• (After the BEEP), say “pair a phone”.
• Follow the audible prompts.
• You will be asked to enter a four-digit Personal Identification Number (PIN), which you will later need to enter into your mobile phone. You can enter any four-digit PIN. You will not need to
remember this PIN after the initial pairing process.
• You will then be prompted to give the phone pairing a name (each phone paired should have a unique name).
• Next you will be asked to give this new pairing a priority of 1 thru 7 (up to seven phones may be paired); 1 is the highest and 7 is the lowest priority. The system will only connect to the highest
priority phone that exists within the proximity of the vehicle.
Making A Phone Call
• Press the Phone button.
• (After the BEEP), say “dial” (or “call” a name).
• (After the BEEP), say number (or name).
Phonebook Edit
• Press the Phone button.
• (After the BEEP), say “phonebook”.
• (After the BEEP), say “new entry” or “list names” or “delete”.
• Follow the prompts.
Receiving A Call – Accept (And End)
• When an incoming call rings/is announced on Uconnect™, press the Phone button.
• To end a call, press the Phone button
.
Mute (Or Unmute) Microphone During Call
• During a call, press the Voice Command button.
• (After the BEEP), say “mute” (or “mute off ”).
Transfer Ongoing Call Between Handset And Vehicle
• During a call, press the Voice Command button.
• (After the BEEP), say “transfer call”. ELECTRONICS
45
Page 51 of 100

• To hear audio from devices connected to this port from a non-touch-screen radio, press theAUX button on the radio faceplate. From a touch-screen radio, press the MEDIA hard-key,
then touch the AUX or iPod® soft-key.
• When connected to this feature: • The iPod® can be controlled using the radio buttons to Play, Browse, and List the iPod® orexternal devices contents. Refer to the Owner's Manual on the DVD for details.
• The iPod® battery charges when plugged into the USB port (if supported by the specific audio device).
• Compatible iPod® devices may also be controllable using voice commands. Refer to the Owner's Manual on the DVD for details.
NOTE:
• The USB port supports certain Mini, Classic, Nano, Touch, and iPhone® devices. The USB port also supports playing music from compatible external USB Mass Storage Class memory
devices. For supported audio file formats, refer to the USB Port section in the Owner's Manual
on the DVD. Refer to www.chrysler.com/uconnect website for a list of tested iPod®s. Some
iPod® software versions may not fully support the USB port features. Please visit Apple’s
website for iPod® software updates.
Bluetooth® Streaming Audio
• If equipped with Uconnect™ Voice Command, your Bluetooth-equipped iPod® devices, cellphones or other media players, may also be able to stream music to your vehicle's speakers.
Your connected device must be Bluetooth-compatible, and paired with your Media Center
radio (see Uconnect™ Phone for pairing instructions). Press the AUX button on the radio
faceplate until "BT" is displayed on the radio screen.
WARNING!
Do not plug in or remove the iPod® or external device while driving. Failure to follow this
warning could result in a collision.
ELECTRONIC VEHICLE INFORMATION CENTER (EVIC)
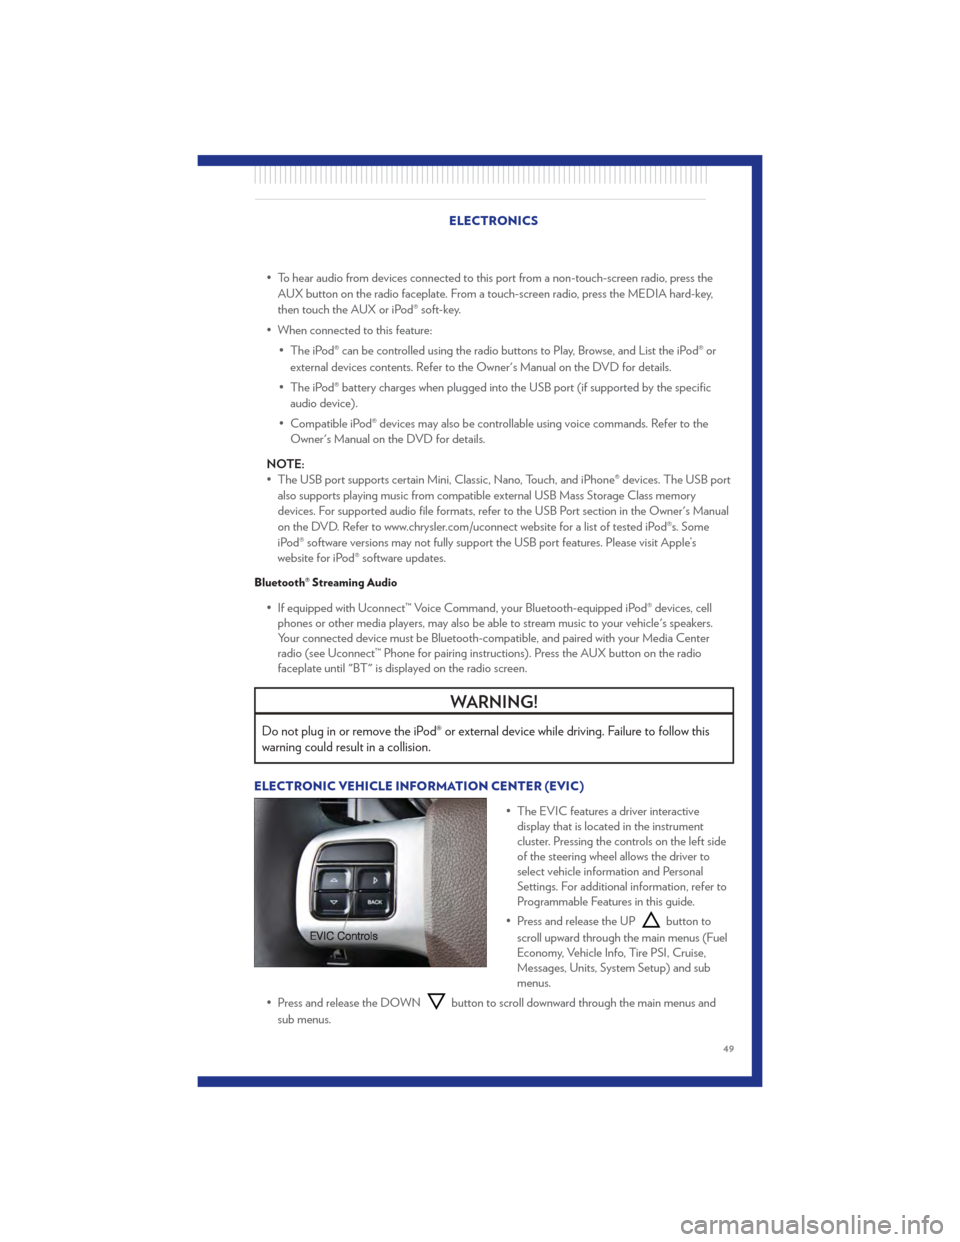
• The EVIC features a driver interactivedisplay that is located in the instrument
cluster. Pressing the controls on the left side
of the steering wheel allows the driver to
select vehicle information and Personal
Settings. For additional information, refer to
Programmable Features in this guide.
• Press and release the UP
button to
scroll upward through the main menus (Fuel
Economy, Vehicle Info, Tire PSI, Cruise,
Messages, Units, System Setup) and sub
menus.
• Press and release the DOWN
button to scroll downward through the main menus and
sub menus.
ELECTRONICS
49
Page 93 of 100

Jack Location...............62
Jack Operation ..............62
Jump Starting ...............70
KeyFob...................8
Key Fob Programmable Features .....50
Keyless Enter-N-Go ............10
Lock/Unlock ..............10
Starting/Stopping ............11
Lane Change Assist ............20
LATCH (Lower Anchors and Tether for
CHildren) .................14
Liftgate, Power ...............8
Lights TurnSignal ...............20
Warning (Instrument Cluster
Description) ...............6
Luggage Rack (Roof Rack) ........55
Maintenance Record ............81
Maintenance Schedule ..........80
Media Center Radio ..........36,38
Memory Seat ...............16
MOPAR® Accessories ...........89
Navigation ...............4 1,42
Non-Touch-Screen Radio .........36
Oil Change Indicator ...........61
Oil, Engine Capacity ................79
Outlet Power ..................54
Overheating, Engine ............61
Panic Alarm .................8
Phone (Pairing) ..............45
Phone (Uconnect) .............44
Placard, Tire and Loading Information . . . 85
Power Glass Sunroof ..............31
Inverter .................53
LiftGate .................8
Outlet (Auxiliary Electrical Outlet) . . . 54
Seats ..................15
Steering .................79 Preparation for Jacking
..........65
Programmable Electronic Features ....50
Radio Non-Touch-Screen ...........36
Touch-Screen ..............38
Radio Operation ............ 36,38
Rain Sensitive Wiper System ........20
Rear Heated Seats .............17
Recreational Towing ............57
Remote Starting System ..........9
Replacement Bulbs ............86
Reporting Safety Defects .........88
Restraints, Child ..............13
Rocking Vehicle When Stuck .......74
Roof Rack (Luggage Rack) ........55
Seat Belts .................12
Seats ....................15
Adjustment ...............16
Fold in Floor (Stow `n Go) .......
2
9
Heated .................17
Lumbar Support .............16
Memory.................16
Power ..................15
Stow `n Go (Fold in Floor) .......29
Seek Button ............... 37,39
Setting the Clock ............ 37,39
Shift Lever Override ............72
Signals, Turn ................20
SIRIUSTravelLink .............43
SmartBeams ................21
SpareTire .................62
Spark Plugs ................79
Speed Control Accel/Decel ...............22
Cancel .................22
Resume .................22
Speed Control (Cruise Control) ......22
Starting Remote .................9
Steering Tilt Column ...............18
Steering Wheel Audio Controls ......44
Store Radio Presets ...........37,39
Stow `n Go (Fold in Floor) Seats .....29
Stuck, Freeing ...............74
INDEX
91