Page 283 of 573
Vehicles Not Equipped With Keyless Enter-N-Go
1. Turn the ignition switch to the ON/RUN position (Do
not start the engine.)
2. Fully depress the accelerator pedal, slowly, three times
within 10 seconds.
3. Turn the ignition switch to the OFF/LOCK position.
NOTE:If the indicator message illuminates when you
start the engine, the oil change indicator system did not
reset. If necessary, repeat these steps.
Fuel Economy
Press and release the UP or DOWN button until “Fuel
Economy” displays highlighted in the EVIC and press
the SELECT button. The following Fuel Economy func-
tions display in the EVIC:
•Average Fuel Economy
•Distance To Empty (DTE)
•Miles Per Gallon (MPG)
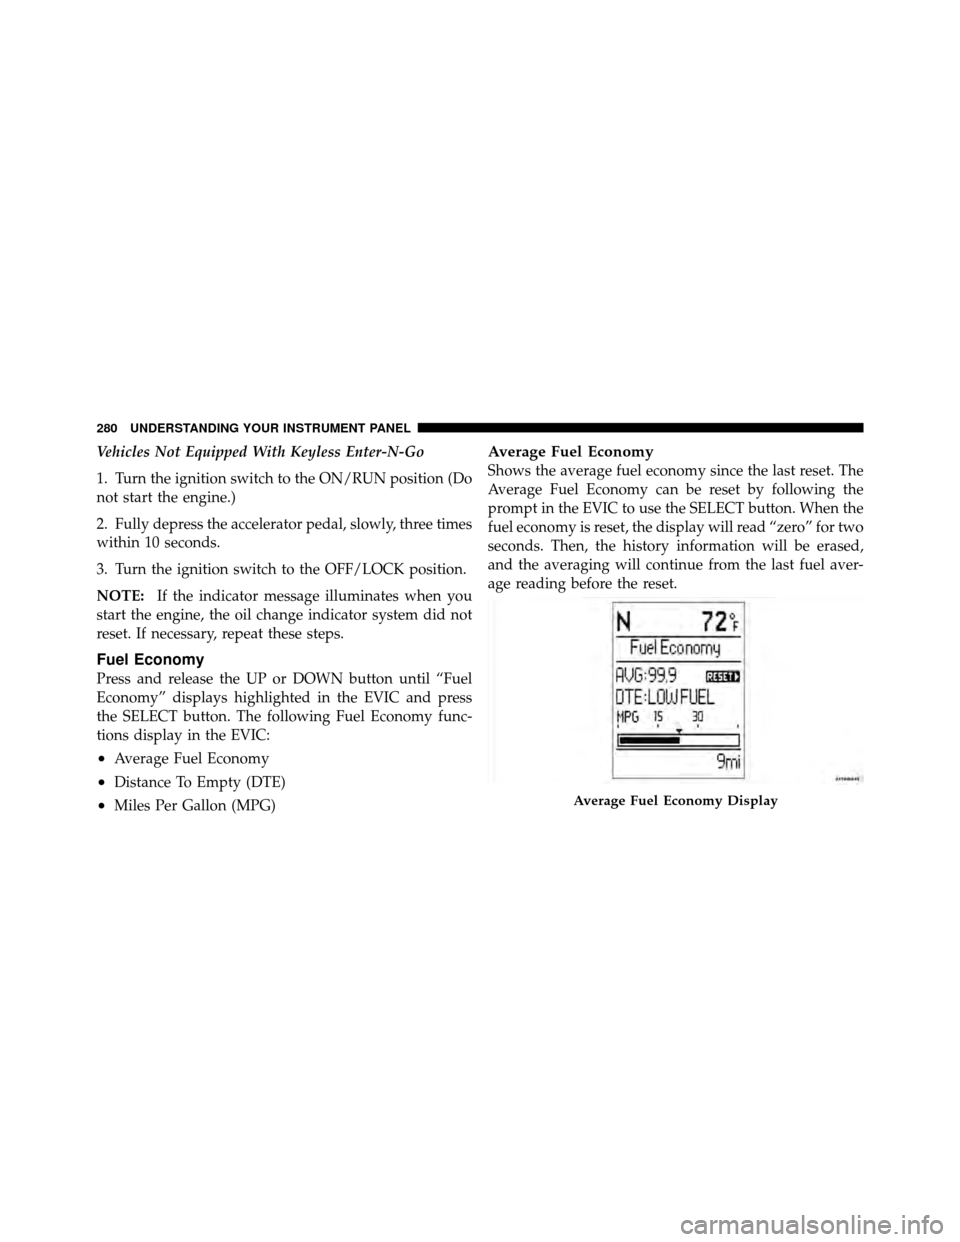
Average Fuel Economy
Shows the average fuel economy since the last reset. The
Average Fuel Economy can be reset by following the
prompt in the EVIC to use the SELECT button. When the
fuel economy is reset, the display will read “zero” for two
seconds. Then, the history information will be erased,
and the averaging will continue from the last fuel aver-
age reading before the reset.
Average Fuel Economy Display
280 UNDERSTANDING YOUR INSTRUMENT PANEL
Page 285 of 573

Trip B
Shows the total distance traveled for Trip B since the last
reset.
Elapsed Time
Shows the total elapsed time of travel since the last reset
when the ignition switch is in the ACC position. Elapsed
time will increment when the ignition switch is in the ON
or START position.
To Reset A Trip Function
Reset will only occur while a resettable function is
selected (highlighted). Press and hold the SELECT button
to clear the resettable function being displayed.
Units
Press and release the UP or DOWN button until “Units”
displays highlighted in the EVIC and press the SELECT
button. The EVIC, odometer, and navigation system (if
equipped) can be changed between English and Metric
units of measure. To make your selection, scroll up ordown until the preferred setting is highlighted, then
press and release the SELECT button until a check-mark
appears next to the setting, showing that the setting has
been selected.
Vehicle Info (Customer Information Features)
Press and release the UP or DOWN button until “Vehicle
Info” displays in the EVIC and press the SELECT button.
Press the UP and DOWN button to scroll through the
selections below:
•Coolant Temp
Displays the actual coolant temperature.
•Oil Temperature
Displays the actual oil temperature.
•Oil Pressure
Displays the actual oil pressure.
•Engine Hours
Displays the number of hours of engine operation.
282 UNDERSTANDING YOUR INSTRUMENT PANEL
Page 286 of 573
Keyless Enter-N-Go Display — If Equipped
When the ENGINE START/STOP button is pressed to
change ignition switch position, current ignition status
will be displayed in the lower right corner of the EVIC
display to the right of the odometer value.
Refer to “Keyless Enter-N-Go” in “Starting And Operat-
ing” for more information.
Compass / Temperature Display
The compass readings indicate the direction the vehicle is
facing. The EVIC will display one of eight compass
readings and the outside temperature.
NOTE:The system will display the last known outside
temperature when starting the vehicle and may need to
be driven several minutes before the updated tempera-
ture is displayed. Engine temperature can also affect the
displayed temperature; therefore, temperature readings
are not updated when the vehicle is not moving.
Automatic Compass Calibration
This compass is self-calibrating, which eliminates the
need to manually reset the compass. When the vehicle is
new, the compass may appear erratic and the EVIC will
display CAL until the compass is calibrated. You may
also calibrate the compass by completing one or more
360–degree turns (in an area free from large metal or
metallic objects) until the CAL indicator displayed in the
EVIC turns off. The compass will now function normally.
NOTE: A good calibration requires a level surface and
an environment free from large metallic objects such as
buildings, bridges, underground cables, railroad tracks,
etc.
Manual Compass Calibration — If Equipped
If the compass appears erratic and the CAL indicator
does not appear in the EVIC display, you must put the
compass into the Calibration Mode manually, as follows:
1. Turn ON the ignition switch.
4
UNDERSTANDING YOUR INSTRUMENT PANEL 283
Page 333 of 573
cold or snowy conditions that require extra heat at the
windshield. This setting is good for maintaining comfort,
while reducing moisture on the windshield.
5. Front Defrost ModeAir is directed through the windshield and side
window demist outlets. Use DEFROST mode with
maximum blower and temperature settings for best
windshield and side window defrosting.
NOTE: The air conditioning compressor operates in
MIX and DEFROST, or a blend of these modes even if the
A/C button is not pressed. This dehumidifies the air to
help dry the windshield. To improve fuel economy, use
these modes only when necessary.
6. Electronic Rear Window Defrost Press this button to turn on the rear window
defroster and the heated outside mirrors (if
equipped). An indicator in the button will illuminate
when the rear window defroster is on. The rear window defroster automatically turns off after approximately
10 minutes. For an additional five minutes of operation,
press the button a second time.
NOTE:
•You can turn off the heated mirror feature at anytime
by pressing the rear window defroster switch a second
time.
•To prevent excessive battery drain, use the rear win-
dow defroster only when the engine is operating.
CAUTION!
Failure to follow these cautions can cause damage to
the heating elements:
(Continued)
330 UNDERSTANDING YOUR INSTRUMENT PANEL
Page 338 of 573
7. Front Defrost ModeAir is directed through the windshield and side
window demist outlets. Use DEFROST mode with
maximum blower and temperature settings for best
windshield and side window defrosting.
NOTE: The air conditioning compressor operates in
MIX and DEFROST, or a blend of these modes even if the
A/C button is not pressed. This dehumidifies the air to
help dry the windshield. To improve fuel economy, use
these modes only when necessary.
8. Electronic Rear Window Defrost Press this button to turn on the rear window
defroster and the heated outside mirrors (if
equipped). An indicator in the button will illuminate
when the rear window defroster is on. The rear window
defroster automatically turns off after approximately
10 minutes. For an additional five minutes of operation,
press the button a second time. NOTE:
•You can turn off the heated mirror feature at anytime
by pressing the rear window defroster switch a second
time.
•To prevent excessive battery drain, use the rear win-
dow defroster only when the engine is operating.
CAUTION!
Failure to follow these cautions can cause damage to
the heating elements:
•Use care when washing the inside of the rear
window. Do not use abrasive window cleaners on
the interior surface of the window. Use a soft cloth
and a mild washing solution, wiping parallel to
the heating elements. Labels can be peeled off
after soaking with warm water.
(Continued)
4
UNDERSTANDING YOUR INSTRUMENT PANEL 335
Page 347 of 573
To provide you with maximum comfort in the automatic
mode, during cold start-ups, the blower fan will remain
on low until the engine warms up. The fan will engage
immediately if the DEFROST mode is selected, or by
changing the front blower knob setting
Manual Operation
This system offers a full complement of manual override
features. The AUTO symbol in the front ATC display will
be turned off when the system is being used in the
manual mode.
NOTE:Each of these features operate independently
from each other. If any one feature is controlled manually,
the temperature doors will continue to operate automati-
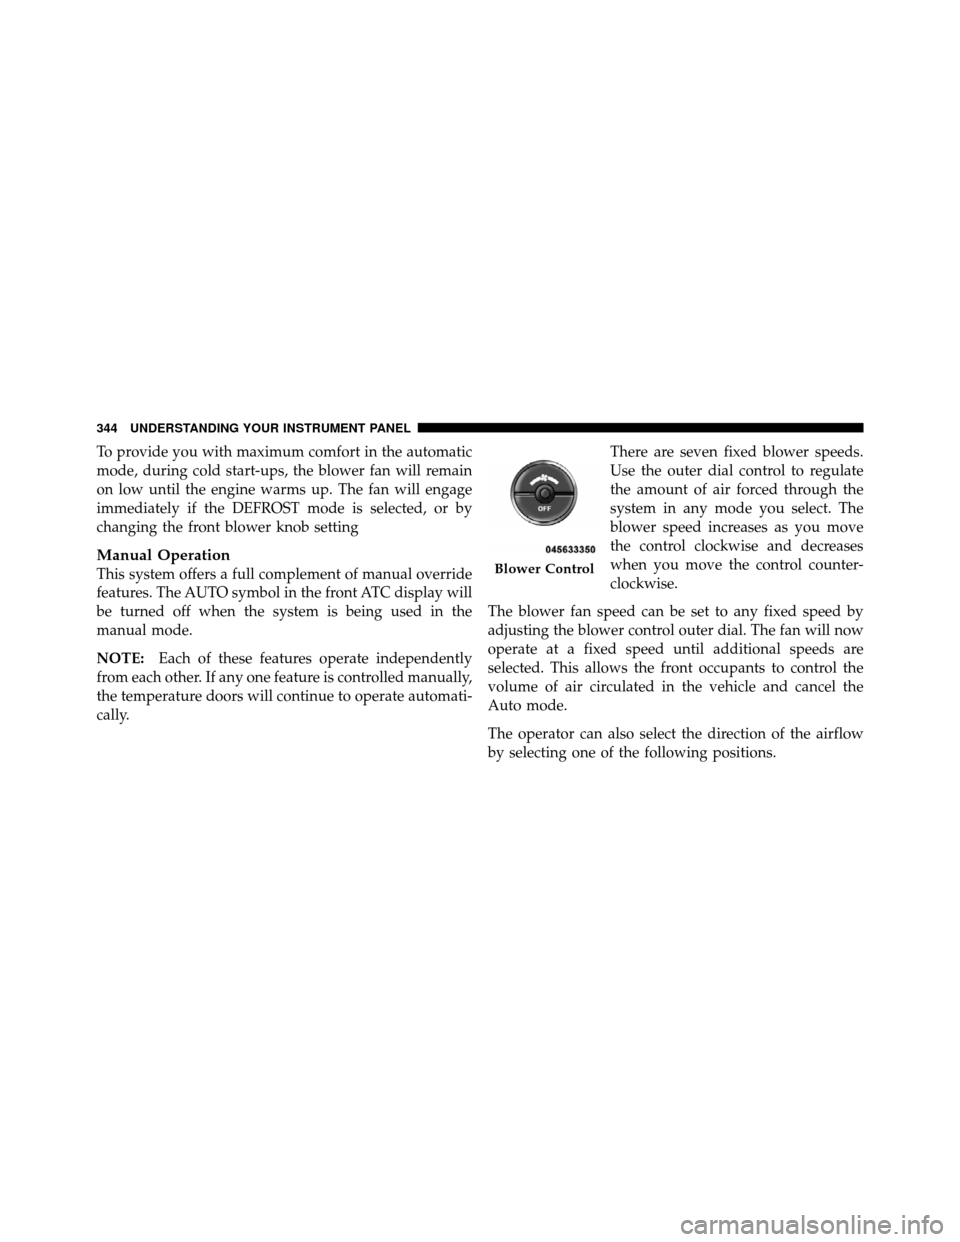
cally. There are seven fixed blower speeds.
Use the outer dial control to regulate
the amount of air forced through the
system in any mode you select. The
blower speed increases as you move
the control clockwise and decreases
when you move the control counter-
clockwise.
The blower fan speed can be set to any fixed speed by
adjusting the blower control outer dial. The fan will now
operate at a fixed speed until additional speeds are
selected. This allows the front occupants to control the
volume of air circulated in the vehicle and cancel the
Auto mode.
The operator can also select the direction of the airflow
by selecting one of the following positions.Blower Control
344 UNDERSTANDING YOUR INSTRUMENT PANEL
Page 352 of 573

Rear Temperature Control
To change the temperature in the rear of the vehicle,
rotate the temperature knob counterclockwise to lower
the temperature, and clockwise to increase the tempera-
ture. The rear temperature settings are displayed in the
front ATC panel.
When rear controls are locked by the front system, the
Rear Temperature Lock symbol on the temperature knob
is illuminated and any rear overhead adjustments are
ignored.
Rear Mode Control
Auto Mode
The rear system automatically maintains the correct
mode and comfort level desired by the rear seat occu-
pants.Headliner Mode
Air comes from the outlets in the headliner. Each of
these outlets can be individually adjusted to direct
the flow of air. Moving the air vanes of the outlets to one
side will shut off the airflow.
Bi-Level Mode Air comes from both the headliner outlets and the
floor outlets.
NOTE: In many temperature positions, the BI-LEVEL
mode is designed to provide cooler air out of the head-
liner outlets and warmer air from the floor outlets.
Floor Mode Air comes from the floor outlets.
Summer Operation
The engine cooling system in air conditioned vehicles
must be protected with a high-quality antifreeze coolant
4
UNDERSTANDING YOUR INSTRUMENT PANEL 349
Page 353 of 573

to provide proper corrosion protection and to protect
against engine overheating. A solution of 50% ethylene
glycol antifreeze coolant and 50% water is recommended.
Refer to “Maintenance Procedures” in “Maintaining Your
Vehicle” for proper coolant selection.
Winter Operation
To ensure the best possible heater and defroster perfor-
mance, make sure the engine cooling system is function-
ing properly and the proper amount, type, and concen-
tration of coolant is used. Refer to “Maintenance
Procedures” in “Maintaining Your Vehicle” for proper
coolant selection. Use of the air RECIRCULATION mode
during Winter months is not recommended, because it
may cause window fogging.
Vacation/Storage
Before you store your vehicle, or keep it out of service
(i.e., vacation) for two weeks or more, run the air
conditioning system at idle for about five minutes, infresh air with the blower setting on high. This will ensure
adequate system lubrication to minimize the possibility
of compressor damage when the system is started again.
Window Fogging
Vehicle windows tend to fog on the inside in mild, rainy
and/or humid weather. To clear the windows, select
DEFROST or MIX mode and increase the front blower
speed. Do not use the RECIRCULATION mode without
A/C for long periods, as fogging may occur.
Outside Air Intake
Make sure the air intake, located directly in front of the
windshield, is free of obstructions such as leaves. Leaves
collected in the air intake may reduce airflow, and if they
enter the plenum they could plug the water drains. In
Winter months make sure the air intake is clear of ice,
slush and snow.
350 UNDERSTANDING YOUR INSTRUMENT PANEL