Page 224 of 573
Two outboard mesh pockets are on intermediate seating.
The mesh pockets are flexible enough to hold juice boxes,
toys, games or MP3 players, etc.
Smoker’s Package Kit — If Equipped
With the optional authorized dealer-installed Smoker’s
Package Kit, a removable ash receiver is inserted into one
of the two cupholders in the center front instrument
panel. To install the ash receiver, align the receiver so the
thumb grip on the lid is facing rearward. Press the ash
receiver into either of the cup wells to secure. Pull
upward on the ash receiver to remove for cleaning
and/or storage.
The left rear trim panel cupholder is designed to accom-
modate a second ash receiver, if desired.
STORAGE
Glove Compartments
Upper and lower glove compartments are located on the
passenger side of the instrument panel.
Interior Bottle Holder
3
UNDERSTANDING THE FEATURES OF YOUR VEHICLE 221
Page 229 of 573
WARNING! (Continued)
•Do not operate the storage bin covers while the
vehicle is in motion.
•Do not use a storage bin latch as a tie down.
CAUTION!
The storage bin cover must be flat and locked to
avoid damage from contact with the front seat tracks,
which have minimal clearance to the cover.
Seat Storage Bin Cover Emergency Release Lever
As a security measure, your vehicle may be built with a
Storage Bin Cover Emergency Release is built into the
storage bin cover latching mechanism.NOTE:
In the event of an individual being locked inside
the storage bin, the storage bin cover can be opened from
inside of the bin by pushing on the glow-in-the-dark
lever attached to the storage bin cover latching
mechanism.
Storage Bin Cover Emergency Release Lever
226 UNDERSTANDING THE FEATURES OF YOUR VEHICLE
Page 245 of 573
Once the crossbars are set into position, tighten the
thumb screws completely.Stowing the Crossbars
Reverse the procedure to stow the crossbars, again,
taking care to keep hand clear of pivoting joint. Crossbars
are identical and can be stowed in either rail nest. Once
the crossbars are stowed, tighten the thumb screws
completely.
NOTE:Load should always be secured to crossbars
first, with rail tie down loops used as additional securing
points if needed. Tie loops are intended as supplemen-
tary tie down points only. Do not use ratcheting mecha-
nisms with the tie loops.
Tightening Crossbar
242 UNDERSTANDING THE FEATURES OF YOUR VEHICLE
Page 246 of 573
CAUTION!
•Check deployed crossbars frequently and re-
tighten thumb screws as necessary.
•To avoid damage to the roof rack and vehicle, do
not exceed the maximum roof rack load capacity of
150 lbs (68 kg). Always distribute heavy loads as
evenly as possible and secure the load appropri-
ately.
•To prevent damage to the roof of your vehicle, DO
NOT carry any loads on the roof rack without the
crossbars deployed.
•The load should be secured and placed on top of
the crossbars, not directly on the roof. If it is
necessary to place the load on the roof, place a
blanket or other protective layer between the load
and the roof surface.(Continued)Rail Tie Loops
3
UNDERSTANDING THE FEATURES OF YOUR VEHICLE 243
Page 247 of 573

CAUTION! (Continued)
•Long loads which extend over the windshield,
such as wood panels or surfboards, or loads with
large frontal area should be secured to both the
front and rear of the vehicle.
•Travel at reduced speeds and turn corners care-
fully when carrying large or heavy loads on the
roof rack. Wind forces, due to natural causes or
nearby truck traffic, can add sudden upward lift to
a load. This is especially true on large flat loads
and may result in damage to the cargo or your
vehicle.
WARNING!
Cargo must be securely tied before driving your
vehicle. Improperly secured loads can fly off the
vehicle, particularly at high speeds, resulting in per-
sonal injury or property damage. Follow the Roof
Rack Cautions when carrying cargo on your roof
rack.
SUN SCREENS — IF EQUIPPED
Sun screens are available for second and third row
seating windows. The screens store in the sill trim panels,
and the tops of the windows are equipped with hooks
that the sun screens attach to when pulled out.
244 UNDERSTANDING THE FEATURES OF YOUR VEHICLE
Page 265 of 573

15. Air Bag Warning LightThis light will turn on for four to eight seconds
as a bulb check when the ignition switch is first
turned to ON/RUN. If the light is either not on
during starting, stays on, or turns on while
driving, have the system inspected at an authorized
dealer as soon as possible. Refer to “Occupant Restraints”
in “Things To Know Before Starting Your Vehicle” for
further information.
16. Shift Lever Indicator
The Shift Lever Indicator is self-contained within the
instrument cluster. It displays the gear position of the
automatic transmission.
NOTE:
•You must apply the brakes before shifting from PARK.
•The highest available transmission gear is displayed in
the lower right corner of the Electronic Vehicle Infor-
mation Center (EVIC) whenever the Electronic Range
Select (ERS) feature is active. Use the +/- selector on
the shift lever to activate ERS. Refer to “Automatic
Transmission” in “Starting And Operating” for further
information.
17. Vehicle Security Light — If Equipped This light will flash at a fast rate for approxi-
mately 15 seconds, when the vehicle security
alarm is arming, and then will flash slowly
until the vehicle is disarmed.
18. Brake Warning Light This light monitors various brake functions,
including brake fluid level and parking brake
application. If the brake light turns on it may
indicate that the parking brake is applied, that
the brake fluid level is low, or that there is a problem with
the anti-lock brake system reservoir.
262 UNDERSTANDING YOUR INSTRUMENT PANEL
Page 361 of 573

Do notpress the accelerator. Use the Fob with Integrated
Key to briefly turn the ignition switch to the START
position and release it as soon as the starter engages. The
starter motor will continue to run, and it will disengage
automatically when the engine is running. If the engine
fails to start, the starter will disengage automatically in
10 seconds. If this occurs, turn the ignition switch to the
LOCK position, wait 10 to 15 seconds, then repeat the
“Normal Starting” procedure.
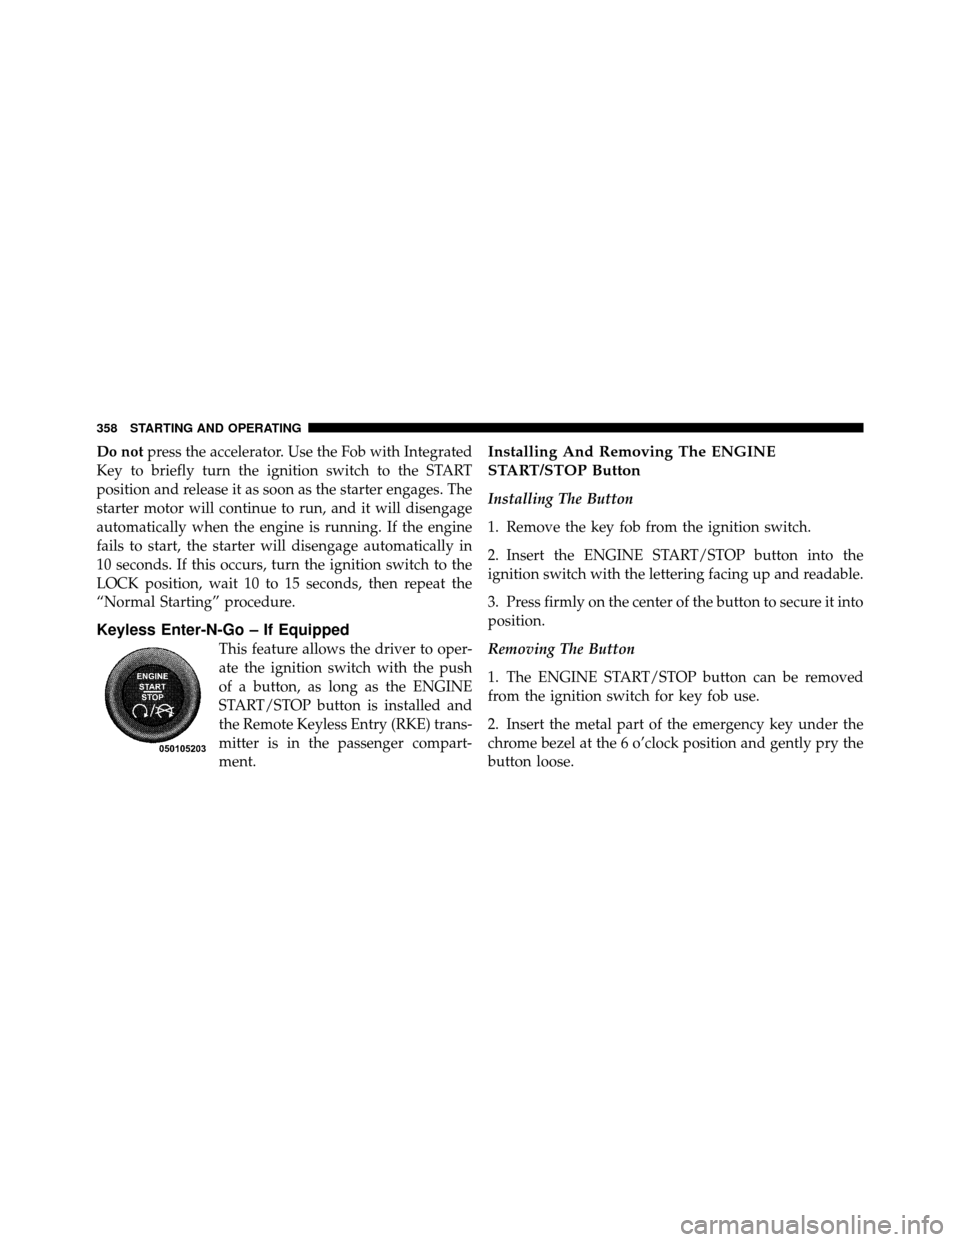
Keyless Enter-N-Go – If Equipped
This feature allows the driver to oper-
ate the ignition switch with the push
of a button, as long as the ENGINE
START/STOP button is installed and
the Remote Keyless Entry (RKE) trans-
mitter is in the passenger compart-
ment.
Installing And Removing The ENGINE
START/STOP Button
Installing The Button
1. Remove the key fob from the ignition switch.
2. Insert the ENGINE START/STOP button into the
ignition switch with the lettering facing up and readable.
3. Press firmly on the center of the button to secure it into
position.
Removing The Button
1. The ENGINE START/STOP button can be removed
from the ignition switch for key fob use.
2. Insert the metal part of the emergency key under the
chrome bezel at the 6 o’clock position and gently pry the
button loose.
358 STARTING AND OPERATING
Page 370 of 573

When parking on a flat surface, place the shift lever in the
PARK position first, and then apply the parking brake.
When parking on a hill, it is important to set the parking
brake before placing the shift lever in PARK, otherwise
the load on the transmission locking mechanism may
make it difficult to move the shift lever out of PARK. As
an added precaution, turn the front wheels toward the
curb on a downhill grade, and away from the curb on an
uphill grade.
WARNING!
•Never use the PARK position as a substitute for
the parking brake. Always apply the parking
brake fully when parked to guard against vehicle
movement and possible injury or damage.(Continued)
WARNING! (Continued)
•Unintended movement of a vehicle could injure
those in and near the vehicle. As with all vehicles,
you should never exit a vehicle while the engine is
running. Before exiting a vehicle, you should
always shift the vehicle into PARK, remove the
key fob from the ignition switch, and apply the
parking brake. Once the key is removed from the
ignition, the shift lever is locked in the PARK
position, securing the vehicle against unwanted
movement. Furthermore, you should never leave
unattended children inside a vehicle.(Continued)
5
STARTING AND OPERATING 367