Page 27 of 490

Remote Open Window Feature — If Equipped
The RKE remotely lowers both driver and passenger
front windows simultaneously. Lowering the front win-
dows using the RKE is a two step operation:
1. Press the RKE transmitter UNLOCK button once.
2. Press the UNLOCK button a second time and hold the
button until the windows lower completely or the win-
dows drop to the desired level, then release the button.
Using The Panic Alarm
To turn the Panic Alarm feature on or off, press and hold
the PANIC button on the RKE transmitter for at least one
second and release. When the Panic Alarm is on, the
headlights and park lights will flash, the horn will pulse
on and off, and the Illuminated Entry system (if
equipped) will turn on.The Panic Alarm will stay on for three minutes unless
you turn it off by pressing the PANIC button a second
time or if the vehicle speed is 5 mph (8 km/h) or greater.
NOTE:
You may need to be close to the vehicle when
using the RKE transmitter to turn off the Panic Alarm due
to the Radio Frequency (RF) noises emitted by the
system.
Programming Additional Transmitters
Refer to Sentry Key� “Customer Key Programming.”
If you do not have a programmed RKE transmitter,
contact your authorized dealer for details.
Transmitter Battery Replacement
The recommended replacement battery is CR2032.
NOTE:
Perchlorate Material — special handling may
apply. See www.dtsc.ca.gov/hazardouswaste/perchlorate
2
THINGS TO KNOW BEFORE STARTING YOUR VEHICLE 25
Page 29 of 490

If your RKE transmitter fails to operate from a normal
distance, check for these two conditions.
1. Weak battery in the RKE transmitter. The expected life
of a battery is five years.
2. Closeness to a radio transmitter such as a radio station
tower, airport transmitter, military base, and some mobile
or CB radios.
REMOTE START SYSTEM — IF EQUIPPED
This system uses the Remote Keyless Entry
(RKE) transmitter to start the engine conve-
niently from outside the vehicle while still
maintaining security. The system has a range of
approximately 300 ft (91 m).
NOTE: The vehicle must be equipped with an auto-
matic transmission to be equipped with Remote Start.
How To Use Remote Start
All of the following conditions must be met before the
engine will remote start:
•Shift lever in PARK
•Doors closed
•Hood closed
•Trunk closed
•Hazard switch off
•Brake switch inactive (brake pedal not pressed)
•Ignition key removed from ignition switch
•Battery at an acceptable charge level, and
•RKE PANIC button not pressed
•System not disabled from previous remote start event
•Vehicle theft alarm not active
2
THINGS TO KNOW BEFORE STARTING YOUR VEHICLE 27
Page 31 of 490
 with the RKE transmitter. Ho")
•For security, power window operation is disabled
when the vehicle is in the Remote Start mode.
•The engine can be started two consecutive times (two
15 minute cycles) with the RKE transmitter. However,
the ignition switch must be cycled to the ON/RUN
position before you can repeat the start sequence for a
third cycle.
Remote start will also cancel if any of the following occur:
•The engine stalls or RPM exceeds 2500
•Any engine warning lamps come on
•Fuel lamp turns on
•The hood is opened
•The hazard switch is pressed
•The transmission is moved out of PARK
•The brake pedal is pressed
To Exit Remote Start Mode Without Driving The
Vehicle
Press and release the REMOTE START button one time or
allow the engine to run for the entire 15 minute cycle.
NOTE: To avoid unintentional shut downs, the system
will disable the one-time press of the Remote Start button
for two seconds after receiving a valid remote start
request.
To Exit Remote Start Mode And Drive The Vehicle
Before the end of the 15 minute cycle, press and release
the UNLOCK button on the RKE transmitter to unlock
the doors and disarm the Vehicle Security Alarm (if
equipped). Then insert the key into the ignition switch
and turn the switch to the ON/RUN position.
NOTE: The ignition switch must be in the ON/RUN
position in order to drive the vehicle.
2
THINGS TO KNOW BEFORE STARTING YOUR VEHICLE 29
Page 62 of 490

Advanced Front Air Bag Features
The Advanced Front Air Bag system has multistage
driver and front passenger air bags. This system provides
output appropriate to the severity and type of collision as
determined by the Occupant Restraint Controller (ORC),
which may receive information from the front impact
sensors.
The first stage inflator is triggered immediately during an
impact that requires air bag deployment. This low output
is used in less severe collisions. A higher energy output is
used for more severe collisions.WARNING!
•No objects should be placed over or near the air bag
on the instrument panel, because any such objects
could cause harm if the vehicle is in a collision
severe enough to cause the air bag to inflate.
•Do not put anything on or around the air bag
covers or attempt to open them manually. You may
damage the air bags and you could be injured
because the air bags may no longer be functional.
The protective covers for the air bag cushions are
designed to open only when the air bags are
inflating.
•Do not drill, cut or tamper with the knee bolster in
any way.
•Do not mount any accessories to the knee bolster
such as alarm lights, stereos, citizen band radios,
etc.
60 THINGS TO KNOW BEFORE STARTING YOUR VEHICLE
Page 163 of 490
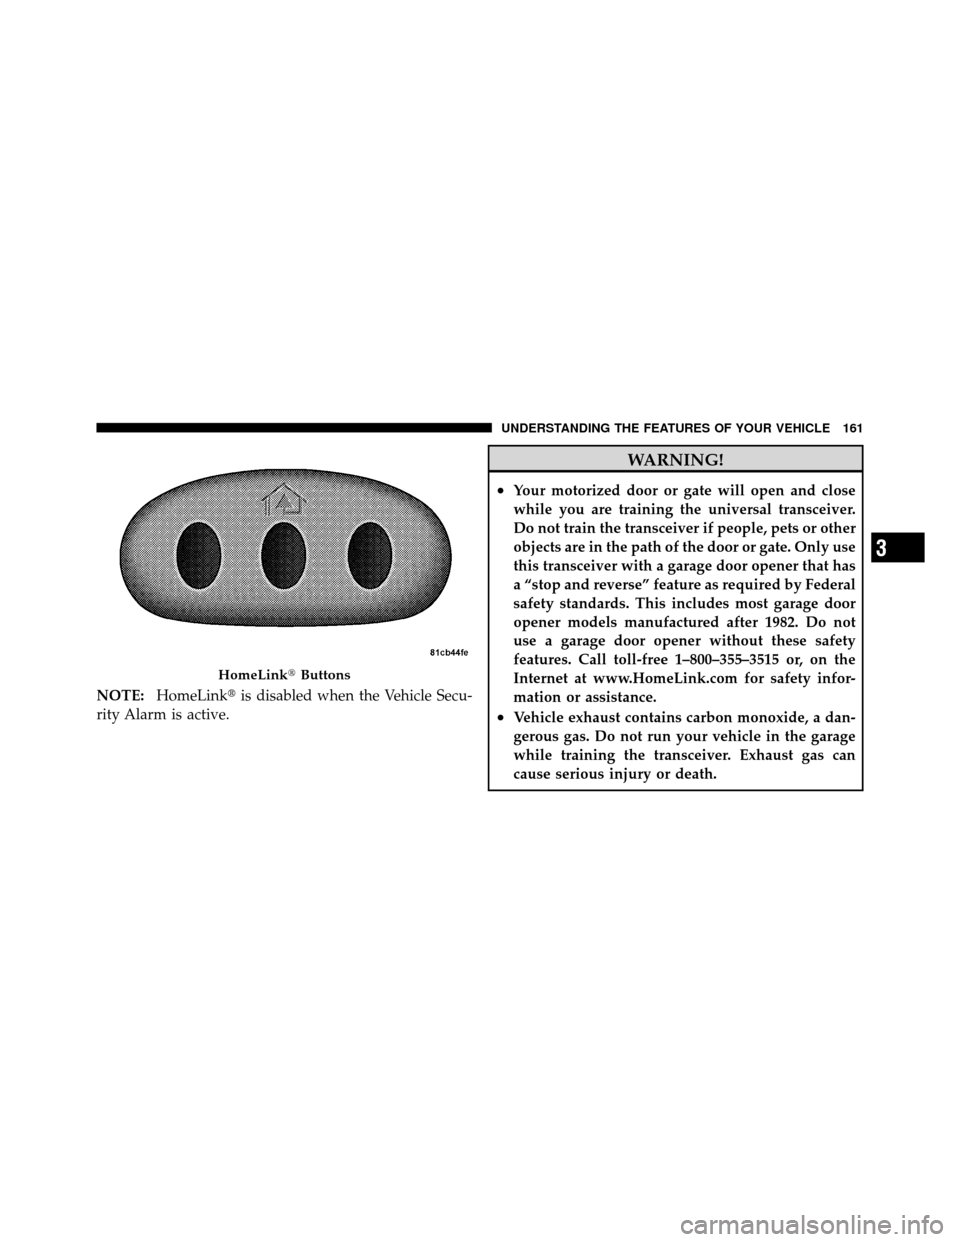
NOTE:HomeLink� is disabled when the Vehicle Secu-
rity Alarm is active.
WARNING!
•Your motorized door or gate will open and close
while you are training the universal transceiver.
Do not train the transceiver if people, pets or other
objects are in the path of the door or gate. Only use
this transceiver with a garage door opener that has
a “stop and reverse” feature as required by Federal
safety standards. This includes most garage door
opener models manufactured after 1982. Do not
use a garage door opener without these safety
features. Call toll-free 1–800–355–3515 or, on the
Internet at www.HomeLink.com for safety infor-
mation or assistance.
•Vehicle exhaust contains carbon monoxide, a dan-
gerous gas. Do not run your vehicle in the garage
while training the transceiver. Exhaust gas can
cause serious injury or death.
HomeLink� Buttons
3
UNDERSTANDING THE FEATURES OF YOUR VEHICLE 161
Page 167 of 490

If you unplugged the device for training, plug it back in
at this time.
Then proceed with Step 4 under “Programming
HomeLink�,” earlier in this section.
Using HomeLink�
To operate, press and release the programmed
HomeLink�button. Activation will now occur for the
trained device (i.e., garage door opener, gate operator,
security system, entry door lock, home/office lighting,
etc.,). The handheld transmitter of the device may also be
used at any time.
Reprogramming A Single HomeLink� Button
To reprogram a channel that has been previously trained,
follow these steps:
1. Turn the ignition switch to the ON/RUN position. 2. Press and hold the desired HomeLink�
button until
the indicator light begins to flash after 20 seconds. Do not
release the button.
3. Without releasing the button, proceed with Program-
ming HomeLink� Step 2 and follow all remaining steps.
Security
It is advised to erase all channels before you sell or turn
in your vehicle.
To do this, press and hold the two outside buttons for
20 seconds until the red indicator flashes. Note that all
channels will be erased. Individual channels cannot be
erased.
The HomeLink�Universal Transceiver is disabled when
the Vehicle Security Alarm is active.
3
UNDERSTANDING THE FEATURES OF YOUR VEHICLE 165
Page 198 of 490
 OFF Indicator
Light — If Equipp")
18. Park/Headlight ON Indicator — If EquippedThis indicator will illuminate when the park
lights or headlights are turned on.
19. Electronic Stability Control (ESC) OFF Indicator
Light — If Equipped This light indicates the Electronic Stability Con-
trol system (ESC) has been turned off by the
driver.
20. Turn Signal Indicators The arrows will flash in unison with the exterior
turn signal, when using the turn signal lever.
21. Front Fog Light Indicator — If Equipped This indicator will illuminate when the front fog
lights are on. 22. Vehicle Security Light — If Equipped
This light will flash rapidly for approximately
16 seconds when the alarm system is arming.
The light will begin to flash slowly indicating
that the system is armed. The light will stop
flashing when the vehicle is disarmed.
23. Anti-Lock Brake (ABS) Light — If Equipped This light monitors the ABS. This light will
come on when the ignition key is turned to the
ON/RUN position and may stay on for ap-
proximately three seconds.
If the ABS light remains on or comes on during driving,
it indicates that the Anti-Lock portion of the brake system
is not functioning and that service is required, however,
the conventional brake system will continue to operate
normally provided that the BRAKE warning light is not
on.
196 UNDERSTANDING YOUR INSTRUMENT PANEL
Page 470 of 490
 .............. 307
Adding Engine Coolant (Antifreeze) .......... 413
Adding Fuel ........................... 354
Adding Washer")
About Your Brakes....................... 304
ABS (Anti-Lock Brake System) .............. 307
Adding Engine Coolant (Antifreeze) .......... 413
Adding Fuel ........................... 354
Adding Washer Fluid ..................... 409
Additives, Fuel ......................... 348
Air Cleaner, Engine (Engine Air Cleaner Filter) . . . 403
Air Conditioner Maintenance ............... 405
Air Conditioning ........................ 268
Air Conditioning Controls ................. 268
Air Conditioning Filter .................280,406
Air Conditioning Refrigerant .............405,406
Air Conditioning System .............268,273,405
Air Conditioning, Operating Tips ............ 281
Air Pressure, Tires ....................... 327
Airbag .............................. 57,67
Airbag Deployment ....................... 68
Airbag Light ................... 65,66,70,85,189
Airbag Maintenance ....................... 69 Airbag, Side
...................... 61,64,66,67
Airbag, Window (Side Curtain) ...........62,64,67
Alarm System (Security Alarm) ............18,196
Alterations/Modifications, Vehicle ............. 7
Antenna, Satellite Radio ................231,256
Anti-Lock Brake System (ABS) .............. 307
Anti-Lock Warning Light .................. 307
Anti-Theft Security Alarm (Theft Alarm) ........ 18
Antifreeze (Engine Coolant) ..............413,438
Disposal ........................... 415
Appearance Care ........................ 422
Ashtray ............................... 174
Assistance Towing ....................... 111
Auto Down Power Windows ................ 35
Auto Unlock, Doors ....................... 32
Auto Up Power Windows .................. 36
Automatic Dimming Mirror ................. 94
Automatic Door Locks ................... 31,32
Automatic Oil Change Indicator ..........194,206
468 INDEX