Page 180 of 505

General Information
This device complies with FCC rules Part 15 and Industry
Canada RSS-210. Operation is subject to the following
two conditions:
1. This device may not cause harmful interference.
2. This device must accept any interference that may be
received including interference that may cause undesired
operation.
NOTE:
•The transmitter has been tested and it complies with
FCC and IC rules. Changes or modifications not
expressly approved by the party responsible for com-
pliance could void the user ’s authority to operate the
device.
•The term IC before the certification/registration num-
ber only signifies that Industry Canada technical
specifications were met.
ELECTRICAL POWER OUTLETS
There are two 12 Volt (13 Amp) electrical power outlets
on this vehicle. Both of the power outlets are protected by
a fuse.
NOTE:Do not exceed the maximum power of 160 Watts
(13 Amps) at 12 Volts. If the 160 Watt (13 Amp) power
rating is exceeded the fuse protecting the system will
need to be replaced.
The instrument panel power outlet, located below the
climate control knobs, has power available only when the
ignition is ON. This power outlet will also operate a
conventional cigar lighter unit.
NOTE: If desired, the instrument panel power outlet
can be converted by your authorized dealer to provide
power with the ignition switch while in the LOCK
position.
178 UNDERSTANDING THE FEATURES OF YOUR VEHICLE
Page 190 of 505

REAR WINDOW FEATURES
Rear Window Defroster
The rear window defroster button is located on the
climate control (Mode) knob. Press this button to
turn on the rear window defroster and the heated outside
mirrors (if equipped). An indicator in the button will
illuminate when the rear window defroster is on. The
rear window defroster automatically turns off after ap-
proximately 10 minutes. For an additional five minutes of
operation, press the button a second time.
NOTE: To prevent excessive battery drain, use the rear
window defroster only when the engine is operating.
CAUTION!
Failure to follow these cautions can cause damage to
the heating elements:
•Use care when washing the inside of the rear
window. Do not use abrasive window cleaners on
the interior surface of the window. Use a soft cloth
and a mild washing solution, wiping parallel to
the heating elements. Labels can be peeled off
after soaking with warm water.
•Do not use scrapers, sharp instruments, or abra-
sive window cleaners on the interior surface of the
window.
•Keep all objects a safe distance from the window.
188 UNDERSTANDING THE FEATURES OF YOUR VEHICLE
Page 193 of 505

▫Uconnect™ Multimedia (Satellite Radio) —
If Equipped ........................ 262
� iPod�/USB/MP3 Control — If Equipped ..... 266
▫ Connecting The iPod� Or External USB
Device ............................ 267
▫ Using This Feature ................... 268
▫ Controlling The iPod� Or External USB
Device Using Radio Buttons ............. 268
▫ Play Mode ......................... 268
▫ List Or Browse Mode ................. 270
▫ Bluetooth Streaming Audio (BTSA) ........ 272�
Steering Wheel Audio Controls —
If Equipped .......................... 273
▫ Radio Operation ..................... 274
▫ CD Player ......................... 274
� CD/DVD Disc Maintenance .............. 275
� Radio Operation And Mobile Phones ....... 275
� Climate Controls ...................... 275
▫ Manual Heating And Air Conditioning ..... 276
▫ Automatic Temperature Control (ATC) —
If Equipped ........................ 280
▫ Operating Tips ...................... 286
4
UNDERSTANDING YOUR INSTRUMENT PANEL 191
Page 194 of 505
INSTRUMENT PANEL FEATURES
1 — Air Outlet6 — Radio11 — Storage Compartment
2 — Side Window Demister Outlet 7 — Passenger Airbag 12 — Climate Control
3 — Instrument Cluster 8 — Glove Compartment13 — Trunk Release Button
4 — Ignition Switch 9 — Heated Seat Switch – If Equipped 14 — Power Outlet
5 — Analog Clock 10 — Hazard Switch
192 UNDERSTANDING YOUR INSTRUMENT PANEL
Page 269 of 505

This feature allows an iPod�or external USB device to be
plugged into the USB port, located in the center of the
instrument panel below the climate controls.
iPod� control supports Mini, 4G, Photo, Nano, 5G iPod�
and iPhone� devices. Some iPod� software versions may
not fully support the iPod� control features. Please visit
Apple’s website for software updates.
NOTE:
•If the radio has a USB port, refer to the appropriate
Uconnect™ Multimedia radio User ’s Manual for
iPod� or external USB device support capability.
•Connecting an iPod� or consumer electronic audio
device to the AUX port located in the radio faceplate,
plays media, but does not use the iPod� /MP3 control
feature to control the connected device.
Connecting The iPod� Or External USB Device
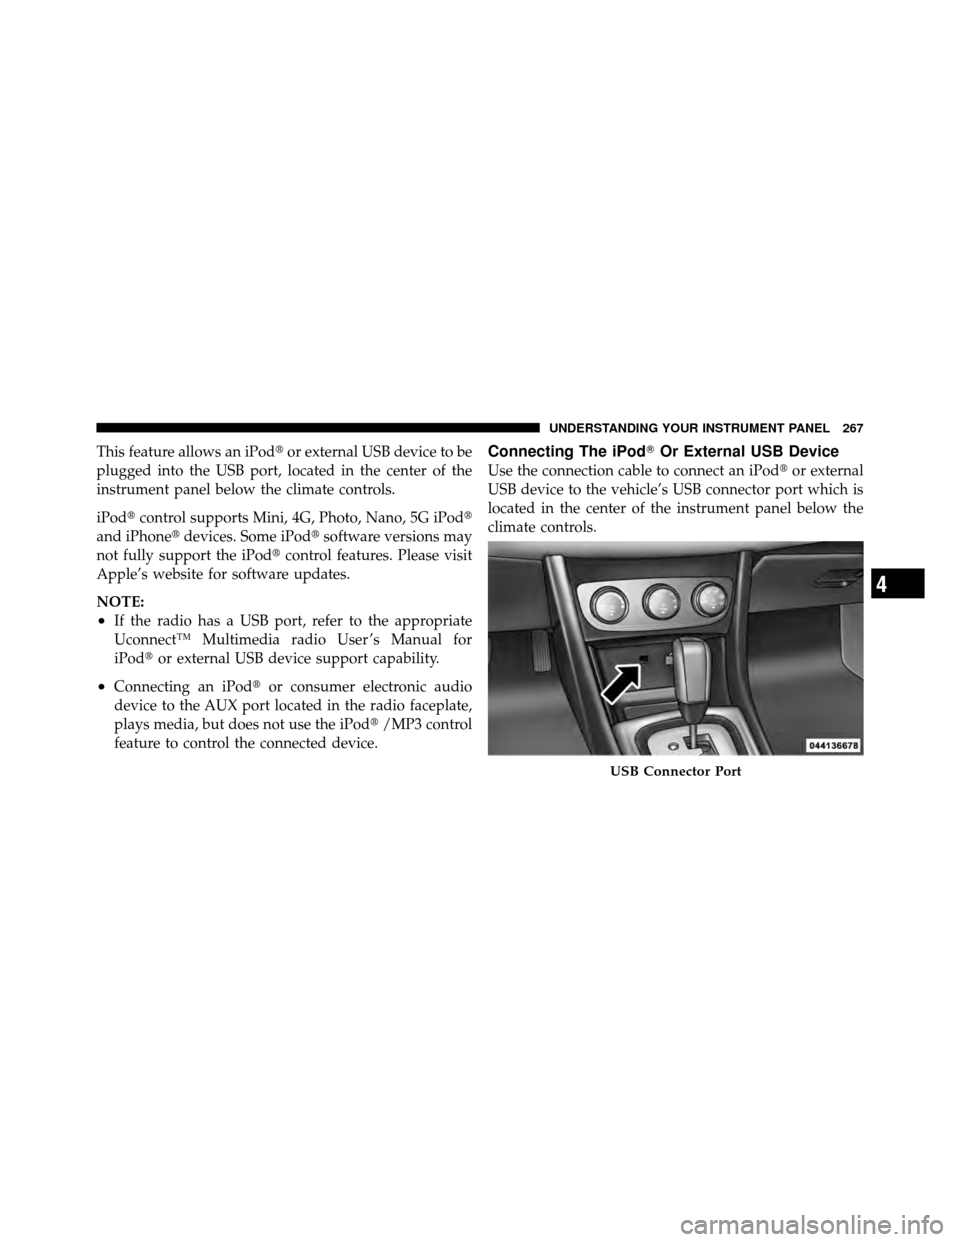
Use the connection cable to connect an iPod� or external
USB device to the vehicle’s USB connector port which is
located in the center of the instrument panel below the
climate controls.
USB Connector Port
4
UNDERSTANDING YOUR INSTRUMENT PANEL 267
Page 277 of 505

CD/DVD DISC MAINTENANCE
To keep a CD/DVD in good condition, take the following
precautions:
1. Handle the disc by its edge; avoid touching the
surface.
2. If the disc is stained, clean the surface with a soft cloth,
wiping from center to edge.
3. Do not apply paper or tape to the disc; avoid scratch-
ing the disc.
4. Do not use solvents such as benzene, thinner, cleaners,
or anti-static sprays.
5. Store the disc in its case after playing.
6. Do not expose the disc to direct sunlight.
7. Do not store the disc where temperatures may become
too high.NOTE:
If you experience difficulty in playing a particu-
lar disc, it may be damaged (i.e., scratched, reflective
coating removed, a hair, moisture or dew on the disc)
oversized, or have protection encoding. Try a known
good disc before considering disc player service.
RADIO OPERATION AND MOBILE PHONES
Under certain conditions, the mobile phone being on in
your vehicle can cause erratic or noisy performance from
your radio. This condition may be lessened or eliminated
by relocating the mobile phone antenna. This condition is
not harmful to the radio. If your radio performance does
not satisfactorily “clear” by the repositioning of the
antenna, it is recommended that the radio volume be
turned down or off during mobile phone operation when
not using Uconnect™ (if equipped).
CLIMATE CONTROLS
The air conditioning and heating system is designed to
make you comfortable in all types of weather.
4
UNDERSTANDING YOUR INSTRUMENT PANEL 275
Page 278 of 505
Manual Heating And Air Conditioning
The Manual Temperature Controls consist of a series of
outer rotary dials and inner push knobs.
Blower Control
Rotate this control to regulate the
amount of air forced through the ven-
tilation system in any mode. The
blower speed increases as you move
the control to the right from the “O”
(OFF) position. There are four blower
speeds.
NOTE: For vehicles equipped with Remote Start, the
climate controls will not function during Remote Start
operation if the blower control is left in the “O” (Off)
position.
Manual Temperature Control
276 UNDERSTANDING YOUR INSTRUMENT PANEL
Page 283 of 505

Automatic Operation
The Automatic Temperature Control system automati-
cally maintains the climate in the cabin of the vehicle at
the comfort levels desired by the driver and passenger.
Operation of the system is quite simple.
1. Turn the Mode Control knob (on the right) and the
Blower Control knob (on the left) to AUTO.
NOTE:The AUTO position performs best for front seat
occupants only.
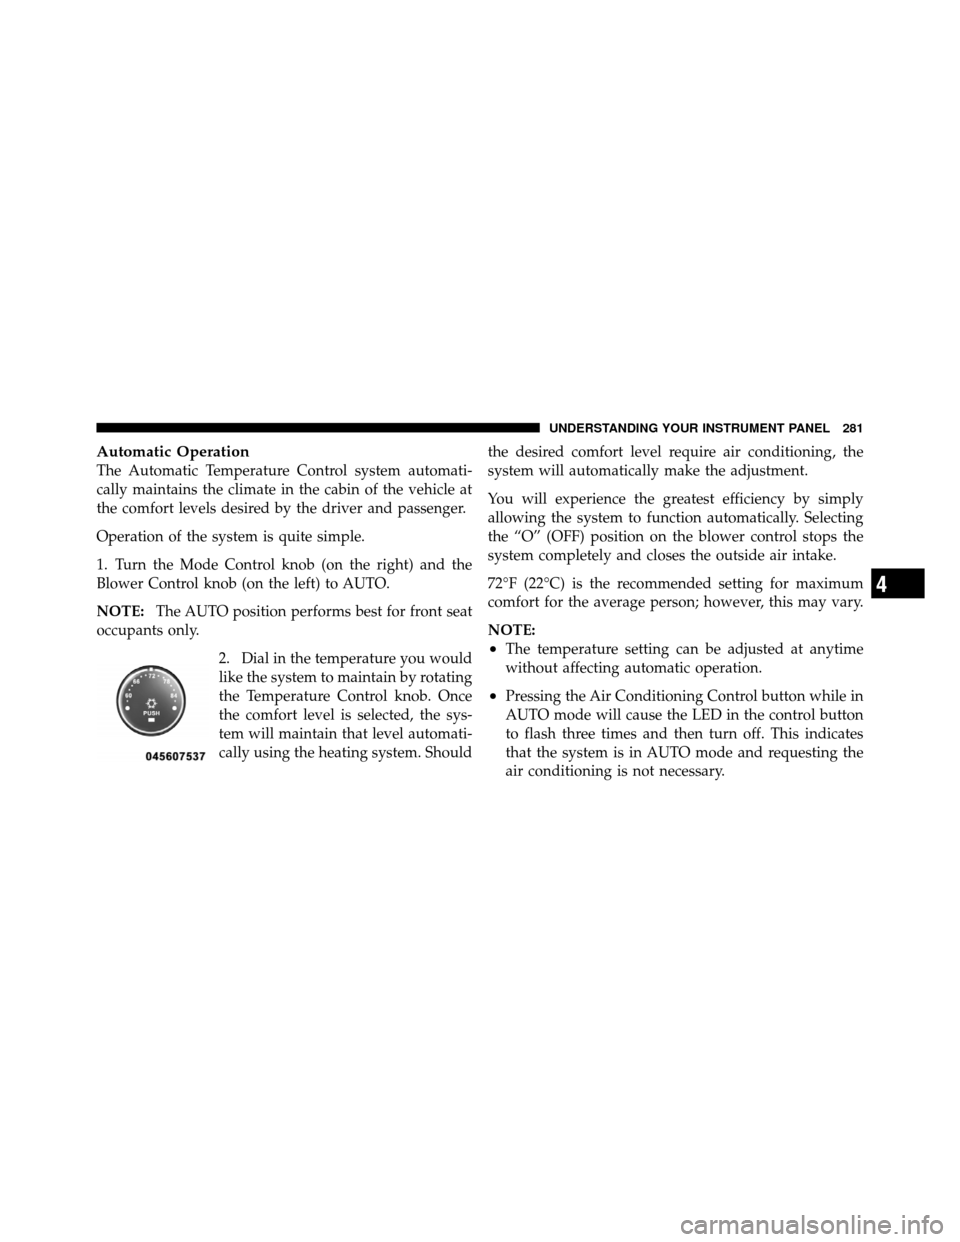
2. Dial in the temperature you would
like the system to maintain by rotating
the Temperature Control knob. Once
the comfort level is selected, the sys-
tem will maintain that level automati-
cally using the heating system. Should the desired comfort level require air conditioning, the
system will automatically make the adjustment.
You will experience the greatest efficiency by simply
allowing the system to function automatically. Selecting
the “O” (OFF) position on the blower control stops the
system completely and closes the outside air intake.
72°F (22°C) is the recommended setting for maximum
comfort for the average person; however, this may vary.
NOTE:
•The temperature setting can be adjusted at anytime
without affecting automatic operation.
•Pressing the Air Conditioning Control button while in
AUTO mode will cause the LED in the control button
to flash three times and then turn off. This indicates
that the system is in AUTO mode and requesting the
air conditioning is not necessary.
4
UNDERSTANDING YOUR INSTRUMENT PANEL 281