2011 CHEVROLET MALIBU change wheel
[x] Cancel search: change wheelPage 5 of 382

Black plate (5,1)Chevrolet Malibu Owner Manual - 2011
Introduction v
Vehicle Symbol Chart
Here are some additional symbols
that may be found on the vehicle
and what they mean. For more
information on the symbol, refer to
the Index.
9:Airbag Readiness Light
#:Air Conditioning
!:Antilock Brake System (ABS)
g:Audio Steering Wheel Controls
or OnStar®
$: Brake System Warning Light
":Charging System
I:Cruise Control
B: Engine Coolant Temperature
O:Exterior Lamps
#:Fog Lamps
.: Fuel Gauge
+:Fuses
3: Headlamp High/Low-Beam
Changer
j: LATCH System Child
Restraints
*: Malfunction Indicator Lamp
::Oil Pressure
}:Power
/:Remote Vehicle Start
>:Safety Belt Reminders
7:Tire Pressure Monitor
F:Traction Control
M:Windshield Washer Fluid
Page 9 of 382

Black plate (3,1)Chevrolet Malibu Owner Manual - 2011
In Brief 1-3
A.Air Vents on page 8‑9.
B. Turn and Lane‐Change Lever. See Turn and Lane-Change
Signals on page 6‑4.
C. Instrument Cluster
on
page 5‑10.
D. Windshield Wiper/Washer
on
page 5‑4.
E. Instrument Panel Storage
on
page 4‑1.
F. AM-FM Radio on page 7‑6.
G. Instrument Panel Illumination
Control
on page 6‑5.
H. Driver Compartment Storage. See Front Storage
on
page 4‑2. I. Hood Release. See
Hood
on
page 10‑5.
J. Cruise Control
on page 9‑34.
Driver Information Center (DIC)
Buttons. See Driver Information
Center (DIC) on page 5‑23.
K. Data Link Connector (DLC). See Malfunction Indicator Lamp
on page 5‑16.
L. Steering Wheel Adjustment
on
page 5‑2.
M. Horn on page 5‑3.
N. Steering Wheel Controls
on
page 5‑2(If Equipped).
O. Ignition Positions on page 9‑18. P.
Climate Control Systems
on
page 8‑1(If Equipped).
Automatic Climate Control
System
on page 8‑5(If Equipped) .
Q. Hazard Warning Flashers
on
page 6‑4.
R. Shift Lever. See Automatic
Transmission
on page 9‑25.
S. Front Storage
on page 4‑2.
Power Outlets on page 5‑7.
T. Passenger Sensing System
on
page 3‑31.
U. Traction Control System (TCS)
on page 9‑30.
V. Glove Box on page 4‑1.
Page 22 of 382
Black plate (16,1)Chevrolet Malibu Owner Manual - 2011
1-16 In Brief
Bluetooth®
For vehicles with a Bluetooth
system, it allows users with a
Bluetooth‐enabled cell phone to
make and receive hands-free calls
using the vehicle’s audio system
and controls.
The Bluetooth‐enabled cell phone
must be paired with the Bluetooth
system before it can be used in the
vehicle. Not all phones will support
all functions. For more information,
visit www.gm.com/bluetooth.
For more information, see Bluetooth
on page 7‑23.
Steering Wheel Controls
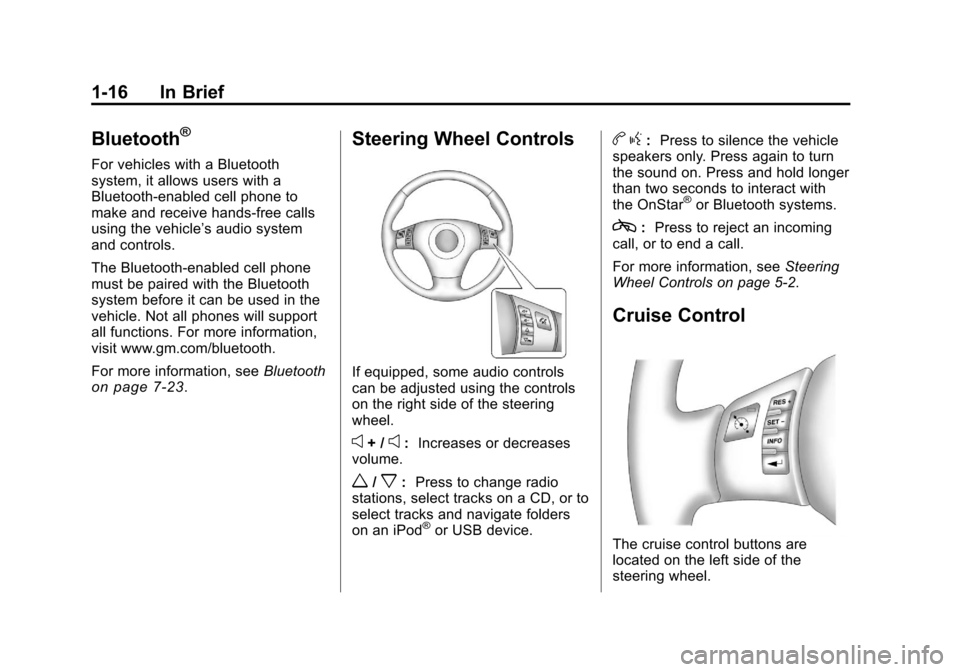
If equipped, some audio controls
can be adjusted using the controls
on the right side of the steering
wheel.
e+ /e:Increases or decreases
volume.
w/x: Press to change radio
stations, select tracks on a CD, or to
select tracks and navigate folders
on an iPod
®or USB device.
b g: Press to silence the vehicle
speakers only. Press again to turn
the sound on. Press and hold longer
than two seconds to interact with
the OnStar
®or Bluetooth systems.
c: Press to reject an incoming
call, or to end a call.
For more information, see Steering
Wheel Controls on page 5‑2.
Cruise Control
The cruise control buttons are
located on the left side of the
steering wheel.
Page 25 of 382
Black plate (19,1)Chevrolet Malibu Owner Manual - 2011
In Brief 1-19
Tire Pressure Monitor
This vehicle may have a Tire
Pressure Monitor System (TPMS).
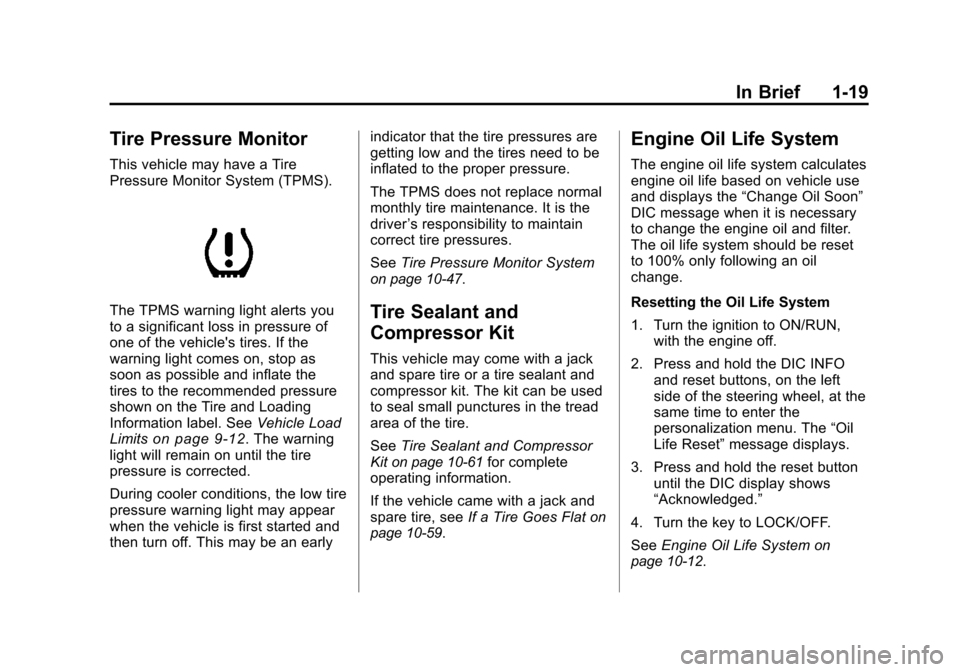
The TPMS warning light alerts you
to a significant loss in pressure of
one of the vehicle's tires. If the
warning light comes on, stop as
soon as possible and inflate the
tires to the recommended pressure
shown on the Tire and Loading
Information label. SeeVehicle Load
Limits
on page 9‑12. The warning
light will remain on until the tire
pressure is corrected.
During cooler conditions, the low tire
pressure warning light may appear
when the vehicle is first started and
then turn off. This may be an early indicator that the tire pressures are
getting low and the tires need to be
inflated to the proper pressure.
The TPMS does not replace normal
monthly tire maintenance. It is the
driver
’s responsibility to maintain
correct tire pressures.
See Tire Pressure Monitor System
on page 10‑47.
Tire Sealant and
Compressor Kit
This vehicle may come with a jack
and spare tire or a tire sealant and
compressor kit. The kit can be used
to seal small punctures in the tread
area of the tire.
SeeTire Sealant and Compressor
Kit
on page 10‑61for complete
operating information.
If the vehicle came with a jack and
spare tire, see If a Tire Goes Flat
on
page 10‑59.
Engine Oil Life System
The engine oil life system calculates
engine oil life based on vehicle use
and displays the “Change Oil Soon”
DIC message when it is necessary
to change the engine oil and filter.
The oil life system should be reset
to 100% only following an oil
change.
Resetting the Oil Life System
1. Turn the ignition to ON/RUN, with the engine off.
2. Press and hold the DIC INFO and reset buttons, on the left
side of the steering wheel, at the
same time to enter the
personalization menu. The “Oil
Life Reset” message displays.
3. Press and hold the reset button until the DIC display shows
“Acknowledged.”
4. Turn the key to LOCK/OFF.
See Engine Oil Life System
on
page 10‑12.
Page 84 of 382
Black plate (36,1)Chevrolet Malibu Owner Manual - 2011
3-36 Seats and Restraints
Your dealer and the service manual
have information about servicing the
vehicle and the airbag system. To
purchase a service manual, see
Service Publications Ordering
Information on page 13‑13.
{WARNING
For up to 10 seconds after the
ignition is turned off and the
battery is disconnected, an airbag
can still inflate during improper
service. You can be injured if you
are close to an airbag when it
inflates. Avoid yellow connectors.
They are probably part of the
airbag system. Be sure to follow
proper service procedures, and
make sure the person performing
work for you is qualified to do so.
Adding Equipment to the
Airbag-Equipped Vehicle
Q: Is there anything I might addto or change about the vehicle
that could keep the airbags
from working properly?
A: Yes. If you add things that
change the vehicle's frame,
bumper system, height, front end
or side sheet metal, they may
keep the airbag system from
working properly. Changing or
moving any parts of the front
seats, safety belts, the airbag
sensing and diagnostic module,
steering wheel, instrument
panel, roof-rail airbag modules,
ceiling headliner or pillar garnish
trim, front sensors, side impact
sensors, or airbag wiring can
affect the operation of the airbag
system.
In addition, the vehicle has a
passenger sensing system for
the right front passenger
position, which includes sensors that are part of the passenger's
seat. The passenger sensing
system may not operate properly
if the original seat trim is
replaced with non-GM covers,
upholstery or trim, or with
GM covers, upholstery or trim
designed for a different vehicle.
Any object, such as an
aftermarket seat heater or a
comfort enhancing pad or
device, installed under or on top
of the seat fabric, could also
interfere with the operation of
the passenger sensing system.
This could either prevent proper
deployment of the passenger
airbag(s) or prevent the
passenger sensing system from
properly turning off the
passenger airbag(s). See
Passenger Sensing System
on
page 3‑31.
If you have any questions, call
Customer Assistance. The
phone numbers and addresses
for Customer Assistance are in
Page 112 of 382
Black plate (2,1)Chevrolet Malibu Owner Manual - 2011
5-2 Instruments and Controls
Controls
Steering Wheel
Adjustment
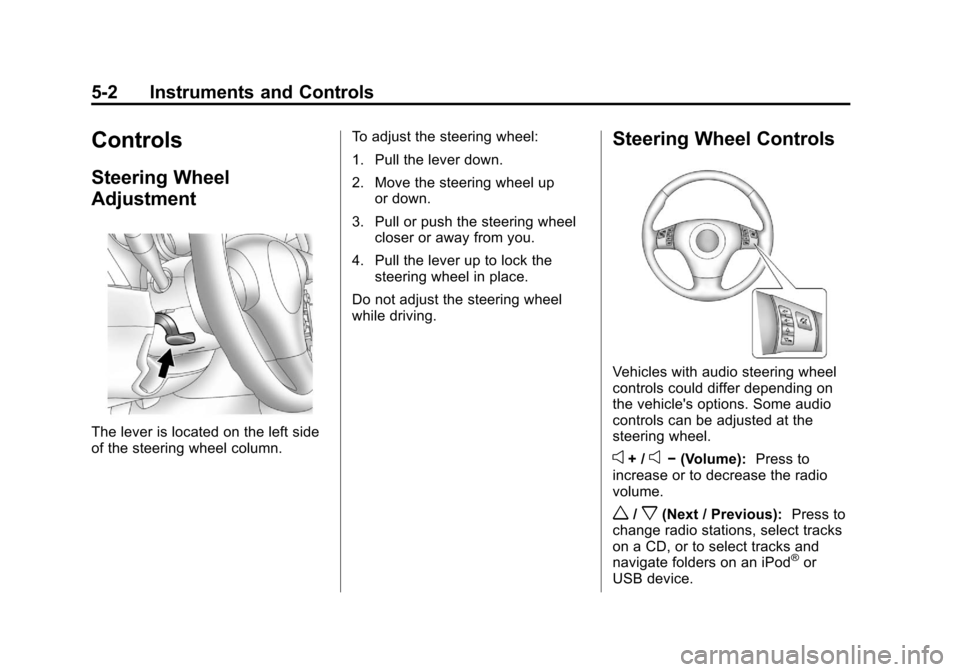
The lever is located on the left side
of the steering wheel column.To adjust the steering wheel:
1. Pull the lever down.
2. Move the steering wheel up
or down.
3. Pull or push the steering wheel closer or away from you.
4. Pull the lever up to lock the steering wheel in place.
Do not adjust the steering wheel
while driving.
Steering Wheel Controls
Vehicles with audio steering wheel
controls could differ depending on
the vehicle's options. Some audio
controls can be adjusted at the
steering wheel.
e+ /e− (Volume): Press to
increase or to decrease the radio
volume.
w/x(Next / Previous): Press to
change radio stations, select tracks
on a CD, or to select tracks and
navigate folders on an iPod
®or
USB device.
Page 113 of 382
Black plate (3,1)Chevrolet Malibu Owner Manual - 2011
Instruments and Controls 5-3
To change radio stations:
.Press and releaseworxto go
to the next or previous radio
station stored as a preset.
.Press and holdworxto go to
the next or previous radio station
in the selected band with a
strong signal.
To select tracks on a CD:
Press and release
worxto go to
the next or previous track.
To select tracks on an iPod or USB
device:
1. Press and hold
worxwhile
listening to a song until the
contents of the current folder
display on the radio display.
2. Press and release
worxto
scroll up or down the list, then
press and hold
wto play the
highlighted track. To navigate folders on an iPod or
USB device:
1. Press and hold
worxwhile
listening to a song until the
contents of the current folder
display on the radio display.
2. Press and hold
xto go back to
the previous folder list.
3. Press and release
worxto
scroll up or down the list.
.To select a folder, press
and hold
wwhen the folder
is highlighted.
.To go back further in the
folder list, press and
hold
x.
c(End): Press to reject an
incoming call, or end a current call.
b g(Mute / Voice Recognition):
Press to silence the vehicle
speakers only. Press again to turn
the sound on.
For vehicles with Bluetooth
®or
OnStar®systems press and
hold
b gfor longer than
two seconds to interact with
those systems. See Bluetooth
on
page 7‑23and the OnStar
Owner's Guide for more
information.
Horn
Press near the horn symbols or
press on the steering wheel pad to
sound the horn.
Page 134 of 382
Black plate (24,1)Chevrolet Malibu Owner Manual - 2011
5-24 Instruments and Controls
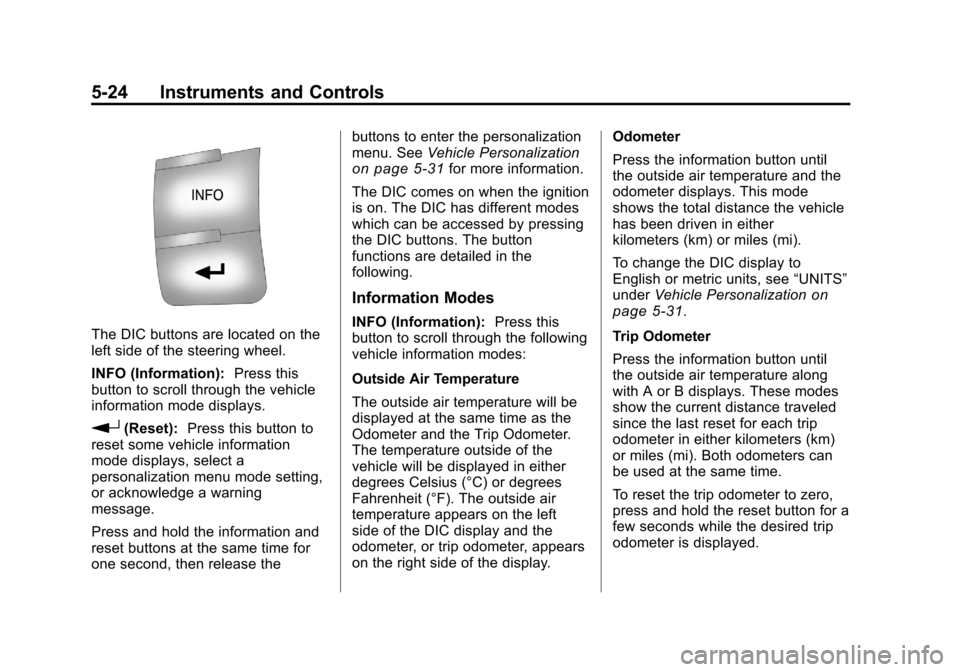
The DIC buttons are located on the
left side of the steering wheel.
INFO (Information):Press this
button to scroll through the vehicle
information mode displays.
r(Reset): Press this button to
reset some vehicle information
mode displays, select a
personalization menu mode setting,
or acknowledge a warning
message.
Press and hold the information and
reset buttons at the same time for
one second, then release the buttons to enter the personalization
menu. See
Vehicle Personalization
on page 5‑31for more information.
The DIC comes on when the ignition
is on. The DIC has different modes
which can be accessed by pressing
the DIC buttons. The button
functions are detailed in the
following.
Information Modes
INFO (Information): Press this
button to scroll through the following
vehicle information modes:
Outside Air Temperature
The outside air temperature will be
displayed at the same time as the
Odometer and the Trip Odometer.
The temperature outside of the
vehicle will be displayed in either
degrees Celsius (°C) or degrees
Fahrenheit (°F). The outside air
temperature appears on the left
side of the DIC display and the
odometer, or trip odometer, appears
on the right side of the display. Odometer
Press the information button until
the outside air temperature and the
odometer displays. This mode
shows the total distance the vehicle
has been driven in either
kilometers (km) or miles (mi).
To change the DIC display to
English or metric units, see
“UNITS”
under Vehicle Personalization
on
page 5‑31.
Trip Odometer
Press the information button until
the outside air temperature along
with A or B displays. These modes
show the current distance traveled
since the last reset for each trip
odometer in either kilometers (km)
or miles (mi). Both odometers can
be used at the same time.
To reset the trip odometer to zero,
press and hold the reset button for a
few seconds while the desired trip
odometer is displayed.