2011 CHEVROLET HHR reset
[x] Cancel search: resetPage 21 of 430
Black plate (15,1)Chevrolet HHR Owner Manual - 2011
Vehicle Features
Radio(s)
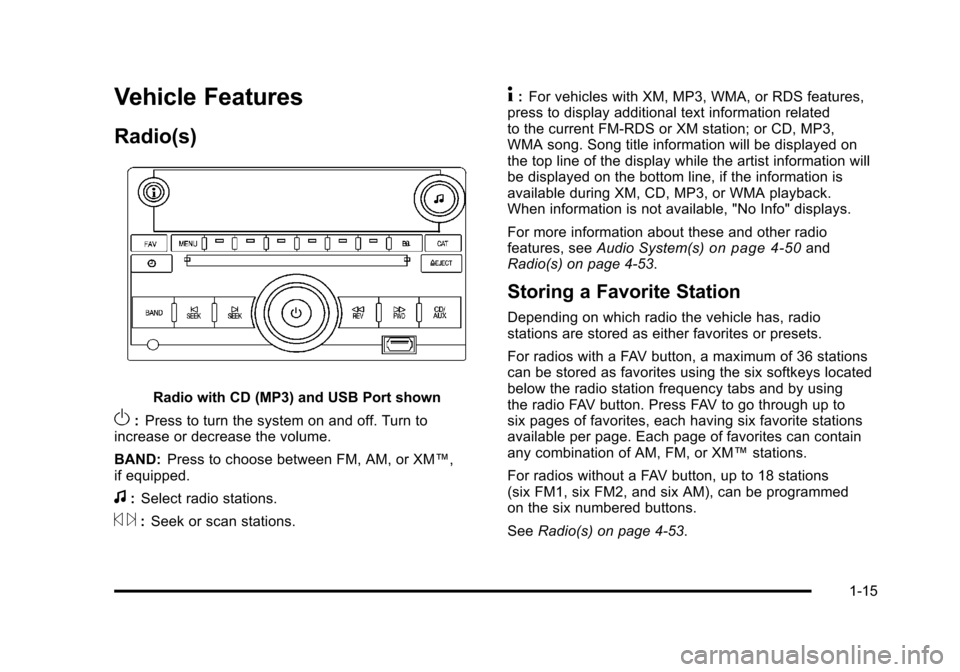
Radio with CD (MP3) and USB Port shown
O:Press to turn the system on and off. Turn to
increase or decrease the volume.
BAND: Press to choose between FM, AM, or XM™,
if equipped.
f: Select radio stations.
© ¨:Seek or scan stations.
4: For vehicles with XM, MP3, WMA, or RDS features,
press to display additional text information related
to the current FM-RDS or XM station; or CD, MP3,
WMA song. Song title information will be displayed on
the top line of the display while the artist information will
be displayed on the bottom line, if the information is
available during XM, CD, MP3, or WMA playback.
When information is not available, "No Info" displays.
For more information about these and other radio
features, see Audio System(s)
on page 4‑50and
Radio(s) on page 4‑53.
Storing a Favorite Station
Depending on which radio the vehicle has, radio
stations are stored as either favorites or presets.
For radios with a FAV button, a maximum of 36 stations
can be stored as favorites using the six softkeys located
below the radio station frequency tabs and by using
the radio FAV button. Press FAV to go through up to
six pages of favorites, each having six favorite stations
available per page. Each page of favorites can contain
any combination of AM, FM, or XM™ stations.
For radios without a FAV button, up to 18 stations
(six FM1, six FM2, and six AM), can be programmed
on the six numbered buttons.
See Radio(s) on page 4‑53.
1-15
Page 24 of 430
Black plate (18,1)Chevrolet HHR Owner Manual - 2011
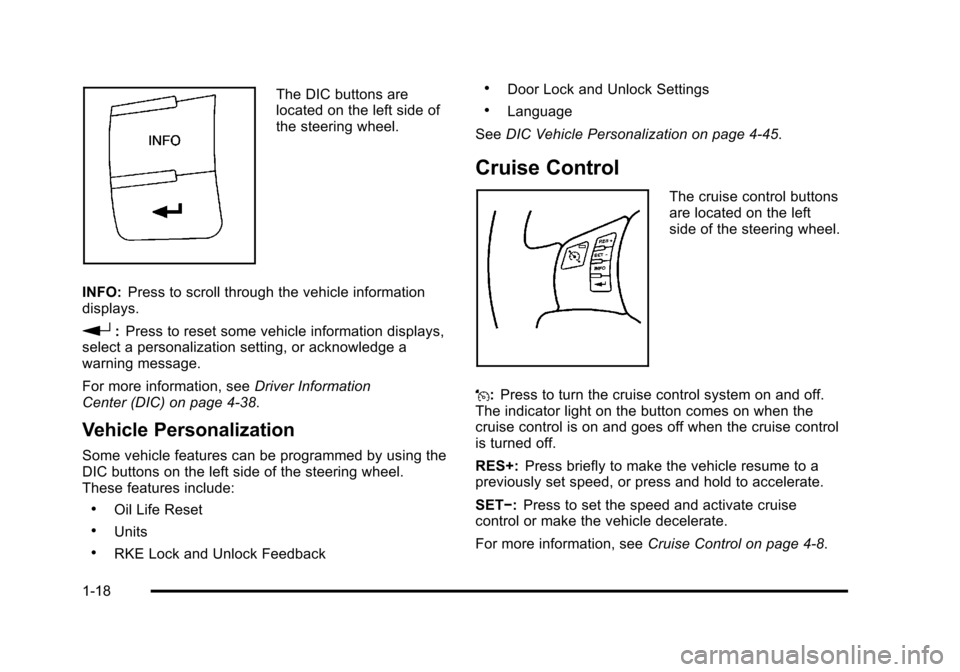
The DIC buttons are
located on the left side of
the steering wheel.
INFO: Press to scroll through the vehicle information
displays.
r: Press to reset some vehicle information displays,
select a personalization setting, or acknowledge a
warning message.
For more information, see Driver Information
Center (DIC) on page 4‑38.
Vehicle Personalization
Some vehicle features can be programmed by using the
DIC buttons on the left side of the steering wheel.
These features include:
.Oil Life Reset
.Units
.RKE Lock and Unlock Feedback
.Door Lock and Unlock Settings
.Language
See DIC Vehicle Personalization on page 4‑45.
Cruise Control
The cruise control buttons
are located on the left
side of the steering wheel.
J: Press to turn the cruise control system on and off.
The indicator light on the button comes on when the
cruise control is on and goes off when the cruise control
is turned off.
RES+: Press briefly to make the vehicle resume to a
previously set speed, or press and hold to accelerate.
SET−: Press to set the speed and activate cruise
control or make the vehicle decelerate.
For more information, see Cruise Control on page 4‑8.
1-18
Page 27 of 430
Black plate (21,1)Chevrolet HHR Owner Manual - 2011
Tire Pressure Monitor
This vehicle may have a Tire Pressure Monitor
System (TPMS).
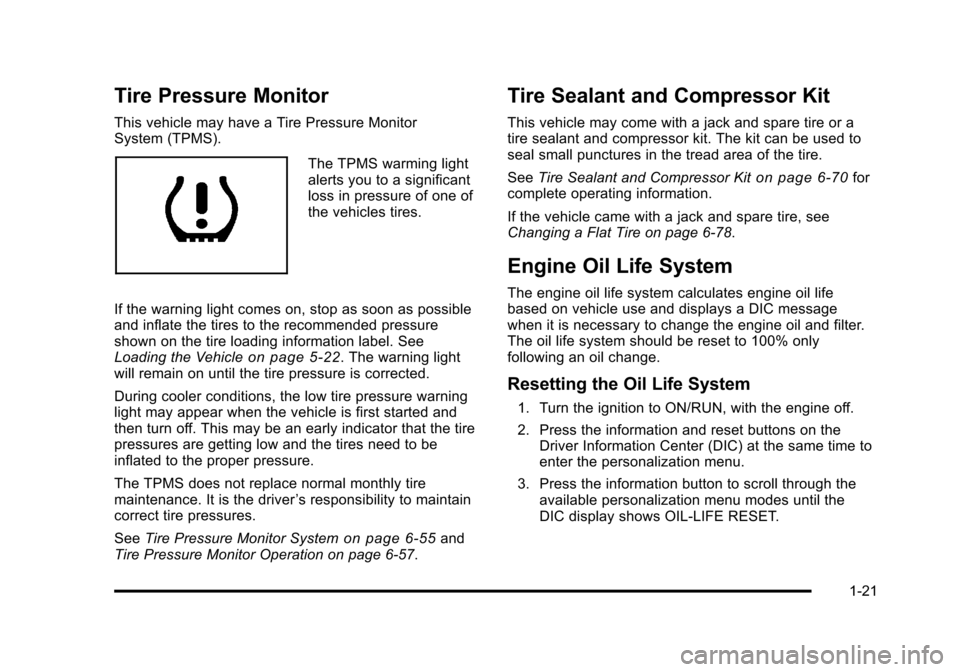
The TPMS warming light
alerts you to a significant
loss in pressure of one of
the vehicles tires.
If the warning light comes on, stop as soon as possible
and inflate the tires to the recommended pressure
shown on the tire loading information label. See
Loading the Vehicle
on page 5‑22. The warning light
will remain on until the tire pressure is corrected.
During cooler conditions, the low tire pressure warning
light may appear when the vehicle is first started and
then turn off. This may be an early indicator that the tire
pressures are getting low and the tires need to be
inflated to the proper pressure.
The TPMS does not replace normal monthly tire
maintenance. It is the driver ’s responsibility to maintain
correct tire pressures.
See Tire Pressure Monitor System
on page 6‑55and
Tire Pressure Monitor Operation on page 6‑57.
Tire Sealant and Compressor Kit
This vehicle may come with a jack and spare tire or a
tire sealant and compressor kit. The kit can be used to
seal small punctures in the tread area of the tire.
See Tire Sealant and Compressor Kit
on page 6‑70for
complete operating information.
If the vehicle came with a jack and spare tire, see
Changing a Flat Tire on page 6‑78.
Engine Oil Life System
The engine oil life system calculates engine oil life
based on vehicle use and displays a DIC message
when it is necessary to change the engine oil and filter.
The oil life system should be reset to 100% only
following an oil change.
Resetting the Oil Life System
1. Turn the ignition to ON/RUN, with the engine off.
2. Press the information and reset buttons on the Driver Information Center (DIC) at the same time to
enter the personalization menu.
3. Press the information button to scroll through the available personalization menu modes until the
DIC display shows OIL-LIFE RESET.
1-21
Page 28 of 430
Black plate (22,1)Chevrolet HHR Owner Manual - 2011
4. Press and hold the reset button until the DICdisplay shows ACKNOWLEDGED. This will tell you
the system has been reset.
5. Turn the key to LOCK/OFF.
For vehicles with the 2.2L (VIN Code V) or 2.4L
(VIN Code B) engines, you can also reset the
system as follows: 1. Turn the ignition key to ON/RUN with the engine off.
2. Fully press and release the accelerator pedal slowly three times within five seconds.
3. Turn the key to LOCK/OFF, then start the engine.
See Engine Oil Life System on page 6‑19.
Fuel E85 (85% Ethanol)
Vehicles that have a FlexFuel badge and a yellow fuel
cap can use either unleaded gasoline or ethanol fuel
containing up to 85% ethanol (E85). See Fuel E85
(85% Ethanol)
on page 6‑8. For all other vehicles,
use only the unleaded gasoline described under
Gasoline Octane on page 6‑6.
Driving for Better Fuel Economy
Driving habits can affect fuel mileage. Here are some
driving tips to get the best fuel economy possible.
.Avoid fast starts and accelerate smoothly.
.Brake gradually and avoid abrupt stops.
.Avoid idling the engine for long periods of time.
.When road and weather conditions are
appropriate, use cruise control, if equipped.
.Always follow posted speed limits or drive more
slowly when conditions require.
.Keep vehicle tires properly inflated.
.Combine several trips into a single trip.
.Replace the vehicle's tires with the same TPC
Spec number molded into the tire's sidewall near
the size.
.Follow recommended scheduled maintenance.
1-22
Page 142 of 430
Black plate (36,1)Chevrolet HHR Owner Manual - 2011
Mirrors
Manual Rearview Mirror
Hold the inside rearview mirror in the center to move it
for a clearer view behind your vehicle. Adjust the mirror
to avoid glare from the headlamps behind you. Push the
tab forward for daytime use and pull it for nighttime use.
If the vehicle has map lamps, press the buttons located
at the bottom of the mirror to turn them on or off.
Automatic Dimming Rearview Mirror
The vehicle may have an automatic dimming inside
rearview mirror with a compass and map lights and/or
OnStar
®.
Vehicles with OnStar have three additional control
buttons located at the bottom of the mirror. See your
dealer for more information on the system and how to
subscribe to OnStar
®. See the OnStar®owners guide
for more information about the services OnStar
provides.
Press the buttons located at the bottom of the mirror to
turn the map lights on or off.
O(On/Off): Press to turn the dimming feature on or off.
Automatic Dimming Mirror Operation
Automatic dimming reduces the glare of lights from
behind the vehicle. The dimming feature comes on and
the indicator light illuminates each time the vehicle is
started.
Cleaning the Mirror
Do not spray glass cleaner directly on the mirror. Use a
soft towel dampened with water.
Compass
Compass Operation
Y
/O(On/Off): If the vehicle has one of these buttons,
press to turn the compass on or off.
With the compass feature on, each time the vehicle is
started, the compass displays the current compass
direction after a few seconds.
Compass Calibration
If after a few seconds the display does not show a
compass direction, (N for North for example), there may
be a strong magnetic field interfering with the compass.
Interference can be caused by a magnetic antenna
mount, note pad holder, or similar object. If CAL
appears in the compass window, the compass may
need to be reset or calibrated.
3-36
Page 147 of 430
Black plate (41,1)Chevrolet HHR Owner Manual - 2011
A. View displayed by the camera.
B. Corner of the rear bumper.
When the System Does Not Seem To
Work Properly
The rear vision camera system might not work properly
or display a clear image if:
.The RVC is turned off. See“Turning the Rear
Camera System On or Off” earlier in this section.
.It is dark.
.The sun or the beam of headlights is shining
directly into the camera lens.
.Ice, snow, mud, or anything else builds up on the
camera lens. Clean the lens, rinse it with water,
and wipe it with a soft cloth.
.The back of the vehicle is in an accident, the
position and mounting angle of the camera can
change or the camera can be affected. Be sure to
have the camera and its position and mounting
angle checked at your dealer.
.There are extreme temperature changes. The rear vision camera system display in the rearview
mirror may turn off or not appear as expected due to
one of the following conditions. If this occurs the left
indicator light on the mirror will flash.
.A slow flash may indicate a loss of video signal,
or no video signal present during the reverse cycle.
.A fast flash may indicate that the display has been
on for the maximum allowable time during a
reverse cycle, or the display has reached an Over
Temperature limit.
The fast flash conditions are used to protect the
video device from high temperature conditions.
Once conditions return to normal the device will
reset and the green indicator will stop flashing.
During any of these fault conditions, the display will be
blank and the indicator will continue to flash as long as
the vehicle is in R (Reverse) or until the conditions
return to normal.
Pressing and holding
zwhen the left indicator light is
flashing will turn off the video display along with the left
indicator light.
3-41
Page 186 of 430
Black plate (30,1)Chevrolet HHR Owner Manual - 2011
Antilock Brake System (ABS)
Warning Light
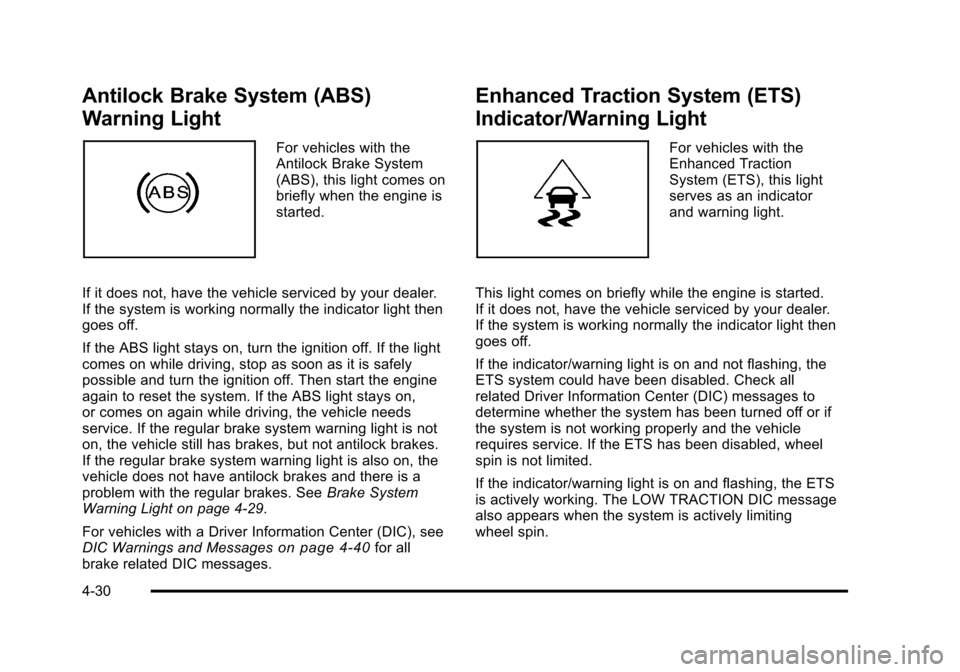
For vehicles with the
Antilock Brake System
(ABS), this light comes on
briefly when the engine is
started.
If it does not, have the vehicle serviced by your dealer.
If the system is working normally the indicator light then
goes off.
If the ABS light stays on, turn the ignition off. If the light
comes on while driving, stop as soon as it is safely
possible and turn the ignition off. Then start the engine
again to reset the system. If the ABS light stays on,
or comes on again while driving, the vehicle needs
service. If the regular brake system warning light is not
on, the vehicle still has brakes, but not antilock brakes.
If the regular brake system warning light is also on, the
vehicle does not have antilock brakes and there is a
problem with the regular brakes. See Brake System
Warning Light on page 4‑29.
For vehicles with a Driver Information Center (DIC), see
DIC Warnings and Messages
on page 4‑40for all
brake related DIC messages.
Enhanced Traction System (ETS)
Indicator/Warning Light
For vehicles with the
Enhanced Traction
System (ETS), this light
serves as an indicator
and warning light.
This light comes on briefly while the engine is started.
If it does not, have the vehicle serviced by your dealer.
If the system is working normally the indicator light then
goes off.
If the indicator/warning light is on and not flashing, the
ETS system could have been disabled. Check all
related Driver Information Center (DIC) messages to
determine whether the system has been turned off or if
the system is not working properly and the vehicle
requires service. If the ETS has been disabled, wheel
spin is not limited.
If the indicator/warning light is on and flashing, the ETS
is actively working. The LOW TRACTION DIC message
also appears when the system is actively limiting
wheel spin.
4-30
Page 194 of 430
Black plate (38,1)Chevrolet HHR Owner Manual - 2011
Driver Information Center (DIC)
Your vehicle has a Driver Information Center (DIC). The
DIC display gives you the status of many of your
vehicle's systems. The DIC is also used to display
driver personalization menu modes and warning/status
messages. All messages will appear in the DIC display,
located at the bottom of the instrument panel cluster.
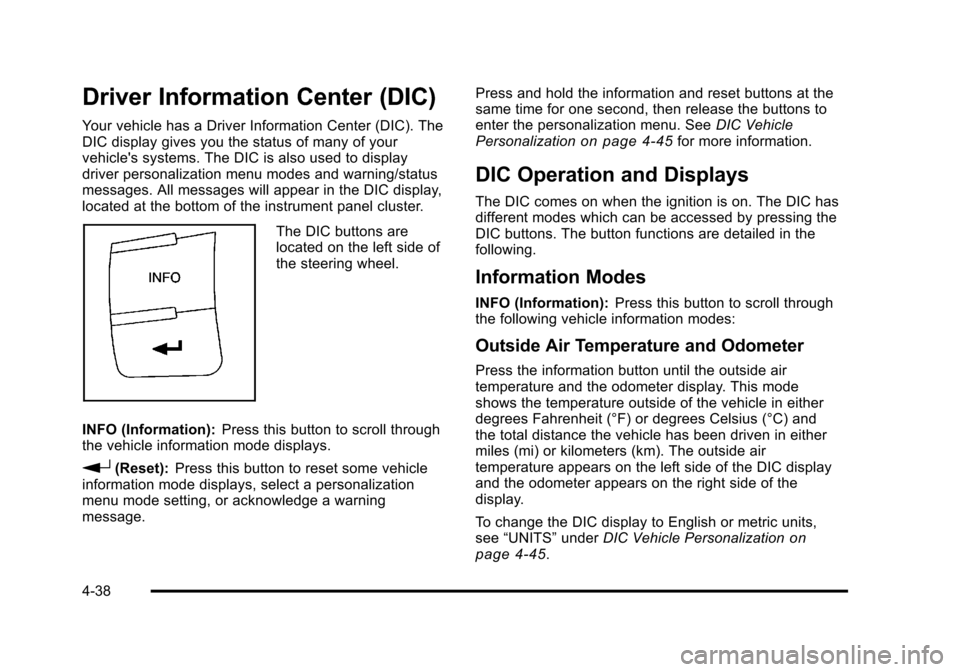
The DIC buttons are
located on the left side of
the steering wheel.
INFO (Information): Press this button to scroll through
the vehicle information mode displays.
r(Reset): Press this button to reset some vehicle
information mode displays, select a personalization
menu mode setting, or acknowledge a warning
message. Press and hold the information and reset buttons at the
same time for one second, then release the buttons to
enter the personalization menu. See
DIC Vehicle
Personalization
on page 4‑45for more information.
DIC Operation and Displays
The DIC comes on when the ignition is on. The DIC has
different modes which can be accessed by pressing the
DIC buttons. The button functions are detailed in the
following.
Information Modes
INFO (Information): Press this button to scroll through
the following vehicle information modes:
Outside Air Temperature and Odometer
Press the information button until the outside air
temperature and the odometer display. This mode
shows the temperature outside of the vehicle in either
degrees Fahrenheit (°F) or degrees Celsius (°C) and
the total distance the vehicle has been driven in either
miles (mi) or kilometers (km). The outside air
temperature appears on the left side of the DIC display
and the odometer appears on the right side of the
display.
To change the DIC display to English or metric units,
see “UNITS” underDIC Vehicle Personalization
on
page 4‑45.
4-38